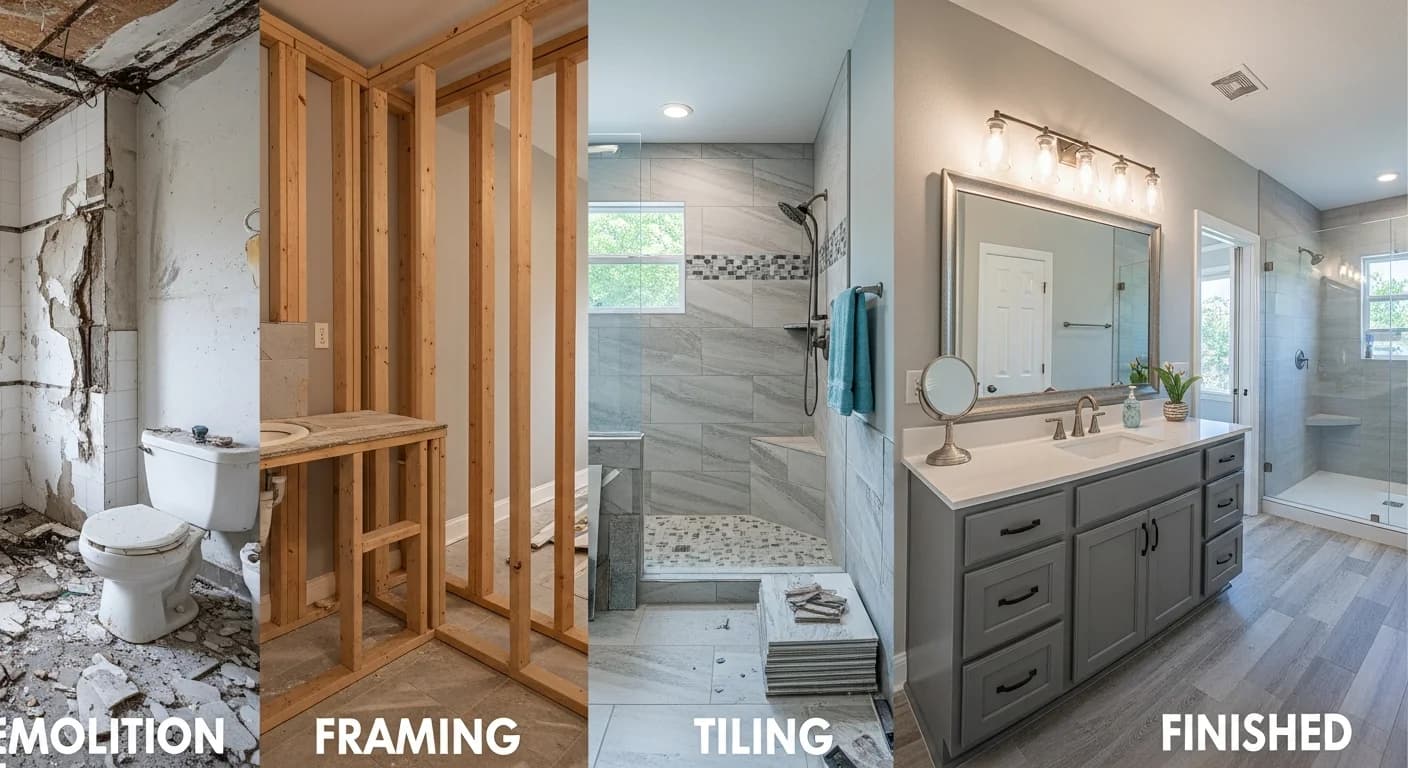
Heated Bathroom Floors: Types, Costs, and Installation Guide
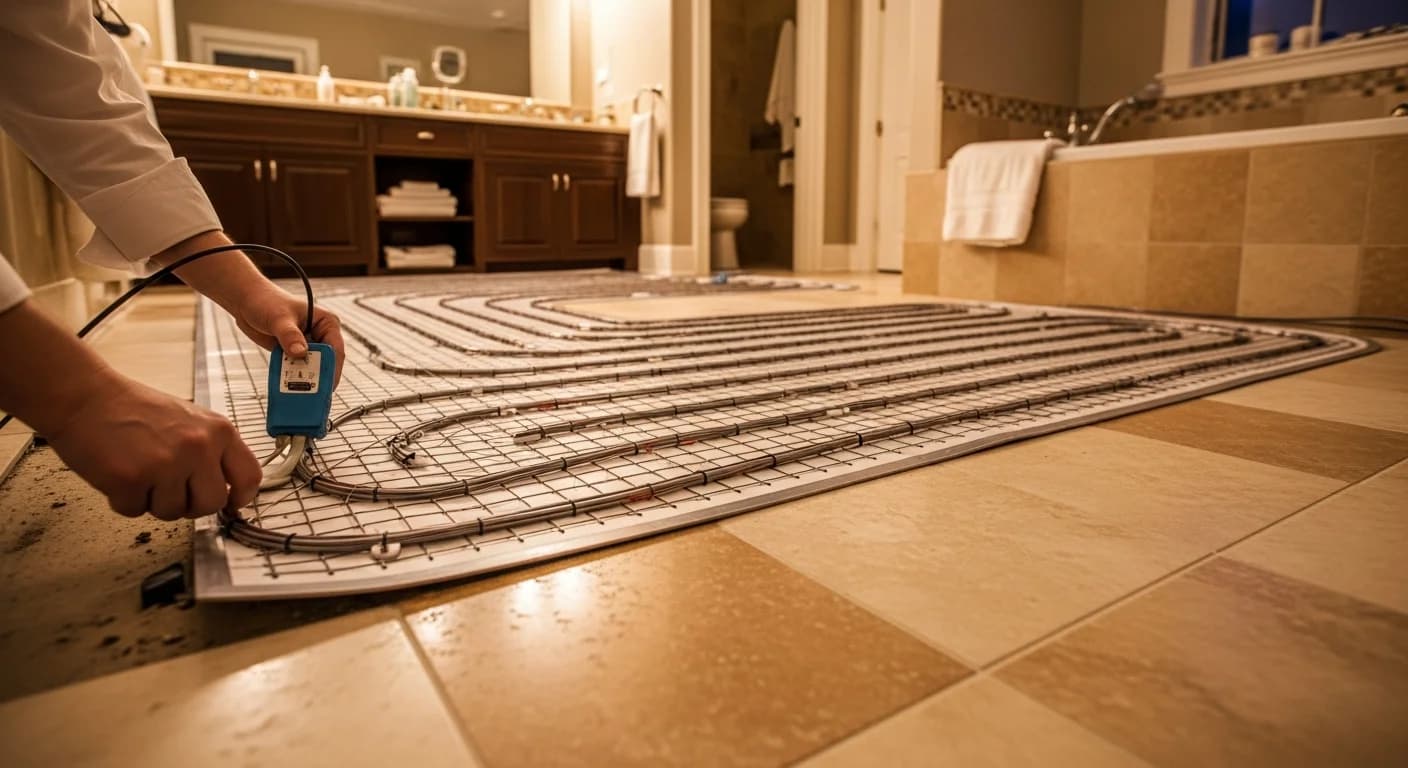
Stepping onto a warm bathroom floor on a cold morning transforms an ordinary daily routine into a genuinely comfortable experience. Heated bathroom floors — also called radiant floor heating — have evolved from a rare luxury feature into an increasingly accessible upgrade that homeowners across all climate zones are incorporating into new builds and remodels alike. The technology has matured significantly over the past decade, with electric mat systems now available for as little as $6 per square foot in materials, making heated bathroom floors a realistic addition even for mid-range renovation budgets.
Radiant floor heating systems warm a bathroom from the ground up, distributing heat evenly across the entire floor surface at temperatures between 75 and 85 degrees Fahrenheit. Unlike forced-air heating systems that create drafts and temperature inconsistencies, in-floor heat delivers a uniform warmth that eliminates cold spots near exterior walls and reduces the need for supplemental baseboard or wall-mounted heaters. For a standard 40-square-foot bathroom, a complete electric radiant system including the heating mat, thermostat, and professional installation typically costs between $500 and $1,200 — a fraction of the total bathroom remodel cost that delivers outsized comfort value.
This comprehensive guide covers both electric and hydronic radiant heating systems, breaks down costs by system type and bathroom size, walks through the installation process step by step, and addresses the energy efficiency questions that determine whether heated bathroom floors make financial sense for your home and climate.
Quick Summary
- Electric mat systems: $6-$16/sq ft installed — best for single-room retrofits and remodels
- Hydronic systems: $10-$20/sq ft installed — best for whole-house new construction
- Operating cost: $0.15-$0.50 per day for a typical 40 sq ft bathroom
- Best flooring materials: Porcelain tile, natural stone, engineered hardwood
- Installation time: 1-2 days for electric mat in a standard bathroom
- Best for: Homeowners planning a bathroom remodel who want heated bathroom floors for daily comfort and home value
- Reading time: 12 minutes
What Is Radiant Floor Heating?
Radiant floor heating is a method of warming interior spaces by installing a heat source directly beneath the finished floor surface. Rather than heating air and circulating it through ducts, radiant systems heat the floor itself, which then radiates thermal energy upward into the room. This principle — heating objects and surfaces rather than air — is the same mechanism by which sunlight warms your skin on a cool day, and it produces a distinctly comfortable, draft-free warmth.
The concept has ancient roots: Roman hypocaust systems channeled hot air beneath stone floors over 2,000 years ago. Modern radiant floor heating uses either electrical resistance cables or hot water tubing embedded beneath the floor surface to achieve the same effect with precise digital temperature control. In bathroom applications, radiant heat is particularly effective because bathrooms typically feature tile or stone floors — materials with high thermal conductivity that transfer heat efficiently from the system below to the surface above.
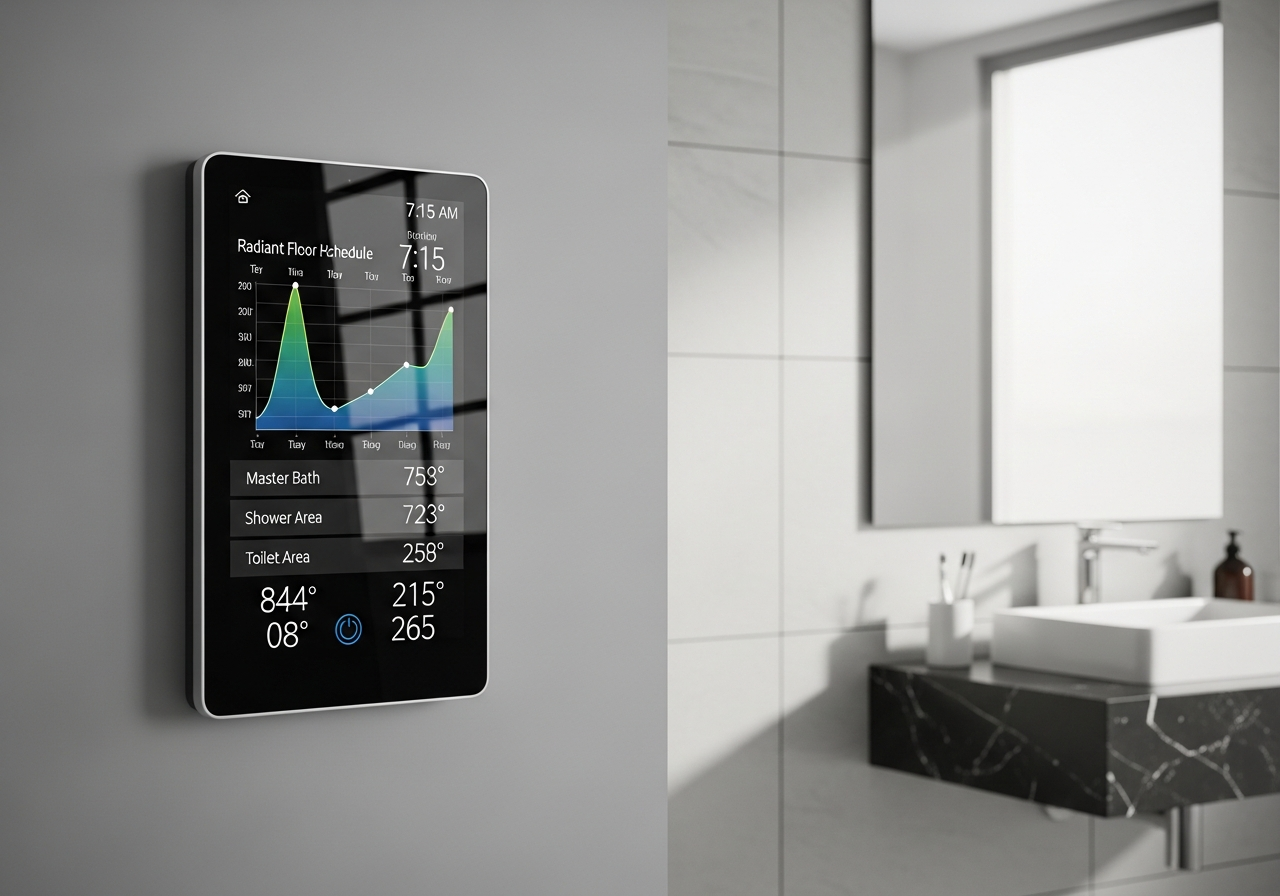
Heated bathroom floors operate at surface temperatures between 75 and 85 degrees Fahrenheit, controlled by a dedicated thermostat typically mounted on the bathroom wall. Most systems reach full operating temperature within 20-45 minutes of activation, though programmable thermostats and smart thermostat integration allow homeowners to schedule warm-up periods to coincide with morning routines. The result is a bathroom floor that feels comfortably warm underfoot without the scalding risk associated with hot water pipes or steam radiators.
Electric vs Hydronic Radiant Heating Systems
Electric Mat and Cable Systems
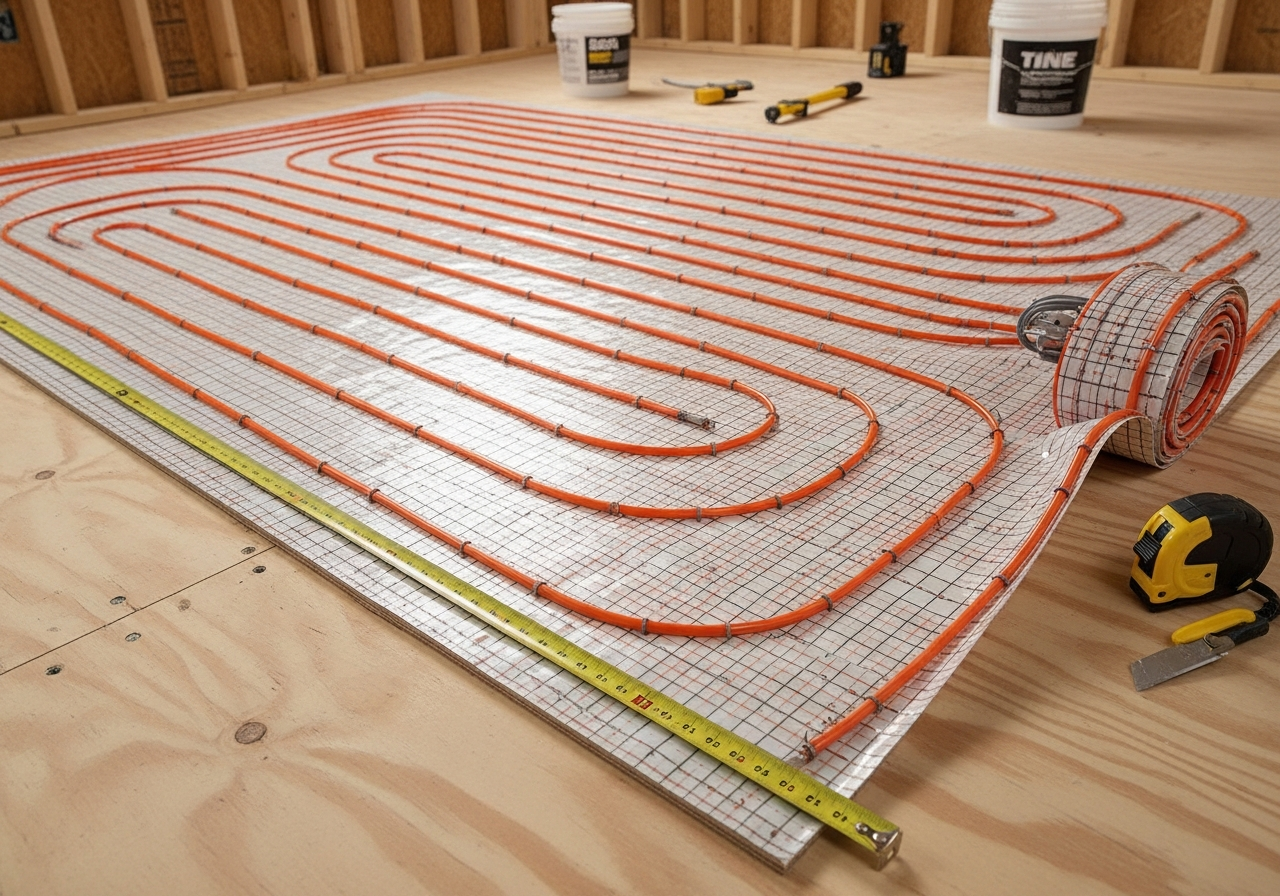
Electric radiant floor heating uses thin resistance cables or pre-wired mesh mats that generate heat when electrical current passes through them. These systems are the most popular choice for heated bathroom floors because they are thinner (as little as 1/8 inch), easier to install, and significantly less expensive for single-room applications than hydronic alternatives.
Electric systems come in two primary formats. Heating mats feature resistance cables pre-attached to a fiberglass mesh in a serpentine pattern at fixed spacing — typically 2-3 inches between cable runs. Popular brands include Schluter-DITRA-HEAT (which combines heating cables with an uncoupling membrane), WarmlyYours TempZone, and Nuheat. Mat systems cover a fixed area and cannot be cut through the cables, only the mesh between them. Loose cable systems offer greater flexibility for irregularly shaped bathrooms, allowing installers to space cables at variable intervals using adhesive strips or cable trays. Cable spacing typically ranges from 2.5 to 4 inches; closer spacing delivers more BTU output per square foot and faster heat-up times.
Electric systems operate on standard 120V or 240V circuits. A 40-square-foot bathroom heating mat draws approximately 160-200 watts — less power than two 100-watt light bulbs — making dedicated circuit requirements minimal. Most local electrical codes require a dedicated 15- or 20-amp circuit with GFCI protection for radiant floor heating, and many jurisdictions require a licensed electrician for the final electrical connection even if the mat installation is performed by a general contractor.
Hydronic Systems
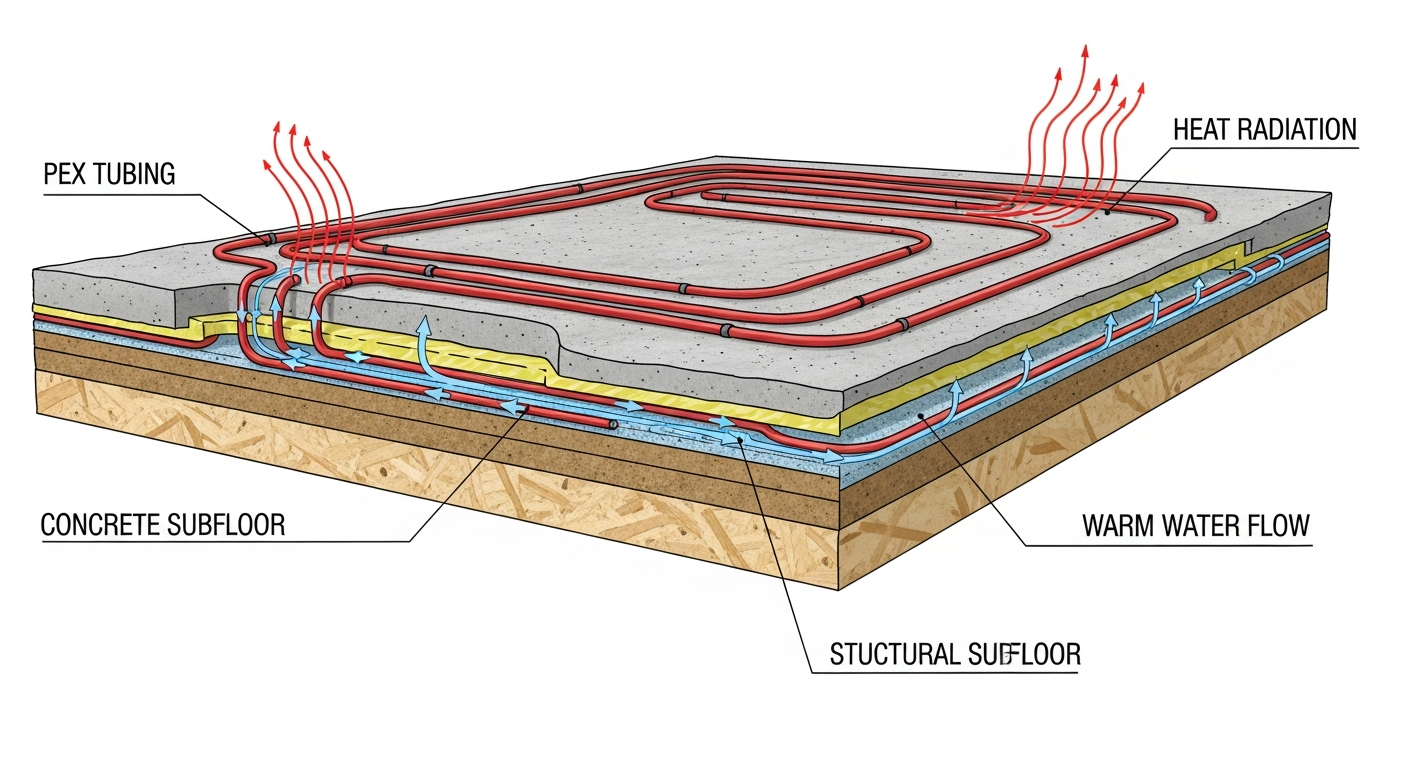
Hydronic radiant floor heating circulates heated water through flexible PEX (cross-linked polyethylene) tubing embedded in or beneath the floor. A boiler or dedicated water heater maintains the supply water temperature between 80 and 140 degrees Fahrenheit, and a circulation pump moves the heated water through continuous tubing loops that cover the floor area. Zone control valves allow different rooms to maintain independent temperature settings.
Hydronic systems are more energy-efficient than electric systems for large installations because water carries heat more efficiently than electrical resistance. They are the standard choice for whole-house radiant heating in new construction, where PEX tubing is embedded in a poured concrete slab or installed between floor joists using heat transfer plates. However, the high upfront cost of the boiler system ($3,000-$8,000), circulation pumps, manifolds, and extensive PEX tubing makes hydronic heating impractical for single-bathroom retrofits. Installation typically requires 4-6 inches of floor height for the tubing and mortar bed — a significant constraint in remodel situations where every fraction of an inch affects door clearances and transition heights.
Which System Is Right for Your Bathroom?
For most bathroom remodels, electric mat systems are the clear winner. They cost 30-50% less to install than hydronic systems in single-room applications, add less than one-quarter inch to floor height, and require no boiler infrastructure. Choose an electric system if you are heating one to three bathrooms, retrofitting an existing home, or working within a standard remodel budget. Choose a hydronic system only if you are building a new home and planning whole-house radiant heating that happens to include the bathrooms — the per-room cost advantage of hydronic only appears when spreading the boiler and distribution infrastructure across many rooms.
Cost Breakdown for Heated Bathroom Floors
Understanding the full cost of heated bathroom floors requires separating material costs, labor costs, and electrical work. The following breakdown reflects national average pricing as of early 2026 for a standard 40-square-foot bathroom.
Electric Mat System (40 sq ft bathroom):
- Heating mat or cable: $240-$480 ($6-$12/sq ft)
- Thermostat with floor sensor: $50-$300 (basic to Wi-Fi programmable smart thermostat)
- Uncoupling membrane (if using Schluter-DITRA-HEAT): $100-$200
- Installation labor: $200-$500 (often included in tile installation)
- Electrician for circuit connection: $150-$350
- Total installed: $740-$1,830 ($18-$46/sq ft all-in)
Hydronic System (40 sq ft bathroom, standalone):
- PEX tubing and manifold: $200-$400
- Dedicated water heater or boiler connection: $1,500-$4,000
- Circulation pump and controls: $300-$800
- Installation labor: $500-$1,500
- Total installed: $2,500-$6,700 ($63-$168/sq ft all-in)
When calculating return on investment, heated bathroom floors add an estimated $2,000-$5,000 to home resale value depending on market and home price point, according to real estate professionals surveyed by the National Association of Realtors. For perspective on how this upgrade fits into a broader renovation budget, review the bathroom remodel ROI guide.
Installation Step by Step
Subfloor Preparation
Proper subfloor preparation is the single most critical factor in a successful radiant floor heating installation. The subfloor must be clean, dry, flat (within 1/8 inch over 10 feet), and structurally sound. For concrete subfloors, fill any cracks or depressions with self-leveling compound and allow 24-48 hours for curing. For plywood subfloors over joists, ensure the plywood is at least one-half inch thick (three-quarter inch preferred) with no squeaks, bouncing, or moisture damage.
An uncoupling membrane — such as Schluter-DITRA or similar products — is strongly recommended between the subfloor and the heating system. This membrane serves three critical functions: it provides a stable bonding surface for the tile adhesive, it prevents cracks in the subfloor from telegraphing through to the finished tile, and it adds a layer of waterproofing protection. For the Schluter-DITRA-HEAT system, the uncoupling membrane has integrated channels specifically designed to accept heating cables, combining both functions in a single product layer.
Before installing any heating elements, perform an electrical resistance test on the heating mat or cable using a digital multimeter. Record the ohm reading and compare it to the manufacturer's specification — this baseline measurement confirms the heating element is undamaged from shipping and handling. Repeat this test after installation and again after tile installation to verify no damage occurred during the process.
Laying the Heating System
For electric mat systems, begin by planning the mat layout to cover the maximum floor area while avoiding placement directly under permanent fixtures such as toilets, vanity cabinets, and bathtubs. Heating elements placed under fixtures cannot dissipate heat properly and may overheat, damaging both the system and the fixture. A typical 40-square-foot bathroom has approximately 25-30 square feet of heatable area after excluding fixture footprints.
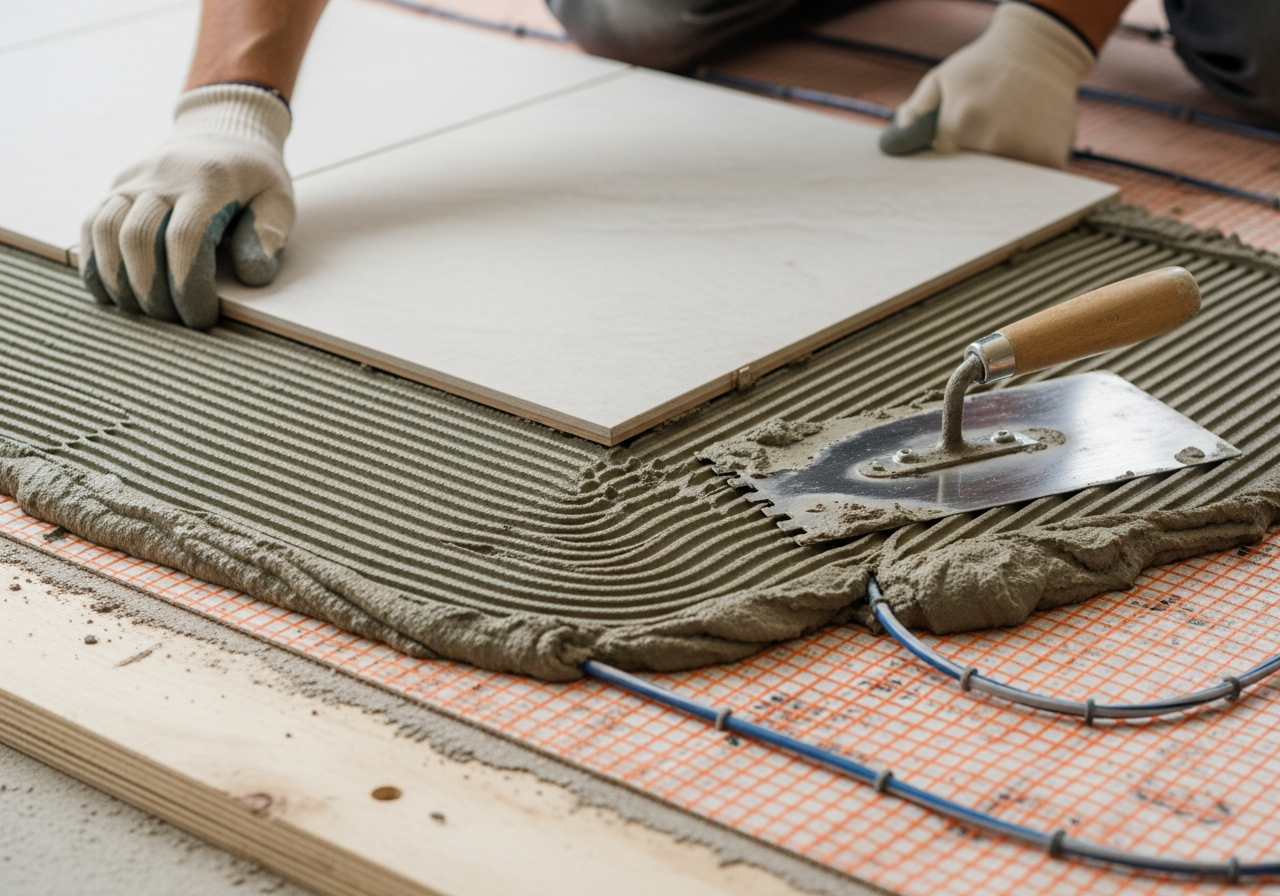
Unroll the heating mat starting from the thermostat location and work outward, cutting the mesh (never the cable) to change direction at walls. Secure the mat to the subfloor or uncoupling membrane using thin-set mortar or the integrated stud system. Maintain a minimum 2-inch clearance from walls, fixtures, and other heating cables. Route the cold lead (non-heating wire) from the mat to the thermostat location, and install the floor temperature sensor in a conduit between two cable runs, extending at least 12 inches into the heated area.
Tile Installation Over Heating
Install tile over the heating system using modified thin-set mortar applied with a one-quarter by one-quarter inch square-notch trowel. Modified thin-set contains polymer additives that improve flexibility and adhesion — critical properties when the substrate undergoes daily thermal cycling. Apply thin-set in small sections, pressing firmly to encapsulate the heating cables without trapping air pockets. For bathroom tile installations over radiant heat, porcelain and natural stone tiles are preferred for their excellent thermal conductivity.
Allow the thin-set to cure for a minimum of 28 days before energizing the heating system for the first time. This extended curing period — significantly longer than the typical 24-48 hours for standard tile installation — is required by virtually all heating system manufacturers and ensures the thin-set has reached full strength before being subjected to thermal stress. Grout installation can proceed after the initial 24-48 hour thin-set cure, but the heating system must remain off until the full 28-day period has elapsed.
Best Flooring Materials for Radiant Heat
Not all flooring materials transfer radiant heat with equal effectiveness. The ideal floor covering for heated bathroom floors has high thermal conductivity (transfers heat efficiently), low thermal resistance (does not insulate against the heat below), and dimensional stability when exposed to temperature fluctuations.
Porcelain tile ranks as the number one material for radiant floor heating in bathrooms. Its dense composition transfers heat efficiently with virtually zero thermal insulation effect, and it tolerates continuous thermal cycling without dimensional change. Porcelain tile achieves full surface temperature within 20-30 minutes of system activation.
Natural stone — including marble, slate, travertine, and granite — provides excellent thermal conductivity comparable to porcelain. Stone floors feel noticeably warm within 20-40 minutes and retain heat effectively due to their thermal mass, continuing to radiate warmth for 15-30 minutes after the system cycles off.
Engineered hardwood is compatible with radiant heat if the product is manufacturer-rated for radiant applications and the maximum surface temperature does not exceed 80-85 degrees Fahrenheit. Solid hardwood is generally not recommended due to its tendency to expand, contract, and cup under thermal cycling.
Luxury vinyl plank (LVP) can be used over radiant heat if the manufacturer specifically approves it and the maximum floor temperature stays below 80-85 degrees Fahrenheit. Many LVP products carry radiant-heat ratings, but the reduced maximum temperature limits the heating output compared to tile or stone installations.
Materials to avoid over radiant heating include carpet (acts as insulation, reducing efficiency by 30-50%), cork (insulating properties), and solid hardwood wider than 3 inches (excessive expansion and contraction).
Energy Efficiency and Operating Costs
Electric radiant floor heating in a bathroom is remarkably energy-efficient when used correctly. A 40-square-foot heating mat rated at 12 watts per square foot draws 480 watts at full output. At the national average electricity rate of $0.16 per kWh, running the system at full power for 8 hours per day costs approximately $0.61. In practice, the thermostat cycles the system on and off to maintain the set temperature, resulting in actual operating times of 4-6 hours per day in moderate climates — bringing the daily cost to $0.30-$0.46 per day, or $9-$14 per month during heating season.
A programmable timer or smart thermostat dramatically improves efficiency by warming the floor only during occupied hours. Programming the system to activate 30 minutes before the morning alarm and shut off after the morning routine, then reactivate briefly in the evening, reduces daily operating hours to 3-4 and monthly costs to $6-$10. Smart thermostats compatible with Alexa, Google Home, or dedicated manufacturer apps add zone control capability and adaptive scheduling that learns usage patterns over time.
The R-value of the subfloor insulation directly impacts energy efficiency. Installing rigid foam insulation (R-5 to R-10) beneath the heating mat prevents heat from radiating downward into the subfloor and joists, directing more energy upward into the bathroom. This insulation layer can improve system efficiency by 25-40% and reduce heat-up time by 10-15 minutes — a worthwhile $50-$100 addition to any radiant floor installation.
Retrofit vs New Construction
Installing heated bathroom floors in a new construction project is straightforward: the heating system is incorporated into the floor assembly before any finished flooring is applied, and electrical circuits are planned during the rough-in phase. The incremental cost of adding electric radiant heating during new construction is approximately $6-$12 per square foot — primarily the cost of the heating mat and thermostat, since the electrician is already on site and the tile installer is applying thin-set regardless.
Retrofitting heated bathroom floors into an existing bathroom requires removing the current floor covering, preparing the subfloor, installing the heating system, and re-tiling. The total cost for a retrofit installation runs $15-$40 per square foot including demolition, new tile, and the heating system — roughly 2-3 times the cost of a new-construction installation. However, if the bathroom floor is already being replaced as part of a broader remodel, the incremental cost of adding radiant heat drops to the same $6-$16 per square foot as new construction, since demolition and re-tiling costs are already budgeted.
Floor height is the primary constraint in retrofit applications. Electric mat systems add less than one-quarter inch to the total floor assembly, which is manageable in most situations with a transition strip at the bathroom door. Hydronic systems requiring a mortar bed can add 1-2 inches of floor height — potentially creating problems with door clearances, toilet flanges, and transitions to adjacent rooms. For most retrofit scenarios, electric mat systems are the practical choice. View the HanoDecor gallery for examples of bathroom remodels incorporating radiant floor heating.
Frequently Asked Questions
How long do heated bathroom floors last?
Electric radiant floor heating systems carry manufacturer warranties of 15-25 years, but most systems last 25-35 years or longer when installed correctly. The heating cables themselves have no moving parts and are encased in protective layers that resist moisture and mechanical damage. The thermostat is the component most likely to need replacement, with typical lifespans of 10-15 years. Because the heating cables are embedded beneath tile, replacement of the cables requires removing and re-installing the floor — reinforcing the importance of correct installation the first time.
Can heated bathroom floors be installed under any type of tile?
Heated bathroom floors work well under porcelain tile, ceramic tile, and natural stone — the three most common bathroom floor materials. These materials transfer heat efficiently and tolerate thermal cycling without damage. Porcelain tile is the optimal choice due to its low water absorption and high thermal conductivity. Ceramic tile works adequately but transfers heat slightly less efficiently. Natural stone, especially marble and slate, provides excellent heat transfer and retains warmth due to its thermal mass.
Do heated bathroom floors use a lot of electricity?
A typical 40-square-foot heated bathroom floor costs $0.15-$0.50 per day to operate, depending on usage hours, local electricity rates, and thermostat settings. This translates to $5-$15 per month during heating season — comparable to running a single 100-watt light bulb for the same duration. Using a programmable smart thermostat to limit operating hours to morning and evening routines keeps costs at the lower end of this range.
Is it worth adding heated bathroom floors to increase home value?
Heated bathroom floors add an estimated $2,000-$5,000 to home resale value, according to real estate professionals. In colder climate regions (USDA zones 3-6), the value addition tends toward the higher end. Given that a complete electric installation costs $500-$1,800, the ROI potential is strong — particularly when the floor is being replaced anyway as part of a bathroom remodel. Check the HanoDecor pricing page for visualization tools that help plan your heated floor design.
Can heated floors replace a bathroom's primary heat source?
In mild to moderate climates, heated bathroom floors can serve as the primary heat source for the bathroom when the system is sized at 12-15 watts per square foot and supplemented with adequate insulation. In colder climates (below 0 degrees Fahrenheit winter lows), radiant floor heating is best used as a supplemental comfort system alongside the home's primary HVAC. The floor heating ensures warm surfaces underfoot while the primary system maintains overall air temperature.
Visualize Heated Floors in Your Bathroom with HanoDecor
Planning heated bathroom floors starts with choosing the right tile or stone to pair with the radiant system beneath. Upload a photo of your bathroom to our bathroom remodel visualizer and experiment with porcelain tile, natural stone, and other flooring materials to see exactly how your warm, comfortable new bathroom floor will look. Pair your heated floor with coordinating wall tiles, vanity materials, and fixtures — all visualized in your actual space before making any purchase commitments.
Heated Bathroom Floors FAQs
Written by
Michael Torres
Bathroom and Kitchen Design Specialist with 15 years of remodeling experience. NKBA-certified designer focused on functional layouts, fixture selection, and spa-inspired wellness spaces.