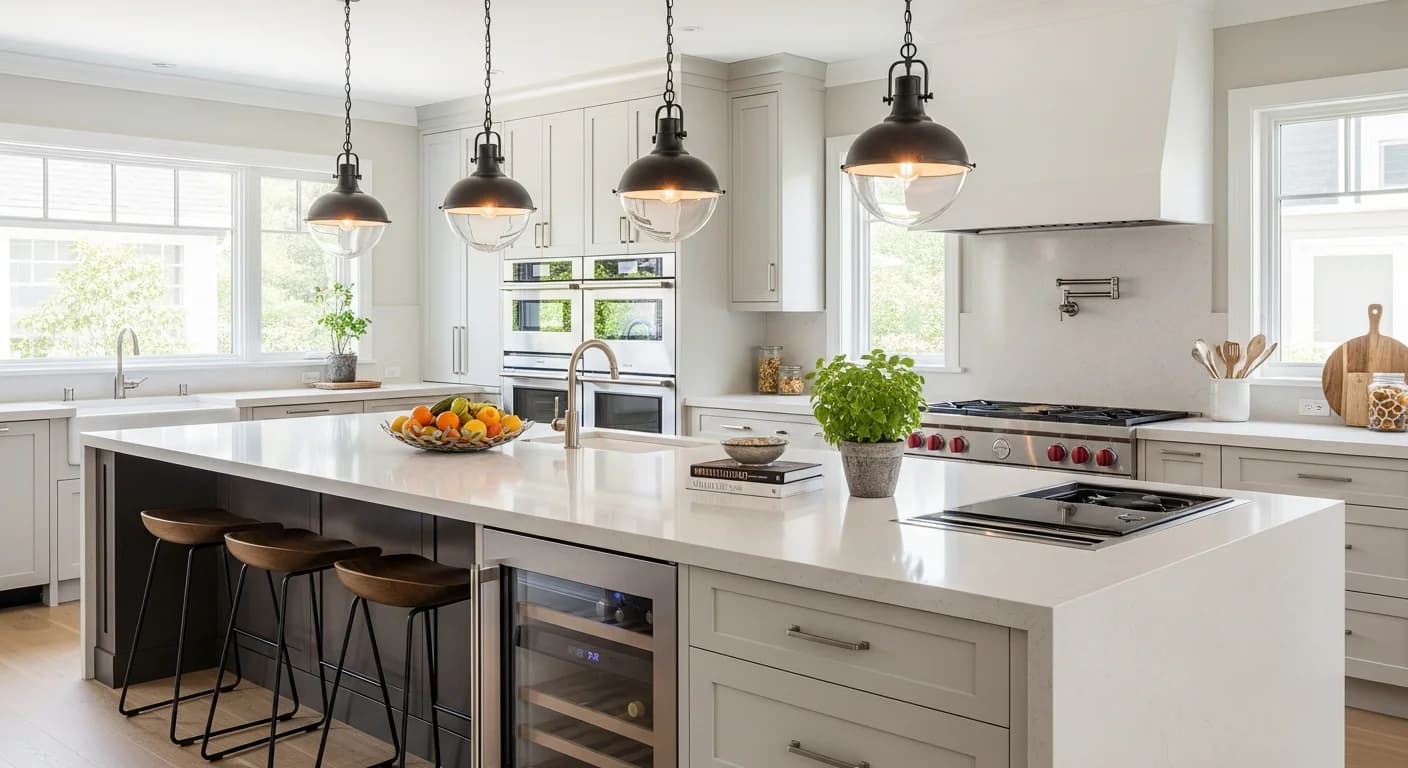
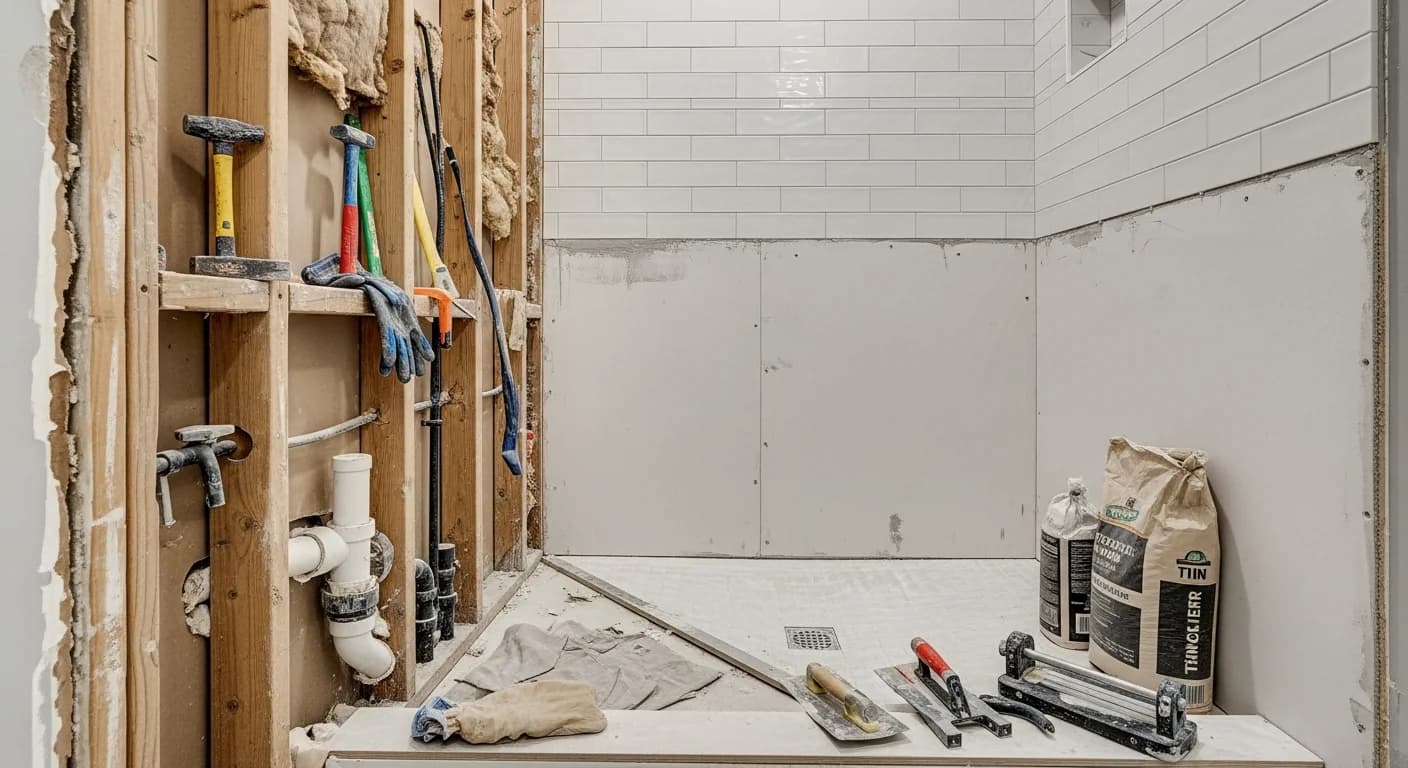
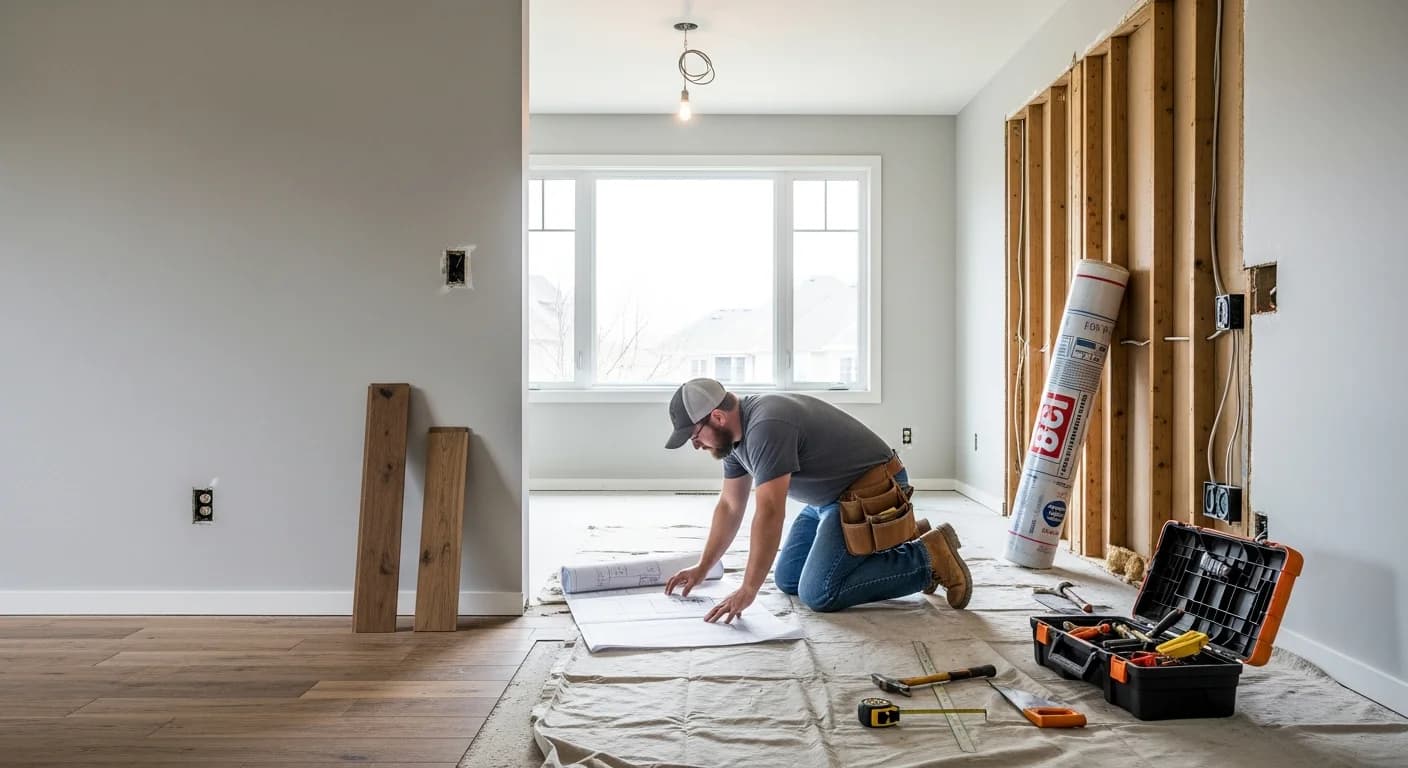
How to Redesign a Kitchen: 13 Essential Steps for a Beautiful Makeover (2026)
Quick Summary
A complete 13-step guide to redesigning your kitchen, covering everything from initial assessment and budgeting through layout planning, material selection, color coordination, and AI visualization. Whether you are planning a cosmetic refresh or a moderate redesign, this roadmap helps you make confident decisions at every stage.
Kitchen Redesign vs Kitchen Remodel: What's the Difference?
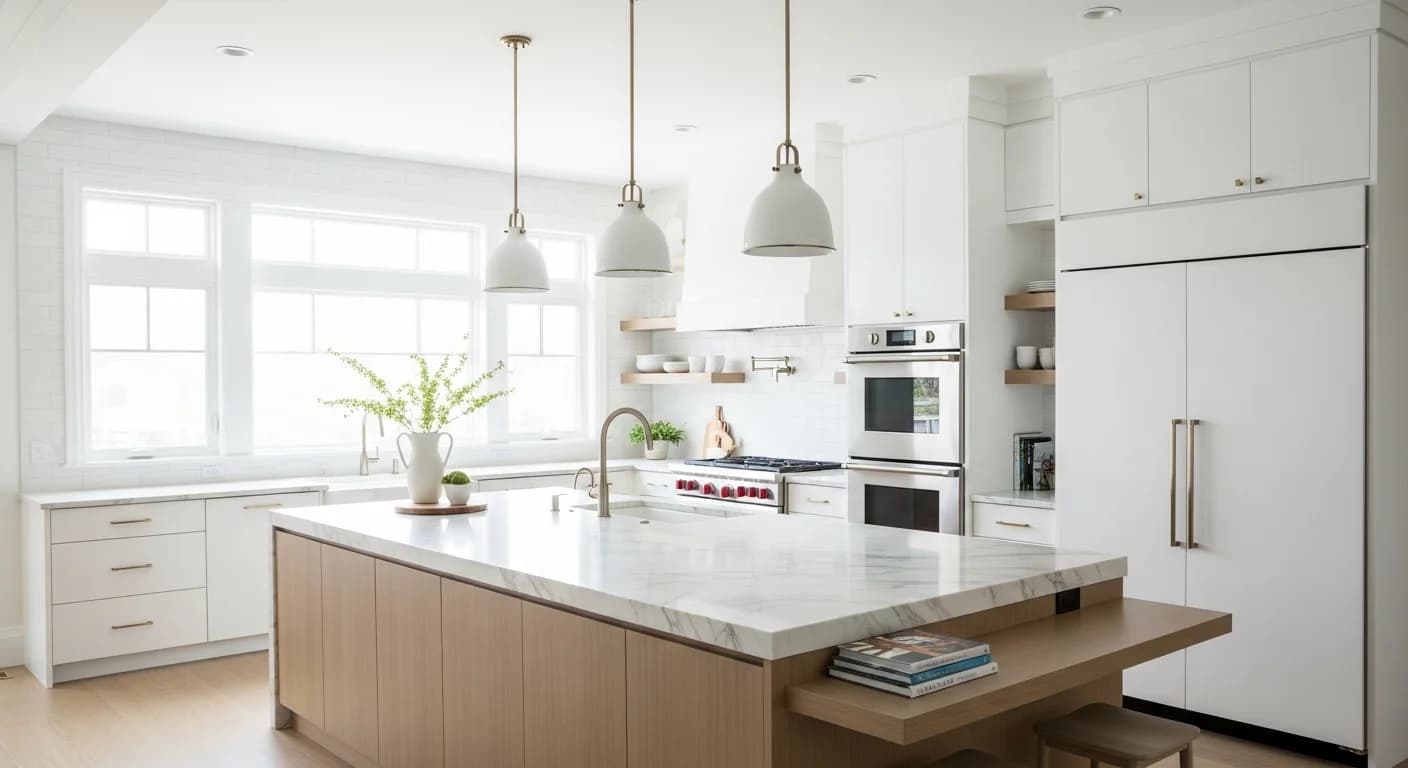
Understanding how to redesign a kitchen starts with knowing the difference between a redesign and a full remodel — and choosing the right approach for your goals and budget. The average kitchen remodel costs $26,000-$75,000, but a strategic redesign can transform the same space for a fraction of that price.
A redesign focuses on the visual transformation: cosmetic changes, layout tweaks, and surface updates like new cabinets, countertops, backsplash, paint, hardware, and lighting. A remodel, by contrast, involves structural changes — moving walls, relocating plumbing, rewiring electrical systems, or adding square footage.
Choose a redesign when your kitchen has good bones — solid structure, functional plumbing, and adequate electrical — but looks and feels outdated. Choose a remodel when the fundamental layout prevents efficient workflow or when major systems need upgrading. Browse kitchen design inspiration to see what level of transformation matches your goals.
Step 1 — Assess Your Current Kitchen
Functionality Audit
Before making any decisions, spend a week paying attention to how you actually use your kitchen. Note what works well — these are elements to keep. Document what frustrates you daily: insufficient counter space for meal prep, poor lighting that makes cooking difficult, a cramped layout that creates traffic jams, outdated surfaces that resist cleaning, or a lack of storage that forces you to keep appliances on countertops.
Measure Your Space
Accurate measurements form the foundation of every successful kitchen redesign. Record the room's length, width, and ceiling height. Note window and door positions, including the direction doors swing. Mark existing plumbing locations (sink drain, supply lines, dishwasher connection) and electrical outlet positions. Photograph your kitchen from multiple angles — corner shots showing two walls provide the best reference for AI visualization later. Upload your kitchen photo for an instant AI redesign preview.
Step 2 — Set Your Kitchen Redesign Budget
Budget Ranges by Scope
Kitchen redesign costs vary dramatically based on scope. A cosmetic redesign runs $2,000-$10,000 and covers paint, hardware, backsplash, and lighting updates. A moderate redesign costs $10,000-$30,000 and includes cabinet refacing, new countertops, flooring, and appliance upgrades. A major redesign ranges from $30,000-$75,000+ and involves complete cabinet replacement, layout modifications, and premium materials throughout.
Budget Allocation Formula
Regardless of your total budget, the allocation percentages remain consistent. Plan for cabinets at 30% of total budget, labor at 25%, countertops at 10%, appliances at 10%, flooring at 7%, lighting at 5%, backsplash at 5%, and miscellaneous items at 8%. Always include a 15-20% contingency fund for surprises — older kitchens often reveal hidden issues once surfaces are removed. For a detailed cost analysis, see our complete kitchen redesign cost breakdown.
Step 3 — Plan Your Kitchen Layout
The Work Triangle Principle
The kitchen work triangle connects your three primary work stations — sink, stove, and refrigerator. According to NKBA kitchen design guidelines, each leg of the triangle should measure 4-9 feet, with a total perimeter of 13-26 feet. No leg of the triangle should cross a major traffic path. This time-tested principle ensures efficient movement between the most frequently used stations during meal preparation.
Kitchen Zones
Modern kitchen design has evolved beyond the simple work triangle into a zone-based approach. Five distinct zones create better workflow: the prep zone (counter space near the sink for chopping and mixing), the cooking zone (stove, oven, and nearby counter for hot items), the cleaning zone (sink, dishwasher, and garbage area), the storage zone (pantry, cabinets, and refrigerator), and the social zone (island seating, breakfast nook, or bar area for gathering).
Common Layout Types
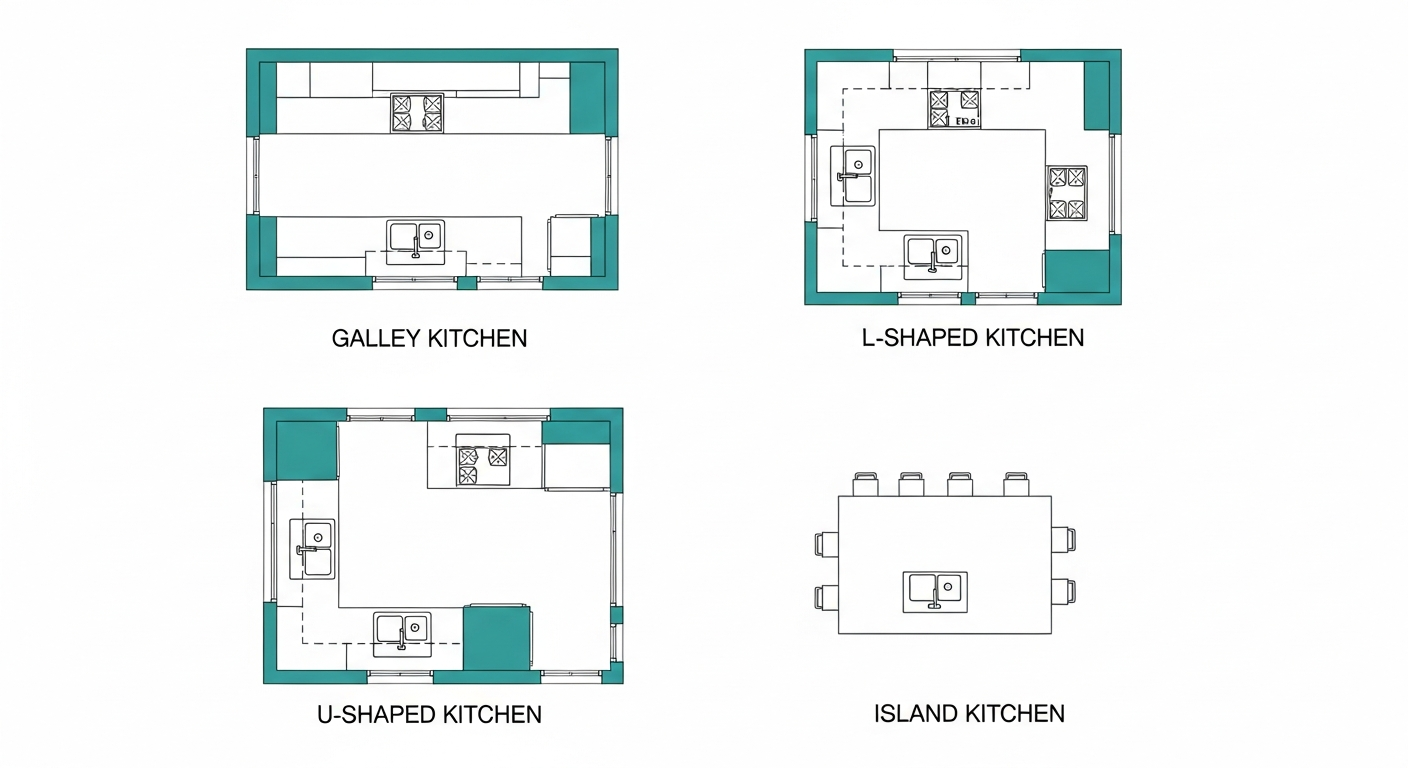
The galley layout places counters and cabinets along two parallel walls — efficient for narrow spaces under 100 square feet. L-shaped layouts anchor cabinets along two perpendicular walls, freeing floor space for an island or dining area. U-shaped configurations wrap three walls with cabinetry, maximizing storage and counter space. Island layouts add a freestanding work surface in the center, ideal for kitchens over 150 square feet that need additional prep space and social seating. For a deeper exploration, read our guide on kitchen layout optimization.
Step 4 — Choose Your Cabinet Strategy
Refacing vs Replacing
Cabinet refacing keeps your existing cabinet boxes and replaces only the doors and drawer fronts, typically costing $4,000-$9,000. Full cabinet replacement means all-new cabinets at $12,000-$30,000+. The decision depends on the condition of your existing cabinet boxes, whether you need layout changes, and your budget. If boxes are solid and square, refacing delivers 80% of the visual impact at 30-40% of the cost. Learn how to update cabinets without replacing them for budget-friendly techniques.
Cabinet Door Styles
Shaker-style doors remain the most popular choice — their clean frame-and-panel design works with modern, transitional, and traditional kitchens. Flat-front slab doors create a sleek, minimalist look popular in contemporary designs. Raised panel doors suit traditional and formal kitchens with their detailed molding profiles. Beadboard doors add cottage or farmhouse character with their vertical grooved pattern.
Cabinet Materials
Solid wood cabinets offer the best durability and can be refinished multiple times but come at a premium price. Plywood provides excellent strength-to-cost ratio and resists warping better than particle board. MDF (medium-density fiberboard) takes paint beautifully and costs less than wood, making it ideal for painted cabinet doors. Particle board is the most affordable option but has the lowest moisture resistance — avoid it near sinks and dishwashers.
Step 5 — Select Countertops and Surfaces
Countertop Materials Compared
Quartz countertops ($50-$150 per square foot) lead the market with their non-porous surface, low maintenance, and wide color range. Granite ($40-$100 per square foot) offers natural stone beauty with excellent heat resistance, though it requires annual sealing. Butcher block ($25-$65 per square foot) brings warm, organic character to kitchen islands and prep areas but needs regular oiling to maintain its finish. Laminate ($10-$40 per square foot) has improved dramatically — 2026 designs convincingly mimic stone and wood at a fraction of the cost. For an in-depth material comparison, compare countertop materials in detail.
Backsplash Options
Subway tile remains a classic, affordable backsplash choice that pairs with any kitchen style. Mosaic patterns create bold statement walls behind ranges and sinks. Full slab backsplashes — matching the countertop material — deliver seamless luxury with minimal grout maintenance. For budget-conscious redesigns, peel-and-stick backsplash tiles offer surprisingly realistic results at $2-$5 per square foot and are completely renter-friendly.
Step 6 — Pick Your Flooring
Kitchen floors must handle moisture, spills, heavy foot traffic, and dropped cookware. Luxury Vinyl Plank (LVP) at $2-$7 per square foot has become the go-to kitchen flooring: it is waterproof, affordable, comfortable underfoot, and easy to install as a DIY project. Porcelain tile ($3-$15 per square foot) offers superior durability and a wide style range, from wood-look planks to large-format slabs. Hardwood ($6-$15 per square foot) brings timeless warmth but is vulnerable to moisture damage — consider engineered hardwood with a waterproof core for kitchen applications.
Step 7 — Select Colors and Finishes
2026 Kitchen Color Trends
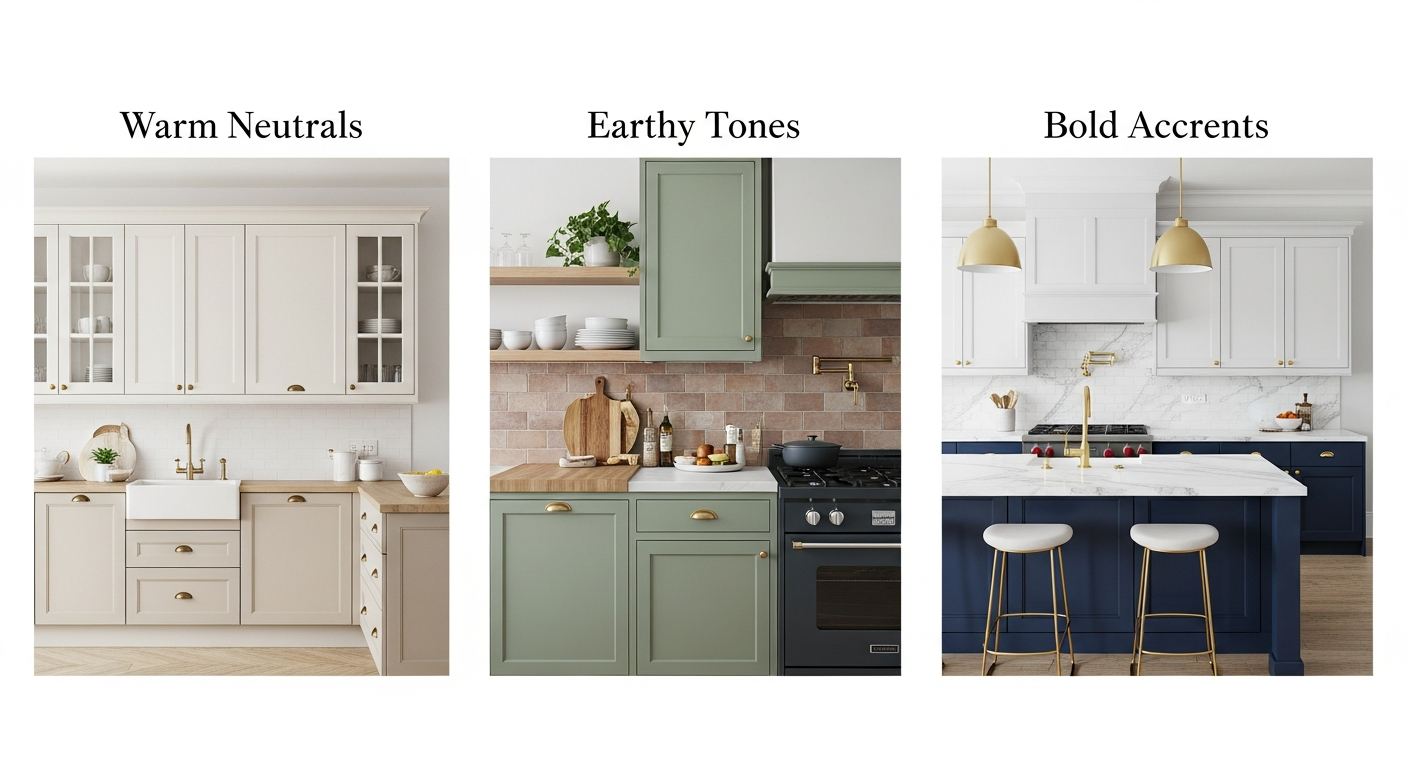
Warm neutrals dominate kitchen design in 2026 — greige (gray-beige), warm white, and cream create versatile foundations that age gracefully. Earthy tones are gaining momentum: sage green cabinets, terracotta accent walls, and warm clay-toned backsplashes bring organic warmth to modern kitchens. Bold accent colors make strategic appearances through navy islands, black hardware, and deep olive cabinetry — powerful when used selectively against neutral backgrounds.
Hardware and Fixture Finishes
Consistency in hardware finishes ties the kitchen together visually. Choose one metal finish — brushed nickel, matte black, brushed gold, or polished chrome — and carry it across cabinet pulls, faucet, light fixtures, and appliance handles. Mixing metals can work when done intentionally (typically pairing two complementary finishes like black and brass), but random mixing across three or four finishes looks disjointed. The current trend favors matte black and brushed gold, but brushed nickel remains the most timeless and versatile choice.
Step 8 — Upgrade Your Lighting
Effective kitchen lighting uses three distinct layers working together. Ambient lighting from ceiling flush mounts or recessed lights provides overall illumination. Task lighting — under-cabinet LED strips for prep areas and pendant lights over the island or sink — eliminates shadows where you need to see clearly. Accent lighting adds personality: in-cabinet LED strips that showcase glassware, toe-kick lights that create a floating effect, and dimmable fixtures that shift the kitchen from work mode to entertaining mode.
The most common kitchen lighting mistake is relying on a single overhead fixture. One central light casts shadows across every work surface, making food prep harder and the room less inviting. Even adding just under-cabinet LED strips — a simple $50-$100 DIY project — dramatically improves both function and atmosphere.
Step 9 — Plan Storage Solutions
Thoughtful storage separates a good kitchen redesign from a great one. Replace fixed lower cabinet shelves with pull-out drawers for easier access to pots, pans, and small appliances. Install lazy susan or half-moon organizers in corner cabinets to eliminate dead space. Add vertical dividers for baking sheets, cutting boards, and serving trays that otherwise stack into inaccessible piles.
Pantry optimization depends on available space. A walk-in pantry (if room allows) provides the most flexible storage with adjustable shelving. A pull-out pantry cabinet works well in narrow spaces, sliding out to reveal six to eight shelves of organized goods. A butler's pantry between the kitchen and dining room serves double duty as storage and serving station. For smaller items, drawer organizers for utensils, spices, and cooking tools keep everyday essentials within reach and clutter-free.
Step 10 — Visualize Before You Commit
One of the most powerful tools available to modern homeowners is AI visualization. Instead of trying to imagine how different cabinet colors, countertop materials, and backsplash patterns will look together, you can see it instantly. Upload your current kitchen photo and apply different styles — modern, farmhouse, transitional — to compare options side by side.
AI-generated visualizations are especially valuable when communicating with contractors. Sharing a photorealistic image of your desired outcome eliminates ambiguity and ensures accurate quotes. Contractors frequently report that clients who provide AI visualizations have fewer change orders and finish projects faster. Try the AI kitchen visualizer or upload your kitchen photo for an instant redesign preview.
Step 11 — Hire Professionals or DIY?
What You Can DIY
Several kitchen redesign tasks are well within reach for most homeowners. Painting cabinets and walls is the highest-impact DIY project, requiring patience and proper prep but no specialized skills. Replacing hardware — knobs, pulls, and handles — is a simple swap that takes an afternoon. Installing peel-and-stick backsplash creates a dramatic visual change without tile-cutting tools. Swapping light fixtures (basic electrical with the breaker off) and adding organizational accessories like pull-out trays and drawer dividers round out the DIY-friendly list.
What Needs a Professional
Some tasks require licensed professionals for safety, code compliance, and quality. Plumbing changes (sink relocation, dishwasher installation, gas line modifications) must be done by a licensed plumber. Electrical work (new circuits, outlet relocation, hardwiring under-cabinet lights) requires a licensed electrician. Countertop fabrication and installation — especially quartz and granite — demands specialized equipment and expertise. Structural changes like removing walls require an engineer's assessment and a qualified contractor. Always get 3+ quotes, verify license and insurance, check references, and review the contractor's portfolio before hiring.
Step 12 — Execute Your Kitchen Redesign
Typical Timeline
A cosmetic kitchen redesign (paint, hardware, backsplash, lighting) typically takes 1-2 weeks. A moderate redesign involving cabinet refacing, new countertops, and flooring runs 3-6 weeks. A major redesign with layout changes, new cabinets, and premium materials can take 6-12 weeks. Add 2-4 weeks for material lead times, especially for custom countertops and special-order cabinets.
Order of Operations
Following the correct sequence prevents rework and damage. Start with demolition and prep, then complete rough-in work (plumbing and electrical if needed). Install cabinets next, followed by countertop templating and fabrication. After countertops are set, install the backsplash, then flooring. Paint walls and trim, then install hardware and fixtures. Appliances go in last, followed by final touches — caulking, touch-up paint, and decoration.
Living Without a Kitchen
Set up a temporary kitchen station in another room with essentials: microwave, coffee maker, electric kettle, cooler with ice, and basic utensils. Budget for additional takeout meals during the renovation period — a realistic allowance prevents frustration and keeps the household running. Protect adjacent rooms from demolition dust with plastic sheeting taped over doorways.
Kitchen Redesign Ideas by Size
Small Kitchen (Under 100 Square Feet)
Small kitchens benefit from light colors that visually expand the space — white or pale gray cabinets with light countertops create an airy feel. Open shelving instead of upper cabinets reduces visual bulk. Compact, counter-depth appliances maintain clean sight lines. Reflective surfaces like glass tile backsplash and polished countertops bounce light throughout the room.
Medium Kitchen (100-200 Square Feet)
Medium kitchens have room for a modest island or peninsula that adds counter space, storage, and casual seating. Dedicated prep and social zones become possible at this size. A pantry wall — either a full pantry cabinet or a section of floor-to-ceiling cabinetry — provides the organized storage that transforms daily cooking from stressful to enjoyable.
Large or Open Kitchen (200+ Square Feet)
Large kitchens support multiple work stations for simultaneous cooking. A generously sized island with seating for four or more becomes the social hub of the home. Walk-in pantries and butler's pantries keep the main kitchen surfaces clutter-free while providing ample storage for small appliances, bulk items, and entertaining supplies. See our complete guide to small kitchen redesign for space-maximizing strategies.
Common Kitchen Redesign Mistakes to Avoid
Mistake 1: Ignoring the work triangle. Poor placement of sink, stove, and refrigerator leads to inefficient workflow and daily frustration. Even a minor redesign should evaluate and improve these relationships.
Mistake 2: Choosing trendy over timeless. Bold design trends date quickly. Invest in classic foundations — neutral cabinets, quality countertops, timeless tile patterns — and add trend through easily changeable accessories like hardware, light fixtures, and textiles.
Mistake 3: Skimping on lighting. Under-lit kitchens feel smaller, make food preparation unsafe, and diminish the visual impact of your other upgrades. Proper layered lighting costs a fraction of cabinets or countertops but transforms the experience of using the space.
Mistake 4: Forgetting ventilation. A proper range hood prevents grease buildup on new cabinets and surfaces, eliminates cooking odors, and controls moisture that can damage materials over time. Size your range hood to match or exceed your cooktop's BTU output.
Mistake 5: Not planning enough storage. Visible clutter ruins even the most beautiful kitchen redesign. Plan storage for every category — utensils, spices, small appliances, baking supplies, cleaning products — before finalizing cabinet layouts.
Mistake 6: Skipping visualization. Committing to materials without seeing how they work together in your specific kitchen leads to costly change orders. AI visualization eliminates this risk entirely — see your choices combined before purchasing anything.
Frequently Asked Questions
How long does a kitchen redesign take?
A kitchen redesign takes 1-12 weeks depending on scope. A cosmetic refresh (paint, hardware, backsplash) takes 1-2 weeks. A moderate redesign with cabinet refacing and new countertops takes 3-6 weeks. A major redesign with layout changes can take 6-12 weeks. Always add 2 weeks for material lead times, especially for custom countertops.
Can I redesign my kitchen without replacing cabinets?
Yes, you can transform your kitchen without replacing cabinets. Cabinet refacing, painting, new hardware, and adding organizational inserts can dramatically change the look and function for $2,000-$9,000 — compared to $12,000-$30,000+ for full replacement. Learn more about cabinet update options.
What is the cheapest way to redesign a kitchen?
The most affordable kitchen redesign focuses on paint, hardware, and lighting — three changes that cost under $1,000 combined but create the most visual impact. Add a peel-and-stick backsplash ($100-$300) and new cabinet pulls ($50-$200) for a complete refresh under $1,500.
Do I need a permit to redesign my kitchen?
Cosmetic kitchen redesigns (painting, hardware, backsplash, countertop replacement) typically do not require permits. However, any plumbing relocation, electrical circuit additions, gas line changes, or structural modifications require permits in most jurisdictions. Check with your local building department before starting work that involves utilities.
What adds the most value to a kitchen redesign?
Cabinet updates, countertop replacement, and updated hardware deliver the highest return on investment. According to Remodeling Magazine's Cost vs. Value report, a minor kitchen remodel recoups 71-81% of its cost at resale. Focus on quality materials in high-visibility areas — countertops, backsplash, and cabinet fronts.
How can I see what my kitchen redesign will look like before starting?
AI visualization tools let you upload a photo of your current kitchen and see photorealistic previews of different styles, colors, and materials instantly. HanoDecor's kitchen remodel tool generates multiple design options in seconds, helping you compare before committing to materials and contractors.
Visualize Your Kitchen Redesign with HanoDecor
Based on our analysis of 1,000+ kitchen redesigns, we have found that homeowners who visualize their kitchen changes before committing save an average of 20% on their project by avoiding costly mid-project changes. Seeing your cabinet color, countertop material, and backsplash pattern together — in your actual kitchen — eliminates guesswork and builds confidence.
Ready to see your kitchen transformed? Start your free kitchen redesign visualization — upload a photo, select a style, and see instant results. No credit card required. Browse hundreds of kitchen design ideas for inspiration, or see HanoDecor pricing and free tier for plan details.
Related Articles
Dive deeper into specific kitchen redesign topics with these comprehensive guides:
How to Redesign Your Kitchen Layout: 7 Proven Flow Optimization Tips
How Much Does It Cost to Redesign a Kitchen? 2026 Complete Price Guide
How to Redesign a Small Kitchen: 10 Brilliant Space-Saving Ideas
How to Redesign Kitchen Cabinets: 8 Affordable Ideas Without Replacing
How to Redesign an Apartment Kitchen: 9 Brilliant Renter-Friendly Ideas
How to Redesign a Kitchen Island: 8 Smart Ideas for Function and Style
How to Redesign Kitchen Countertops: 2026 Materials and Cost Comparison
How to Redesign a Kitchen FAQs
Written by
Emily Rodriguez
Interior Design Editor covering living spaces, styling trends, and room makeovers. Former Architectural Digest contributor with a focus on accessible, budget-conscious design.