How to Remodel a Shower: Complete Tear-Out to Tile Guide
Quick Summary
A comprehensive step-by-step guide to shower remodeling covering demolition, framing inspection, waterproofing membrane installation, shower pan construction, tile layout and installation, grout and sealing, and fixture mounting. Includes cost breakdowns, timeline estimates, and DIY vs. professional guidance.
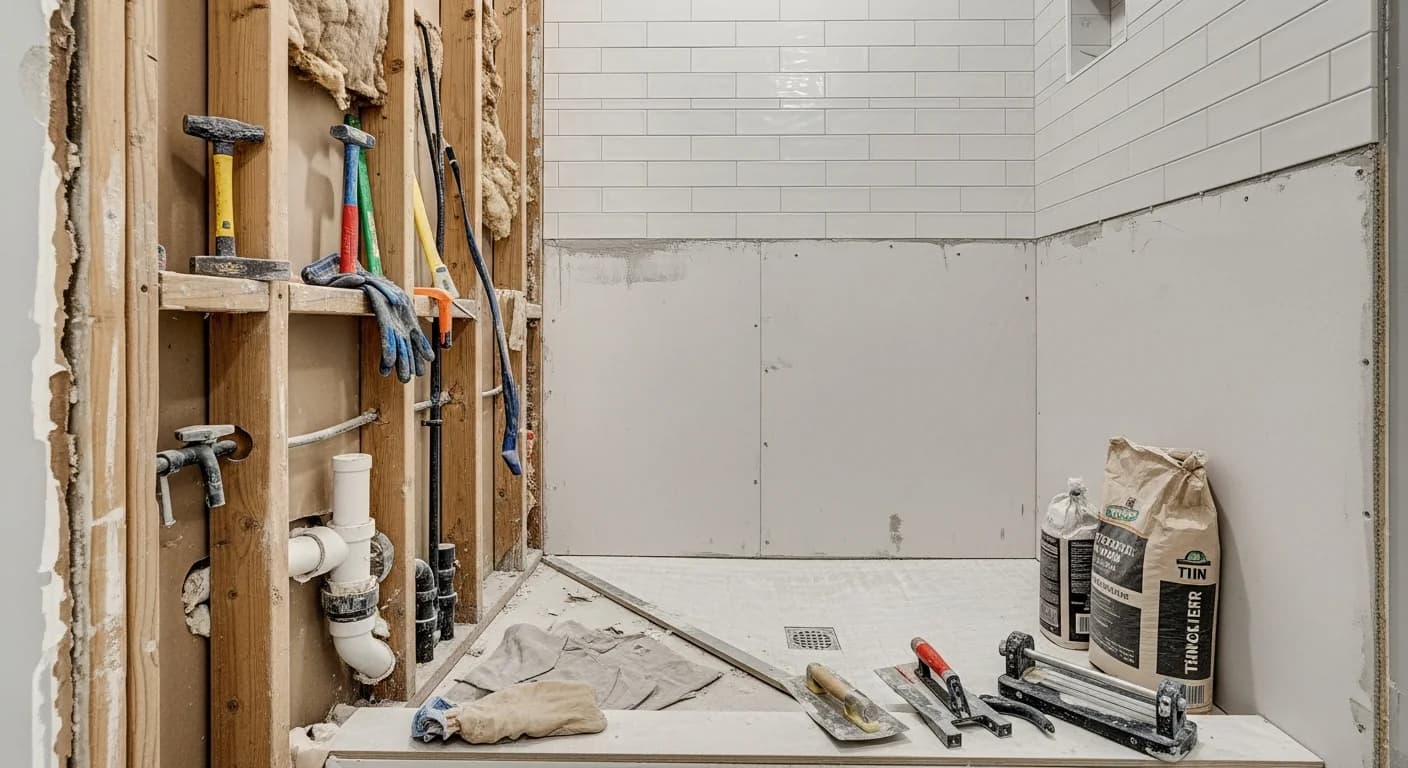
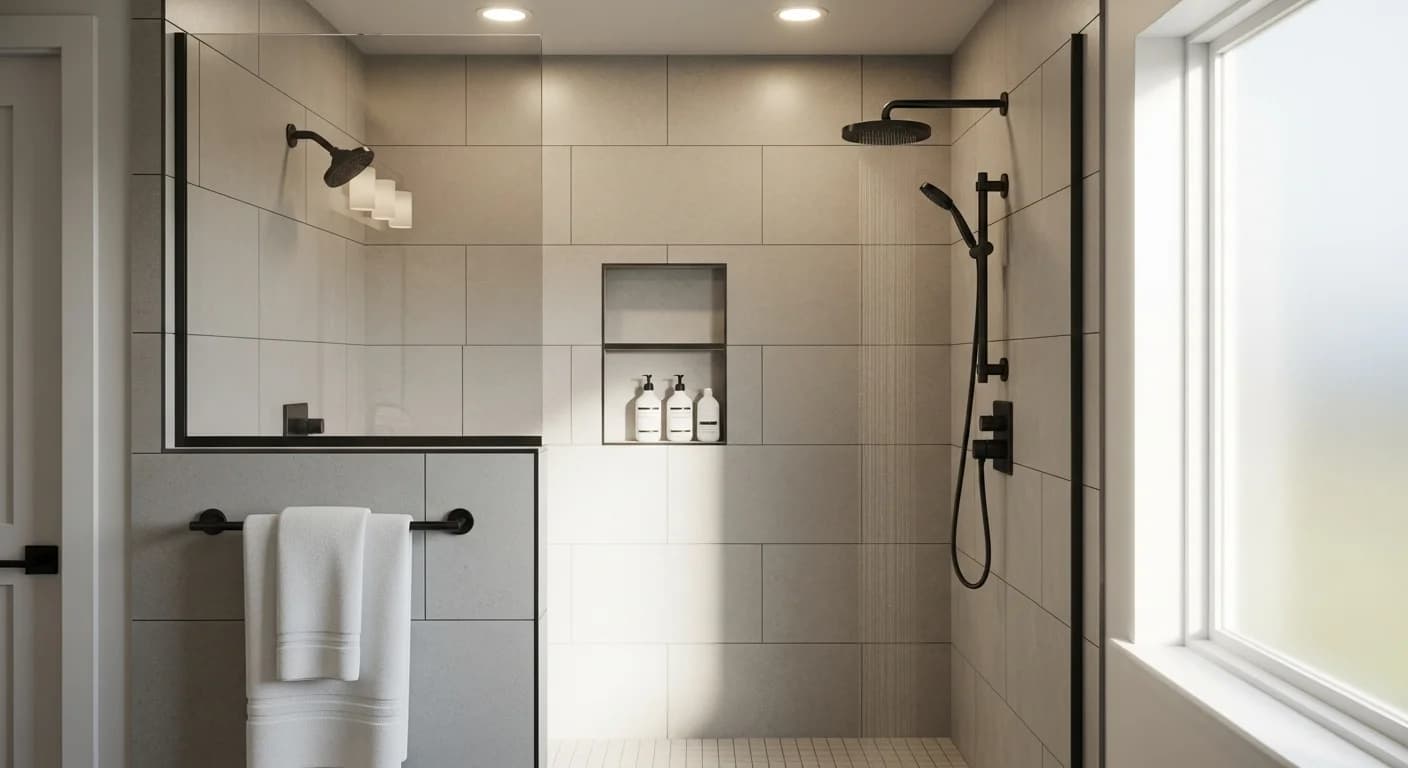
Learning how to remodel a shower is one of the most impactful bathroom upgrades you can undertake, transforming a dated or deteriorating shower into a watertight, visually stunning enclosure. Whether you are replacing a cracked fiberglass insert with custom tile, converting a tub-shower combo into a walk-in shower, or upgrading an aging tile surround, the process follows the same fundamental sequence: demolition, framing and plumbing prep, waterproofing, pan installation, tile work, grouting, and fixture mounting.
The average shower remodel costs between $3,000 and $15,000 depending on size, materials, and labor market. A basic prefabricated shower insert replacement runs $1,500 to $3,500, while a custom tile shower with a linear drain and frameless glass enclosure can reach $8,000 to $20,000. Understanding each construction phase helps you set realistic expectations, communicate effectively with contractors, and avoid the moisture problems that plague poorly executed shower renovations.
Phase 1 — Demolition and Tear-Out
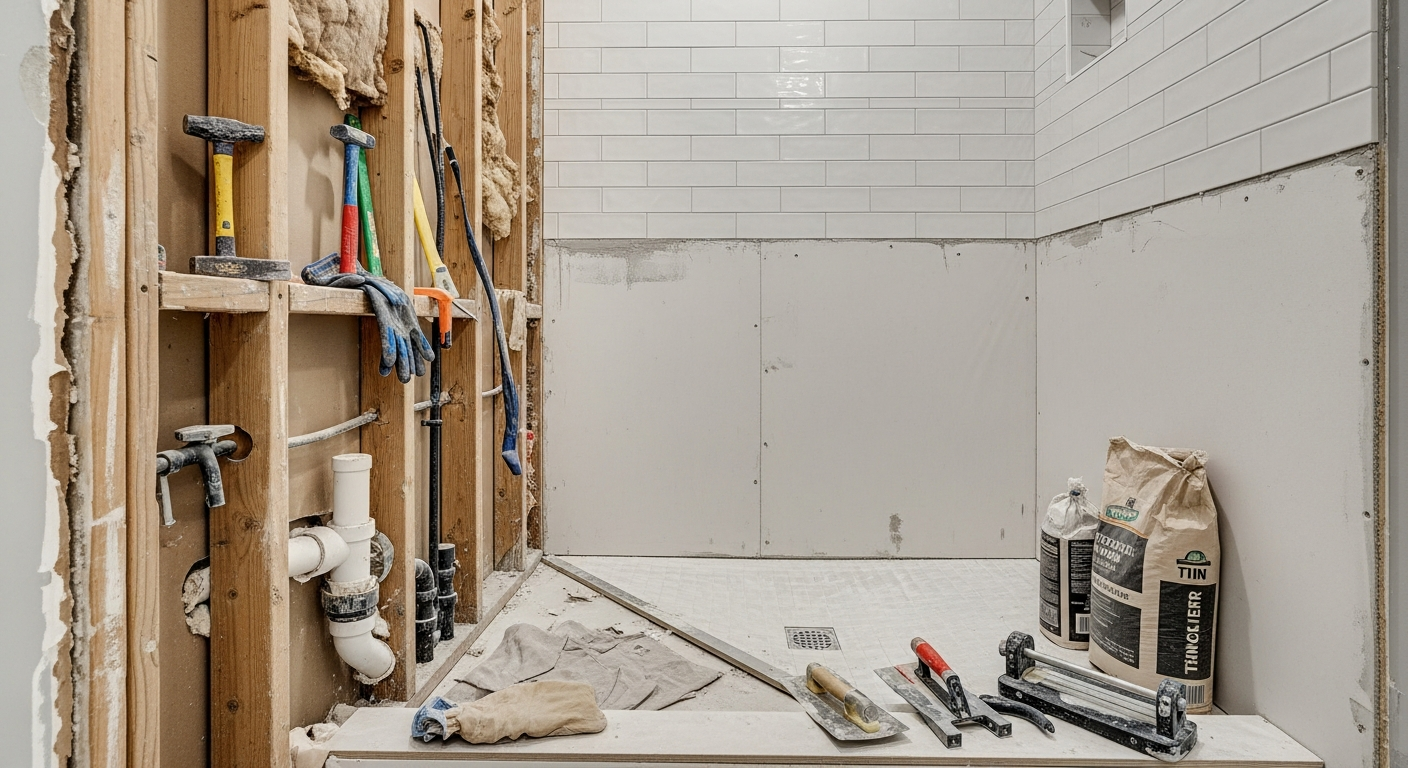
Shower demolition begins with shutting off the water supply and removing fixtures: showerhead, handles, diverter valve, and drain cover. For fiberglass or acrylic inserts, cut the unit into manageable sections with a reciprocating saw. For existing tile, use a rotary hammer or hammer and cold chisel to remove tiles and the cement board or mortar bed beneath them. Demolition generates significant debris — a typical shower tear-out produces 500 to 800 pounds of material that requires proper disposal.
Safety equipment is essential during demolition: wear safety goggles, an N95 respirator mask, heavy work gloves, and ear protection. Homes built before 1980 may contain asbestos in old mortar beds or lead paint on surfaces — have suspect materials tested before disturbing them. Once demolition is complete, inspect the exposed framing for water damage, rot, or mold. Damaged studs or blocking must be repaired or replaced before any new construction begins.
Phase 2 — Framing, Plumbing, and Rough-In Work
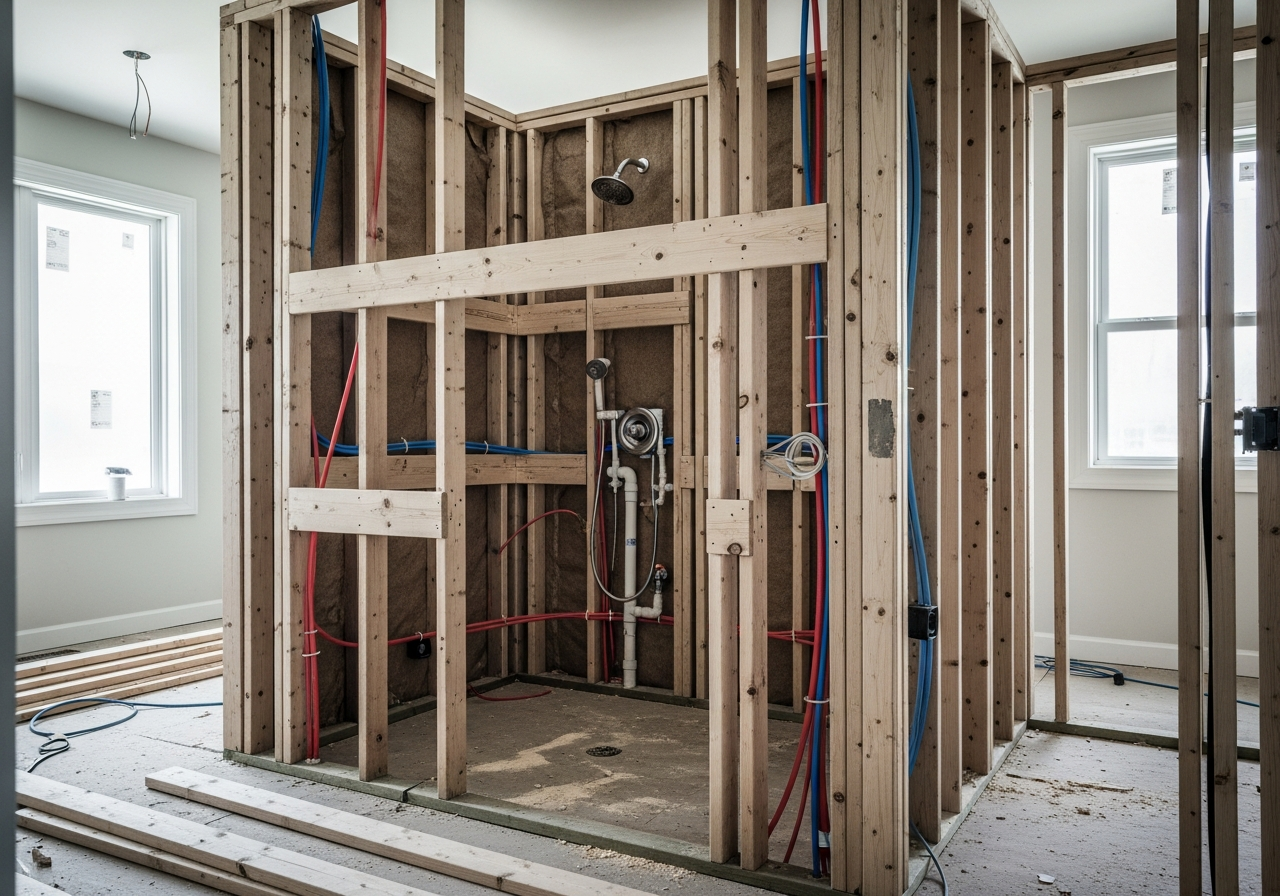
With the shower cavity exposed, verify that the framing is plumb, square, and structurally sound. Add blocking between studs at the height where grab bars, shower shelves, and glass enclosure brackets will mount — standard blocking is placed at 34 and 48 inches above the finished floor. This is also the time to relocate or upgrade plumbing: replace galvanized pipes with copper or PEX, upgrade to a thermostatic mixing valve for scald protection, and install the drain assembly at the correct position for your new shower pan.
If you are converting a tub to a walk-in shower, the drain location almost certainly needs to move. Relocating a shower drain involves cutting into the subfloor and modifying the drain line — a task that requires a licensed plumber in most jurisdictions. The rough-in inspection happens after plumbing and any electrical work (for recessed lighting, exhaust fans, or steam generators) is completed but before walls are closed up. Schedule this inspection before proceeding to waterproofing.
Phase 3 — Waterproofing the Shower Enclosure
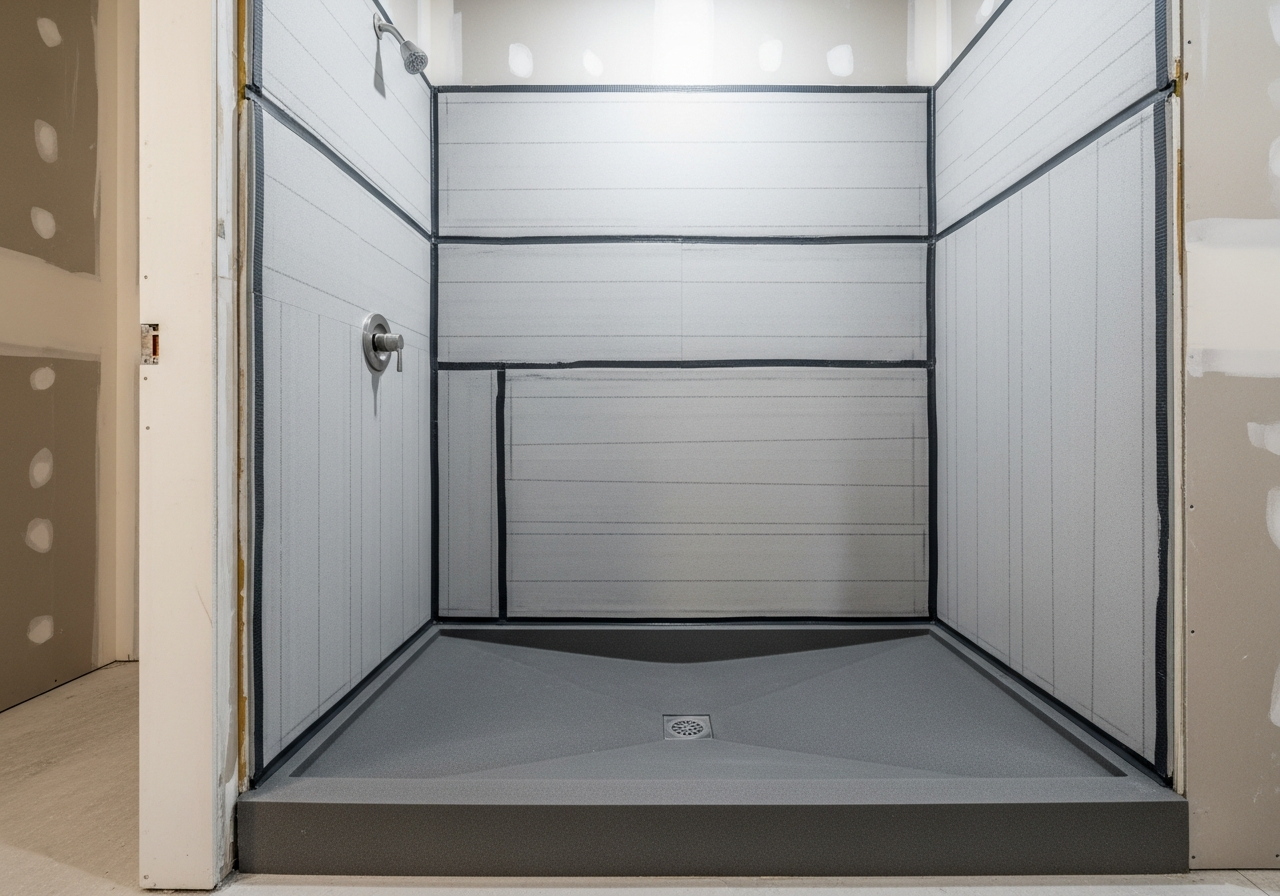
Waterproofing is the most critical step in any shower remodel — failures here lead to mold, structural rot, and costly repairs that far exceed the original remodel cost. Modern shower waterproofing uses one of two primary systems: sheet membranes (like Schluter Kerdi) that bond directly to cement board, or liquid-applied membranes (like RedGard or Hydroban) that are rolled or troweled onto surfaces in multiple coats. Both systems create a continuous waterproof barrier behind the tile.
Install cement backer board (HardieBacker or Durock) over the studs using cement board screws spaced 8 inches apart. Tape all seams with alkali-resistant mesh tape embedded in thinset. Then apply your chosen waterproofing membrane to every surface that will receive tile, including the ceiling if you are tiling overhead. Pay special attention to corners, seams, and penetrations around the valve body and showerhead pipe — these are the most common failure points. A flood test of 24 to 48 hours after waterproofing confirms the pan is watertight before tiling begins.
Phase 4 — Shower Pan and Drain Installation
The shower pan — the sloped floor that directs water to the drain — can be built using a traditional mortar bed, a prefabricated foam pan (like Schluter Kerdi-Shower-ST), or a pre-sloped tray. Mortar bed pans require skilled installation to achieve the correct 1/4-inch per foot slope toward the drain. Foam pans arrive pre-sloped and bond directly to the waterproofing membrane, reducing installation time and error risk.
Drain selection affects both aesthetics and function. Standard center drains are the most common and least expensive ($30 to $100). Linear drains run along one wall and allow large-format floor tiles without cutting — they cost $150 to $600 but create a sleek, modern look. Infinity or trench drains integrate with curbless shower designs for accessible or European-style wet rooms. Ensure the drain connects properly to the waste line with a watertight seal, and verify adequate slope with a level before proceeding to tile.
| Shower Component | DIY Cost | Professional Cost | Timeline |
|---|---|---|---|
| Demolition & Tear-Out | $100–$300 | $500–$1,200 | 1 day |
| Plumbing Rough-In | N/A (licensed) | $800–$2,500 | 1–2 days |
| Waterproofing | $200–$500 | $600–$1,500 | 1–2 days |
| Shower Pan | $150–$600 | $400–$1,200 | 1 day |
| Tile Installation | $300–$1,200 | $1,500–$4,000 | 2–4 days |
| Glass Enclosure | $300–$800 | $800–$3,000 | 1 day |
| Fixtures & Trim | $200–$800 | $400–$1,200 | 0.5 day |
Phase 5 — Tile Layout, Cutting, and Installation
Tile installation transforms the waterproofed enclosure into a finished shower. Start by dry-laying tiles on the floor to determine the optimal layout — aim to avoid narrow sliver cuts at the edges by centering your layout and adjusting the starting point. On walls, work from the bottom up, starting with the second row above the finished floor height (the bottom row is cut to fit last). Use a laser level to establish perfectly horizontal reference lines, as floors and ceilings are rarely perfectly level.
Apply modified thinset mortar to the substrate with a notched trowel (1/4-inch square notch for most wall tiles, 1/2-inch for large-format tiles). Back-butter tiles larger than 12 inches to ensure 95% mortar coverage — inadequate coverage behind tiles in wet areas leads to hollow spots where moisture accumulates. Use tile spacers (1/16-inch to 1/8-inch depending on your grout joint preference) to maintain consistent spacing. Allow thinset to cure for 24 hours before grouting.
Popular shower tile choices include porcelain (durable, low maintenance, $3 to $15 per square foot), ceramic (budget-friendly, $1 to $10 per square foot), natural stone like marble or slate ($10 to $50 per square foot), and glass mosaic ($15 to $40 per square foot for accent borders). For the shower floor, select tiles with adequate slip resistance — look for a Dynamic Coefficient of Friction (DCOF) rating of 0.42 or higher. Smaller tiles like 2x2 mosaics conform better to the shower floor slope than large-format tiles.
Phase 6 — Grouting, Sealing, and Caulking
Grout fills the joints between tiles and provides a finished appearance. For shower applications, use unsanded grout for joints narrower than 1/8-inch and sanded grout for wider joints. Epoxy grout offers superior water resistance and stain protection — ideal for showers — but is more difficult to work with and costs 2 to 3 times more than cement-based grout. Apply grout with a rubber float held at a 45-degree angle, pressing firmly to fill joints completely.
After grout cures for 72 hours, apply a penetrating grout sealer to cement-based grout (epoxy grout does not need sealing). Use 100% silicone caulk — not grout — at all change-of-plane transitions: where walls meet floors, where walls meet each other in corners, and around the valve trim plate and showerhead escutcheon. Silicone accommodates the slight movement between different surfaces that would crack rigid grout. Choose a caulk color that matches your grout for a seamless appearance.
Phase 7 — Fixture Mounting and Glass Enclosure
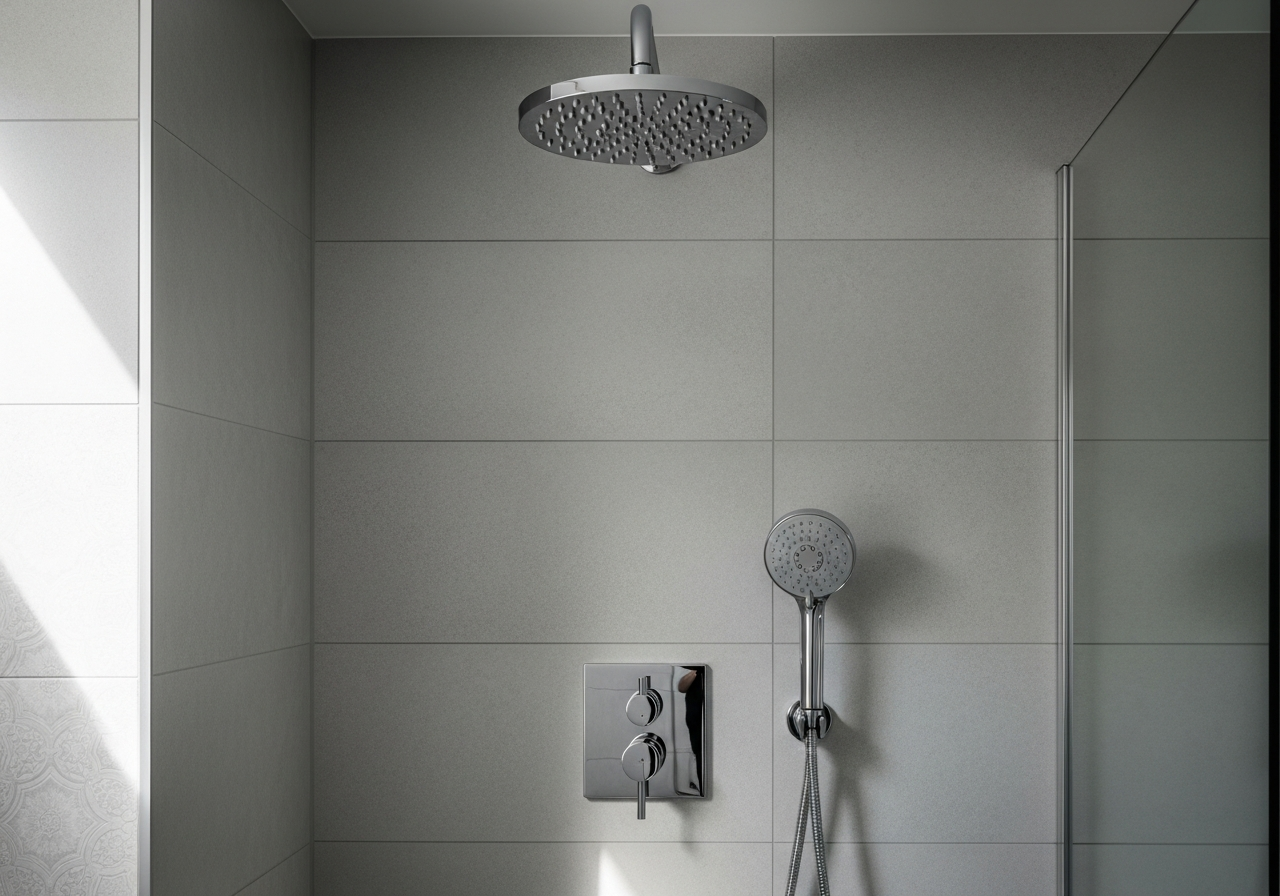
The final construction phase installs the visible hardware: showerhead and arm, valve trim plate and handle, shower shelf or niche trim, and the glass enclosure or shower door. Mount fixtures according to manufacturer instructions, applying thread seal tape to all threaded connections. Standard showerhead height is 78 to 84 inches from the finished floor, though rain showerheads mount on the ceiling or at 84 to 96 inches. Handheld showerheads on slide bars provide adjustable height for households with varying needs.
Glass enclosure options range from frameless (most expensive at $800 to $3,000 but sleek and modern), semi-frameless ($500 to $1,500), to framed ($300 to $800). Frameless glass requires precise measurements taken after tile is complete — order glass 2 to 3 weeks before you need it installed. For a budget-friendly alternative, a curved tension rod with a weighted shower curtain costs under $100 and can look surprisingly polished in the right setting. Explore shower design options with our AI bathroom remodel tool.
DIY vs. Professional Shower Remodel
A shower remodel involves specialized skills that span multiple trades. Experienced DIYers can handle demolition, cement board installation, waterproofing, and tile work — saving $2,000 to $6,000 in labor costs. However, plumbing modifications require a licensed plumber in most jurisdictions, and improper waterproofing leads to mold and structural damage that costs far more to fix than the original remodel. If you have never installed a waterproofing membrane or built a shower pan, this is not the project to learn on.
Professional tile installers charge $6 to $15 per square foot for shower tile work, which includes surface preparation, thinset application, tile cutting and setting, and grouting. A professional plumber for rough-in work costs $800 to $2,500 depending on scope. For a detailed cost breakdown, see our guide on shower remodel costs. If budget is your primary concern, explore our tips for a budget bathroom remodel.
Frequently Asked Questions
How long does it take to remodel a shower?
A complete shower remodel typically takes 5 to 10 working days from demolition to finished fixtures. The timeline breaks down as follows: 1 day for demolition, 1 to 2 days for plumbing and framing, 1 to 2 days for waterproofing and curing, 1 day for the shower pan, 2 to 4 days for tiling, 1 day for grouting and caulking, and 1 day for fixture installation and glass enclosure. Add 2 to 3 weeks for custom glass fabrication lead time after tile is complete.
Can I tile over existing shower tile?
Tiling over existing tile is possible but rarely recommended for shower enclosures. The added thickness reduces interior shower dimensions, and the bond between old and new tile may fail in a wet environment. More importantly, you cannot verify the waterproofing integrity behind existing tile without removing it. A complete tear-out and rebuild costs more upfront but ensures a watertight, long-lasting result that prevents mold and structural damage.
What is the best waterproofing system for a shower?
Sheet membrane systems like Schluter Kerdi are the most reliable for DIYers because they provide a consistent thickness and are less prone to application errors. Liquid-applied membranes like Laticrete Hydroban or Custom Building Products RedGard are more affordable and easier to apply around complex shapes but require even, sufficient thickness (typically 2 to 3 coats). Both systems perform well when installed correctly — the key is complete, continuous coverage with properly sealed seams and penetrations.
Should I choose a curbed or curbless shower?
Curbless showers provide a seamless, accessible entry and are ideal for aging-in-place design, wheelchair access, and contemporary aesthetics. However, they require a perfectly sloped floor, precise waterproofing, and typically a linear drain along one wall. Curbed showers are more forgiving to build and contain water more reliably. Choose curbless if accessibility is a priority or you want a modern wet-room look; choose curbed for easier construction and better water containment in smaller bathrooms.
What tile size is best for shower floors?
Small-format tiles like 2x2-inch or 1-inch hexagon mosaics are the best choice for shower floors because they conform to the slope toward the drain without excessive lippage. Larger tiles (4x4 and above) resist the curved slope and create trip hazards at the tile edges. Mosaic sheets also provide more grout lines, which increases slip resistance. For shower walls, you can use any size — large-format tiles like 12x24 create fewer grout lines and a cleaner, more spacious appearance.
Related Articles
Explore more bathroom remodel guides: complete bathroom remodel construction guide, small bathroom remodel strategies, bathroom tile design ideas, and bathroom remodel design guide.
Preview Your New Shower Design with HanoDecor
Before you start demolition, see what your remodeled shower could look like. Upload a photo of your current bathroom to the AI Bathroom Remodel tool and preview tile patterns, fixture styles, and glass enclosure options in seconds. Visualize walk-in showers, tub-to-shower conversions, and custom tile designs without committing to materials.
Browse our bathroom design ideas gallery for hundreds of completed shower remodel examples, or explore the full design gallery for inspiration across every room in your home.
How to Remodel a Shower FAQs
Written by
Emily Rodriguez
Interior Design Editor covering living spaces, styling trends, and room makeovers. Former Architectural Digest contributor with a focus on accessible, budget-conscious design.