How to Design a Kitchen Remodel: Layout, Flow, and Function
Quick Summary
A comprehensive guide to designing a kitchen remodel covering work triangle principles, five-zone kitchen planning, cabinet layout strategies, appliance placement rules, countertop workflow optimization, storage maximization, lighting layers, and flooring selection with cost comparisons and professional tips.
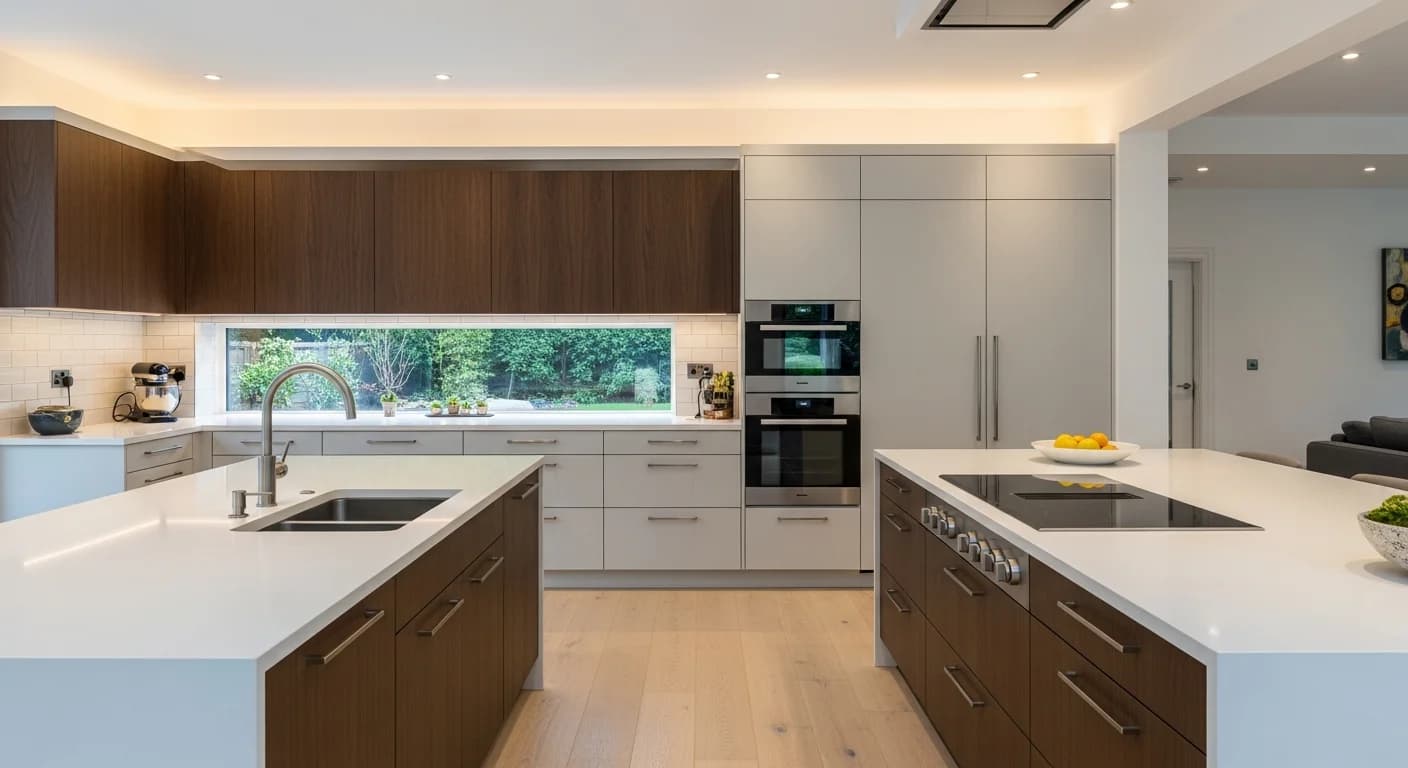
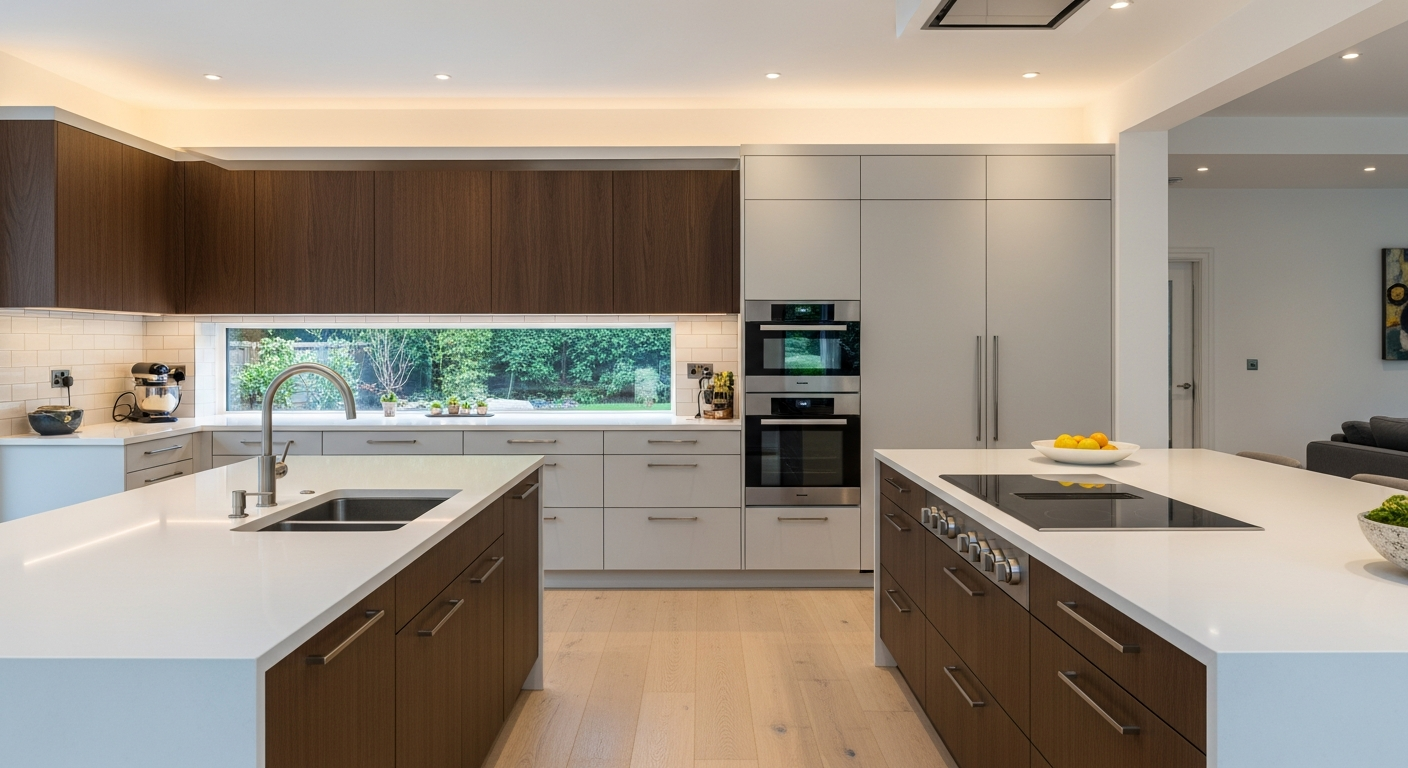
Understanding how to design a kitchen remodel is the critical step between a wish list and a finished space that actually works. The design phase determines every downstream decision — from where your sink sits to how cabinet doors swing — and a poorly designed kitchen layout costs far more to fix after construction than getting it right on paper. According to the National Kitchen and Bath Association, homeowners who invest adequate time in the design phase report 68% higher satisfaction with their completed remodel.
Kitchen design has evolved dramatically from the simple work triangle concept of the 1940s to modern zone-based planning that accounts for multiple cooks, integrated technology, and open-concept living. Whether you are reconfiguring an outdated galley kitchen or optimizing a spacious L-shaped layout, this guide walks you through every element of kitchen remodel design — from traffic flow and appliance placement to cabinet configuration, countertop materials, lighting layers, and storage solutions. The average kitchen remodel costs between $25,000 and $75,000, and thoughtful design ensures every dollar delivers maximum functionality.
The Work Triangle vs. Modern Zone Planning
The classic kitchen work triangle connects the refrigerator, sink, and cooktop in a triangular path designed to minimize steps during meal preparation. Each leg of the triangle should measure between 4 and 9 feet, with a total perimeter of 13 to 26 feet. No major traffic path should cross through the triangle. While this principle remains useful for single-cook kitchens, modern households often have two people cooking simultaneously, making the traditional triangle insufficient as a sole planning framework.
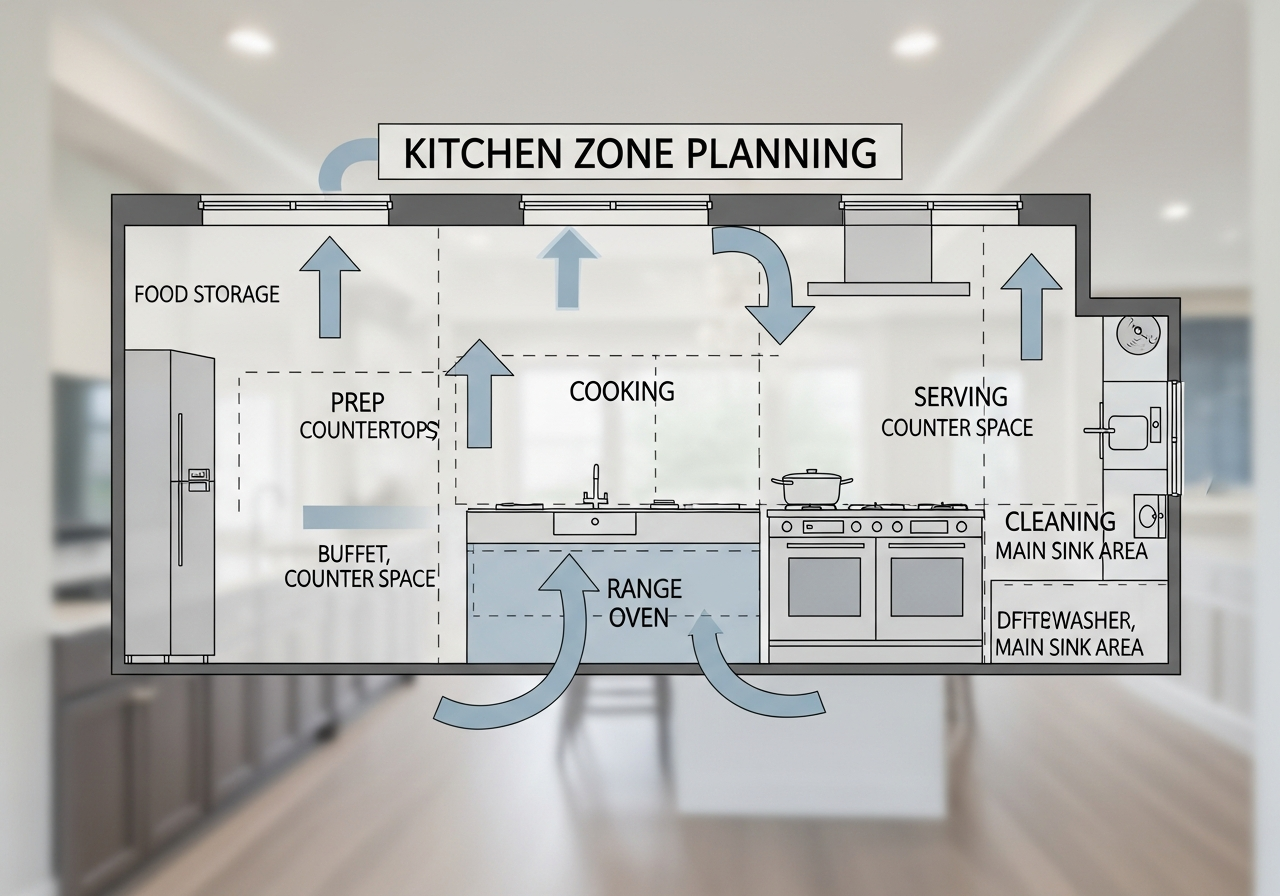
Zone-based kitchen design divides the kitchen into five functional zones: consumables storage (pantry and refrigerator), non-consumables storage (dishes, glasses, and utensils), cleaning zone (sink and dishwasher), preparation zone (countertops and cutting boards), and cooking zone (range, oven, and microwave). Each zone should have dedicated counter space, storage, and task lighting. This approach works for any layout shape — galley, L-shaped, U-shaped, or island configurations — and accommodates multiple users without traffic collisions. For a complete remodel overview, see our kitchen remodel guide.
Choosing the Right Kitchen Layout Shape
Your kitchen's footprint largely dictates which layout shape works best. Galley kitchens (two parallel walls) maximize efficiency in narrow spaces of 7 to 12 feet wide and keep everything within arm's reach. L-shaped layouts work well in open-concept homes by leaving two walls open and creating a natural work triangle along the perpendicular counters. U-shaped kitchens offer the most counter and cabinet space but require at least 10 feet of width between opposing runs to maintain comfortable clearance.
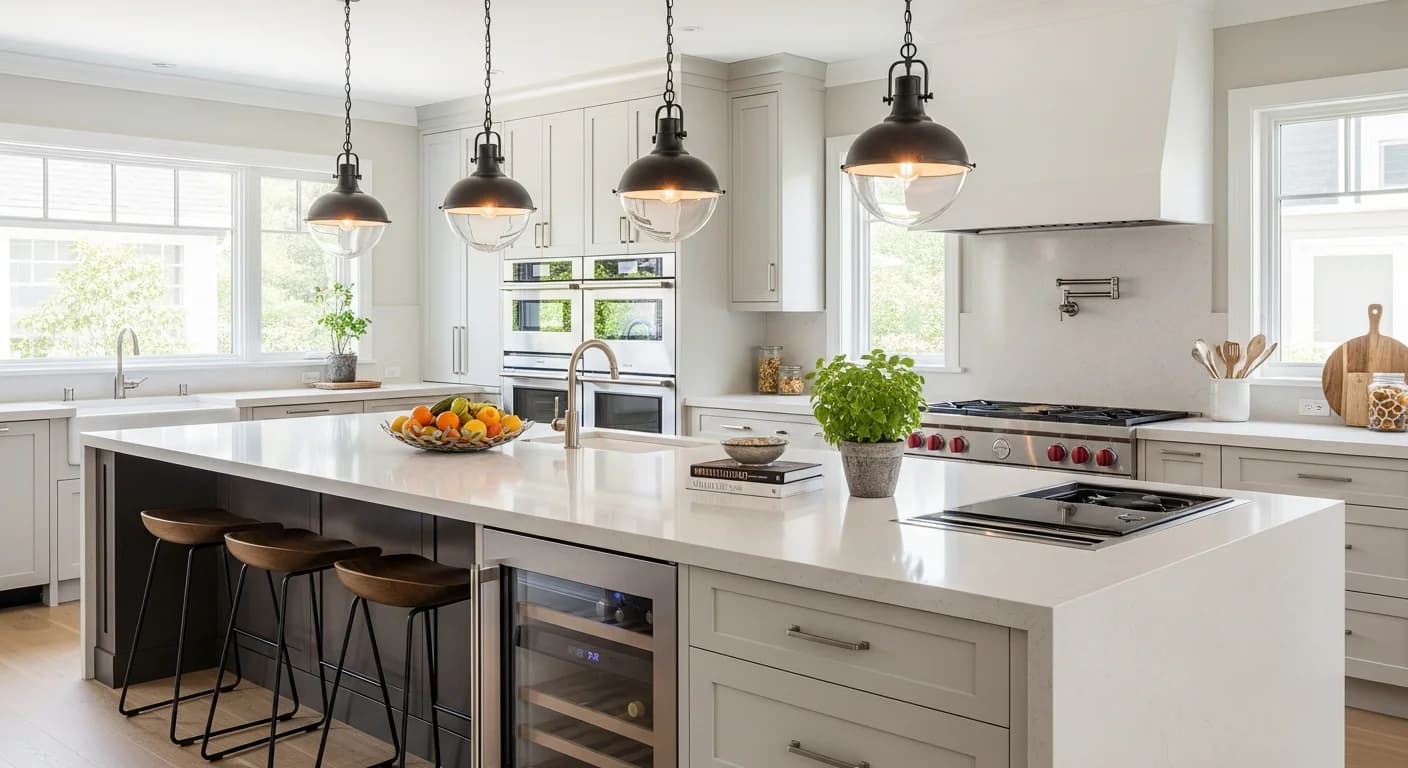
Island and peninsula configurations add prep space, seating, and storage to L-shaped or single-wall layouts. A functional kitchen island needs a minimum footprint of 4 feet by 2 feet, with 42 to 48 inches of clearance on all walkway sides. Peninsula layouts achieve similar benefits without requiring as much floor area. When planning your layout shape, consider traffic patterns through the kitchen — the path from the garage entry to the living room should not force people to walk through the primary work zone. Explore layout inspiration in our kitchen ideas gallery.
| Layout Shape | Best Room Size | Counter Space | Ideal For | Average Cost Premium |
|---|---|---|---|---|
| Galley | 7–12 ft wide | Moderate | Small homes, single cook | Baseline |
| L-Shaped | 10×10 ft+ | Good | Open-concept, entertaining | +5–10% |
| U-Shaped | 10×12 ft+ | Excellent | Serious cooks, max storage | +10–15% |
| Island | 12×14 ft+ | Excellent | Multi-cook, casual seating | +15–25% |
| Peninsula | 10×12 ft+ | Very Good | Defined boundary, bar seating | +8–12% |
Cabinet Layout and Door Swing Strategy
Cabinets consume 30 to 40% of a typical kitchen remodel budget, so their layout demands careful planning. Start by mapping every item you currently store in the kitchen, then group them by zone. Everyday dishes belong near the dishwasher for easy unloading. Pots and pans should live within two steps of the cooktop. Baking supplies cluster near the largest stretch of counter space. This zone-based approach eliminates the frustration of walking across the kitchen to retrieve items used together.
Door swing direction matters more than most homeowners realize. Cabinet doors should open away from adjacent appliances and not block traffic paths when fully extended. Drawer-base cabinets provide 30% more accessible storage than traditional door-and-shelf bases because you can see and reach the full depth without crouching. Plan for at least one bank of deep drawers near the range for pots and lids, and install vertical tray dividers beside the oven for baking sheets and cutting boards. For budget-friendly cabinet options, read our guide on cabinet refacing versus replacing.
Appliance Placement and Clearance Rules
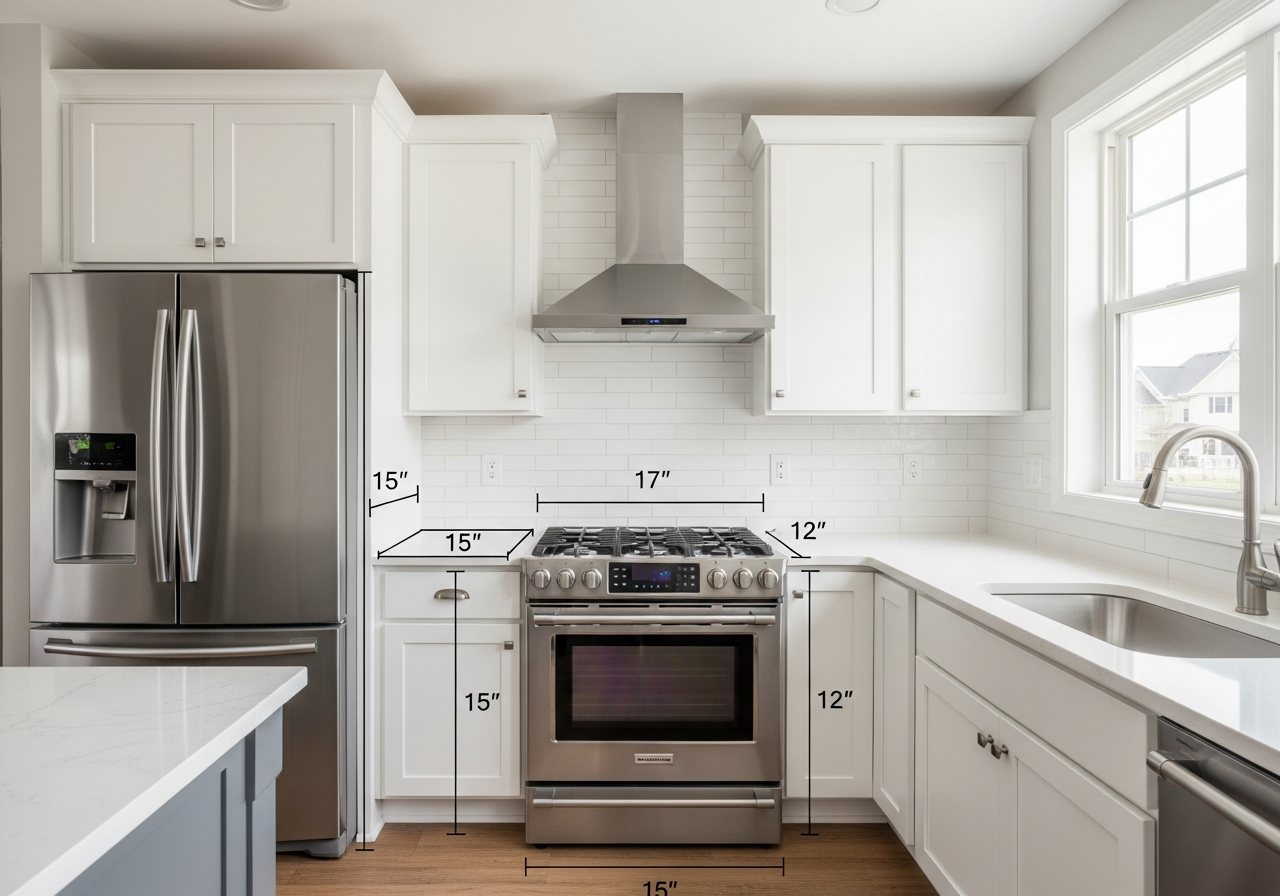
Appliance placement follows strict clearance requirements that affect both safety and convenience. The refrigerator needs at least 15 inches of adjacent counter space on the handle side for setting down groceries. The range requires a minimum of 15 inches of counter on one side and 12 inches on the other, with no window directly behind a gas burner. The dishwasher should sit within 36 inches of the sink to simplify the rinse-and-load workflow, and its door should not block access to the sink or range when open.
Microwave placement has shifted in recent years from above-range to drawer-style units installed in the island or lower cabinetry for accessibility. Wall ovens at counter height eliminate bending and create a dedicated baking zone away from the cooktop. When selecting appliance sizes, measure doorways, hallways, and stairwells along the delivery path to ensure your 36-inch professional range can actually reach the kitchen. Allow 1 to 2 inches of clearance on each side of built-in appliances for ventilation and door swing. For overall planning guidance, see our kitchen remodel planning guide.
Countertop Layout and Workflow Optimization
Counter space is the most requested feature in kitchen remodels, yet many designs waste countertop footage in areas where it is rarely used. Prioritize continuous counter runs of at least 36 inches beside the sink and cooktop — these are your primary prep zones. A 24-inch landing zone beside the refrigerator handles grocery staging. Island countertops should extend at least 12 inches beyond the base cabinets on the seating side to create a comfortable overhang for bar stools.
Countertop material selection affects both aesthetics and function. Quartz offers the best combination of durability, stain resistance, and low maintenance at $50 to $120 per square foot installed. Granite remains popular at $40 to $100 per square foot but requires annual sealing. Butcher block provides warmth and a natural cutting surface at $30 to $80 per square foot but needs regular oiling. Consider using different materials for different zones — quartz for primary prep areas and butcher block for the island — to add visual interest while optimizing function. For cost estimation help, visit our kitchen remodel cost estimator.
Storage Maximization Strategies
Modern kitchen design maximizes every cubic inch of available storage through pull-out shelves, lazy Susans, vertical dividers, and specialized inserts. Corner cabinets — traditionally dead space — gain 40 to 60% more usable storage with super-Susan or pull-out tray systems. Toe-kick drawers beneath base cabinets capture an otherwise wasted 4-inch gap for storing baking sheets, serving platters, and seasonal items. Tall pantry cabinets with pull-out shelving at full-extension provide twice the accessible storage of fixed-shelf pantries.
Wall-mounted pot racks, magnetic knife strips, and under-cabinet spice racks keep frequently used items visible and accessible without consuming cabinet space. If your layout includes an island, dedicate at least one side to open shelving or glass-front cabinets for displaying cookbooks and decorative pieces. The goal is to store items at the point of first use — a design principle called adjacency planning — so you never walk more than two steps to grab what you need during food preparation.
Lighting Design for Kitchen Functionality
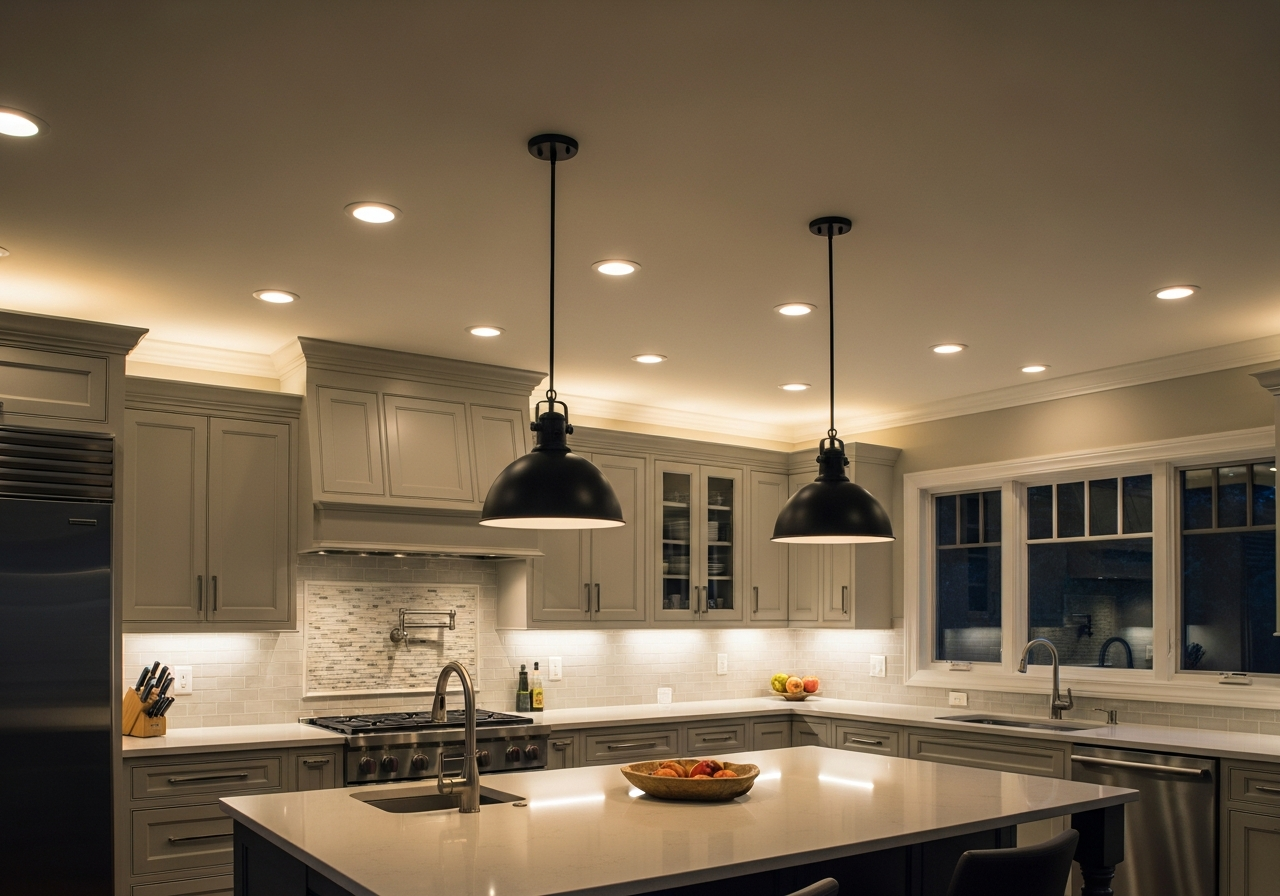
Kitchen lighting requires three layers working together: ambient lighting provides overall illumination, task lighting brightens specific work surfaces, and accent lighting adds atmosphere. Under-cabinet LED strips are the single most impactful kitchen lighting upgrade, illuminating countertop prep areas that overhead fixtures leave in shadow. Install them toward the front edge of upper cabinets, not against the wall, to project light where your hands work. Pendant lights over islands should hang 30 to 36 inches above the counter and space 24 to 30 inches apart.
Recessed can lights on a 4-foot grid provide even ambient coverage for kitchens up to 200 square feet. Larger kitchens benefit from combining recessed lighting with a decorative flush-mount or semi-flush fixture over the main work area. All kitchen lighting should use 3000K to 3500K color temperature for a warm but accurate rendering of food colors. Install dimmer switches on ambient circuits so the kitchen can transition from bright task mode during cooking to softer atmospheric lighting during entertaining. Learn more in our lighting layers guide.
Flooring Selection and Transition Planning
Kitchen flooring must withstand heavy foot traffic, spills, dropped utensils, and standing for extended periods. Luxury vinyl plank has become the top choice for kitchen remodels, offering waterproof durability, comfort underfoot, and realistic wood-look finishes at $3 to $7 per square foot installed. Porcelain tile provides superior scratch resistance and unlimited design options at $6 to $15 per square foot but feels harder underfoot and costs more to install. Engineered hardwood brings warmth and natural beauty at $8 to $14 per square foot, though it requires prompt spill cleanup to prevent water damage.
Plan floor transitions carefully when the kitchen opens to adjacent rooms with different flooring materials. Flush transitions between same-height flooring create the cleanest look and safest walking surface. If your kitchen floor height differs from adjoining rooms, a reducer strip or beveled transition prevents tripping hazards. In open-concept homes, running the same flooring material continuously from the kitchen through the living and dining areas visually expands the space and eliminates transition strips entirely.
Using Technology to Visualize Your Design
AI-powered design tools have transformed kitchen planning by allowing homeowners to visualize layouts, materials, and color combinations before committing to purchases. Upload a photo of your existing kitchen to see how different cabinet styles, countertop materials, and color schemes look in your actual space. These tools help bridge the imagination gap between flat floor plans and the three-dimensional reality of your finished kitchen. You can experiment with multiple design directions in minutes instead of weeks.
Professional kitchen designers charge $150 to $300 per hour for design services, but technology supplements their expertise by letting you arrive at the first consultation with a clear vision of your preferences. Many homeowners use AI visualization to narrow down material and color choices before visiting showrooms, saving hours of indecision and reducing the likelihood of costly change orders during construction. Explore how AI can assist your design process in our AI room redesign guide.
Frequently Asked Questions
What is the best kitchen layout for a small space?
A galley layout is the most efficient for small kitchens under 100 square feet because it keeps everything within a few steps. Place the sink and dishwasher on one wall with the range and refrigerator on the opposite wall. Maintain 42 to 48 inches between parallel counter runs for comfortable movement. If the galley opens on both ends, it doubles as a pass-through that keeps traffic moving without disrupting the cook.
How much counter space do I need in a kitchen remodel?
The NKBA recommends a minimum of 158 inches of total frontage countertop for a functional kitchen. This includes at least 36 inches of continuous prep space, 24 inches beside the refrigerator, 15 inches on each side of the cooktop, and 24 inches beside the sink. Kitchens with islands or peninsulas that add seating should extend the counter 12 to 15 inches beyond the base for comfortable leg clearance.
Should I hire a kitchen designer or design it myself?
Hire a professional designer if your remodel involves moving plumbing, electrical, or walls — layout changes carry expensive consequences when mistakes happen. Certified kitchen designers charge $2,000 to $8,000 for a complete design package including measurements, 3D renderings, material specifications, and construction drawings. For cosmetic updates that keep the existing layout, homeowners can often self-design using AI tools and manufacturer planning resources.
What are the biggest kitchen design mistakes to avoid?
The most costly design mistake is insufficient counter space beside the cooktop and sink — you need landing zones for hot pots, cutting boards, and dish staging. Other common errors include placing the dishwasher too far from the sink, forgetting to account for door and drawer swing conflicts, skipping under-cabinet task lighting, and choosing a beautiful but impractical floor material. Always mock up your layout with tape on the floor and walk through cooking scenarios before finalizing the design.
How long does the kitchen design phase take?
The design phase typically takes 4 to 8 weeks for a full kitchen remodel. This includes initial measurements and consultation (week 1), concept development and layout options (weeks 2 to 3), material selection and specification (weeks 3 to 5), and final design revisions and construction documents (weeks 5 to 8). Rushing this phase leads to change orders during construction that average $3,500 per change. Learn more about timelines in our kitchen remodel timeline guide.
Related Articles
Continue planning your kitchen remodel with these in-depth guides: how to remodel a kitchen on a budget for cost-saving strategies, how to prepare for a kitchen remodel for pre-construction checklists, kitchen island design ideas for island-specific inspiration, and modern kitchen remodel trends for 2026 to see what is trending in cabinet styles, finishes, and smart technology.
Start Designing Your Dream Kitchen Today
Ready to see your kitchen design ideas come to life? Upload a photo of your current kitchen and experiment with layouts, cabinet styles, countertop materials, and color palettes using AI-powered visualization. Test multiple design directions in minutes and arrive at your contractor consultation with a clear, confident vision for your remodel.
Try the Kitchen Remodel Tool free — visualize your new kitchen layout with realistic renderings in under 30 seconds. Or explore the AI Room Designer for broader room transformation ideas. Browse our design gallery for thousands of completed kitchen remodel examples.
How to Design a Kitchen Remodel FAQs
Written by
Emily Rodriguez
Interior Design Editor covering living spaces, styling trends, and room makeovers. Former Architectural Digest contributor with a focus on accessible, budget-conscious design.