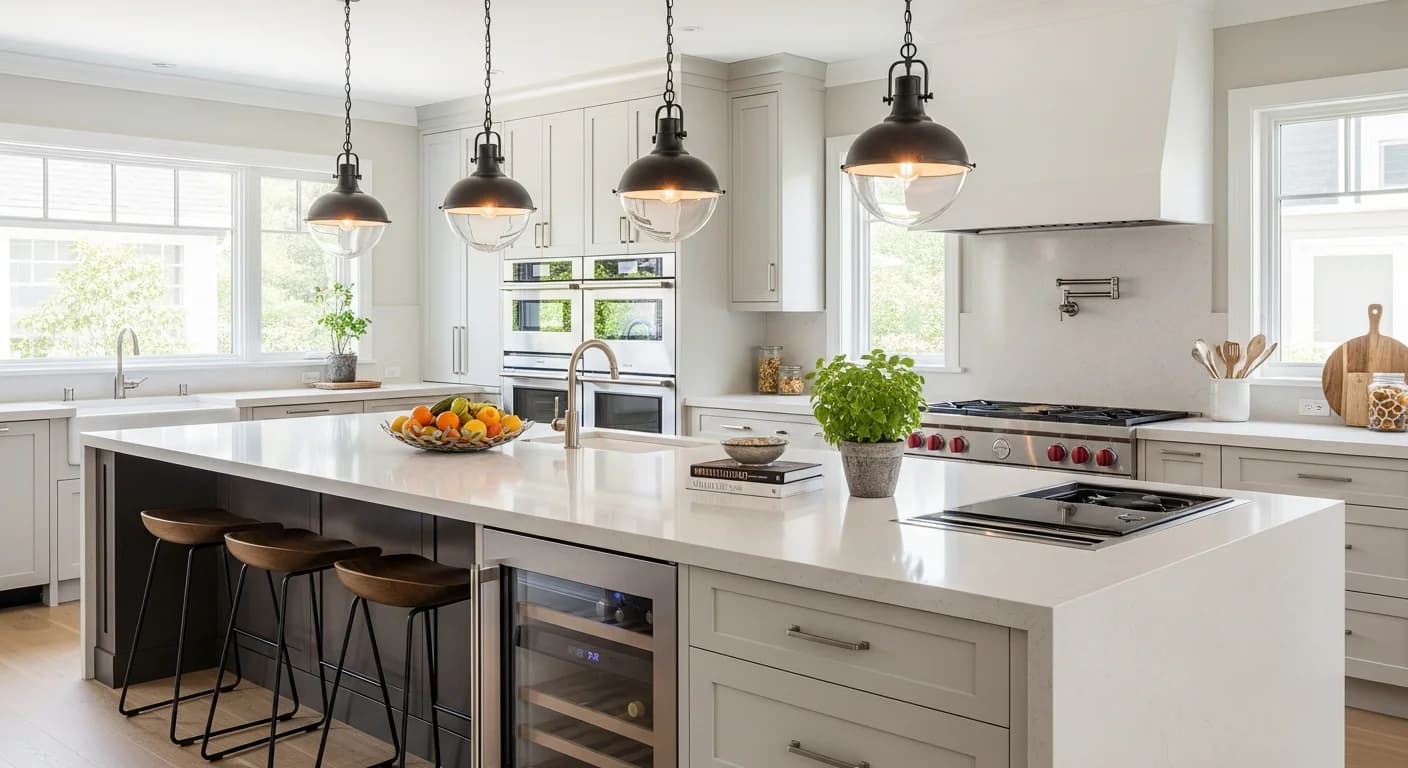
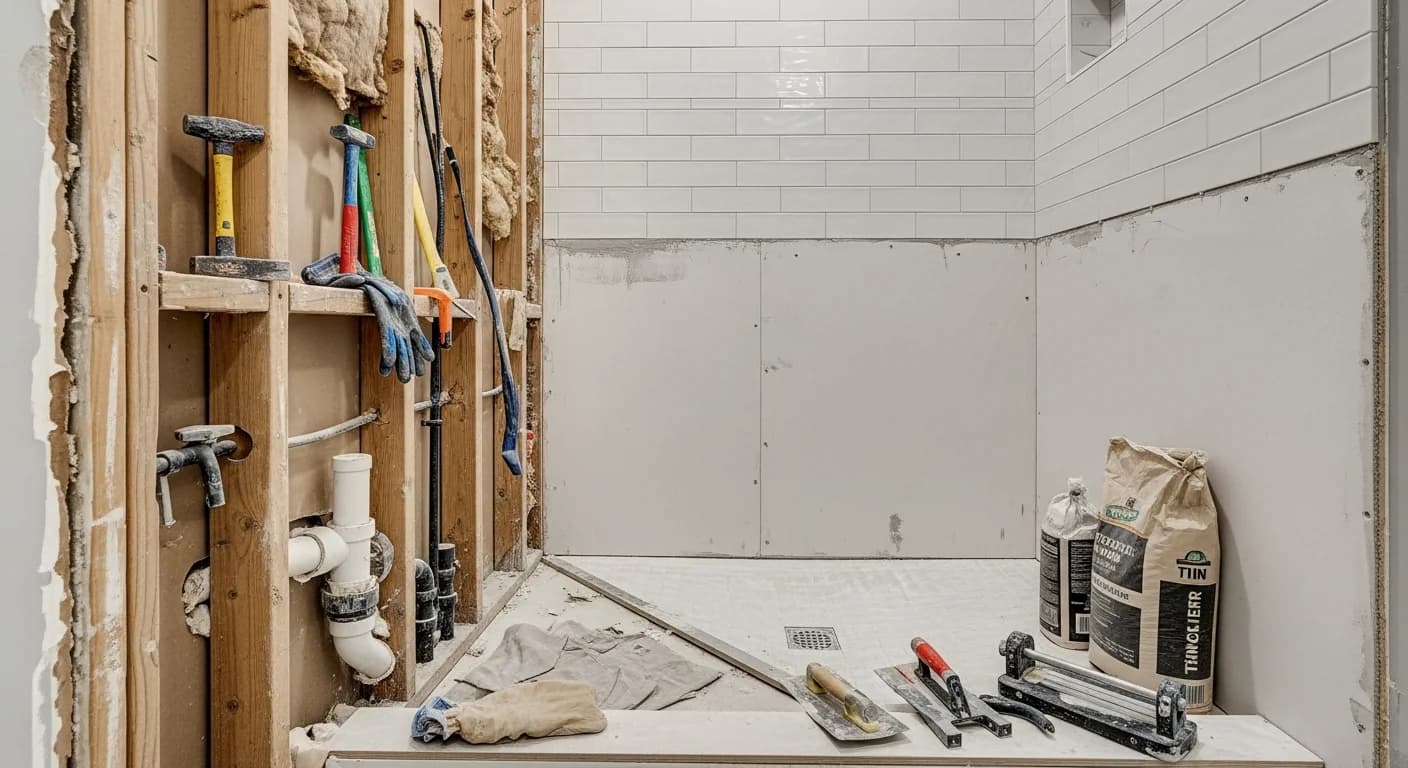
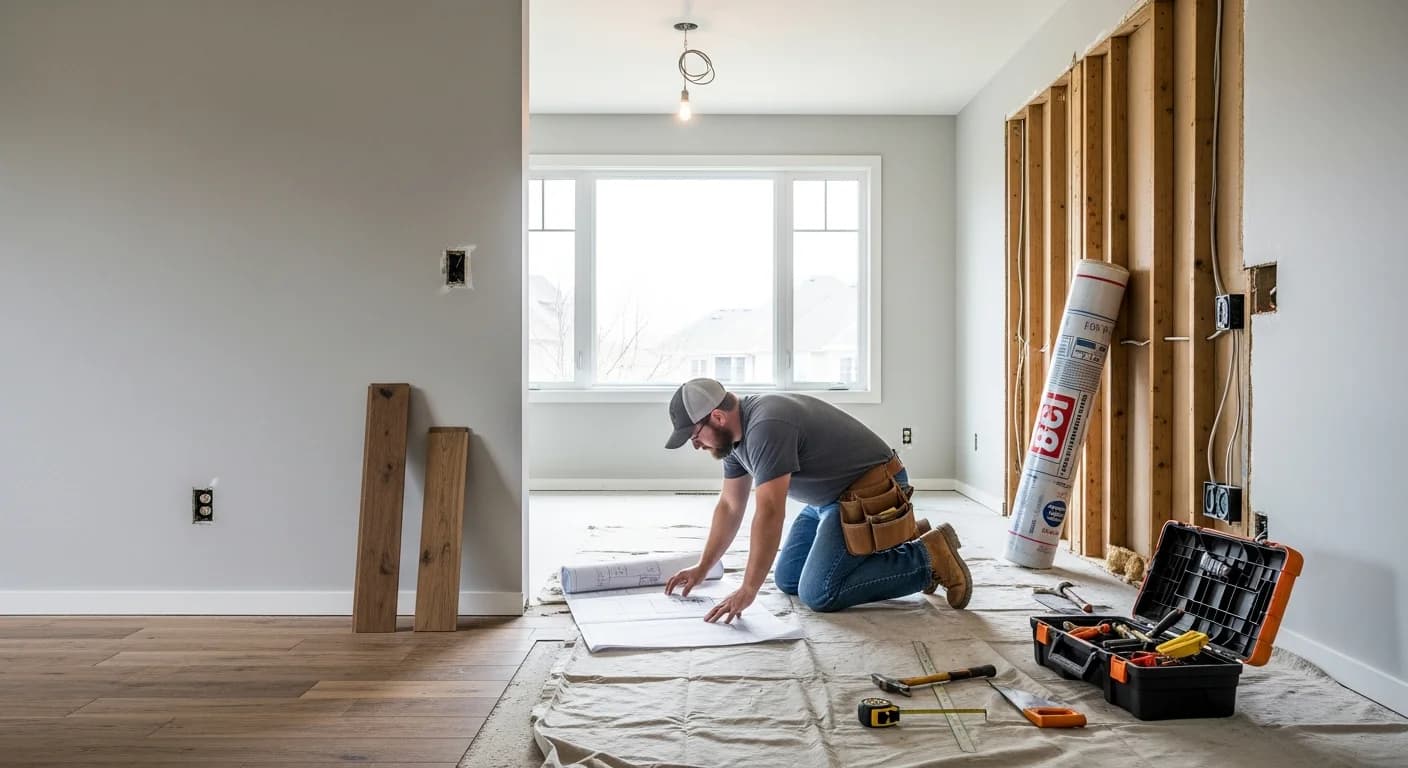
How to Prepare for a Kitchen Remodel: 8 Steps Before Demo Day
Quick Summary
A practical guide to preparing your home for a kitchen remodel before demolition day. Covers 8 essential steps including setting up a temporary kitchen, protecting flooring and adjacent rooms with dust barriers, storing appliances safely, arranging family routines, and coordinating material deliveries so the project starts smoothly.
Understanding how to prepare for a kitchen remodel is just as important as choosing the right cabinets or countertops. The weeks before demolition day set the tone for the entire project — proper preparation prevents costly delays, protects your belongings from construction dust, and keeps your household running while the kitchen is out of commission. According to the National Kitchen and Bath Association, homeowners who complete a structured pre-demolition checklist experience 40% fewer change orders and finish projects an average of two weeks faster.
Whether you are tackling a full gut renovation or a targeted cabinet and countertop upgrade, these eight preparation steps ensure your kitchen remodel begins on solid footing. From coordinating material deliveries and setting up a temporary cooking station to installing dust barriers and managing family logistics, this guide covers every detail you need to handle before the first sledgehammer swings.
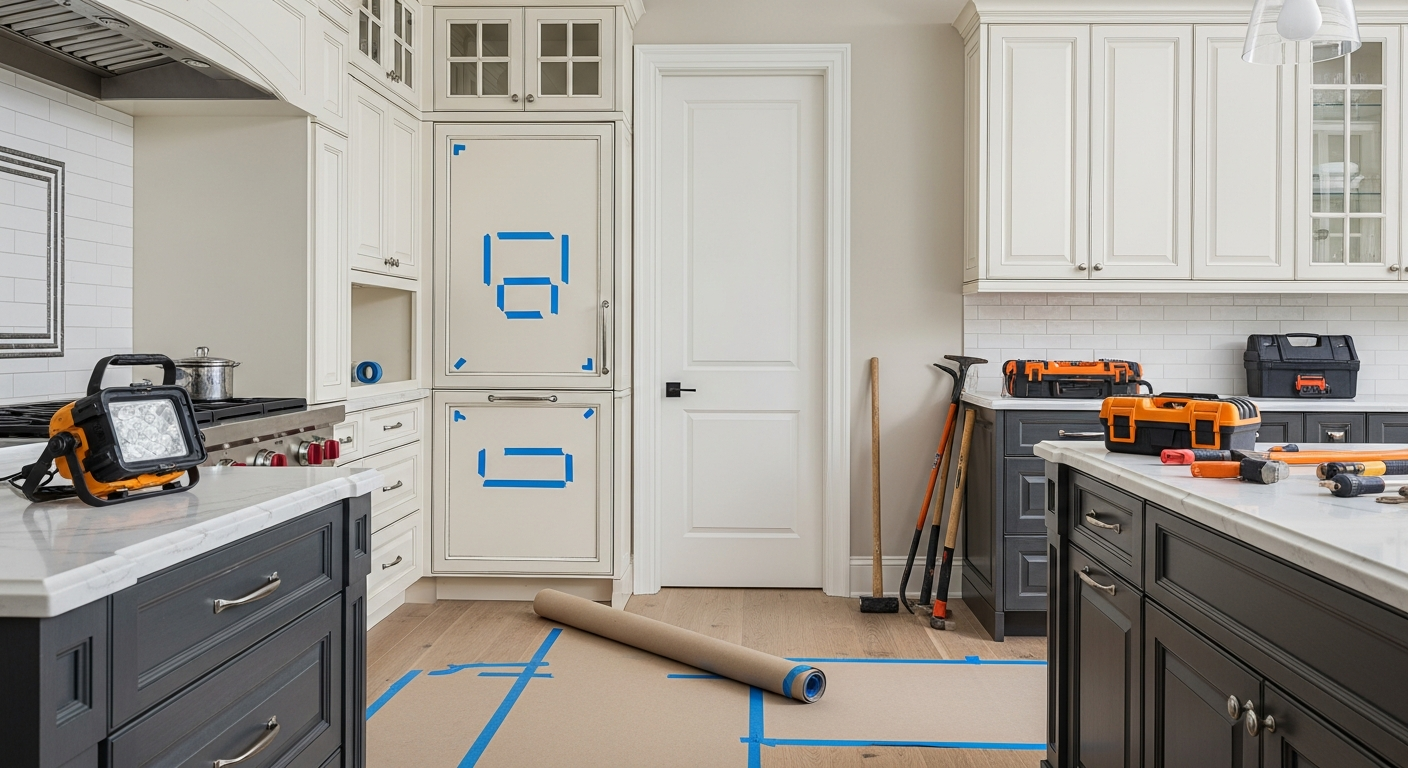
Step 1 — Confirm All Materials and Appliances Are On-Site
The single most important rule before demolition begins is confirming that every major material has arrived and been inspected. This includes cabinets, countertop slabs, flooring, appliances, plumbing fixtures, and lighting. Supply chain delays remain common in 2026, and tearing out your old kitchen before replacements are available can leave you without a functional cooking space for months. Verify delivery dates with every vendor at least two weeks before your scheduled demo date.
Inspect each delivery carefully. Open every cabinet box and check for shipping damage, correct door styles, and accurate dimensions. Verify that appliance models match your specifications and that countertop slabs have the vein patterns you approved. Store materials in a climate-controlled area — a garage, spare bedroom, or covered carport works well. Label each box clearly so your contractor can identify pieces quickly during installation. For a comprehensive planning timeline, see our kitchen remodel planning guide.
Step 2 — Set Up a Temporary Kitchen Station
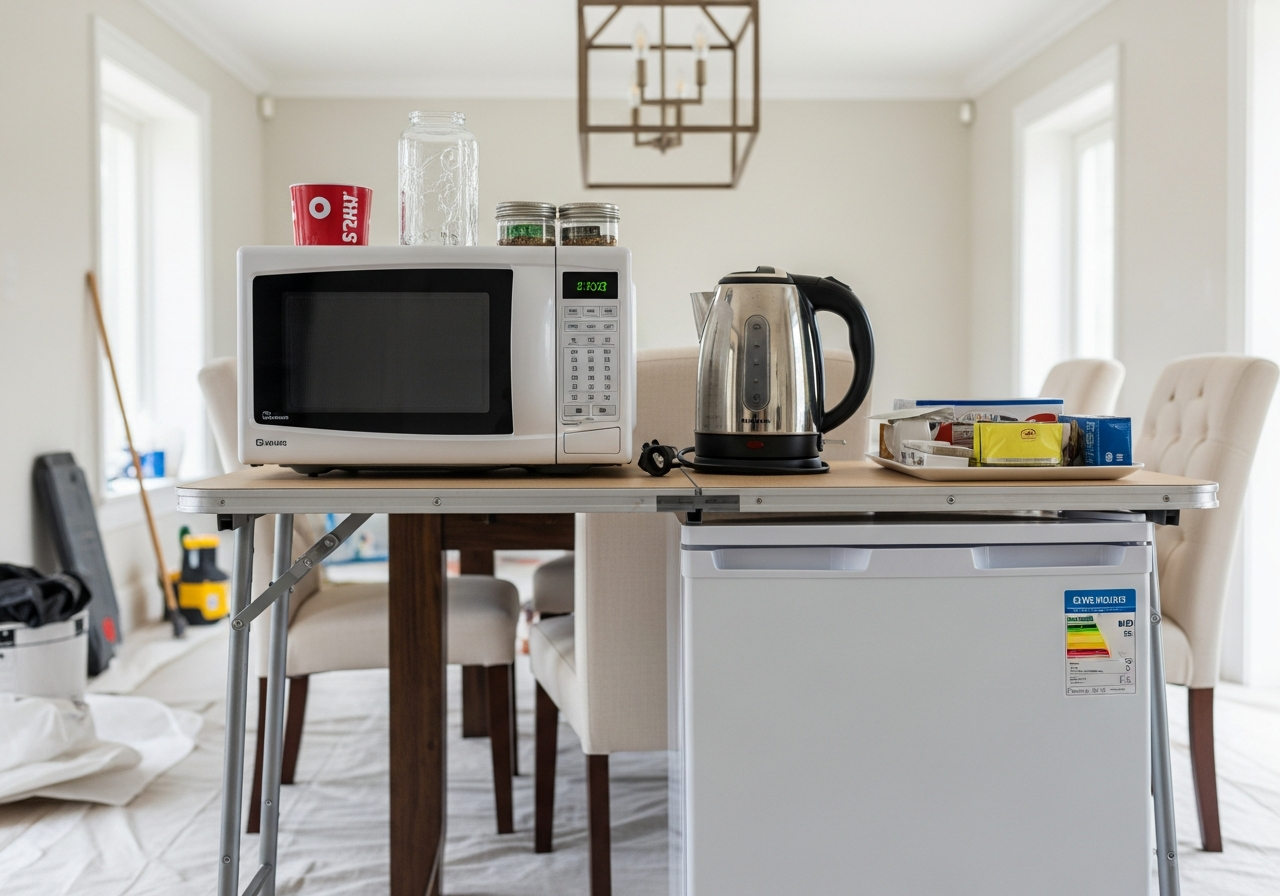
A kitchen remodel typically takes 6 to 12 weeks depending on scope, and you will need a functional temporary cooking area during that time. Choose a location away from the construction zone — a dining room, laundry room, basement, or garage works best. Set up a folding table as your countertop surface and stock it with essential small appliances: a microwave, electric kettle, toaster oven, slow cooker, and instant pot can handle most daily meals.
Move your refrigerator to the temporary kitchen if possible, or use a mini-fridge and cooler as alternatives. Set up a plastic bin with dish soap and a drying rack near the nearest bathroom or utility sink for dishwashing. Stock up on disposable plates, cups, and utensils to reduce cleanup burden. Plan a weekly meal rotation of simple recipes that require minimal cooking — sheet pan dinners, crockpot meals, salads, and sandwiches keep nutrition high while your main kitchen is offline.
Step 3 — Clear and Inventory Your Kitchen Contents
Empty every cabinet, drawer, and pantry shelf completely. This is an excellent opportunity to declutter — sort items into keep, donate, and discard piles. Most homeowners discover they only use 60% of their kitchen items regularly. Label storage boxes by category: everyday dishes, baking supplies, spices, small appliances, and seasonal items. Use clear plastic bins so you can locate items without opening every box during the remodel.
Create a detailed inventory spreadsheet or photo record of everything you own. This serves double duty: it helps you plan storage in your new kitchen layout and provides documentation for insurance purposes in case of construction-related damage. Pack fragile items like glassware and ceramics with bubble wrap and label boxes as fragile. Store boxes in a room that will not be part of the construction traffic pattern.
Step 4 — Install Dust Barriers and Protect Adjacent Rooms
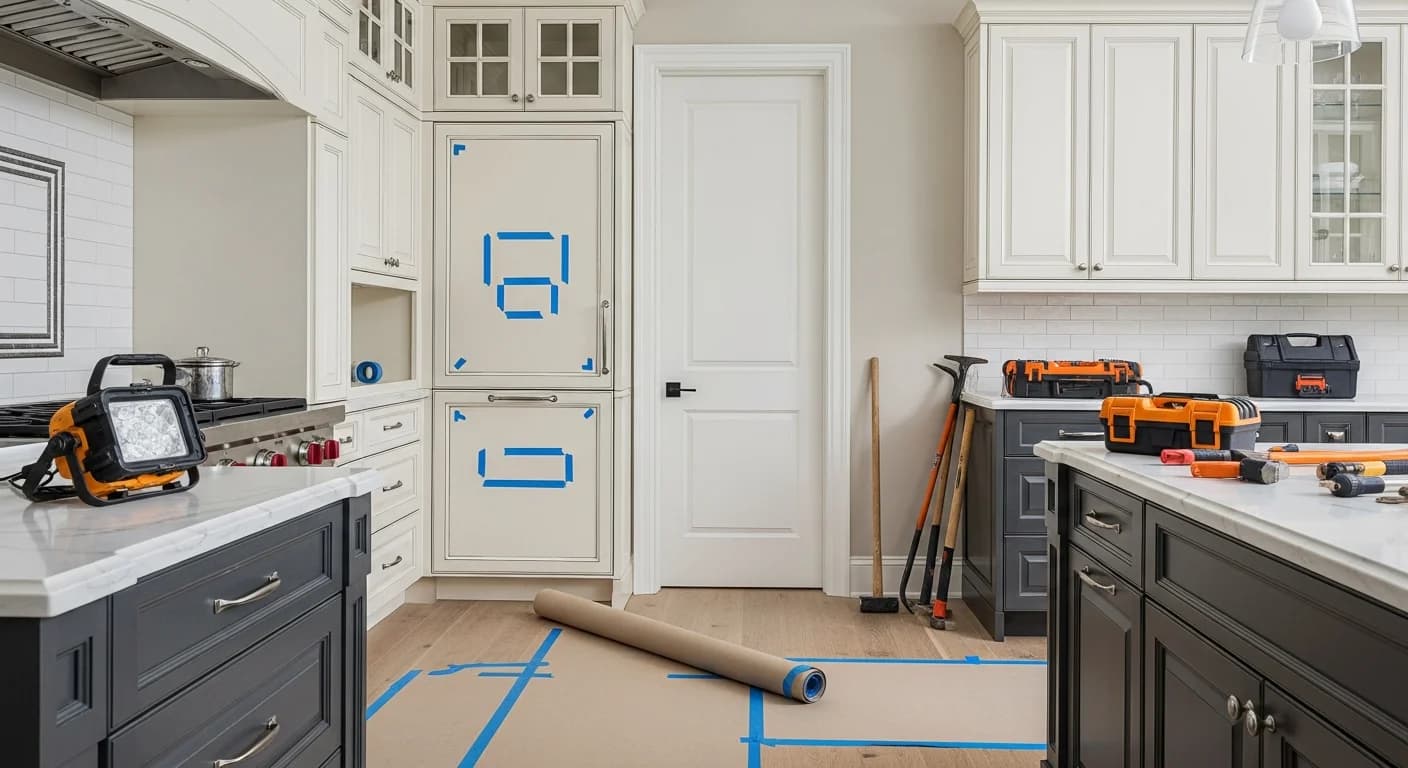
Construction dust from demolition, drywall work, and sanding is the number one complaint among kitchen remodeling homeowners. Fine particles travel through HVAC ducts and open doorways, coating furniture and electronics throughout the house. Install heavy-duty plastic sheeting or zippered dust barriers at every opening between the kitchen and adjacent rooms. Seal HVAC vents in the kitchen with magnetic covers or painter's tape to prevent dust from circulating through your entire home.
Protect adjacent flooring with ram board or heavy kraft paper secured with painter's tape — never use duct tape on hardwood floors as it damages finishes. If your remodel involves removing walls, extend protection to any room that shares framing with the kitchen. Consider renting a commercial air scrubber with HEPA filtration for the construction zone; these units cost $30 to $75 per day and reduce airborne particulate by up to 95%.

Step 5 — Disconnect Utilities and Prepare for Demolition
Work with your contractor to schedule utility disconnections. Gas lines to stoves and ovens must be shut off by a licensed plumber or gas technician before any demolition work begins. Turn off the water supply to the kitchen sink and dishwasher at the shut-off valves. Identify which electrical circuits serve the kitchen and label them clearly at the breaker panel. Your electrician may need to install temporary power outlets for construction tools in adjacent areas.
If you are keeping any existing appliances, disconnect and move them to a protected storage area. Wrap refrigerators in moving blankets and store them upright — laying a refrigerator on its side can damage the compressor. For ranges and cooktops with gas connections, cap the gas line after disconnection and verify there are no leaks with a soapy water test. Document the location of every shut-off valve and circuit breaker for reference during the project.
Step 6 — Create a Communication Plan with Your Contractor
Clear communication prevents misunderstandings and keeps the project on schedule. Before demolition starts, establish a weekly meeting cadence with your contractor — most professionals prefer a 15-minute check-in every Monday morning. Agree on the primary communication channel: text, email, or a project management app like Buildertrend or CoConstruct. Define who has decision-making authority for on-the-fly choices and set a dollar threshold for changes that require your written approval.
Request a detailed project schedule with milestones and expected completion dates for each phase: demolition, rough plumbing, rough electrical, framing, drywall, cabinet installation, countertop templating and installation, tile work, painting, fixture installation, and final punch list. Understanding the sequence helps you anticipate disruptions and plan accordingly. For tips on selecting the right professional, read our guide on choosing a kitchen remodel contractor.
| Preparation Step | Timeline Before Demo | Estimated Cost |
|---|---|---|
| Confirm all material deliveries | 2–4 weeks | $0 |
| Set up temporary kitchen | 1–2 weeks | $50–$200 |
| Clear and inventory contents | 1–2 weeks | $20–$50 (bins) |
| Install dust barriers | 1–3 days | $75–$250 |
| Disconnect utilities | 1–2 days | $100–$300 |
| Establish communication plan | 1 week | $0 |
| Arrange family logistics | 1–2 weeks | Varies |
| Final walkthrough with contractor | 1 day | $0 |
Step 7 — Arrange Family Logistics and Daily Routines
Kitchen remodels disrupt daily routines significantly, especially for families with children or pets. Establish new morning and evening routines that account for limited kitchen access. If you have young children, designate a safe play area far from the construction zone and install child-proof locks on any doors leading to the work area. Pets should be kept in a separate part of the house or with a caretaker on heavy demolition and installation days when loud noises and open exterior doors create stress and escape risks.
Consider your work-from-home situation if applicable. Construction noise typically runs from 7 AM to 5 PM on weekdays, making video calls difficult if your office is near the kitchen. Arrange alternative workspace at a coworking space, library, or a friend's home on critical meeting days. Budget an additional $200 to $500 per month for dining out and takeout during the remodel — most families underestimate food costs during a kitchen renovation. For broader home renovation preparation, see our home remodel preparation guide.
Step 8 — Conduct a Final Walkthrough Before Demolition
The day before demolition, walk through the kitchen with your contractor for a final review. Confirm the demolition scope — which walls stay, which come down, which plumbing and electrical lines are being relocated. Mark any items that should be preserved, such as a vintage light fixture you want reinstalled or salvageable cabinet hardware. Take photos and video of the existing kitchen from every angle; these serve as before-and-after documentation and provide reference points if disputes arise.
Verify that the dumpster or debris container has been delivered and is positioned where it will not block your driveway or violate HOA rules. Confirm the demolition crew's arrival time and ensure you or a designated decision-maker will be available for the first hour to answer questions. Once the walkthrough is complete and both parties sign off on the scope of work, your kitchen remodel preparation is finished — and demo day can begin with confidence.

Common Kitchen Remodel Preparation Mistakes to Avoid
The most frequent preparation mistake is starting demolition before all materials arrive. Backordered cabinets or delayed countertop slabs can extend your project by weeks or months while you live without a kitchen. The second biggest error is failing to protect adjacent rooms from dust — construction debris migrates quickly and can damage hardwood floors, upholstery, and electronics. Third, many homeowners forget to notify their homeowner's insurance about the renovation, which can affect coverage during construction.
Other common missteps include underestimating the temporary kitchen budget, forgetting to arrange pet care during noisy demolition days, and neglecting to photograph the existing kitchen for reference. Each of these oversights is preventable with the preparation checklist above. Homeowners who invest two to three weeks in thorough preparation consistently report smoother renovations and fewer unexpected costs. Learn how to manage your renovation budget by reading our kitchen remodel cost estimation guide.
How Long Should You Spend Preparing?
Plan to begin active preparation four to six weeks before your scheduled demolition date. The first two weeks focus on confirming material deliveries and ordering any remaining items. Weeks three and four cover setting up your temporary kitchen, clearing cabinets, and purchasing dust barriers and storage bins. The final week before demo day is reserved for utility disconnections, the contractor walkthrough, and family logistics adjustments. This timeline gives you a comfortable buffer for unexpected delays.
For a more detailed construction timeline, including what happens after demolition, read our guide on how long a kitchen remodel takes. Understanding the full project duration helps you plan your temporary living arrangements and budget accordingly.
Frequently Asked Questions
What should I do with my kitchen appliances during a remodel?
Move appliances you are keeping to a protected storage area away from the construction zone. Wrap them in moving blankets to prevent scratches. Store refrigerators upright and plug them in if possible to maintain the compressor seal. If you are replacing appliances, schedule delivery for the installation phase — not before demolition — to avoid storing new units for weeks where they could be damaged by construction activity.
How do I keep dust from spreading to other rooms?
Install heavy-duty plastic sheeting with zippered doorways at every opening to the kitchen. Cover HVAC vents with magnetic covers or seal them with painter's tape. Place door sweeps or rolled towels under doors to block gaps at floor level. A portable HEPA air scrubber running continuously in the construction zone captures 95% or more of airborne particles. Change your HVAC filter weekly during demolition and drywall phases.
Can I live in my house during a kitchen remodel?
Yes, most homeowners stay in their homes during a kitchen remodel. The key is setting up a functional temporary kitchen in another room and establishing clear boundaries between living and construction zones. However, if the remodel involves asbestos abatement, major structural work, or extended plumbing shutdowns affecting bathrooms, temporary relocation may be safer and less stressful for your family.
How much should I budget for temporary kitchen costs?
Budget $200 to $500 per month for increased dining out and takeout costs during your remodel. Add $50 to $200 for temporary kitchen setup supplies including a folding table, mini-fridge rental, and disposable dishware. If your remodel runs 8 to 12 weeks, total temporary living costs typically range from $600 to $1,500. Planning simple meals and batch cooking on weekends can keep costs toward the lower end of this range.
Should I notify my neighbors about the remodel?
Yes, notifying neighbors is both courteous and practical. Let adjacent neighbors know the expected start date, daily work hours, and approximate project duration. Warn them about potentially loud demolition days. If dumpsters or contractor vehicles will affect shared parking or street access, communicate this in advance. Good neighbor relations during a remodel prevent complaints to HOA boards or local code enforcement.
Related Articles
Continue planning your kitchen renovation with these related guides: How to Remodel a Kitchen: Complete Guide, How to Remodel a Kitchen on a Budget, How to Design a Kitchen Remodel, and Kitchen Remodel Cost 2026 Budget Guide. For design inspiration, explore our kitchen ideas gallery.
Start Planning Your Kitchen Remodel with HanoDecor
Ready to visualize your new kitchen before demolition begins? Our AI-powered kitchen remodel tool lets you upload a photo of your current space and see photorealistic previews of different layouts, cabinet styles, and finishes — helping you finalize design decisions before any materials are ordered.
Try the Kitchen Remodel Tool free — upload your kitchen photo, choose a style, and see your future kitchen in seconds. Pair it with our AI Room Designer to explore adjacent room transformations and create a cohesive whole-home renovation plan.
How to Prepare for a Kitchen Remodel FAQs
Written by
Emily Rodriguez
Interior Design Editor covering living spaces, styling trends, and room makeovers. Former Architectural Digest contributor with a focus on accessible, budget-conscious design.