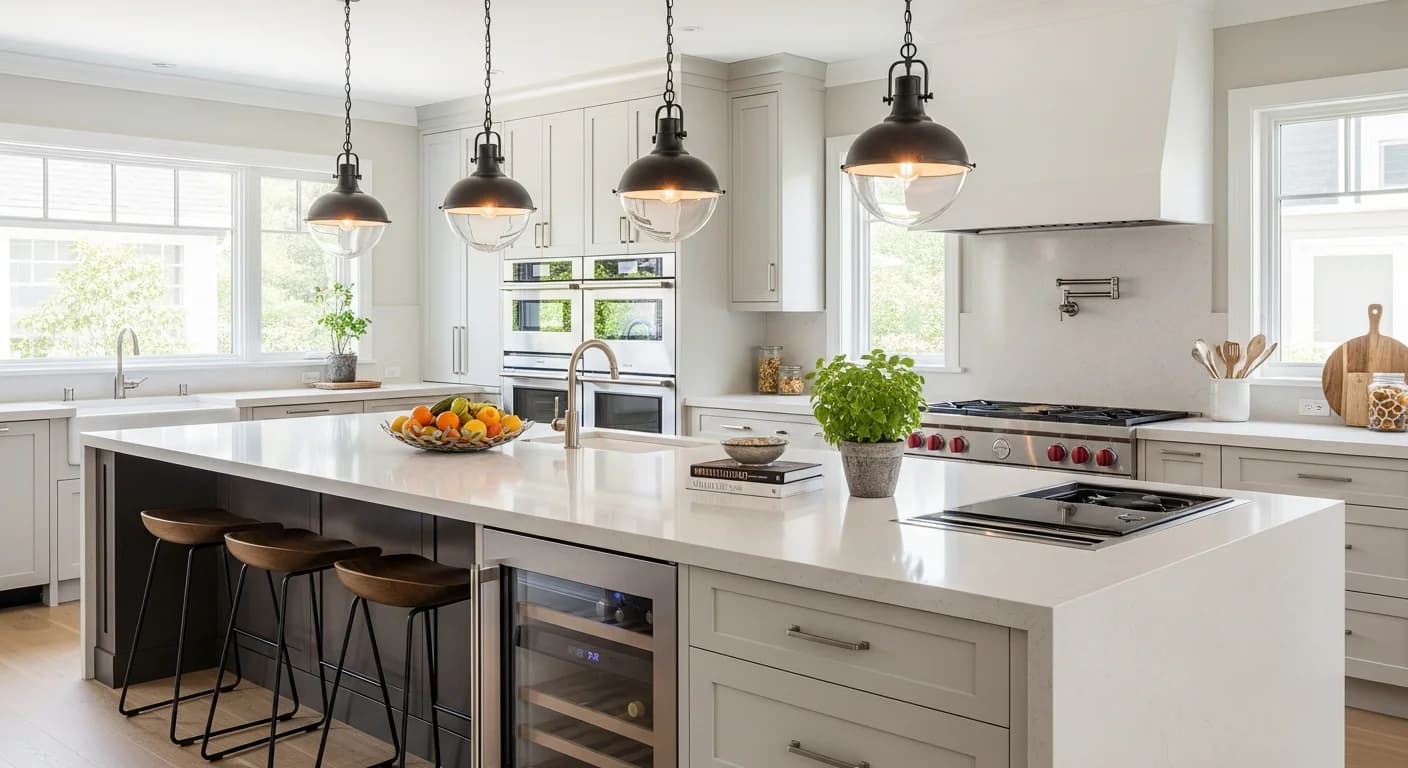
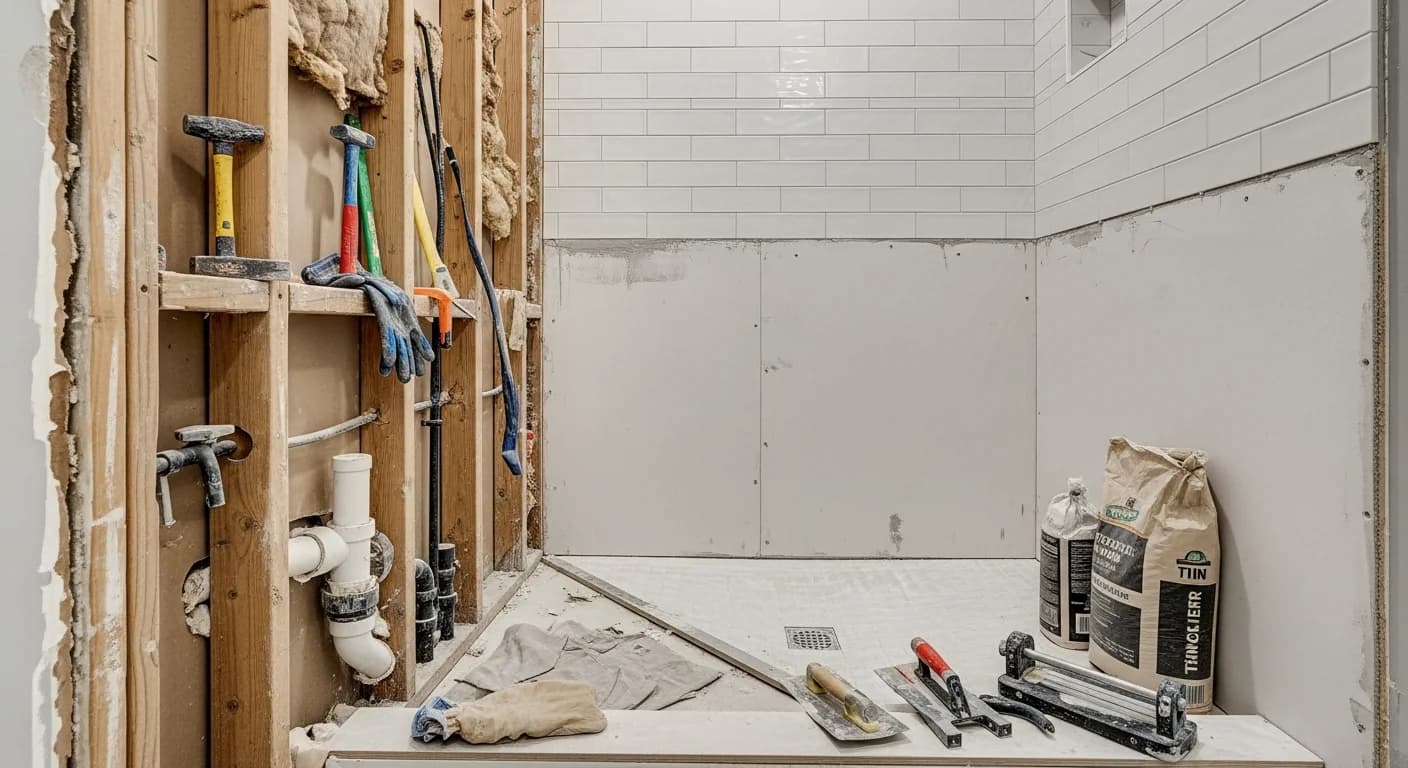
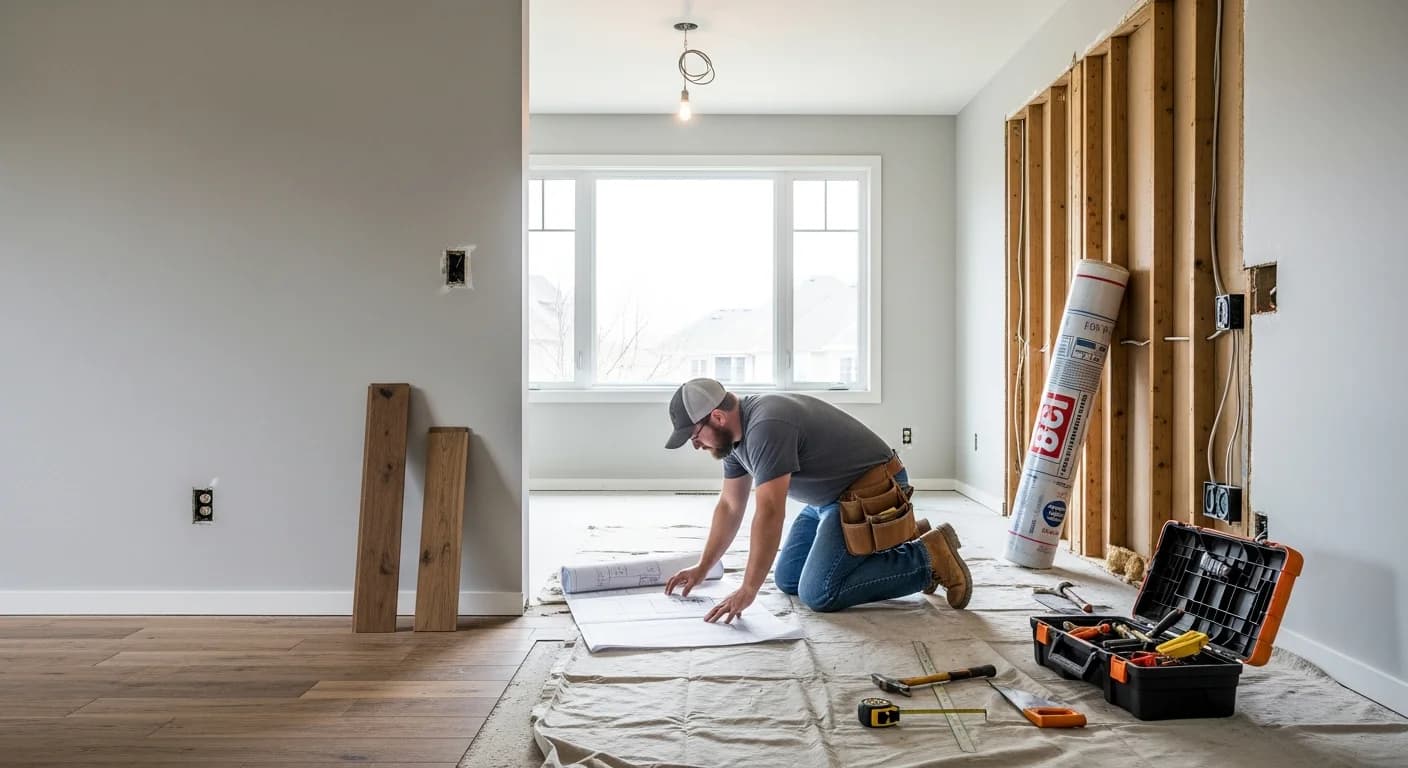
How to Prepare for a Home Remodel: 10-Step Pre-Construction Checklist
Quick Summary
A comprehensive 10-step pre-construction checklist for homeowners preparing for a home remodel. Covers defining scope and goals, setting a realistic budget with contingency, hiring and vetting contractors, securing permits and approvals, ordering materials with lead time considerations, preparing living arrangements, protecting belongings, setting up communication systems, planning for inspections, and final pre-demolition preparations.

Knowing how to prepare for a home remodel before demolition day is often the difference between a smooth renovation and a chaotic one. The weeks before construction begins are when the most critical decisions get finalized — permits secured, contracts signed, materials ordered, and daily routines adjusted for months of disruption. Homeowners who skip thorough preparation face an average of 23 percent more budget overruns and 30 percent longer project timelines than those who follow a structured pre-construction process.
This 10-step checklist covers everything you need to complete before the first hammer swings. From clarifying your remodel scope and establishing a realistic budget to vetting contractors, pulling permits, managing material lead times, and protecting your family's daily routine during construction, each step builds on the previous one to create a solid foundation for a successful renovation. Print this checklist and work through it sequentially in the four to eight weeks before your project start date.

Step 1 — Define Your Remodel Scope and Goals
Before contacting a single contractor, clarify exactly what you want to accomplish. Are you doing a cosmetic refresh, a partial renovation, or a full gut remodel? Each scope level requires different preparation intensity, timelines, and budgets. Write down your must-haves versus nice-to-haves, and be specific: "replace kitchen cabinets with shaker-style white" is actionable, while "update the kitchen" leaves too much room for scope creep and miscommunication.
Consider what is driving the remodel — increased functionality, updated aesthetics, accommodating a growing family, aging-in-place modifications, or improving resale value. Each motivation shapes different priorities. A resale-focused remodel emphasizes broad market appeal, while a forever-home renovation allows more personal design choices. Document your goals in writing and share them with every contractor who bids the project. For a broader perspective on the remodeling process, read our guide to where to start a house remodel.
Step 2 — Set a Realistic Budget with Contingency
Every remodel needs a detailed budget that accounts for materials, labor, permits, design fees, and a contingency reserve. The industry standard contingency is 10 to 20 percent of the total project cost — 10 percent for newer homes with known conditions, and 15 to 20 percent for older homes where surprises like outdated wiring, water damage, or asbestos are more likely. A $50,000 remodel should reserve $5,000 to $10,000 for unexpected costs.
Break your budget into categories and assign maximum spending limits to each. For a kitchen remodel, the typical allocation is 35 to 40 percent for cabinets and hardware, 15 to 20 percent for countertops, 15 to 20 percent for appliances, 10 percent for flooring, and 10 to 15 percent for labor on specialty items. Get itemized bids from contractors that align with your category breakdown so you can compare apples to apples. For help with budgeting, consult our remodel budgeting guide and our house remodel cost guide.
| Remodel Type | Typical Cost Range | Recommended Contingency | Typical Duration |
|---|---|---|---|
| Cosmetic refresh | $5,000 – $15,000 | 10% | 2 – 4 weeks |
| Partial renovation | $15,000 – $75,000 | 15% | 4 – 12 weeks |
| Full gut remodel | $75,000 – $250,000+ | 20% | 3 – 8 months |
| Whole-house renovation | $100,000 – $500,000+ | 20% | 6 – 18 months |
Step 3 — Hire and Vet Your Contractor
Selecting the right contractor is the single most important decision in your remodel preparation. Get at least three detailed bids from licensed, insured general contractors with verifiable experience in your project type. Request and check three to five references from recent projects similar in scope to yours. Verify their contractor's license through your state licensing board, confirm general liability insurance of at least $1 million, and request a certificate of workers' compensation coverage.
Review the contract carefully before signing. It should include a detailed scope of work, a fixed or guaranteed-maximum price, a payment schedule tied to completed milestones (never pay more than 10 percent upfront), a projected timeline with start and completion dates, a change-order process with written approval requirements, and a warranty covering workmanship for at least one year. For a comprehensive vetting framework, see our contractor selection guide.

Step 4 — Secure Permits and HOA Approvals
Most remodels that involve structural changes, electrical work, plumbing modifications, or changes to the home's footprint require building permits from your local municipality. Permit costs range from $200 to $2,000 depending on project scope and location. Your general contractor typically handles permit applications, but you are ultimately responsible for ensuring permits are obtained before work begins. Unpermitted work can result in fines, forced removal of completed work, and complications during home sales.
If you live in a neighborhood with a homeowners association, submit your remodel plans to the architectural review committee well in advance. HOA approval can take two to six weeks and may require specific material choices, color palettes, or design limitations. Start the HOA submission process at least eight weeks before your planned construction start date to avoid delays.
Step 5 — Order Materials and Account for Lead Times
Material lead times are one of the most common causes of construction delays. Custom cabinets typically require 6 to 12 weeks for fabrication and delivery. Specialty tile can take 4 to 8 weeks, especially if imported from Europe or Asia. Countertop fabrication after templating takes 2 to 3 weeks. Windows and custom doors may require 8 to 16 weeks. Order all long-lead-time items as soon as your design is finalized and your contractor confirms the scope — ideally 8 to 12 weeks before the scheduled installation date.
Create a material tracking spreadsheet listing every item, its supplier, order date, expected delivery date, and actual delivery date. Assign responsibility for receiving and inspecting each delivery — materials should be checked against the order for correct quantities, colors, and condition upon arrival. Damaged or incorrect items need immediate reorder, and the sooner you catch issues, the less impact they have on your construction timeline.
Step 6 — Plan Your Living Arrangements During Construction
Living through a remodel is challenging but manageable with proper planning. For kitchen remodels lasting more than two weeks, set up a temporary kitchen with a microwave, mini-fridge, electric kettle, and portable induction burner in a separate room. Stock up on disposable plates and utensils to minimize dishwashing. For bathroom remodels, ensure you have access to at least one functioning bathroom in the home, or arrange temporary facilities.
Full gut remodels and whole-house renovations may require temporary relocation. Budget $1,500 to $3,000 per month for short-term rental housing, or negotiate a longer timeline with your contractor to phase the work room by room while you continue living in unaffected areas. If you have children, pets, or family members with health sensitivities to dust and fumes, temporary relocation becomes a health consideration rather than just a convenience one. For more timeline insights, read how long a house remodel takes.

Step 7 — Protect Your Belongings and Prepare the Workspace
Construction generates enormous amounts of dust, debris, and vibration. Remove all furniture, decor, and personal items from the work zone and adjacent rooms. Cover items that cannot be moved with heavy-duty plastic sheeting and painter's tape. Seal HVAC vents in the construction area with magnetic vent covers or plastic and tape to prevent dust from spreading through your ductwork to other rooms.
Establish a clear path for contractor access — typically through a single exterior door — and cover high-traffic flooring with construction-grade floor protection (Ram Board or similar products). Discuss work hours, parking arrangements, portable toilet placement, and dumpster location with your contractor before the first day. Clear communication about site logistics prevents daily friction throughout the project.
Step 8 — Establish a Communication System
Set up a clear communication framework with your contractor from day one. Designate a single point of contact on each side — one homeowner and one project manager — to avoid conflicting instructions. Schedule weekly progress meetings (15 to 30 minutes) to review completed work, upcoming tasks, and any issues. Use a shared digital platform like Buildertrend, CoConstruct, or even a shared Google folder for photos, change orders, and schedule updates.
Document everything in writing. Verbal agreements about changes, additions, or timeline adjustments should be followed by a written confirmation email or formal change order. This documentation protects both parties and prevents disputes about what was agreed upon. Establish a response time expectation — for example, all questions or decisions from the homeowner will be answered within 24 hours to prevent work stoppages.
Step 9 — Schedule Inspections and Understand the Process
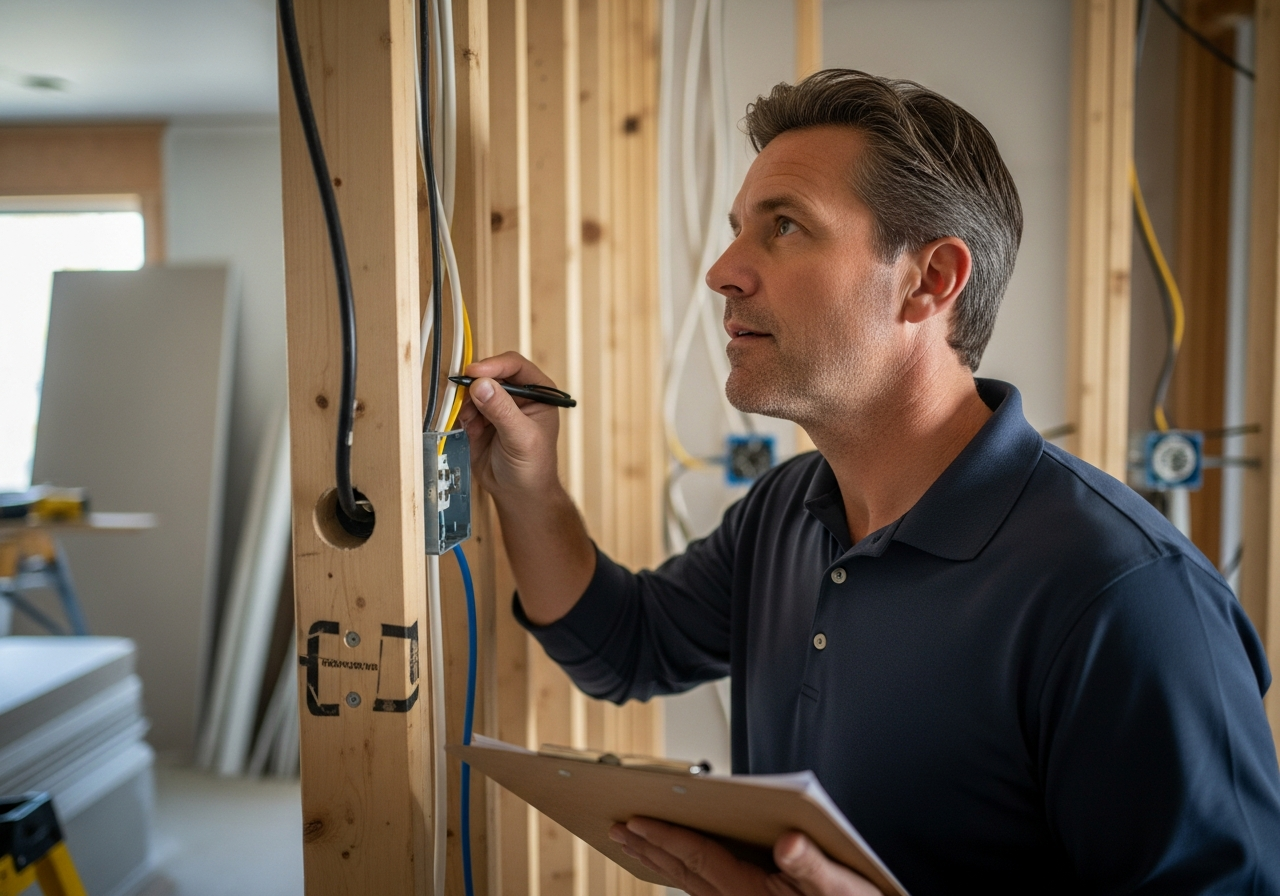
Building inspections are required at specific stages of construction — typically after rough framing, rough plumbing, rough electrical, insulation, and at final completion. Your contractor schedules these inspections, but understanding the process helps you track progress and catch issues early. Each inspection must pass before the next construction phase can begin, so failed inspections directly impact your timeline.
Common inspection failures include improper electrical wiring methods, insufficient fire blocking, incorrect plumbing venting, and structural framing that does not match approved plans. A reputable contractor should have a near-perfect inspection pass rate. Ask your contractor about their typical inspection results and what they do to ensure first-pass approvals.
Step 10 — Final Pre-Demolition Preparations
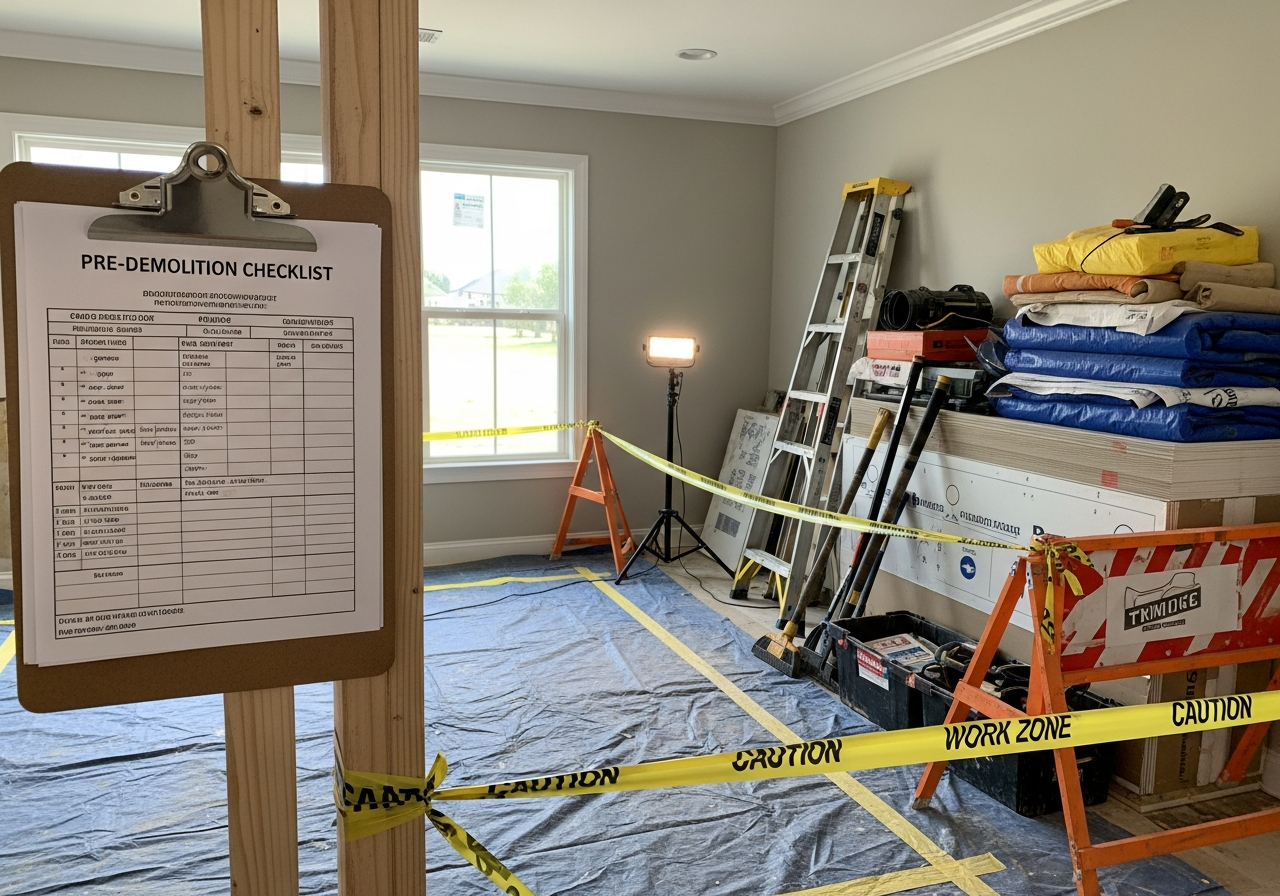
In the final 48 hours before demolition, complete these tasks: confirm all permits are posted at the jobsite, verify all materials for the first phase have been delivered and stored, turn off utilities to the work zone as directed by your contractor, take detailed "before" photos and video of every room being remodeled, secure valuables in a locked room or off-site, notify your neighbors about the upcoming construction timeline and expected noise, and confirm your homeowner's insurance covers renovation-related risks.
Review the project schedule one final time with your contractor and confirm the first week's daily plan. Know which subcontractors will be on site each day and what tasks they will complete. Having a clear mental picture of the first week eliminates first-day surprises and sets the tone for the entire project. For an overview of what happens next, explore our complete home renovation tips guide.
Frequently Asked Questions
How far in advance should I start preparing for a remodel?
Begin preparation 8 to 16 weeks before your target construction start date. The first four weeks should focus on defining scope, setting budget, and interviewing contractors. Weeks five through eight cover contract signing, permit applications, and material ordering. The final two to four weeks handle living arrangement planning, space preparation, and final logistics. Larger whole-house remodels may require 6 months or more of preparation.
What permits do I need for a home remodel?
Required permits vary by jurisdiction but generally include building permits for structural work, electrical permits for new circuits or panel upgrades, plumbing permits for new fixtures or pipe rerouting, and mechanical permits for HVAC changes. Cosmetic work like painting, flooring replacement, and cabinet refacing typically does not require permits. Your contractor should know local requirements, but verify with your city or county building department.
How do I handle unexpected issues discovered during demolition?
Unexpected issues — water damage, outdated wiring, asbestos, mold, or structural deficiencies — are common in older homes. Your contingency budget exists for exactly these situations. When an issue is discovered, your contractor should document it with photos, provide a written change order with cost and timeline impact, and obtain your written approval before proceeding. Never approve verbal change orders, and always understand the cost implications before authorizing additional work.
Should I move out during a major remodel?
For remodels affecting more than 50 percent of your living space, temporary relocation is strongly recommended. Dust, noise, loss of kitchen and bathroom access, and safety hazards from open framing and electrical work make daily life extremely difficult. Budget $1,500 to $3,000 per month for a furnished short-term rental or extended-stay hotel. Some homeowner's insurance policies include temporary living expense coverage during renovations — check your policy before your project begins.
What questions should I ask my contractor before construction starts?
Key pre-construction questions include: Who will be the on-site project manager? What are the daily work hours? How will you handle change orders? What is your inspection pass rate? How do you protect the rest of the home from dust and damage? What is the payment schedule? How will you communicate daily progress? What is your process if materials are delayed? Having clear answers to these questions in writing prevents misunderstandings during construction.
Related Articles
Continue your remodel planning with these related guides: Should You Remodel or Move? helps you decide whether renovation is the right choice. How to Finance a Home Remodel compares funding options. How to Use AI to Plan a Home Remodel shows you how technology streamlines the design process. And our AI room redesign guide helps you visualize changes before committing.
Start Visualizing Your Remodel with HanoDecor
Before construction begins, see what your remodeled space could look like. Upload photos of your current rooms to our HanoDecor Studio and generate photorealistic previews of different design directions. Experiment with layouts, color palettes, materials, and styles to refine your vision and communicate it clearly to your contractor. You can also use the AI Room Designer to explore unlimited design variations in seconds.
How to Prepare for a Home Remodel FAQs
Written by
Priya Sharma
Priya is an award-winning UX designer who previously led design teams at Airbnb and Pinterest. Her focus on user-centered design ensures that HanoDecor's tools are intuitive and accessible to everyone, regardless of their technical background.