How to Choose a Contractor for Your Remodel: 10 Vetting Steps
Quick Summary
A comprehensive 10-step vetting guide for selecting a remodel contractor covering sourcing candidates, license and insurance verification, portfolio review, bid analysis, reference checks, contract terms, payment schedules, communication expectations, red flags, and dispute resolution strategies.


Knowing how to choose a contractor for a remodel is the difference between a smooth renovation and a nightmare scenario. According to the Better Business Bureau, home improvement contractor complaints rank among the top five consumer grievances every year. Nearly 30 percent of homeowners report dissatisfaction with their remodel contractor, citing missed deadlines, budget overruns, poor workmanship, or communication breakdowns.
This 10-step vetting process has been refined by project managers and construction attorneys to help homeowners identify qualified, reliable contractors and avoid the most common pitfalls. Follow every step — skipping even one creates vulnerability that can cost thousands of dollars and months of delays. A well-vetted contractor relationship is the foundation of a successful remodel. Use this alongside our house remodel starting guide and financing comparison for comprehensive planning.
Step 1 — Source at Least Five Candidates
Never hire the first contractor you meet. Source at least five candidates through multiple channels: personal referrals from friends and family (the most reliable source), your local homebuilders association directory, platforms like Houzz and the National Association of the Remodeling Industry (NARI), and neighborhood social media groups. Personal referrals from people who have completed similar projects in the last 2 to 3 years carry the most weight because you can verify quality firsthand.
Avoid relying solely on lead-generation websites that sell your contact information to multiple contractors — these services prioritize quantity over quality. Instead, look for contractors who maintain their own professional website, have consistent branding, and are findable through organic channels. Contractors who rely entirely on paid leads rather than referrals and reputation may lack the track record you need.
Step 2 — Verify License and Insurance
Every contractor must hold a valid state or local contractor's license. Verify the license number directly with your state licensing board — do not accept a photocopy from the contractor. In most states, you can check license status online for free. Confirm the license type covers your project scope (general contractor, specialty electrical, specialty plumbing, etc.) and that it is current, not expired or suspended.
Require proof of general liability insurance ($1 million minimum) and workers' compensation coverage. Call the insurance company directly to confirm the policy is active — some contractors let coverage lapse between renewals. Without workers' comp, you could be liable if a worker is injured on your property. Without general liability, you bear the risk of property damage during construction. Never hire an uninsured contractor regardless of how good their price or portfolio looks.

Step 3 — Review Portfolio and Visit Completed Projects
Ask to see 5 to 10 completed projects similar to yours in scope and style. A contractor who specializes in kitchen remodels may not be the best choice for a whole-house renovation, and vice versa. Request to visit at least one completed project in person — photos can be curated, but an in-person walkthrough reveals quality details that cameras miss: how clean the caulk lines are, whether cabinet doors align perfectly, and how trim joints meet.
Look for consistency across projects — a contractor who delivers high-quality work on one project and mediocre work on another may have quality control issues. Ask the contractor about challenges they encountered on past projects similar to yours and how they resolved them. Their ability to discuss problems openly and describe solutions indicates professional maturity and transparency.
Step 4 — Compare Detailed Bids (Not Just Bottom Line)
Request detailed, itemized bids from your top 3 to 5 candidates — not lump-sum estimates. A proper bid breaks down costs by category: demolition, materials (specified by brand and model), labor (by trade), permits, dumpster, cleanup, and contingency. This granularity lets you compare apples to apples and aligns with the framework in our kitchen cost estimator guide. If one contractor bids $5,000 for cabinets and another bids $12,000, you need to know whether they are quoting stock cabinets versus semi-custom before concluding one is cheaper.
Be wary of bids that are significantly lower than competitors — more than 20 percent below the average usually signals cut corners, missed scope items, or an intention to submit change orders later. The mid-range bid from a well-qualified contractor typically delivers the best value. Use our remodel budget guide to understand typical cost allocations across project categories.
Step 5 — Check References and Online Reviews
Request at least 5 references from the last 12 months and actually call them. Ask specific questions: Was the project completed on time? Were there cost overruns, and if so, were they communicated proactively? How was communication during the project? Would you hire this contractor again? Did they respond promptly to warranty items after completion? The answers to these questions reveal far more than any sales presentation.
Cross-reference with online reviews on Google, Yelp, Houzz, and the BBB. Look for patterns rather than individual reviews — a contractor with 50 reviews averaging 4.5 stars who has a few 1-star complaints about scheduling is very different from one with 10 reviews averaging 3.5 stars. Check whether the contractor responds to negative reviews professionally — their response style indicates how they will handle problems on your project.
Step 6 — Understand the Contract Before Signing
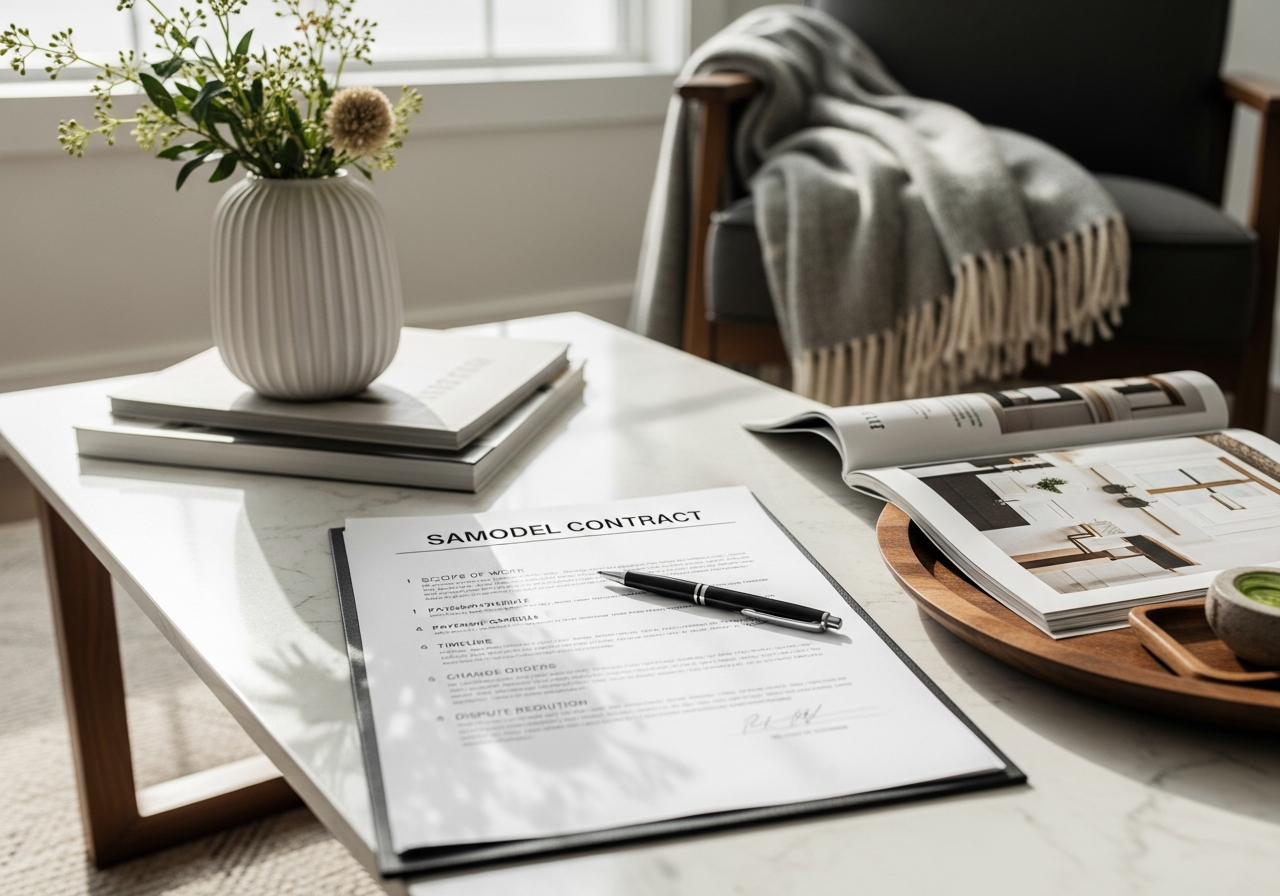
A proper remodel contract includes the detailed scope of work with material specifications, total price with payment schedule, start date and estimated completion date, change order process and pricing, warranty terms (workmanship and materials), dispute resolution method, and termination clauses. Never sign a contract that lacks any of these elements, and never start work without a signed contract — even with a trusted referral.
Pay special attention to the change order clause — this is where most disputes originate. The contract should specify that all changes must be documented in writing with the cost and timeline impact before the work proceeds. A contractor who resists putting the change order process in writing is signaling that they plan to manage scope loosely, which almost always leads to budget overruns.
Step 7 — Establish Payment Schedule Milestones
Never pay more than 10 to 15 percent upfront as a deposit. Structure remaining payments around completed milestones — for example, 25 percent after demolition and framing, 25 percent after rough-in plumbing and electrical, 25 percent after finishes installation, and the final 10 to 15 percent after punch list completion and final inspection. This schedule keeps the contractor motivated and protects you from paying for incomplete work. See our remodel payment guide for more on structuring payments.
Some states limit the maximum legal deposit a contractor can collect — California caps it at $1,000 or 10 percent of the contract, whichever is less. Check your state's regulations. Avoid paying cash — use checks or credit cards that provide a paper trail and potential chargeback protection. Withhold the final payment until all punch-list items are completed, permits are closed, and lien waivers are received from all subcontractors and material suppliers.
Step 8 — Set Communication Expectations
Establish communication protocols before construction begins. Define the primary point of contact (project manager or owner), preferred communication method (text, email, or project management app), expected response time (same business day for routine, within 2 hours for urgent), and weekly update schedule (written progress reports with photos). Contractors who resist structured communication often have organizational issues that lead to delays and miscommunication.
Request access to a shared project management platform like Buildertrend, CoConstruct, or even a shared Google Drive folder where daily progress photos, change orders, and material selections are documented. This creates an objective record that prevents the he-said-she-said disputes that derail many remodel projects. Clear communication is not optional — it is the infrastructure that holds the entire project together.
Steps 9 and 10 — Red Flags and Dispute Resolution
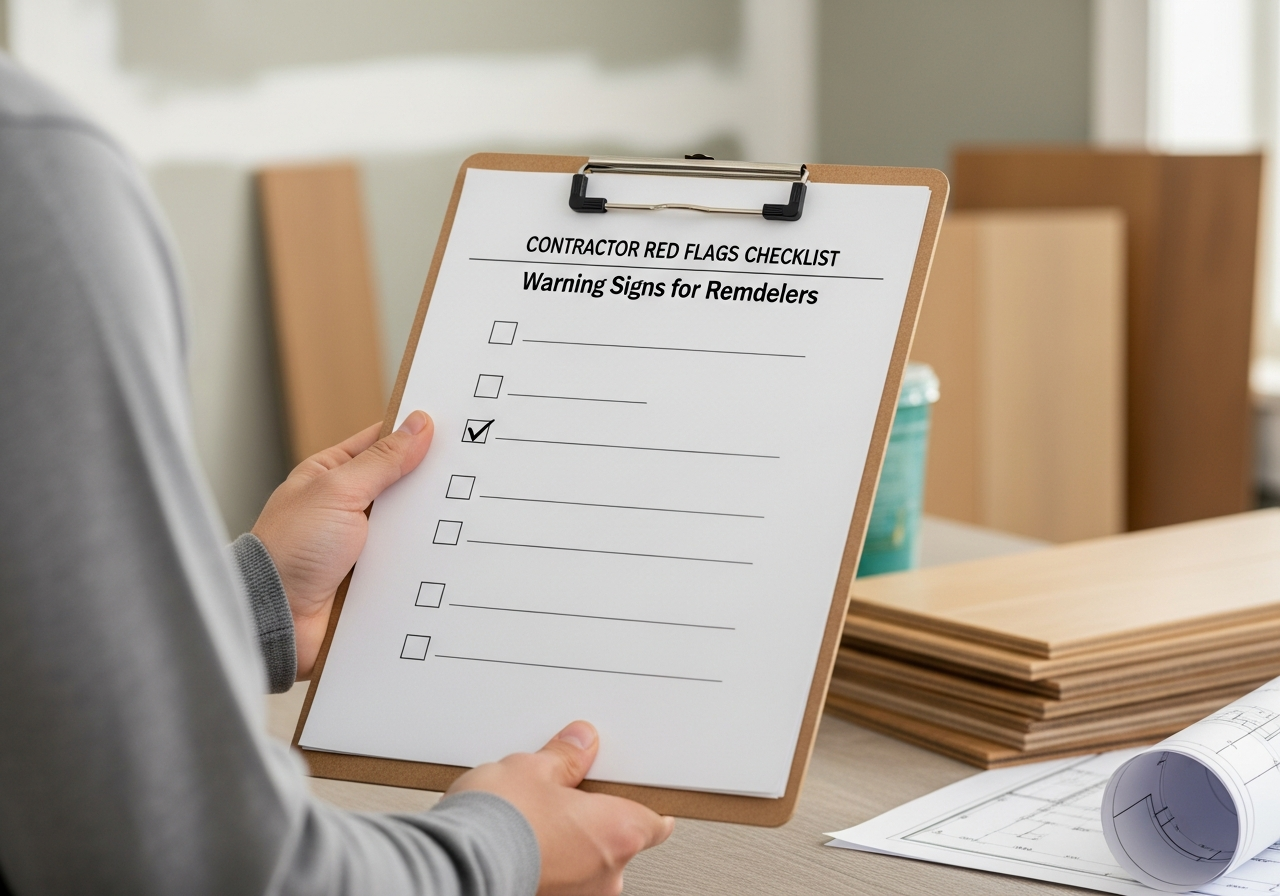
Walk away from any contractor who demands full payment upfront, cannot provide license and insurance documentation, refuses to put agreements in writing, pressures you to sign immediately with limited-time pricing, or has unresolved complaints with the BBB or licensing board. Other red flags include using a personal vehicle with no company identification, no physical business address, and unwillingness to pull permits. Our finding a reliable contractor guide covers additional red flag scenarios.
Include a dispute resolution clause in your contract specifying mediation as the first step before arbitration or litigation. Mediation costs $500 to $2,000 and resolves 80 percent of construction disputes within one to two sessions, compared to litigation which costs $10,000 to $50,000 and takes months or years. Document everything throughout the project — written communication, photos, and payment records — to support your position if a dispute arises.
| Vetting Step | Time Required | What to Verify |
|---|---|---|
| Source 5+ candidates | 1–2 weeks | Referrals, directories, online presence |
| License verification | 30 minutes each | State licensing board, type, status |
| Insurance confirmation | 15 minutes each | GL + workers' comp, direct with insurer |
| Portfolio review | 1 hour each | 5–10 similar projects, in-person visit |
| Detailed bid comparison | 2–4 hours | Line-item breakdown, material specs |
| Reference calls | 30 minutes each | 5 references, specific questions |
| Contract review | 1–2 hours | Scope, payment, changes, warranty |
| Payment milestones | 30 minutes | Max 10-15% deposit, milestone payments |
Related Articles
Continue your remodel planning: How to Choose a Kitchen Remodel Contractor, How to Find a Reliable Contractor, How to Budget for a Remodel, How to Prepare for a Home Remodel, and Home Renovation Tips Complete Guide.
Frequently Asked Questions
How many contractor bids should I get?
Get at least 3 to 5 detailed bids for any project over $5,000. This provides enough data points to identify outliers and understand fair market pricing. For complex projects like whole-house renovations, 5 to 7 bids give you a broader perspective on different approaches and pricing strategies.
What should a contractor's deposit be?
A reasonable deposit is 10 to 15 percent of the total contract, or $1,000 for smaller projects. Never pay more than one-third upfront. Some states cap maximum deposits by law — California limits contractors to $1,000 or 10 percent, whichever is less. Contractors who demand 50 percent or more upfront represent a significant financial risk.
How do I know if a contractor is licensed?
Verify contractor licenses through your state's contractor licensing board website. Most states offer free online lookup by license number or contractor name. Check that the license type covers your project scope, that it is currently active (not expired or suspended), and that there are no unresolved complaints or disciplinary actions on file.
What if my contractor does poor-quality work?
Document the quality issues with photos and written description, then notify the contractor in writing and allow reasonable time to correct the problems. If the contractor is unresponsive, file a complaint with your state licensing board, contact the BBB, and consider mediation. Having a contract with clear workmanship standards and warranty terms provides the legal foundation for resolution.
Visualize Your Remodel Before Hiring
Define your remodel vision before interviewing contractors. HanoDecor's AI Studio lets you upload photos and create realistic renderings that show contractors exactly what you want — eliminating ambiguity in bids and reducing the risk of miscommunication during construction. Explore the design gallery for inspiration and use the Room Designer to finalize your design scope before requesting bids.
How to Choose a Contractor for Your Remodel FAQs
Written by
Priya Sharma
Priya is an award-winning UX designer who previously led design teams at Airbnb and Pinterest. Her focus on user-centered design ensures that HanoDecor's tools are intuitive and accessible to everyone, regardless of their technical background.