How to Use AI to Plan a Home Remodel: Visualize Before You Build
Quick Summary
A comprehensive guide to using AI-powered design tools for home remodel planning. Covers AI room visualization, material and color testing, layout comparison, contractor communication, budget validation, and the complete workflow from photo upload to construction-ready plans. Positions HanoDecor's AI Studio as the central planning hub for modern renovation projects.
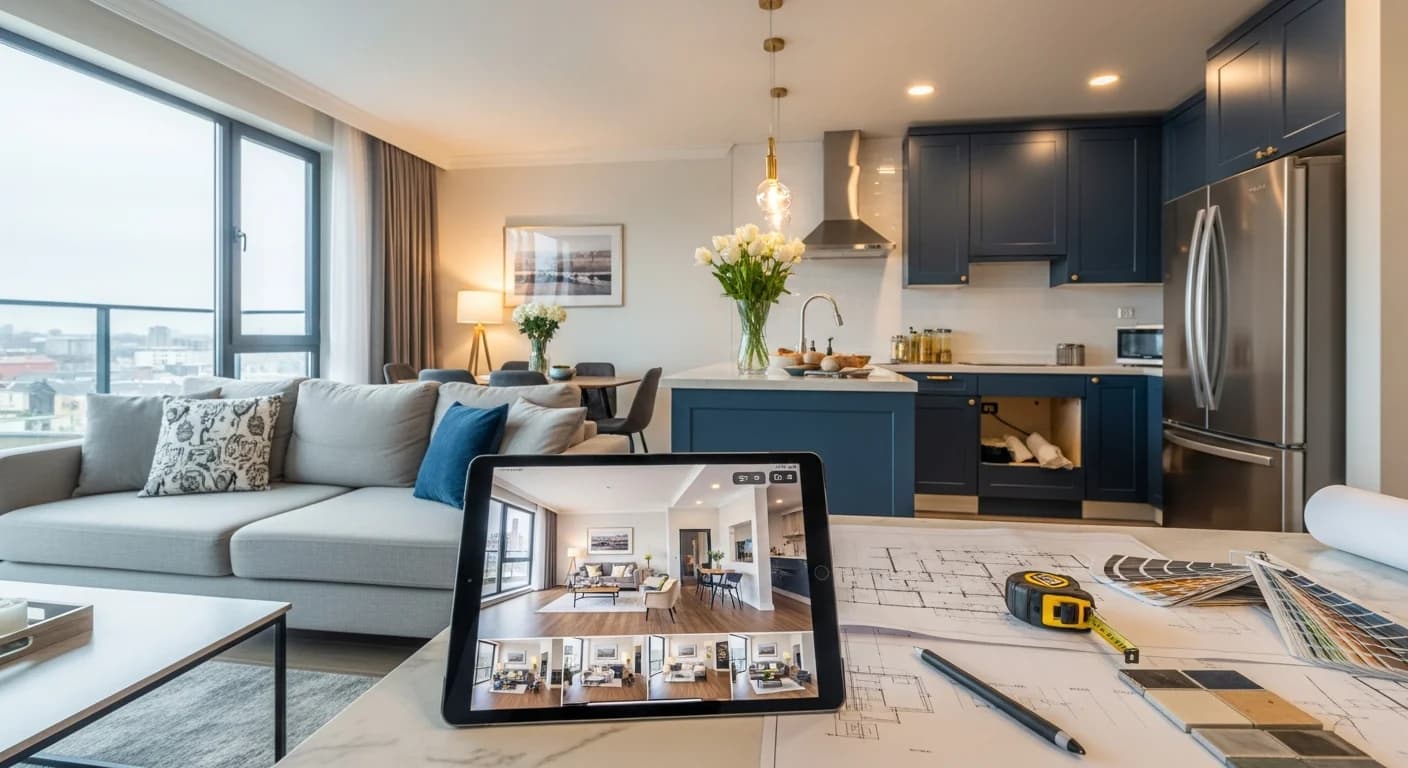
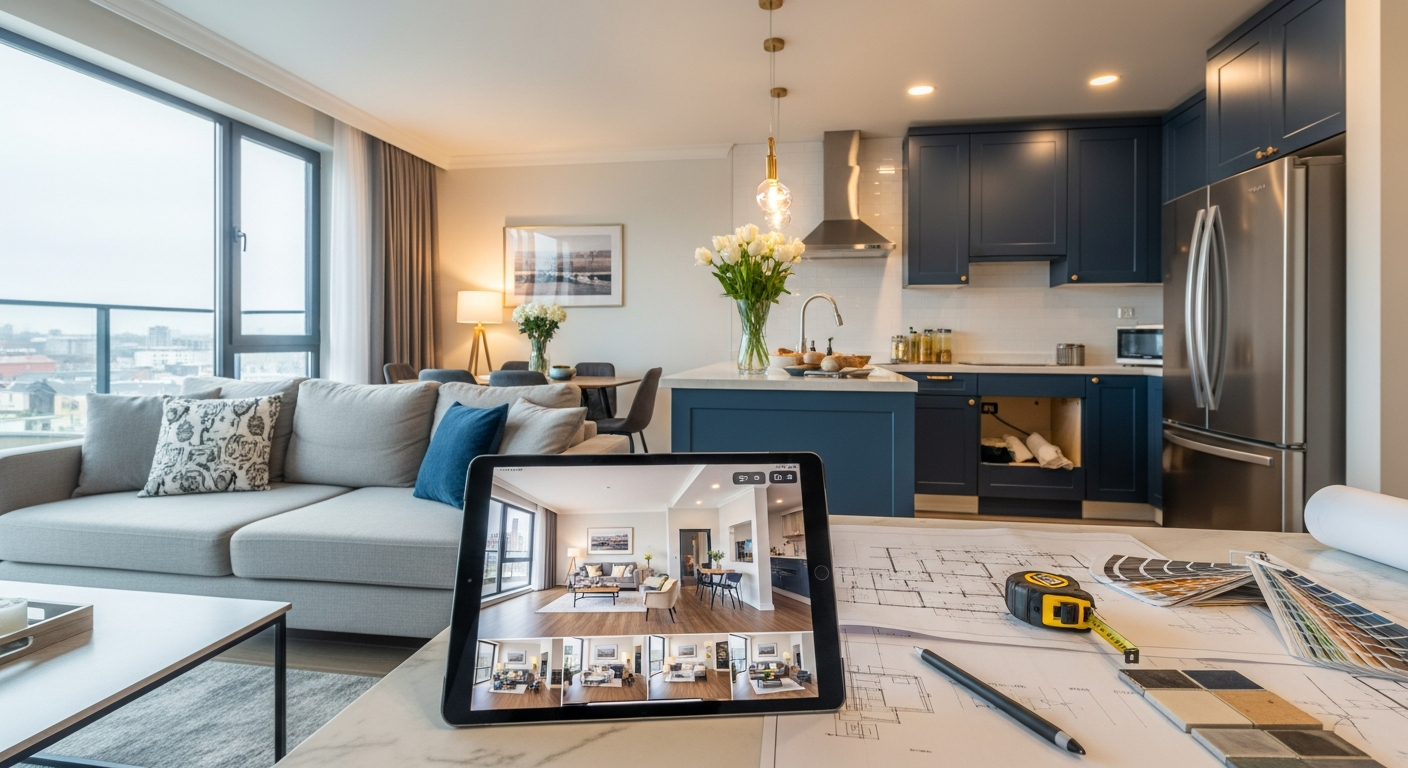
Learning how to use AI to plan a home remodel represents the biggest shift in renovation planning since the introduction of 3D modeling software. Traditional remodel planning forces homeowners to make $50,000 to $150,000 decisions based on material samples, mood boards, and imagination — a process that leads to 40 percent of homeowners expressing regret about at least one design choice after construction. AI visualization eliminates that guesswork by showing you photorealistic renderings of your exact rooms with your chosen materials, colors, and layouts before a single wall is demolished.
This guide shows you how to integrate AI design tools into every phase of your remodel planning process, from initial concept exploration through contractor communication and final design approval. Whether you are planning a kitchen renovation, bathroom remodel, whole-house update, or any room transformation, AI-powered visualization accelerates decision-making, reduces costly mid-construction changes, and ensures the finished result matches your expectations.
Why AI Changes Everything About Remodel Planning
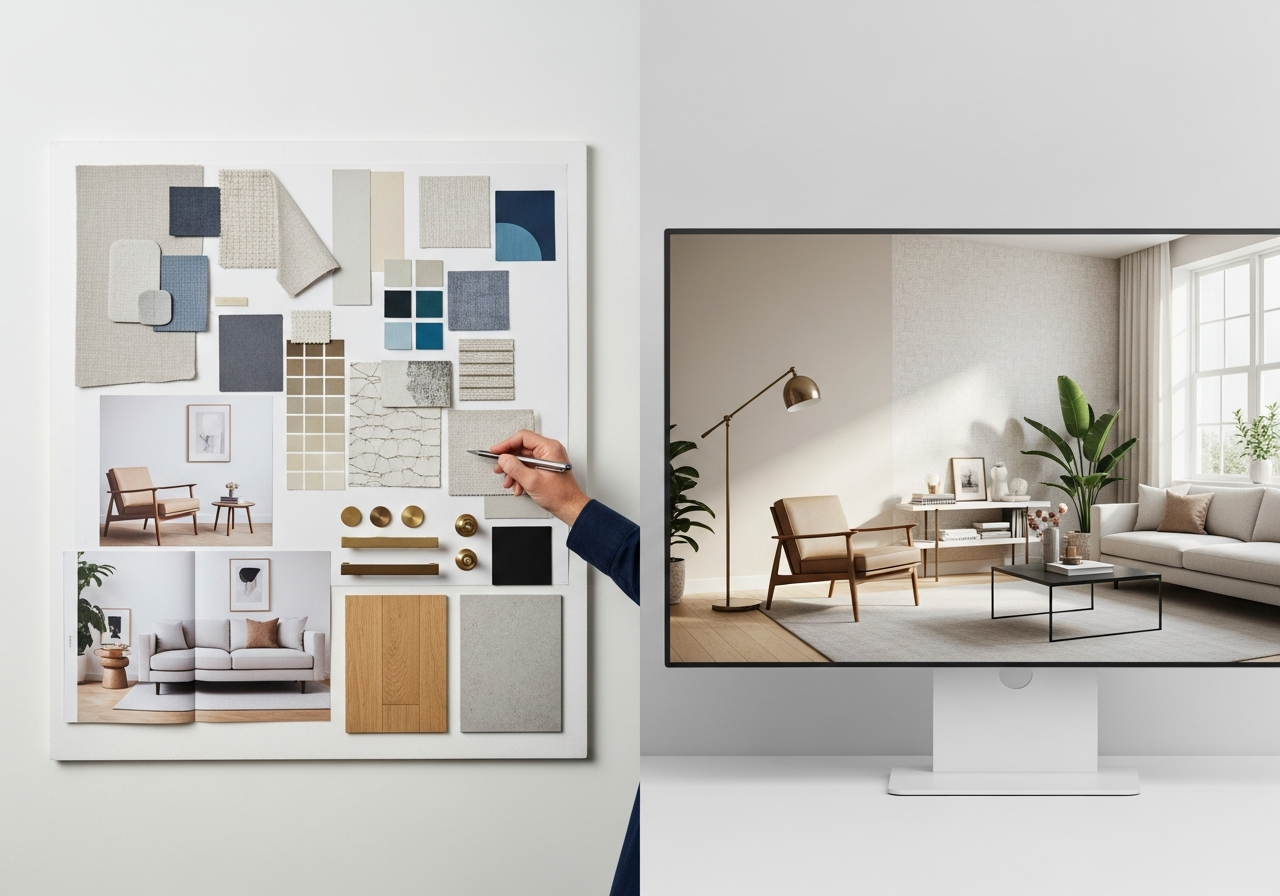
Traditional remodel planning relies on imagination, physical samples, and 2D drawings. You visit a tile showroom, hold a 4-by-4-inch sample against the wall, and try to picture how it will look across 50 square feet of backsplash — while simultaneously imagining new countertops, cabinet colors, and lighting fixtures that do not exist yet. This cognitive load produces decision fatigue and design regret. AI visualization tools like HanoDecor's AI Studio remove this burden by generating photorealistic images of your actual rooms with any combination of materials, colors, and configurations.
The practical benefits are significant: homeowners who use AI visualization report 60 percent fewer mid-construction change orders (which typically cost $500 to $5,000 each), 35 percent faster design decision timelines, and higher satisfaction with finished results. Contractors benefit too — clear visual references reduce misunderstandings and provide a shared target that everyone on the project can reference. The technology has matured rapidly, with modern AI tools producing renderings that are nearly indistinguishable from professional interior photography.
Step 1 — Upload Photos of Your Current Space
The AI visualization process starts with photographs of your existing rooms. For best results, take photos during daylight hours with the room well-lit. Shoot from corners at chest height (approximately 4 to 5 feet) to capture the widest angle. Include at least two perspectives of each room — one showing the primary wall or focal point and another showing the opposite view. Remove clutter and personal items from surfaces to give the AI a cleaner starting point for visualization.
Upload your photos to HanoDecor's AI Studio and the system analyzes the room's geometry, lighting conditions, architectural features, and existing materials. This analysis provides the foundation for generating accurate transformations that respect the room's proportions, window placement, and structural elements. Higher-resolution photos (12 megapixels or above) produce sharper, more detailed renderings — most modern smartphones exceed this threshold easily.
Step 2 — Explore Design Directions
Before committing to specific materials, use AI to explore broad design directions. Generate renderings of your kitchen in modern minimalist, transitional, farmhouse, and contemporary styles to see which resonates. Compare your living room with light hardwood floors versus dark walnut, white walls versus warm greige, and open shelving versus closed cabinetry. This exploratory phase — which would take weeks of showroom visits in the traditional process — takes minutes with AI and provides visual evidence for your design preferences.
Save promising renderings to mood boards within the platform to build a visual library of ideas. Share these with family members to align on design direction before investing time in specific material selections. The ability to see multiple options side by side on the same room — rather than imagining from separate material samples — dramatically reduces disagreements and accelerates consensus. Browse the HanoDecor design gallery for additional inspiration organized by room type and style.
Step 3 — Test Specific Materials and Colors
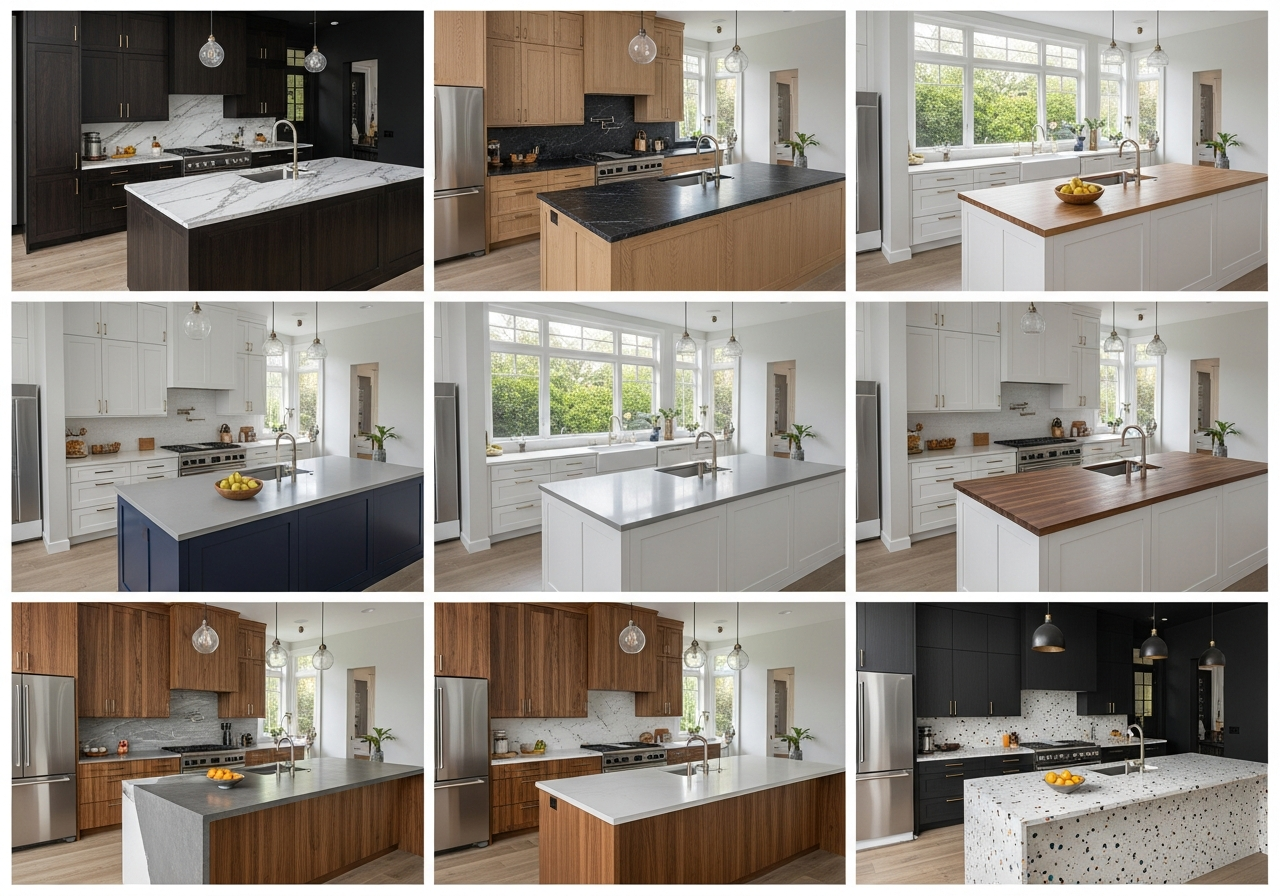
Once you have established a design direction, use AI to test specific material and color choices. Generate your kitchen with Calacatta marble countertops versus quartz versus butcher block. Visualize your bathroom with subway tile versus large-format porcelain versus natural stone. See your living room with Benjamin Moore White Dove walls versus Sherwin-Williams Agreeable Gray. These specific comparisons help you make confident material selections before purchasing a single sample.
Pay particular attention to how materials interact with your room's natural light. A tile that looks warm and inviting in a south-facing kitchen may appear cool and clinical in a north-facing bathroom. AI rendering accounts for your room's lighting conditions, providing a more accurate preview than showroom displays under artificial lighting. This light-aware visualization prevents one of the most common remodel regrets — choosing materials that look different in your space than they did in the store.
Step 4 — Compare Layout Options
Layout changes — moving an island, adding a peninsula, removing a wall, or reconfiguring a bathroom footprint — are the most expensive decisions to reverse once construction starts. AI visualization lets you compare 3 to 5 layout options for each room before committing. See your kitchen with the island rotated 90 degrees, your bathroom with the shower relocated to the opposite wall, or your living room with a fireplace wall opened up to the kitchen.
Use HanoDecor's Room Designer tool to experiment with furniture placement and spatial flow within each layout option. The combination of AI-generated renderings for overall aesthetic and layout planning tools for functional optimization gives you a complete picture of how each option will work in daily life. This dual approach catches both visual problems and functional issues before they become expensive construction changes.
Step 5 — Communicate With Contractors
AI renderings transform contractor conversations from abstract discussions into concrete visual references. Instead of describing what you want verbally — which introduces interpretation gaps — share AI-generated images that show exactly the result you expect. Contractors report that projects with clear visual references have 50 percent fewer miscommunication issues and produce more accurate initial bids. Include AI renderings in your request for proposals to ensure all bidding contractors are pricing the same scope.
During construction, AI renderings serve as the visual standard for quality and design intent. When the tile installer asks about grout line width or the cabinet maker questions the exact shade of blue, the rendering provides the answer. Printing key renderings and posting them on-site keeps the team aligned. This visual accountability is particularly valuable when working with multiple subcontractors who may not attend every planning meeting. Review our contractor selection guide for more communication best practices.
Step 6 — Validate Your Budget
AI renderings help validate budget estimates by providing visual specificity that generic descriptions cannot. When you show a contractor a rendering with specific tile patterns, cabinet styles, and countertop materials, they can provide more accurate bids than when working from verbal descriptions alone. The rendering also helps you identify where premium materials make the biggest visual impact and where budget-friendly alternatives are barely noticeable.
Compare renderings at different finish levels — budget, mid-range, and premium — to see the visual difference each price tier delivers. In many cases, mid-range materials provide 90 percent of the visual impact of premium options at 60 percent of the cost. AI visualization makes these trade-offs concrete rather than abstract, enabling smarter budget allocation. Review our remodel budget guide for detailed financial planning and our financing comparison for funding strategies.
Room-Specific AI Planning Workflows
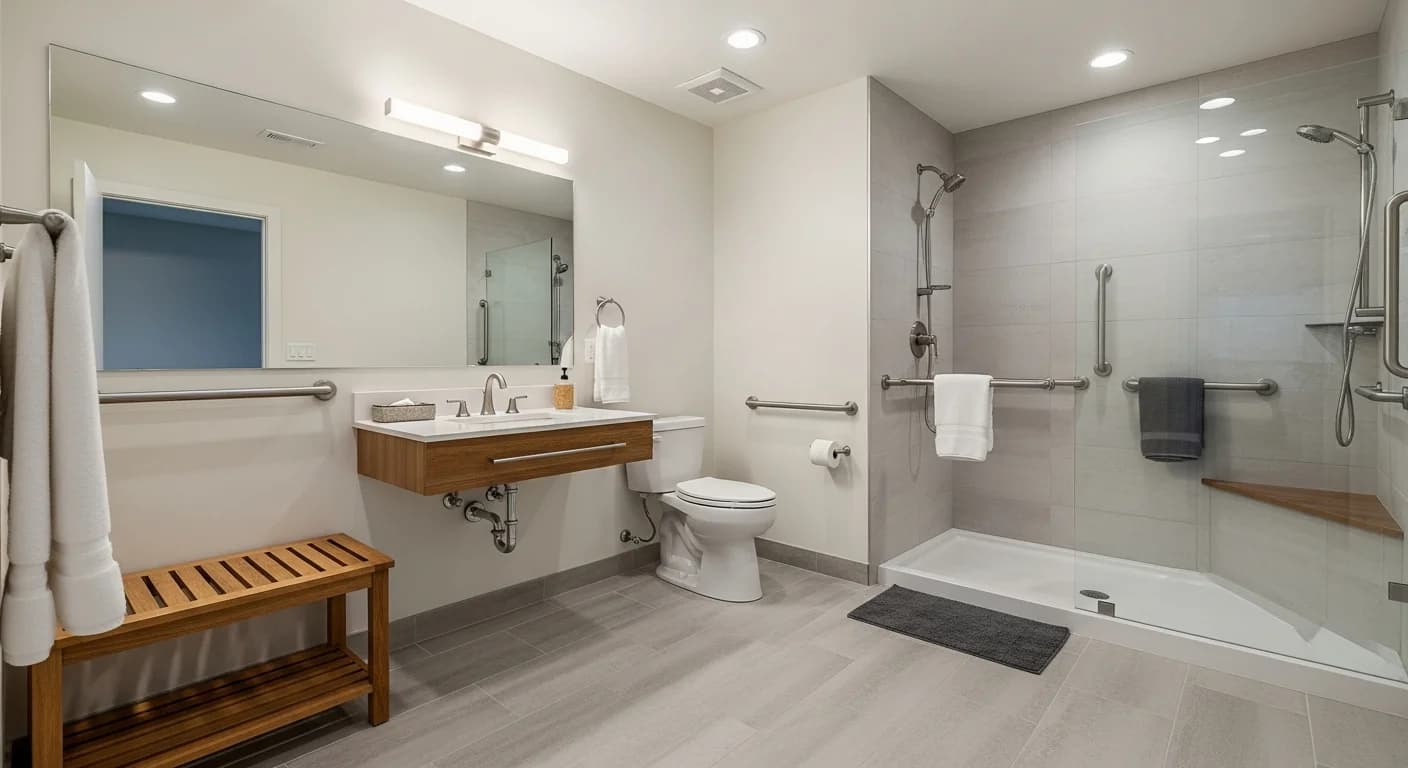
Each room type benefits from a slightly different AI planning approach. For kitchens, start with layout (work triangle, island placement, appliance locations), then test cabinet colors and countertop materials, and finally refine backsplash, hardware, and lighting. Use the Kitchen Remodel tool for kitchen-specific visualizations. For bathrooms, prioritize fixture layout (shower, vanity, toilet placement), then test tile patterns and vanity styles. Use the Bathroom Remodel tool for bathroom-specific renderings.
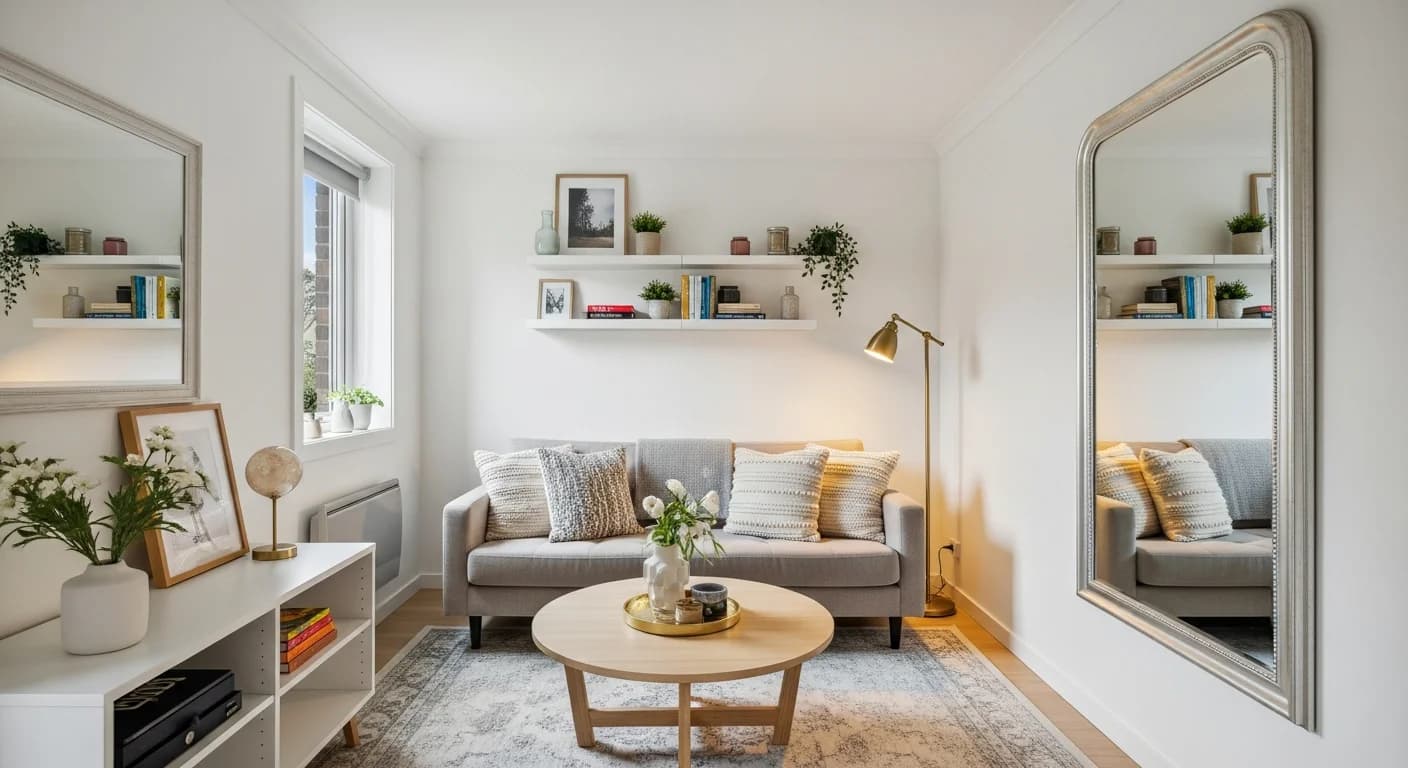
For living rooms and bedrooms, focus on flooring and wall treatments first (these set the room's foundation), then test furniture layouts and lighting options. For whole-house remodels, establish a cohesive palette across rooms by generating coordinated renderings that show how materials flow from kitchen to living room to hallway. This connected visualization prevents the disjointed feel that results from choosing each room's materials in isolation.

| Planning Phase | Traditional Method | AI-Powered Method | Time Saved |
|---|---|---|---|
| Design exploration | 2–4 weeks of showroom visits | 1–2 hours generating variations | 90% |
| Material selection | 1–3 weeks comparing samples | 30 minutes testing on your room | 85% |
| Layout comparison | $500–$2,000 for architect drawings | Minutes per layout variation | 80% |
| Contractor communication | Multiple meetings with verbal descriptions | Share renderings instantly | 70% |
| Budget validation | Multiple bid rounds with vague specs | Specific material references in bids | 50% |
| Family consensus | Weeks of debate over samples | Side-by-side visual comparisons | 75% |
Common Mistakes When Using AI for Remodel Planning
While AI visualization is powerful, avoid these common pitfalls. First, do not treat renderings as exact color matches — use them for design direction and material compatibility, then verify actual colors with physical samples under your room's lighting. Second, AI may not account for structural limitations like load-bearing walls, plumbing stacks, or electrical panel locations. Always verify layout changes with a contractor or structural engineer before assuming they are feasible.
Third, resist generating endless variations without narrowing your choices — AI makes it too easy to explore infinitely. Set a decision deadline and limit yourself to 3 to 5 final options per element. Fourth, share renderings with your contractor early in the bidding process, not after the contract is signed — this ensures pricing reflects the actual design rather than assumptions. Finally, remember that AI rendering quality depends on input photo quality — invest 10 minutes in taking well-lit, high-resolution photos for the best results.
Related Articles
Explore more remodel planning resources: How to Use AI to Redesign a Room, How to Remodel a House: Where to Start, How to Budget for a Remodel, How to Choose a Contractor, and How to Redesign a Kitchen.
Frequently Asked Questions
How accurate are AI remodel visualizations?
Modern AI visualization tools produce renderings that are 85 to 95 percent accurate in terms of spatial proportions, material appearance, and lighting effects. They excel at showing material compatibility, color harmony, and overall design direction. For exact color matching, always verify with physical samples. AI renderings are most valuable for relative comparisons — seeing option A versus option B on the same room — rather than absolute color accuracy.
Do I still need an interior designer if I use AI?
AI visualization complements but does not replace professional interior design for complex projects. AI excels at material testing, color exploration, and quick layout comparisons. Interior designers add value through spatial planning expertise, vendor relationships, project management, and the trained eye for proportions and details that AI may miss. For straightforward single-room remodels, AI tools may be sufficient. For whole-house renovations or architecturally complex spaces, consider using AI tools alongside a design professional.
Can AI help me plan a remodel on a tight budget?
Absolutely. AI is particularly valuable for budget-conscious remodels because it lets you test whether a less expensive material achieves a similar visual effect to a premium option — before purchasing either one. Generate renderings with laminate countertops versus quartz, LVP versus hardwood, or painted cabinets versus custom stain to see where the visual difference justifies the price premium and where budget options perform nearly as well.
How do I share AI renderings with my contractor?
Most AI design platforms, including HanoDecor, let you download high-resolution renderings, share via link, or export to PDF. Include renderings in your request for proposals alongside material specifications. Print key renderings for on-site reference during construction. The more visual context your contractor has, the more accurate their bid and the fewer misunderstandings during the build process.
What rooms benefit most from AI planning?
Kitchens and bathrooms benefit the most because they involve the most material choices (cabinets, countertops, tile, fixtures, hardware) and the highest per-square-foot costs. Getting these rooms right the first time saves the most money. Living rooms and bedrooms also benefit significantly for flooring, wall treatment, and furniture layout decisions. Any room where you are making irreversible material commitments benefits from AI visualization.
Start Planning Your Remodel With AI Today
Ready to see your renovation vision come to life? HanoDecor's AI Studio transforms your room photos into photorealistic renderings in minutes. Test materials, compare layouts, explore styles, and share results with contractors — all before spending a dollar on construction. Start with the Kitchen Remodel tool or Bathroom Remodel tool for room-specific visualizations, or explore the design gallery for inspiration to fuel your AI planning session.
How to Use AI to Plan a Home Remodel FAQs
Written by
Priya Sharma
Priya is an award-winning UX designer who previously led design teams at Airbnb and Pinterest. Her focus on user-centered design ensures that HanoDecor's tools are intuitive and accessible to everyone, regardless of their technical background.