How to Design a Bathroom Remodel: Layout, Fixtures, and Flow
Quick Summary
A comprehensive guide to designing a bathroom remodel covering layout planning, fixture placement rules, vanity sizing, shower and tub dimensions, material selection, lighting design, ventilation requirements, and universal design considerations. Includes clearance requirements, code minimums, and expert tips for creating optimal traffic flow in any bathroom size.
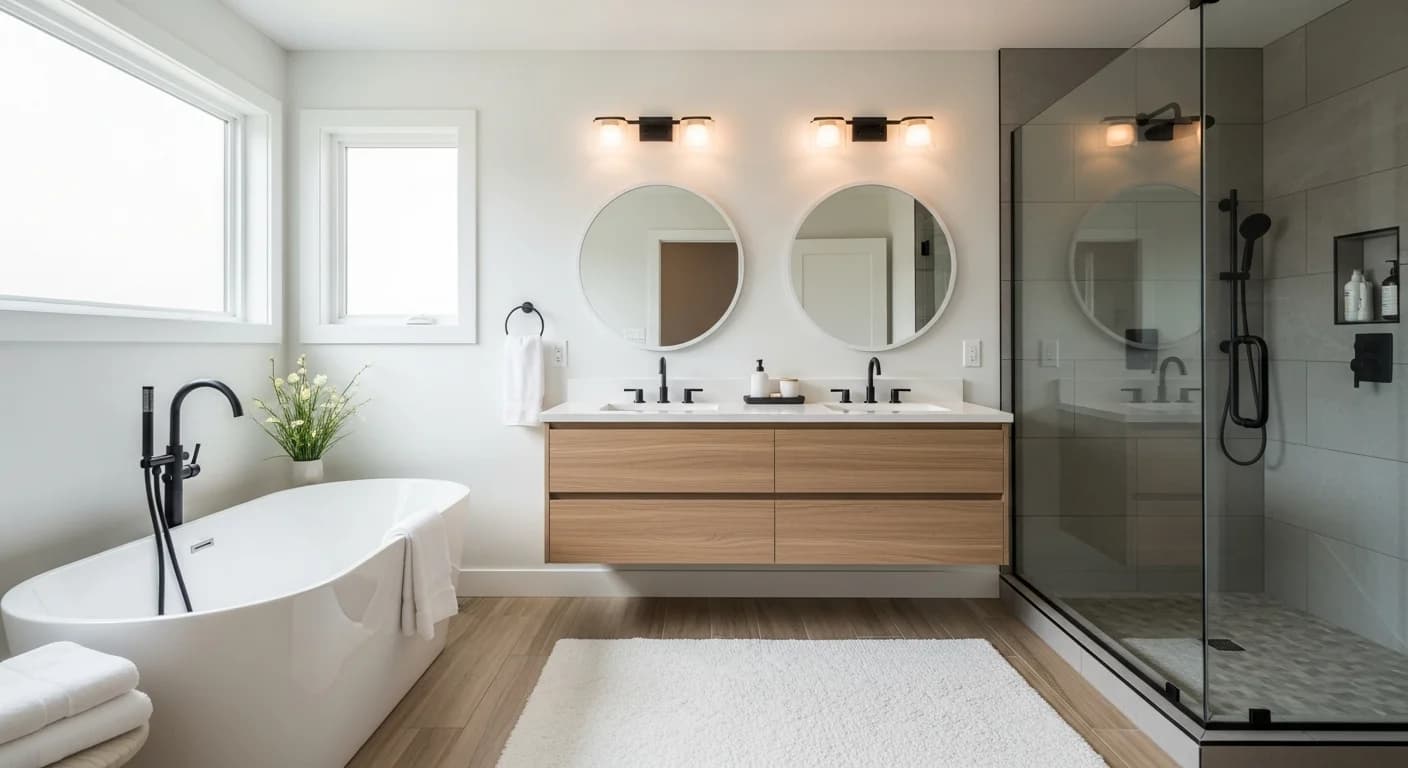
Understanding how to design a bathroom remodel is the critical first step that separates successful renovations from costly mistakes. A well-designed bathroom balances aesthetics with function, ensuring that every fixture has adequate clearance, every surface material suits its environment, and the room's traffic flow feels intuitive from the moment you walk in. Poor design decisions made on paper become expensive corrections on the jobsite — moving a toilet drain even 12 inches can add $1,000 to $2,500 to your project.
This guide walks you through the complete bathroom design process, from measuring your space and understanding building code clearances to selecting fixtures, choosing materials, planning lighting, and creating a layout that maximizes every square foot. Whether you are designing a compact powder room, a family hall bath, or a luxurious primary suite, these principles ensure your finished bathroom looks intentional and functions beautifully for years to come.
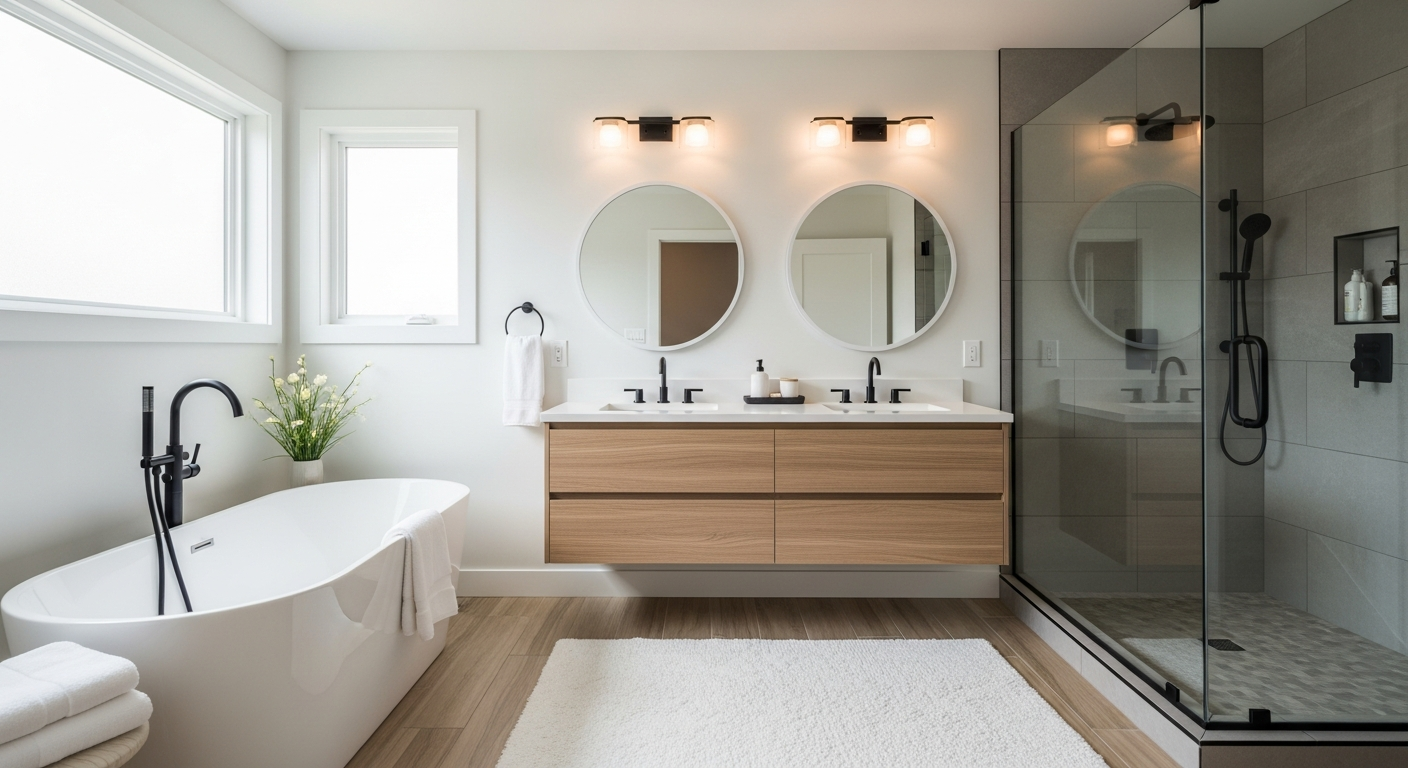
Start with Accurate Measurements and a Base Plan
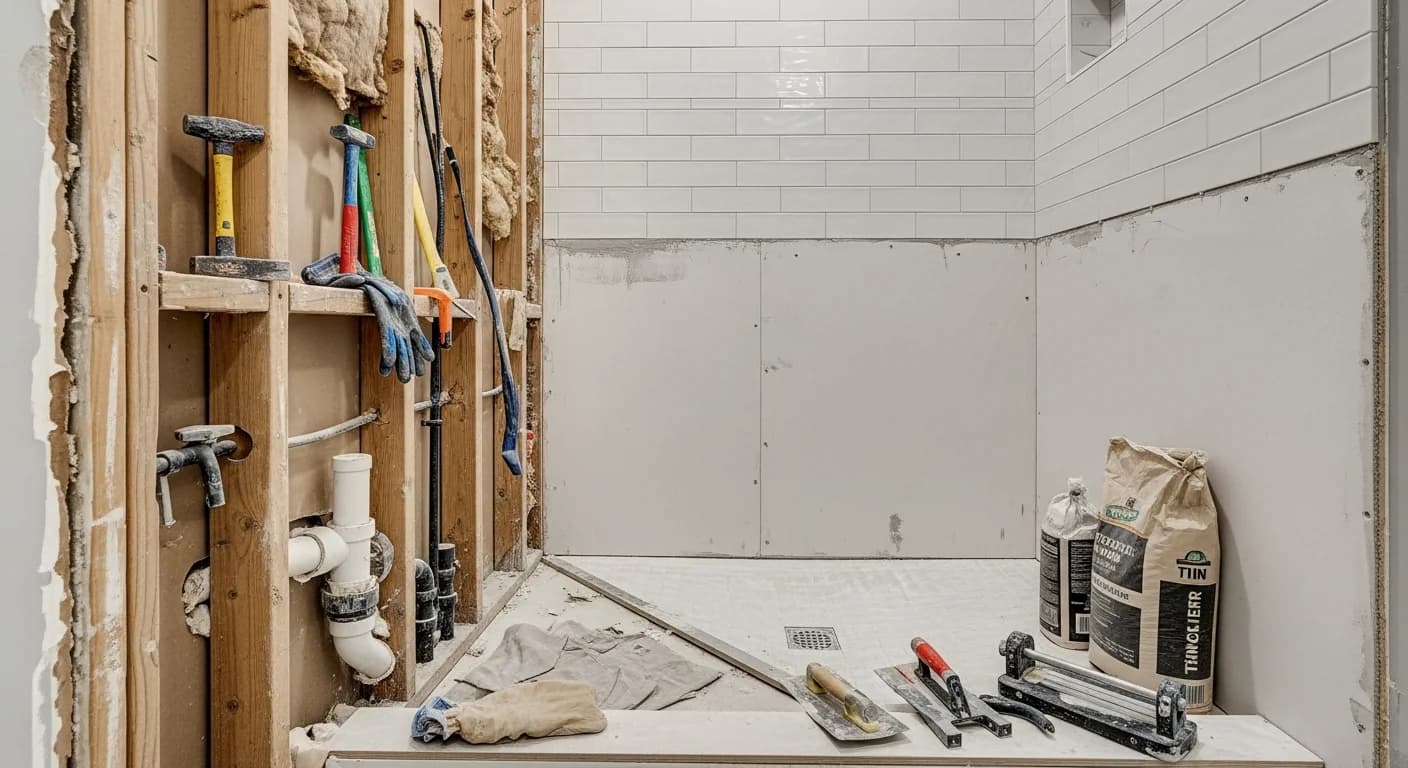
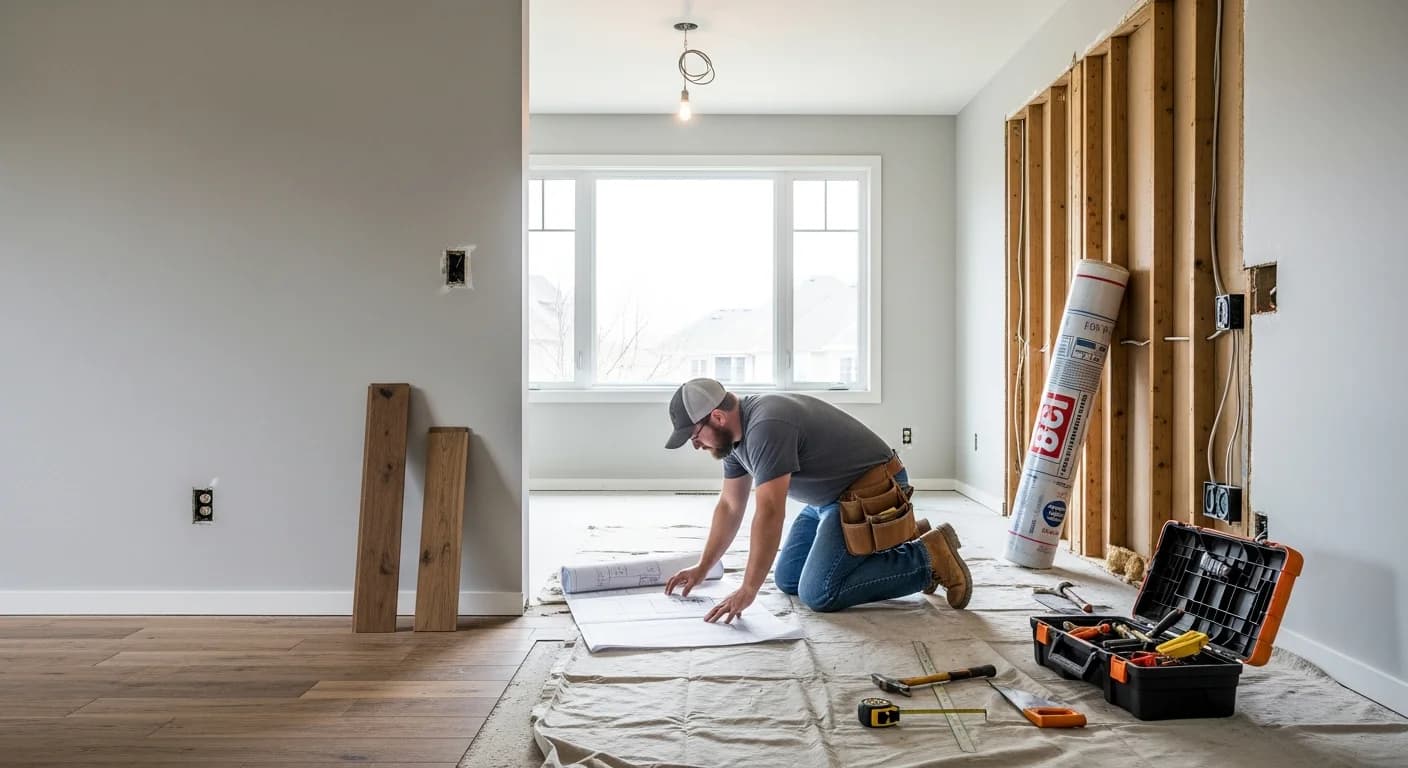
Every bathroom design begins with precise measurements. Measure the room's length, width, and ceiling height, then note the locations of existing plumbing rough-ins (drain centers and supply lines), electrical outlets, windows, and doors. Record the swing direction of the entry door and any obstacles like structural columns or ductwork. Transfer these measurements to a scaled floor plan — graph paper at quarter-inch-per-foot scale or a free digital tool like RoomSketcher or SmartDraw works perfectly.
Mark the existing plumbing locations prominently on your plan. These are your design anchors: keeping fixtures close to existing rough-ins saves thousands in plumbing relocation costs. A toilet requires a 12-inch rough-in from the finished wall in most standard installations. The shower drain position and supply lines for the vanity faucet are your other fixed points. Design your layout around these positions first, then adjust secondary elements. For a complete step-by-step process, see our bathroom remodel construction guide.
Essential Fixture Clearance Requirements
Building codes and best practices establish minimum clearances around bathroom fixtures that directly impact your layout options. Understanding these dimensions before finalizing your design prevents costly mid-project corrections and ensures your bathroom meets code for permit approval and resale.
| Fixture | Code Minimum | Recommended |
|---|---|---|
| Toilet — center to side wall | 15 inches | 18 inches |
| Toilet — front clearance | 21 inches | 30 inches |
| Vanity — front clearance | 21 inches | 30 inches |
| Shower — minimum interior | 30 × 30 inches | 36 × 36 inches |
| Double vanity — center to center | 30 inches | 36 inches |
| Door swing clearance | 32 inches wide | 34 inches wide |
These minimums apply to most residential building codes, but always verify with your local building department. ADA-compliant bathrooms require significantly more clearance: 60-inch turning radius, 48-inch front clearance for toilets, and 36-inch-wide doorways. Even if ADA compliance is not required, designing closer to recommended dimensions than code minimums creates a noticeably more comfortable bathroom experience.
Choosing the Right Layout for Your Bathroom Size
Bathroom layouts fall into several common configurations, each suited to specific room dimensions. A one-wall layout places the vanity, toilet, and shower along a single wall — ideal for narrow bathrooms under 5 feet wide. A two-wall layout splits fixtures across opposing walls, providing better traffic flow in rooms 7 to 8 feet wide. The L-shaped layout uses two adjacent walls and works well in square rooms of 7×7 feet or larger.
For primary bathrooms exceeding 80 square feet, consider a wet zone and dry zone approach. Group the shower, tub, and toilet in one wet zone with appropriate waterproofing, and keep the vanity and dressing area in a separate dry zone. This separation improves functionality for couples sharing the space and simplifies waterproofing requirements. For small spaces specifically, explore our small bathroom remodel guide and small bathroom ideas.
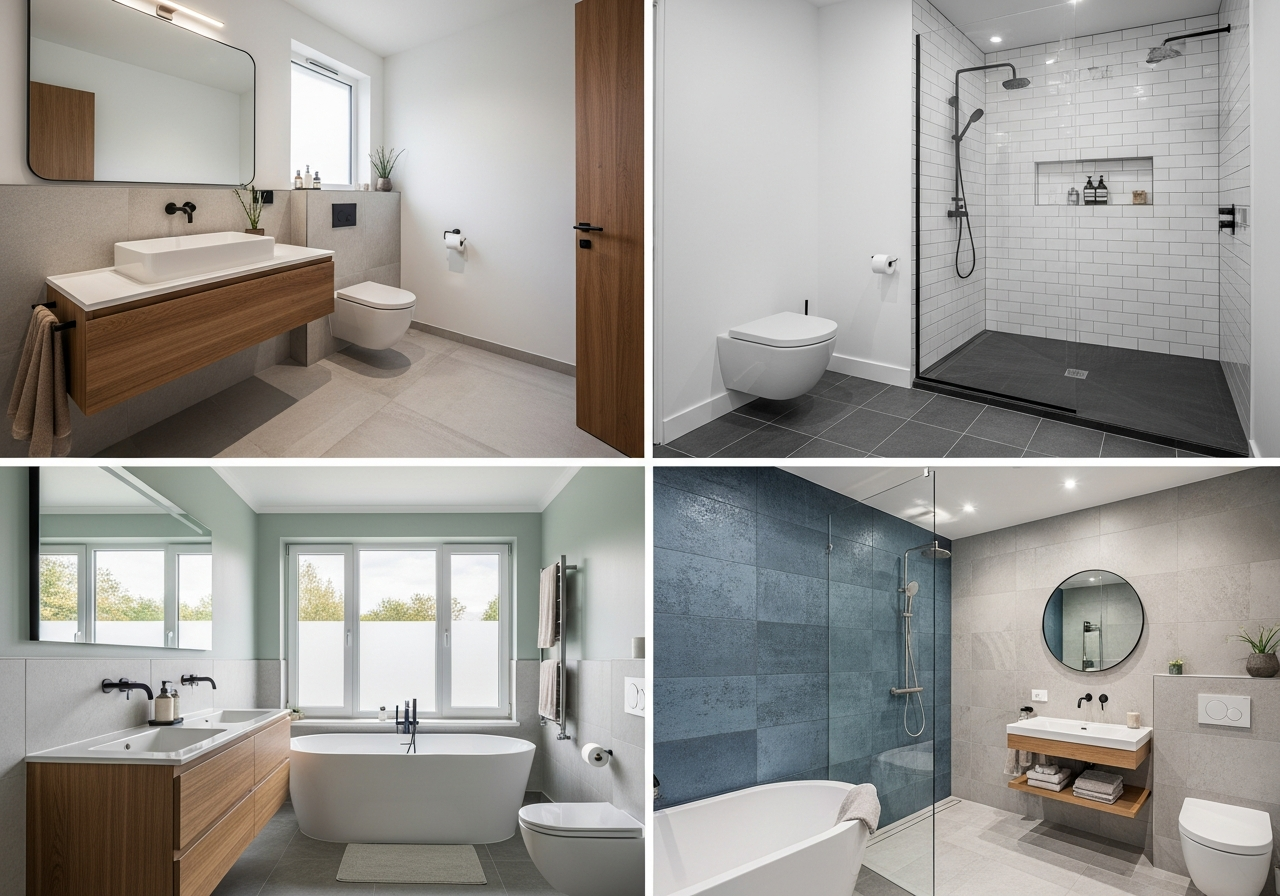
Selecting and Sizing Bathroom Fixtures
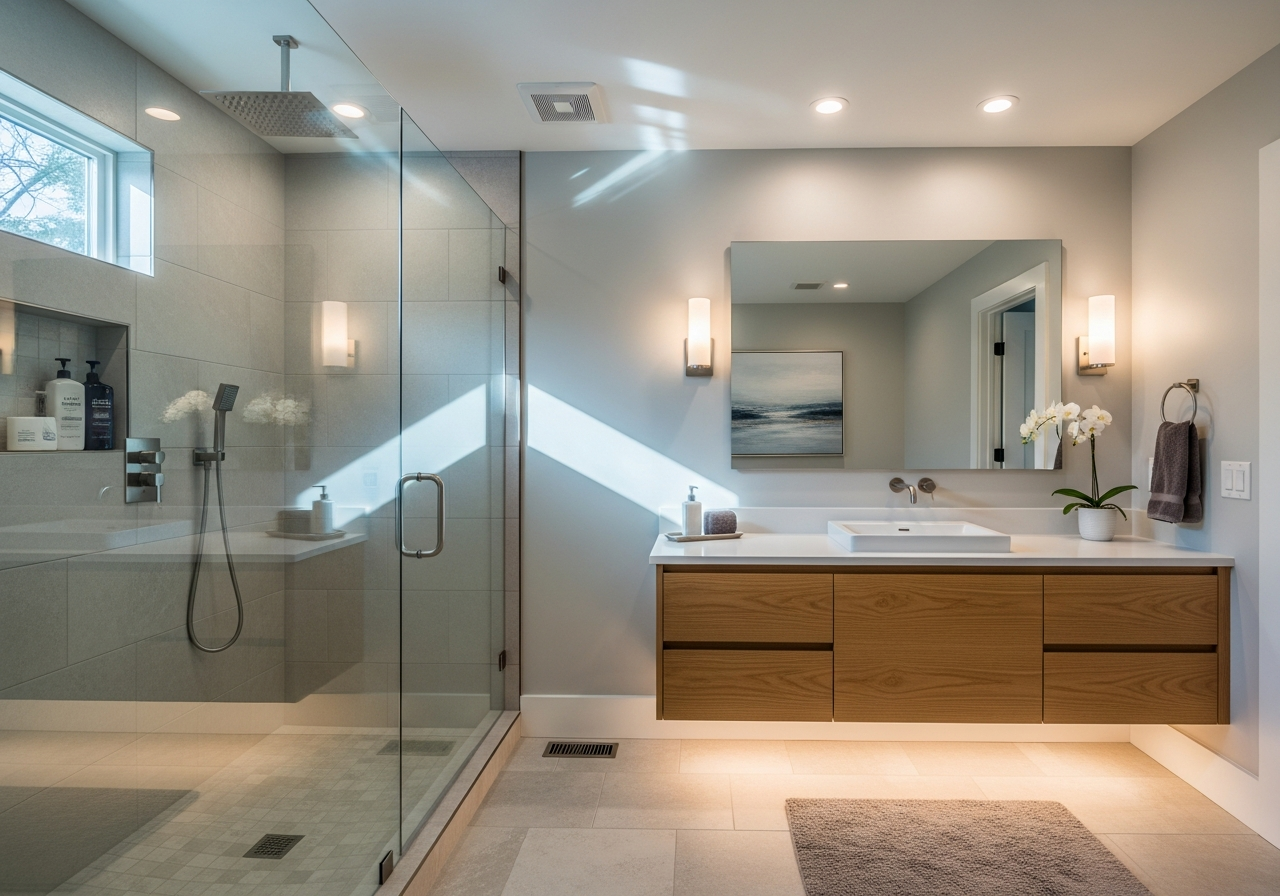
Vanity sizing: A single vanity ranges from 24 to 36 inches wide and works in bathrooms under 60 square feet. Double vanities span 60 to 72 inches and require a room width of at least 8 feet to maintain adequate clearance. Floating vanities mounted 4 to 6 inches above the floor create the illusion of more space and simplify floor cleaning. Standard vanity height is 32 inches, but comfort-height models at 36 inches are increasingly popular and more ergonomic for adults.
Shower dimensions: A 36×36-inch shower is the minimum comfortable size for a single user. Walk-in showers of 48×36 inches or larger provide a more luxurious experience and accommodate a bench seat. Curbless showers require a linear drain and precise floor slope of one-quarter inch per foot toward the drain. For tub-shower combos, standard alcove tubs measure 60×30 inches. Freestanding soaking tubs require 6 to 12 inches of clearance on all accessible sides. For shower-specific guidance, see our shower remodel guide.
Material Selection for Wet Environments
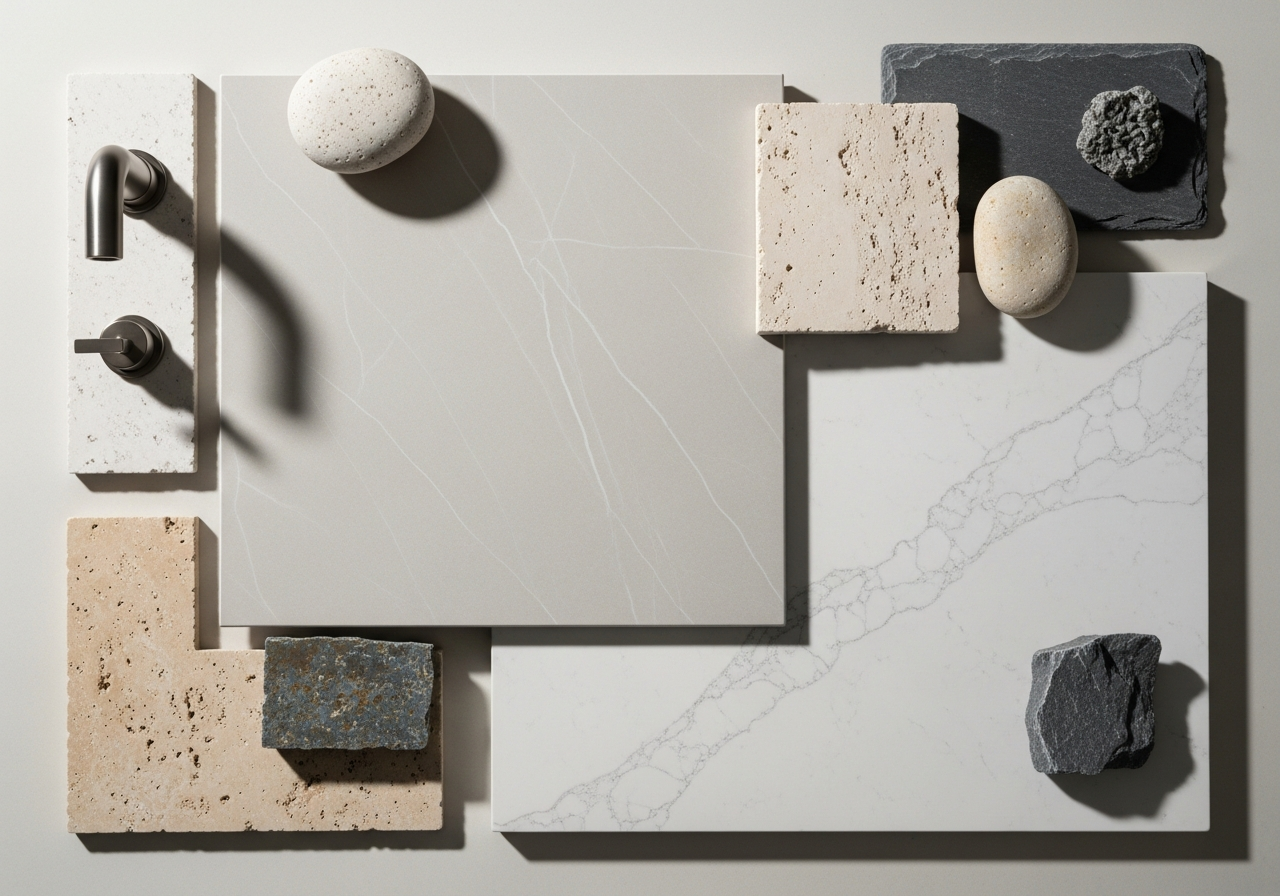
Bathroom materials must withstand daily exposure to moisture, temperature fluctuations, and cleaning chemicals. Porcelain tile remains the gold standard for bathroom floors and shower walls — it absorbs less than 0.5 percent moisture, resists staining, and comes in hundreds of styles including realistic wood and stone looks. Large-format tiles (12×24 inches or larger) minimize grout lines and create a seamless, easier-to-maintain surface. Natural stone requires periodic sealing but adds unmatched luxury.
For countertops, quartz offers zero-porosity and consistent coloring, making it ideal for bathroom vanities. Marble is beautiful but requires annual sealing and is susceptible to etching from acidic products. Solid surface materials like Corian provide a seamless, integrated sink-and-countertop option at a moderate price point. Wall materials beyond tile include waterproof panels, microcement finishes, and acrylic surrounds that install faster than individual tiles. For more material comparisons, check our guide to bathroom tile design ideas.
Designing Bathroom Lighting and Ventilation
Bathroom lighting requires a layered approach similar to other rooms but with specific considerations for mirror illumination and moisture resistance. Vanity lighting should flank the mirror at eye level (approximately 65 inches from the floor) rather than mounted above the mirror, which creates harsh shadows under the chin and eyes. Wall sconces at 18 to 24 inches apart centered on the mirror provide the most flattering illumination. Recessed ceiling lights on a dimmer handle ambient lighting.
Ventilation is a code requirement in bathrooms without operable windows and a best practice in all bathrooms. An exhaust fan rated at 1 CFM per square foot of bathroom area (minimum 50 CFM) removes moisture that causes mold, mildew, and paint peeling. Humidity-sensing fans that activate automatically when moisture levels rise are worth the modest premium of $30 to $50 over manual-switch models. Duct the fan to the exterior — never into an attic space.
Creating Optimal Traffic Flow
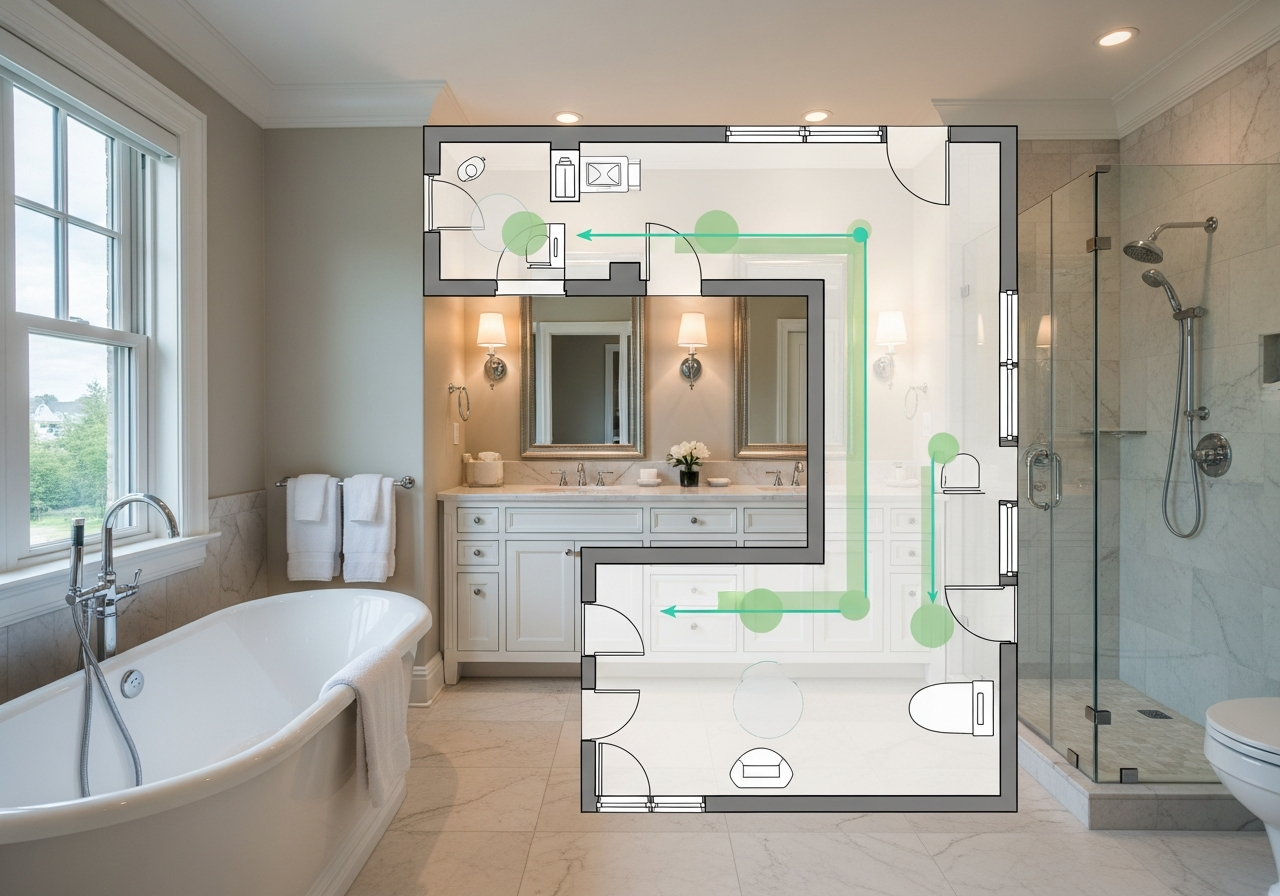
Traffic flow refers to the path a person naturally takes when moving through the bathroom. The entry point should provide an unobstructed view of the vanity mirror — not the toilet. Position the toilet behind the door swing or in a separate water closet alcove for privacy. The shower or tub should be accessible without crossing in front of the toilet. This hierarchy — vanity first, toilet discreetly positioned, shower easily accessible — creates intuitive circulation.
In shared bathrooms, consider a compartmentalized layout with a pocket door separating the toilet and shower from the vanity area. This allows two people to use the bathroom simultaneously — one at the vanity and one in the wet zone. Pocket doors save 7 to 9 square feet of swing space compared to traditional hinged doors and work exceptionally well in bathrooms under 50 square feet.
Universal Design and Aging-in-Place Considerations
Incorporating universal design principles during the design phase costs far less than retrofitting later. Install blocking (2×6 lumber) behind wall surfaces at grab bar heights (33 to 36 inches for horizontal bars, 42 inches for vertical bars) even if you do not install grab bars now — the blocking allows easy future installation without wall demolition. A curbless shower with a linear drain adds accessibility without sacrificing aesthetics.
Comfort-height toilets (17 to 19 inches versus the standard 15 inches) are easier for adults and seniors to use. Lever-handle faucets require less grip strength than knob-style handles. Non-slip tile with a coefficient of friction of 0.6 or higher provides traction on wet floors. These modifications blend seamlessly into modern bathroom design and add value for all users regardless of age or ability. Learn more in our bathroom redesign guide.
Budgeting Your Bathroom Design
Allocate your bathroom remodel budget using the 40-20-20-20 guideline: 40 percent for labor, 20 percent for fixtures (toilet, vanity, shower/tub), 20 percent for tile and materials, and 20 percent for plumbing, electrical, and contingency. A well-designed bathroom minimizes labor costs by keeping fixtures close to existing rough-ins, selecting standard-size components that do not require custom fabrication, and specifying materials that install efficiently.
For detailed cost breakdowns by bathroom size and scope, consult our bathroom remodel cost guide. If budget is a primary concern, our budget bathroom remodel guide covers strategies for achieving a beautiful result at a lower price point.
Frequently Asked Questions
What is the best layout for a small bathroom?
For bathrooms under 40 square feet, a one-wall or L-shaped layout maximizes space. Place the vanity closest to the door, the toilet next, and the shower at the far end. Use a 32-inch vanity, a corner shower of 36×36 inches, and a pocket door to eliminate wasted swing space. Light colors, large-format tiles, and a frameless glass shower panel create the illusion of more room.
How much space do I need between bathroom fixtures?
Building code requires a minimum of 15 inches from the center of the toilet to any side wall or fixture, 21 inches of front clearance for toilets and vanities, and 30×30 inches minimum interior shower dimension. For comfort, exceed these minimums by 3 to 6 inches wherever possible. Double vanities need at least 30 inches center-to-center between sinks, though 36 inches is far more comfortable.
Should I use a bathtub or shower in my remodel?
If the bathroom is the only full bath in the home, include a tub for resale value — homes without any bathtub can lose 10 to 15 percent of buyer interest. If the home has at least one other tub, replacing the tub with a walk-in shower adds usable space and creates a more modern, accessible feel. Freestanding tubs are the most desirable option when space allows, while alcove tub-shower combos remain the most practical for family bathrooms.
What tile size is best for bathroom floors?
Large-format tiles of 12×24 inches or larger are ideal for bathroom floors because they minimize grout lines, which are the most maintenance-prone part of a tiled surface. Fewer grout lines also create a seamless look that makes the room appear larger. For shower floors, smaller mosaic tiles (2×2 inches or penny rounds) provide more grout lines for traction and conform better to the slope toward the drain.
How do I waterproof a bathroom properly?
Apply a liquid or sheet waterproofing membrane (such as Schluter DITRA, Laticrete Hydro Ban, or RedGard) to all shower walls and floors before tiling. Extend the membrane at least 6 inches beyond the shower opening and up the wall to a height of at least 72 inches. Seal all seams, corners, and penetrations with waterproofing tape and additional membrane layers. The shower pan must slope one-quarter inch per foot toward the drain for proper water evacuation.
Related Articles
Continue planning your bathroom renovation with these guides: How to Remodel a Bathroom: Construction Guide covers the build process step by step. How Much Does It Cost to Remodel a Shower breaks down shower-specific pricing. How to Create a Spa-Calm Bathroom helps you style your finished space. Browse our bathroom design gallery for visual inspiration across all styles and budgets.
Visualize Your Bathroom Design with HanoDecor
Ready to see your bathroom design come to life before construction begins? Use our AI Bathroom Remodel tool to upload a photo of your current bathroom and preview layout changes, fixture selections, tile patterns, and color schemes in photorealistic renderings. Experiment with different vanity styles, shower configurations, and material combinations to find the perfect design — then share the results with your contractor for a precise vision. You can also use the AI Room Designer for broader design explorations across any room in your home.
How to Design a Bathroom Remodel FAQs
Written by
Emily Rodriguez
Interior Design Editor covering living spaces, styling trends, and room makeovers. Former Architectural Digest contributor with a focus on accessible, budget-conscious design.