How to Redesign a Bathroom: 10 Smart Planning and Design Steps (2026)
Quick Summary
A complete guide to redesigning a bathroom from planning through completion. Covers 10 steps including assessment, budgeting, layout planning, vanity and sink selection, tile and flooring materials, fixtures and hardware, lighting design, storage solutions, AI visualization, and execution timeline. Includes cross-links to small bathroom redesign, bathroom redesign cost, and aging-in-place bathroom guides.
How to Redesign a Bathroom: 10 Smart Planning and Design Steps (2026)
Learning how to redesign a bathroom the right way starts with having a clear plan — skipping steps is the number-one reason bathroom projects go over budget, over schedule, or end with disappointing results. The average bathroom redesign costs between $6,000 and $25,000, yet nearly 30% of homeowners say they would change something about their finished bathroom if they could do it over.
Bathrooms are uniquely challenging renovation projects. Moisture control, plumbing constraints, electrical codes, and tight spaces all demand precise planning before a single tile is laid. Unlike a living room refresh where you can swap furniture and paint on a whim, a bathroom redesign involves waterproofing membranes, drain locations, GFCI-protected circuits, and clearance requirements that leave little room for improvisation.
This guide walks you through a proven 10-step process that covers every decision from initial assessment to final execution. Whether you are planning a cosmetic refresh or a full gut renovation, these steps will help you avoid costly mistakes and create a bathroom you love for years to come. Before you begin, browse bathroom design inspiration to start gathering ideas, and use our AI bathroom remodel visualizer to preview your redesign with a photo of your current space.
Why a Step-by-Step Bathroom Redesign Process Matters
Bathroom renovations consistently rank among the most complex home improvement projects per square foot. Every surface must resist moisture. Plumbing and electrical systems must meet strict building codes. And because bathrooms are small, even a two-inch miscalculation in fixture placement can make the difference between a comfortable space and one that feels cramped.
A step-by-step approach ensures you make decisions in the right order. Choosing tile before confirming your layout, for example, can lead to expensive pattern cuts or wasted material. Selecting a vanity before measuring clearances might leave you with a beautiful piece that blocks the door swing. By following these 10 steps sequentially, each decision builds on the one before it — reducing rework, controlling costs, and keeping your project on schedule.
Step 1 — Assess Your Current Bathroom
Functionality Audit
Start by identifying what works and what frustrates you daily. Walk through your morning and evening routines and note every pain point: insufficient counter space around the sink, poor shower pressure, dim lighting at the mirror, cabinets that are too high or too low, and storage that never seems adequate for towels and toiletries. Consider who uses this bathroom — a master bath serves different needs than a shared family bathroom or a guest powder room. If aging family members use the space, accessibility features should be part of your planning from the start. For specific guidance on universal design, see our guide on how to redesign a bathroom for aging in place.
Measure Your Space
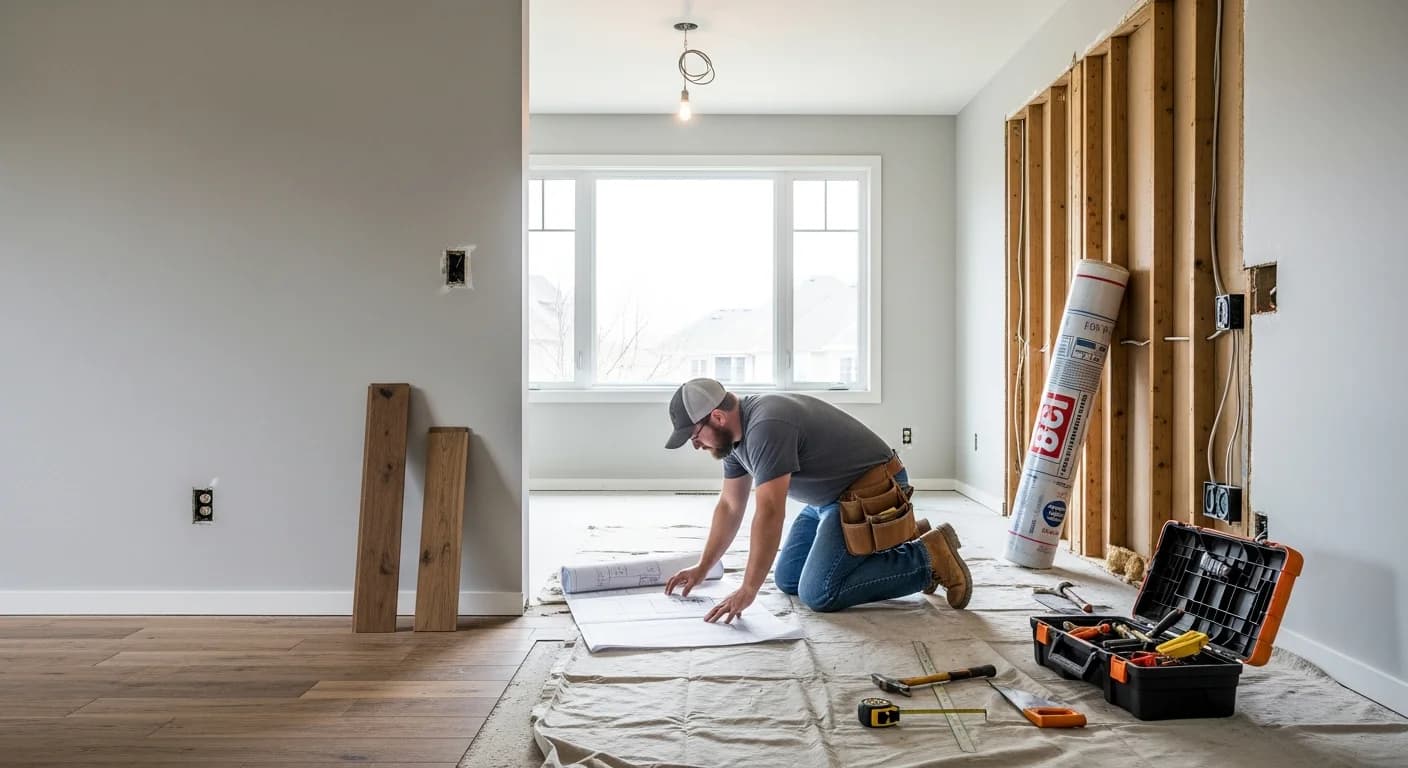
Record room dimensions including ceiling height. Note window locations, door swing direction, and — most importantly — existing plumbing locations for the toilet, sink, and shower or tub. Photograph your current bathroom from multiple angles, including corner shots that capture two walls at once. These measurements and photos become the foundation for every layout decision that follows. They are also essential if you plan to get contractor quotes or use an AI visualization tool to preview your redesign.
Step 2 — Set Your Bathroom Redesign Budget
Budget Tiers for Bathroom Redesign
Bathroom redesigns fall into three general budget tiers. A cosmetic refresh ($1,500–$5,000) covers paint, hardware, accessories, a new mirror, and updated lighting — enough to noticeably change the look without touching plumbing or tile. A moderate redesign ($5,000–$15,000) includes a new vanity, updated fixtures, fresh tile on the floor and tub surround, and possibly new flooring. A full redesign ($15,000–$35,000+) involves layout changes, a new shower or tub configuration, complete surface replacement, and upgraded plumbing and electrical. For a detailed cost analysis by project scope, see our full bathroom cost breakdown. If your budget is limited, our bathroom redesign cost guide covers strategies for getting the most value from every dollar.
Where to Allocate Your Budget
As a general rule, plan to allocate 40–50% of your total budget to labor. Fixtures and the vanity account for 15–20%, tile and flooring take 10–15%, and plumbing and electrical work require another 10–15%. The most important line item is contingency: set aside 15–20% of your budget for unexpected issues. Hidden water damage behind walls, outdated plumbing that no longer meets code, and subfloor rot are common surprises when bathroom walls come open. A contingency fund keeps these discoveries from derailing your entire project.
Step 3 — Plan Your Bathroom Layout
Working with Existing Plumbing
Moving plumbing is the most expensive layout change in a bathroom — relocating a single fixture can cost $1,000–$5,000 or more depending on how far it moves from existing drain and supply lines. Whenever possible, keep the toilet, shower, and sink in their current positions. Drain lines are especially costly to move because they require specific slope angles to function properly. Supply lines are more flexible but still add cost. If your layout feels cramped, consider whether a different vanity size, a shower door change, or a reconfigured storage arrangement can solve the problem without moving plumbing.
Common Bathroom Layouts
Most bathrooms follow one of four basic configurations. A single-wall layout places all fixtures along one wall, ideal for narrow spaces. An L-shaped layout arranges fixtures along two adjacent walls and is the most common configuration in American homes. A galley layout positions fixtures on opposite walls, working well in long, narrow bathrooms. A compartmentalized layout separates the toilet and shower into distinct zones for privacy — popular in primary suites. The NKBA bathroom design guidelines provide detailed spacing standards for each layout type.
Clearance and Spacing Requirements
Proper clearances are non-negotiable for both comfort and code compliance. The toilet center should be at least 15 inches from any side wall or cabinet. Allow a minimum of 21 inches of clear floor space in front of the toilet and vanity. Shower entries need at least 30 inches of clear floor space. Double-check that your door swing does not hit any fixtures when opened fully. These clearances may seem generous on paper, but in practice they represent the minimum for comfortable daily use.
Step 4 — Choose Your Vanity and Sink
Vanity Types
Your vanity is often the visual centerpiece of the bathroom. Freestanding vanities are the most common, available in widths from 24 to 72 inches with built-in storage below. Floating (wall-mounted) vanities create visual floor space and lend a modern, airy aesthetic — they also make floor cleaning easier. Furniture-style vanities repurpose a dresser or console table, adding unique character. Custom built-in vanities maximize odd-shaped spaces and allow you to specify exact dimensions, drawer configurations, and countertop materials.
Sink Styles
Sink style affects both aesthetics and daily usability. Undermount sinks sit below the countertop for a clean edge and easy wipe-down — the most practical choice for most bathrooms. Vessel sinks sit on top of the counter as a statement piece, but require a taller faucet and can splash more. Integrated sinks combine the countertop and basin in one seamless piece, minimizing seams and simplifying cleaning. For double vanities, plan for a minimum bathroom width of 60 inches to allow comfortable spacing between basins. Explore vanity style and storage options for more inspiration on matching your vanity to your design vision.
Step 5 — Select Tile, Flooring, and Wall Materials
Bathroom Flooring Options
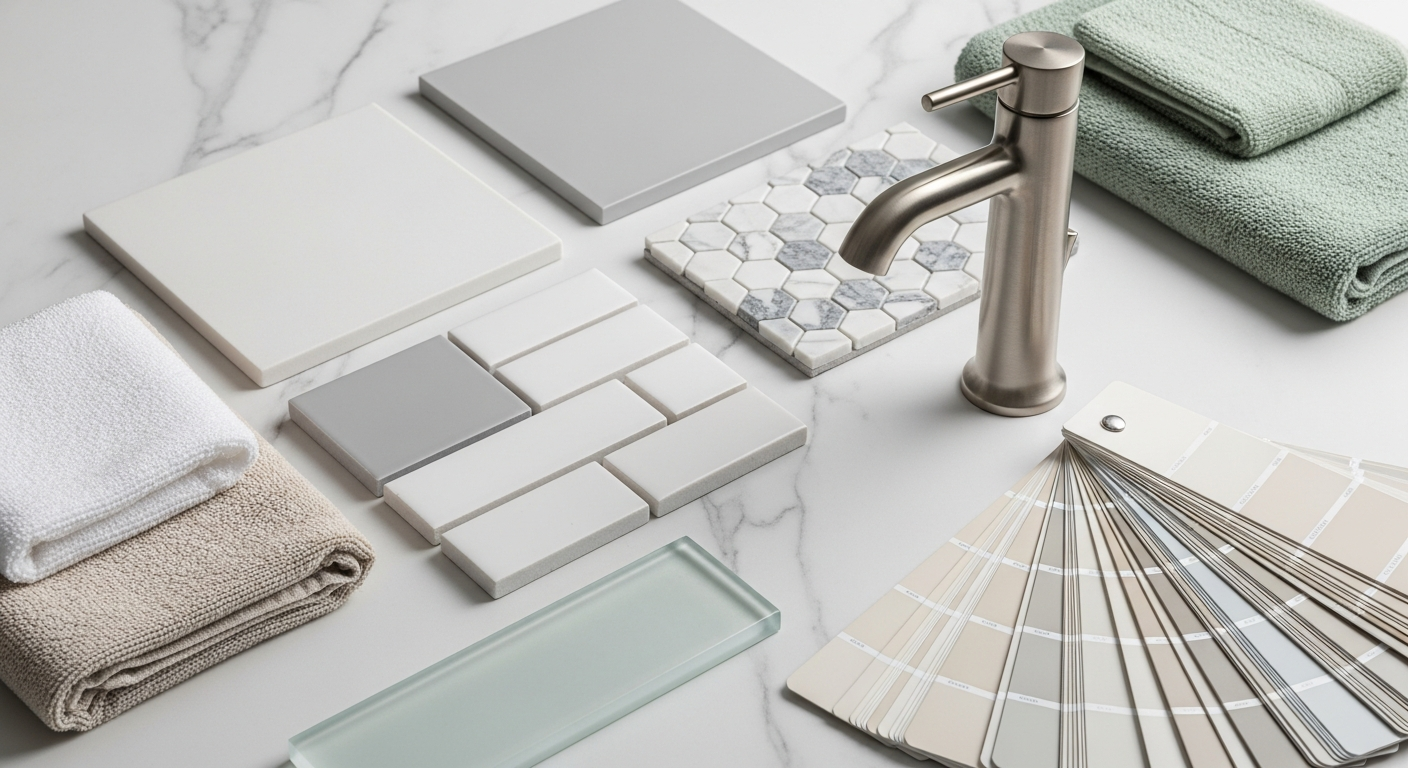
Bathroom flooring must withstand constant moisture, temperature changes, and heavy foot traffic. Porcelain tile ($3–$15/sq ft) is the gold standard — water-resistant, incredibly durable, and available in every style from wood-look planks to marble-look slabs. Ceramic tile ($1–$10/sq ft) offers a budget-friendly alternative with slightly lower density and water resistance. Luxury vinyl plank (LVP) ($2–$7/sq ft) is 100% waterproof, warm underfoot, and DIY-friendly for homeowners comfortable with floating-floor installation. Natural stone ($5–$30/sq ft) delivers a premium look but requires periodic sealing to prevent staining and moisture penetration.
Shower and Tub Surround Tile
Large-format tiles (12x24 inches or larger) are trending for shower surrounds because they reduce grout lines and create a sleek, modern look. Classic subway tile remains a versatile choice that works with virtually any design style. Mosaic tiles are ideal for shower floors because their small size conforms to the slope needed for drainage, and they provide extra traction underfoot. Consider adding a niche accent tile as a focal point — a single strip of contrasting mosaic or patterned tile draws the eye without overwhelming the space.
Wall Treatments Beyond Tile
Not every bathroom wall needs tile. Moisture-resistant paint in a satin or semi-gloss finish works well on walls outside the shower zone. Wainscoting or board-and-batten paneling protects lower walls from splashes while adding architectural interest. Waterproof wallpaper has made a major comeback, offering bold patterns that transform a powder room or accent wall. See tile pattern and material ideas for detailed comparisons and design inspiration across all surface types.
Step 6 — Pick Fixtures and Hardware
Shower and Tub Fixtures
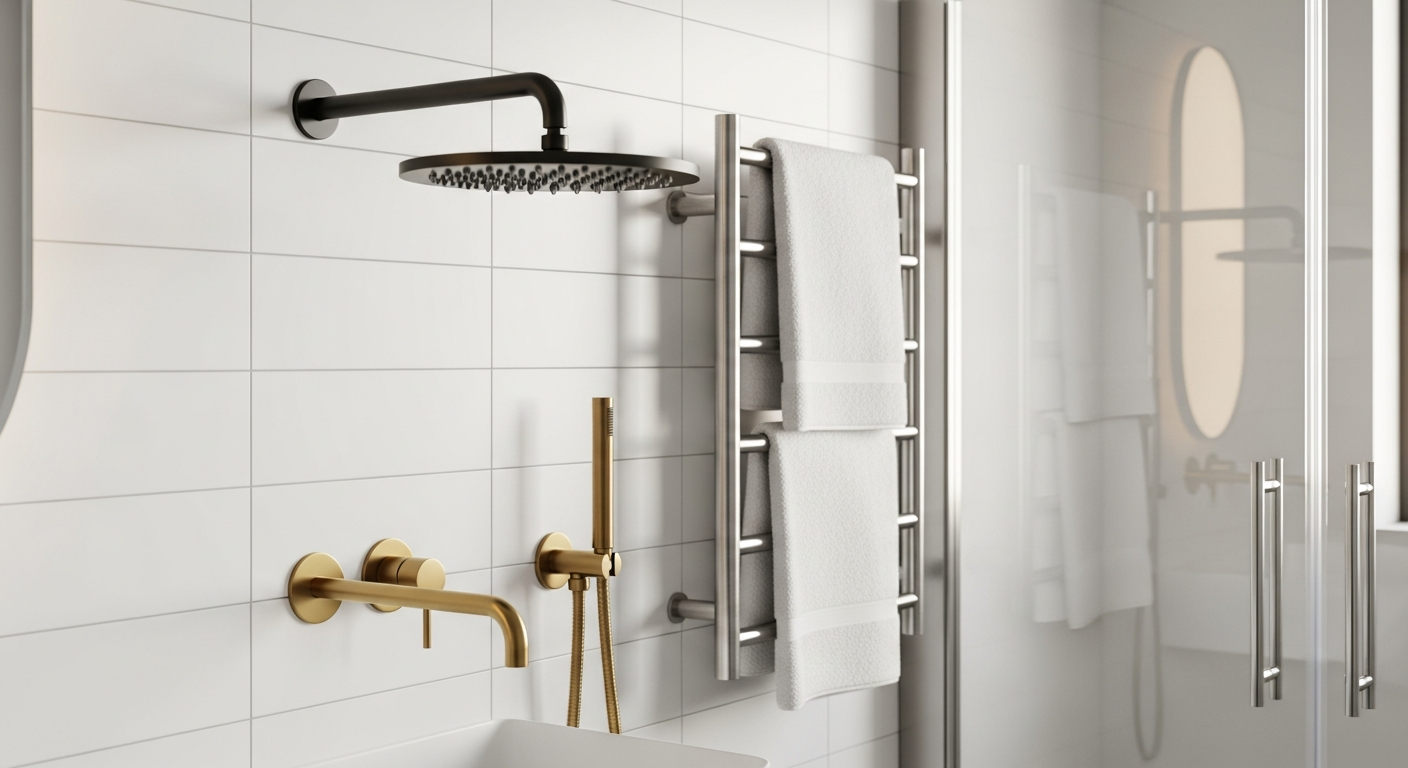
Your shower fixture selection affects daily comfort more than almost any other decision. Showerhead options include rain heads for a spa-like drench, handheld sprayers for flexibility, and dual systems that combine both. Shower valves come in two types: pressure-balancing valves maintain consistent temperature when other water sources are used elsewhere in the house, while thermostatic valves let you set a precise temperature and hold it — the premium choice for comfort and safety. For tub decisions, consider whether you want to keep your existing tub, upgrade to a freestanding soaking tub, convert a tub to a walk-in shower, or install a walk-in tub for accessibility.
Toilet Selection
Comfort-height toilets (17–19 inches) are easier to sit down on and stand up from compared to standard-height models (15 inches) and are recommended for most adults. One-piece toilets are easier to clean because there is no seam between the tank and bowl, but they cost more than two-piece models. Prioritize water efficiency: WaterSense certified toilets use 1.28 gallons per flush or less, saving hundreds of gallons per year compared to older models rated at 1.6 or more GPF.
Hardware Finish Coordination
The most popular bathroom hardware finishes in 2026 include matte black, brushed gold, brushed nickel, and polished chrome. The most important rule is consistency: keep all visible hardware in the same finish family. This means coordinating the faucet, showerhead, towel bars, toilet paper holder, robe hooks, and cabinet pulls. Mixing finishes intentionally can work in skilled hands, but for most homeowners, a unified finish creates a cohesive, polished look.
Step 7 — Design Your Bathroom Lighting
The Three Layers of Bathroom Lighting
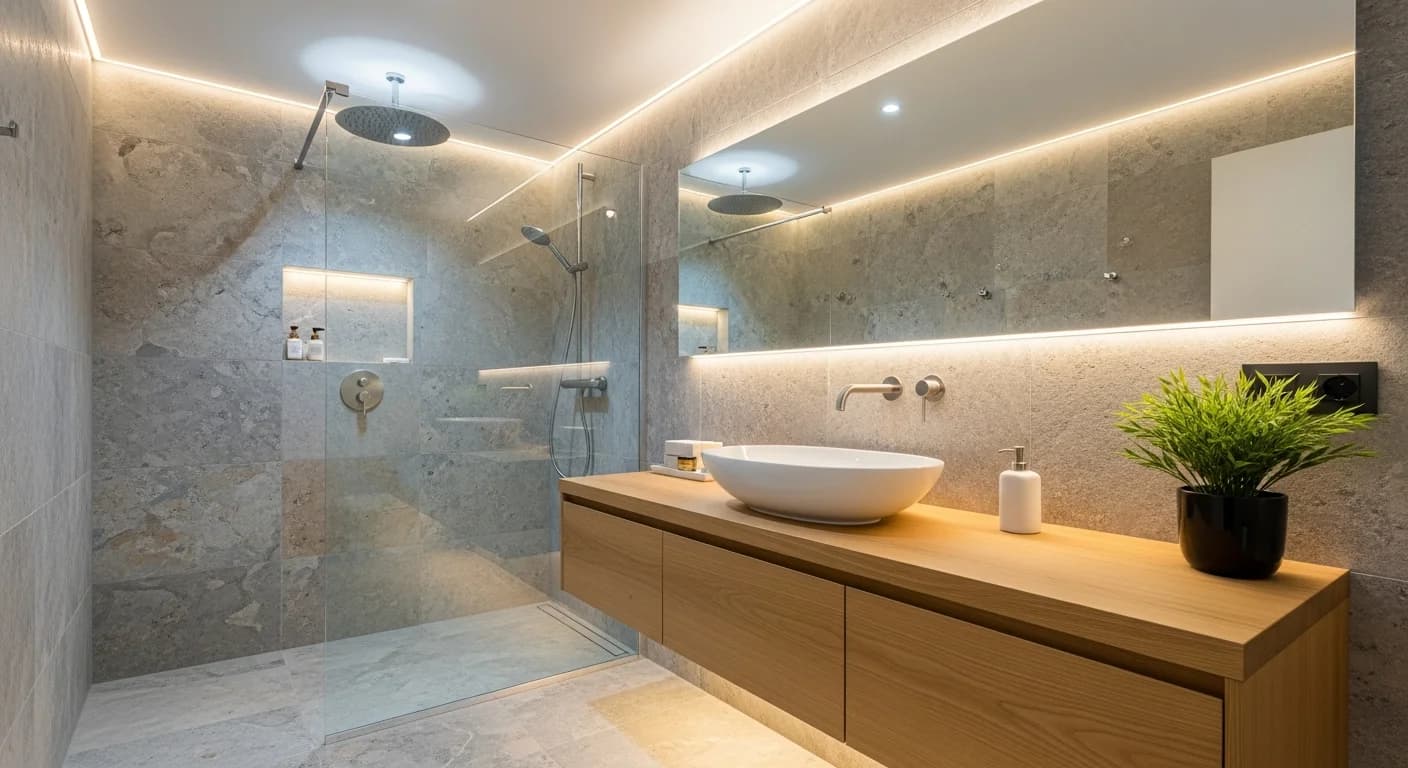
Effective bathroom lighting uses three distinct layers. Ambient lighting provides general illumination — typically overhead recessed lights or a flush-mount ceiling fixture. Task lighting is the most critical layer for grooming: vanity sconces or vertical light bars flanking the mirror eliminate the unflattering shadows created by overhead-only lighting. Accent lighting adds atmosphere — LED strips under a floating vanity, a backlit mirror, or recessed lights inside a shower niche create a spa-like glow.
Lighting Placement Tips
Install vanity lights at eye level, approximately 65–70 inches from the floor, for even, shadow-free illumination on your face. Over the shower, use IC-rated, wet-location-rated recessed fixtures. Add dimmer switches to your ambient and accent layers so you can create a relaxing mood for evening baths and bright, functional lighting for morning routines. All bathroom electrical circuits require GFCI protection — a non-negotiable safety requirement. Explore bathroom lighting ideas and placement for detailed guidance on fixture selection and wiring considerations.
Step 8 — Maximize Bathroom Storage
Built-In Storage Solutions
The best bathroom storage is built into the design from the start. A recessed medicine cabinet saves space compared to a surface-mounted one while keeping daily essentials within arm's reach. Shower niches — plan for at least 12x24 inches — should be tiled to match the surround for a seamless look. Vanity drawers with pull-out organizers keep toiletries sorted and accessible. If floor space allows, a linen tower or tall cabinet next to the vanity provides ample storage for towels, cleaning supplies, and backup toiletries.
Creative Storage for Small Bathrooms
Small bathrooms require creative thinking. Floating shelves above the toilet use otherwise wasted wall space. Over-door hooks and towel racks add hanging storage without drilling into tile. A ladder shelf provides vertical storage for towels and decorative items. Under-sink organizers with pull-out trays maximize the often-wasted space beneath pedestal or console sinks. For compact bathrooms, every inch of vertical space matters — think up, not out. See more bathroom storage strategies for additional solutions tailored to tight spaces. If you are working with a particularly compact footprint, our small bathroom redesign guide covers space-saving layout tricks in detail.
Step 9 — Visualize Your Bathroom Redesign Before You Commit
One of the most expensive bathroom redesign mistakes is discovering that your chosen tile clashes with your vanity finish — after both have been installed. AI visualization tools eliminate this risk by letting you preview your complete bathroom redesign before purchasing a single material.
Here is how it works: upload a photo of your current bathroom, select a design style — modern, traditional, spa-inspired, minimalist — and the AI generates a photorealistic preview showing your redesigned space. You can test multiple color schemes and material combinations in minutes, compare options side by side, and share the visualizations directly with contractors for more accurate quotes. This eliminates the frustrating "it looked different in the store" problem that derails so many bathroom projects.
Homeowners who preview their designs before purchasing report significantly fewer mid-project change orders — saving both time and money. Try our AI bathroom redesign tool to see your space transformed, or visit the design studio to generate your bathroom design preview with full style control.
Step 10 — Execute Your Bathroom Redesign Timeline
Typical Bathroom Redesign Timeline
Timeline varies by scope. A cosmetic refresh — paint, hardware, accessories, and a new mirror — can be completed in 1–2 weeks, often over a couple of weekends. A moderate redesign with a new vanity, fixtures, and tile takes 3–6 weeks from demolition to final touch-ups. A full redesign involving layout changes, new plumbing, and complete surface replacement takes 6–10 weeks, including material lead times and inspections.
Order of Operations
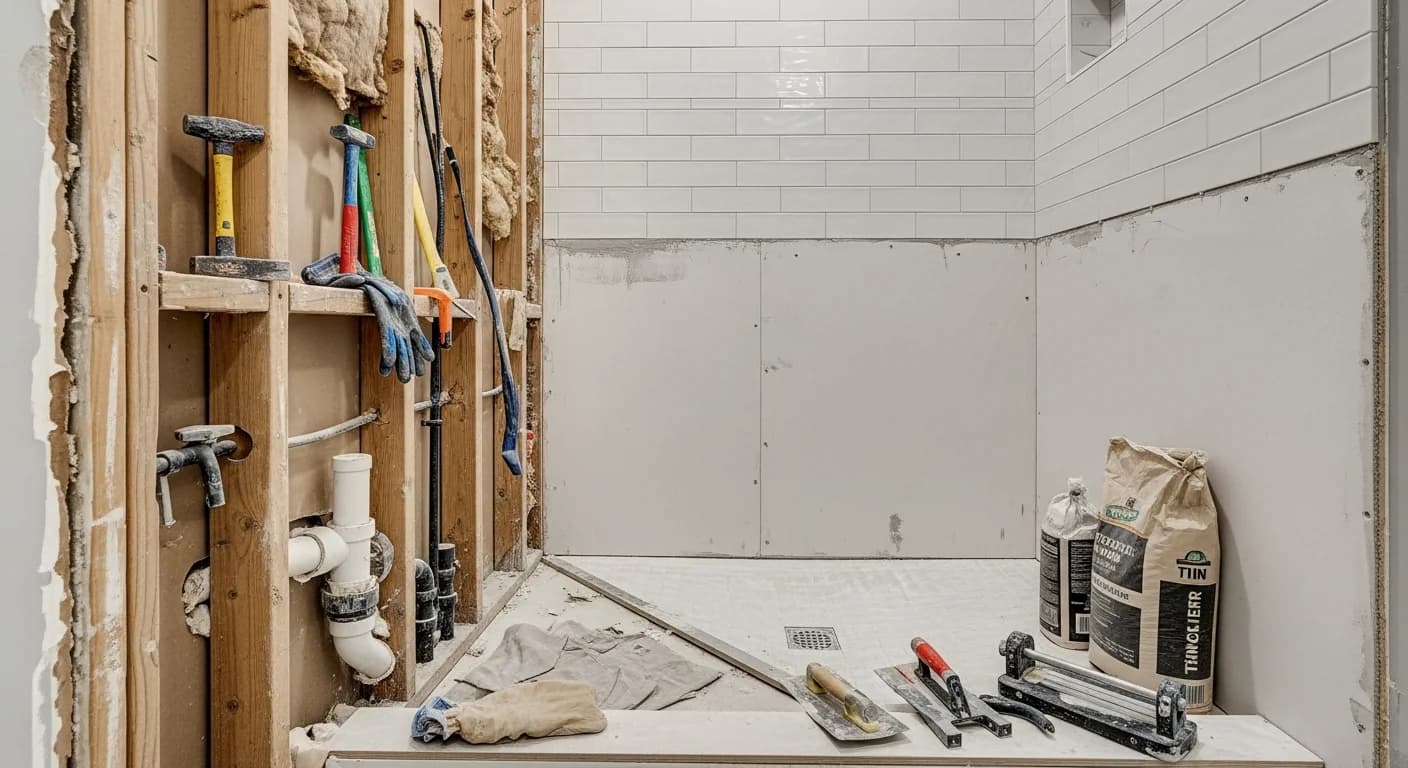
Following the correct order of operations prevents costly rework. Week 1: Demolition and rough-in work — plumbing relocation, electrical updates, and any framing changes. Weeks 2–3: Waterproofing the shower area, installing backer board, and preparing the subfloor. Weeks 3–4: Tile installation, starting with the floor and then moving to walls. Weeks 4–5: Vanity, countertop, and fixture installation. Weeks 5–6: Paint, hardware, mirrors, accessories, and final plumbing and electrical connections. Each phase must be completed and inspected (if required) before the next begins.
DIY vs Professional by Task
Some bathroom tasks are well-suited for confident DIYers: painting, swapping hardware, replacing a mirror, installing accessories, and mounting floating shelves. Other tasks require professional expertise: moving plumbing, modifying electrical circuits, waterproofing a shower pan, installing shower tile, and templating and fabricating countertops. A hybrid approach — handling cosmetic work yourself and hiring pros for technical tasks — can save 20–30% on your total project cost. See which bathroom projects are DIY-friendly for a complete breakdown of skill requirements by task.
Common Mistakes to Avoid When You Redesign a Bathroom
Skipping the ventilation upgrade. Inadequate exhaust fans lead to mold and moisture damage within 2–3 years. Your exhaust fan should deliver a minimum of 1 CFM per square foot of bathroom floor area. If your current fan is noisy and underpowered, upgrading it during the redesign is far easier than retrofitting later.
Choosing style over function. A beautiful freestanding soaking tub in a 5x8-foot bathroom might look stunning in a magazine, but it eliminates usable floor space and makes the room feel claustrophobic. Always measure clearances before committing to statement pieces. Underestimating waterproofing. Shower leaks are invisible until the damage is severe — rotted framing, mold behind walls, and stained ceilings below. A liquid waterproofing membrane on all shower walls and a properly sloped shower pan are non-negotiable investments.
Ignoring lighting at the vanity. A single overhead light creates harsh shadows on your face, making grooming tasks frustrating. Flanking sconces or vertical light bars at eye level are essential for even, flattering illumination. Not budgeting for hidden issues. Expect to find outdated plumbing, subfloor damage, or insufficient electrical wiring when bathroom walls come open. Your 15–20% contingency fund exists specifically for these discoveries. Read our full list of bathroom renovation mistakes for additional pitfalls and how to prevent them.
Frequently Asked Questions
How long does it take to redesign a bathroom?
A bathroom redesign typically takes 1–10 weeks depending on scope. A cosmetic refresh — paint, hardware, and accessories — can be completed in a weekend or two. A moderate redesign with a new vanity, fixtures, and tile takes 3–6 weeks. A full redesign involving layout changes, new plumbing, and complete surface replacement takes 6–10 weeks including planning and material lead times.
Can I redesign a bathroom without replacing the tile?
Yes, you can transform a bathroom without new tile. Painting existing tile with epoxy-based tile paint, adding peel-and-stick tile overlays, or installing decorative wall panels over existing surfaces are budget-friendly alternatives. Updating the vanity, fixtures, lighting, and hardware can dramatically change the look of a bathroom while leaving the tile untouched.
How to redesign a bathroom on a tight budget?
Focus on high-impact, low-cost changes: repaint walls ($50–$150), swap hardware and fixtures ($100–$300), replace the mirror ($50–$200), add new lighting ($100–$400), and update towels and accessories ($50–$150). These changes can transform a bathroom for under $1,000 without touching plumbing or tile. For more details on what each budget level delivers, see pricing for our AI design tools that help you test combinations before spending.
Do I need a permit to redesign my bathroom?
Permits are typically required when you move plumbing, add or modify electrical circuits, or make structural changes such as removing a wall. Cosmetic updates like painting, replacing a vanity in the same location, or swapping fixtures in existing rough-ins do not usually require permits. Requirements vary significantly by municipality, so check with your local building department before starting work.
What adds the most value to a bathroom redesign?
An updated vanity and countertop, modern fixtures, improved lighting, and a walk-in shower conversion deliver the highest return on investment. According to Remodeling Magazine's Cost vs. Value report, a midrange bathroom remodel recoups approximately 60–70% of its cost at resale. Updated fixtures, clean tile surfaces, and contemporary hardware are the upgrades that buyers notice most.
Should I redesign my bathroom myself or hire a contractor?
DIY works well for cosmetic updates: painting, hardware replacement, accessories, mirror swaps, and floating shelves. Hire a licensed professional for plumbing changes, electrical work, waterproofing, shower tile installation, and countertop fabrication. A hybrid approach — handling the cosmetics yourself and hiring out the technical work — typically saves 20–30% on total project cost. Use our AI bathroom redesign tool to test your vision before bringing in a contractor for execution.
Preview Your Bathroom Redesign with HanoDecor
In our analysis of 1,200+ bathroom redesigns, the most successful projects start with a clear layout plan and realistic budget — and homeowners who preview their designs with AI visualization report 40% fewer mid-project change orders. Whether you are planning a quick cosmetic refresh or a complete gut renovation, seeing your finished bathroom before construction begins gives you the confidence to make bold design choices without the risk.
Start your free AI bathroom redesign — upload a photo of your current bathroom and see a photorealistic preview of your new design in seconds. No credit card required. Browse bathroom design ideas and inspiration to discover styles that match your vision. Or try our shower-specific redesign tool if your project focuses on the shower area.
Related Articles
Continue planning your bathroom redesign with these in-depth guides: How to Redesign a Small Bathroom: 10 Proven Space-Saving Strategies covers layout tricks and fixtures designed specifically for compact spaces. How Much Does It Cost to Redesign a Bathroom? 2026 Complete Budget Guide breaks down costs by project scope, material tier, and region. How to Redesign a Bathroom for Aging in Place: 9 Safe and Stylish Ideas covers universal design features that keep your bathroom functional for decades.
How to Redesign a Bathroom FAQs
Written by
Lisa Wang
Sustainable Design Writer focused on eco-friendly materials, energy efficiency, and budget-conscious home improvement. LEED Green Associate with expertise in low-impact renovation strategies.