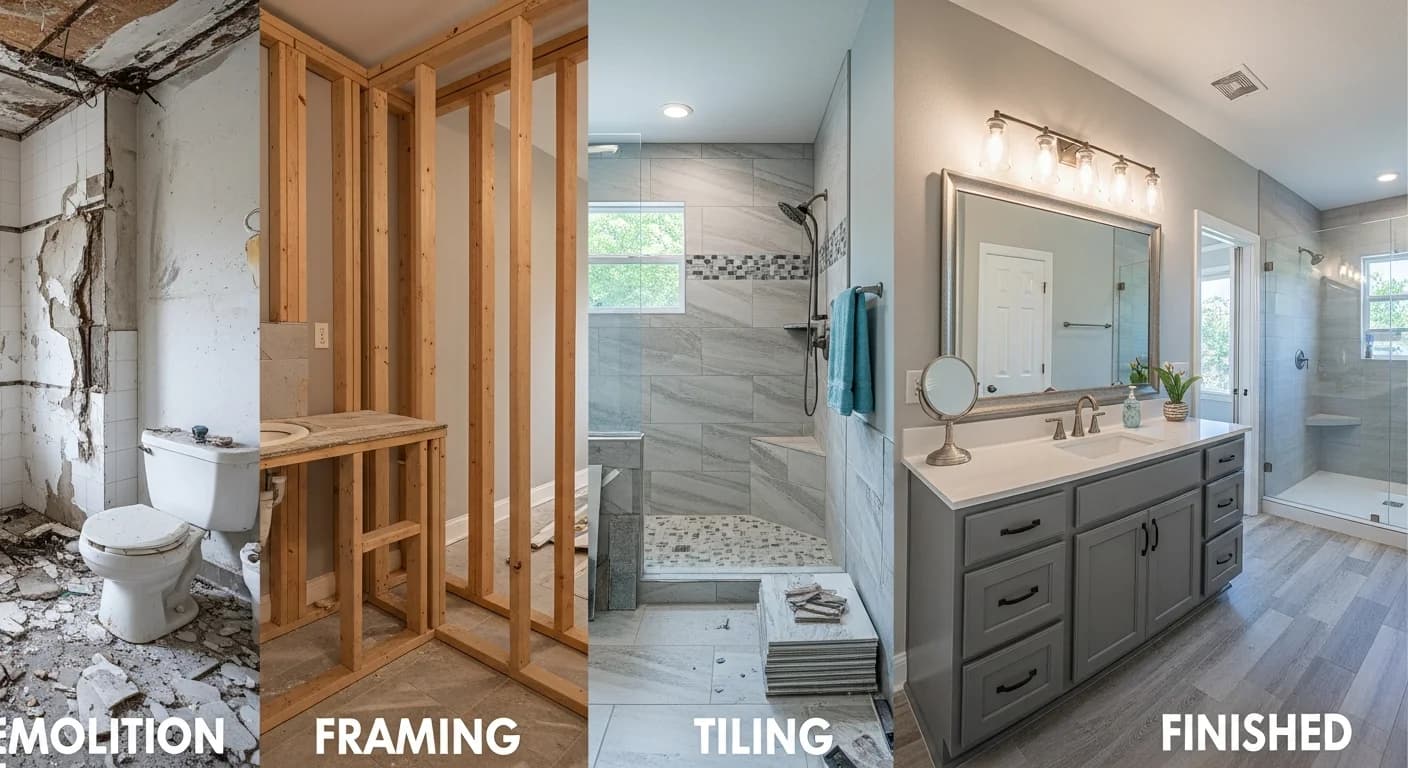
DIY Bathroom Remodel: Complete Guide From Beginner Projects to Full Renovation
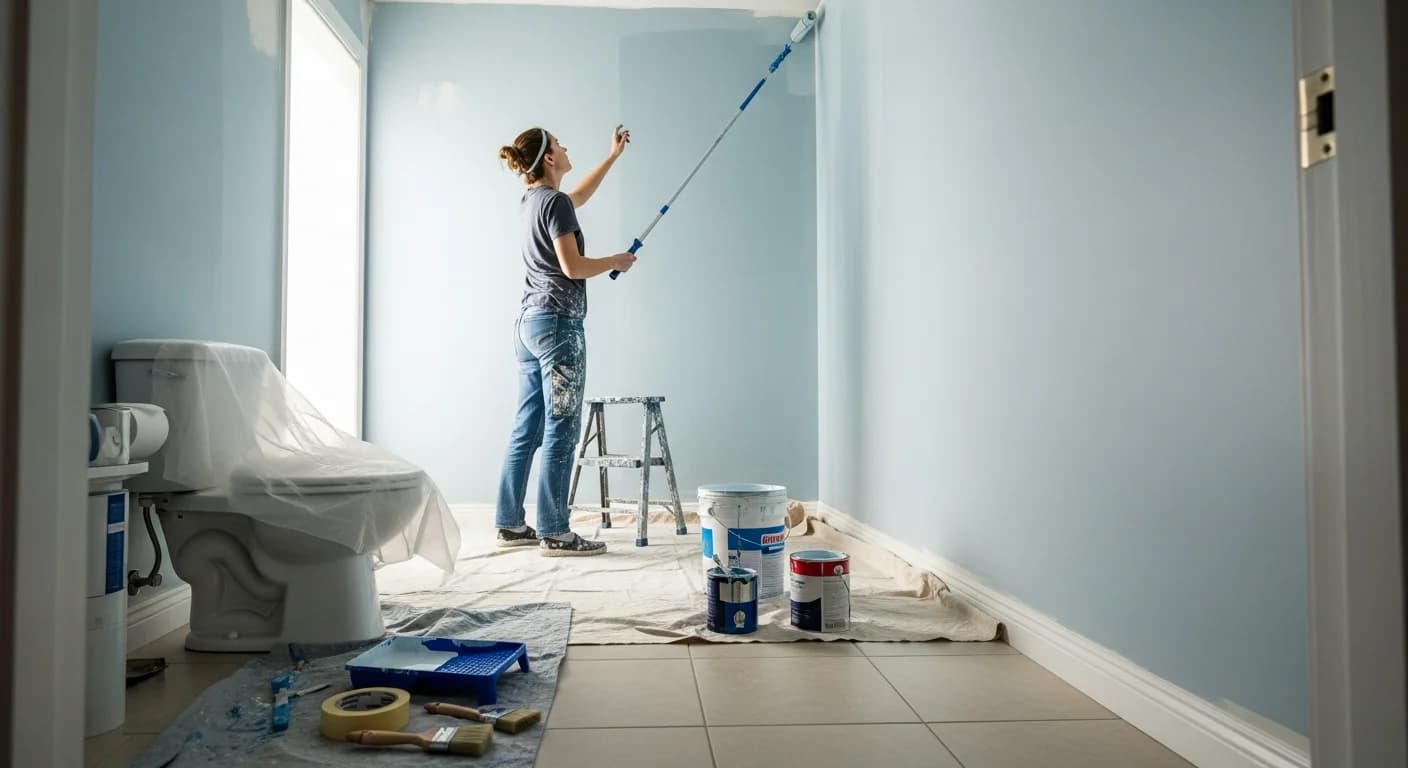
A DIY bathroom remodel can save you 40-60% compared to hiring a general contractor. But success depends on knowing which projects match your skill level, having the right tools, and understanding when a professional is the smarter investment. This guide walks you through everything you need to know about how to remodel a bathroom yourself, from weekend cosmetic updates to full renovations.
Quick Summary
- DIY savings: $4,000 to $15,000 compared to hiring a full-service contractor
- Best DIY projects: Painting, hardware, faucets, toilets, vanity swaps, flooring
- Always hire a pro for: Plumbing rough-in, electrical circuits, shower waterproofing, structural work
- Essential tools investment: $300 to $800 for a complete bathroom DIY toolkit
- Realistic timeline: 4 to 8 weekends for a full DIY bathroom remodel
Skill-Level Tiering: Know Before You Start
Not every bathroom project is created equal. Understanding where each task falls on the skill spectrum prevents costly mistakes and keeps you safe.
Beginner Projects (No Experience Needed)
These projects require basic tools and minimal technical knowledge. Perfect first-time DIY territory.
- Painting: Use moisture-resistant bathroom paint (satin or semi-gloss). Proper prep with painter's tape, primer on bare spots, and two coats. One to two days for a typical bathroom.
- Hardware updates: Swapping towel bars, toilet paper holders, cabinet pulls, and robe hooks. Basic screwdriver and drill work. Immediate visual impact in under two hours.
- Mirror replacement: Removing old mirrors and hanging new ones. Use appropriate wall anchors for your wall type. Framing an existing mirror with adhesive trim is even simpler.
- Accessories and styling: New shower curtain, bath mat, soap dispensers, storage baskets, and decorative elements. Zero tools required for most items.
- Caulk replacement: Removing old caulk with a utility knife and applying fresh silicone caulk along tub, shower, and sink edges. Practice the bead technique on cardboard first.
Intermediate Projects (Some Experience Helpful)
These projects require more precise work and some familiarity with plumbing or tools, but remain achievable for a capable DIYer who does thorough research.
- Faucet replacement: Modern faucets include detailed instructions. You need a basin wrench, adjustable wrenches, and plumber's tape. Allow two to three hours per faucet including cleanup.
- Toilet replacement: Shut off water, disconnect supply line, remove bolts, lift old toilet, scrape old wax ring, set new wax ring, position new toilet, bolt down, reconnect. The heaviest part is lifting the toilet (60-80 lbs). Allow three to four hours.
- Vanity replacement: Disconnecting plumbing, removing the old vanity, installing the new one, and reconnecting water lines. Measure three times, especially if the new vanity is a different size. See our vanity style guide for options.
- Floor tile installation: Requires cement board underlayment, careful layout planning, thinset application, tile cutting, and grouting. Start with a small area to build confidence. Our flooring options guide covers material choices.
- Light fixture swaps: Replacing fixtures on existing circuits. Always shut off power at the breaker and verify with a voltage tester before touching any wires. Match wire colors and secure connections with wire nuts.
- Exhaust fan replacement: Swapping a same-size exhaust fan is intermediate. Check our ventilation guide for proper CFM sizing.
Advanced Projects (Significant Experience Required)
These projects are technically possible for experienced DIYers but carry higher risk if done incorrectly.
- Shower tile installation: Tiling shower walls demands precise waterproofing, level substrate preparation, and careful tile layout. Failed waterproofing leads to mold and structural damage that costs thousands to repair. Review our shower tile patterns guide for layout planning.
- Bathtub installation: Fitting, leveling, connecting drain assemblies, and ensuring proper support. Mistakes are expensive and difficult to fix once tiled in.
- Backsplash tile with complex patterns: Intricate patterns like herringbone or mosaic require precise cutting and layout skills. See our tile ideas guide for pattern inspiration.
Always Hire a Licensed Professional
Some work requires permits, code compliance, and expertise that protects your safety and home value.
- Plumbing rough-in: Moving drain lines, supply pipes, or adding new plumbing connections. Permit-required in most jurisdictions.
- Electrical circuit work: Adding new circuits, moving outlets, or upgrading panels. Licensed electricians ensure code compliance and safety.
- Shower pan waterproofing: If you are building a new shower from scratch, the waterproofing membrane is the most critical element. Professional installation protects against catastrophic water damage.
- Structural modifications: Removing or modifying walls, reinforcing floors for heavy fixtures like cast-iron tubs, or enlarging the bathroom footprint.
- Gas line work: If your bathroom has gas-powered features (tankless water heater, gas fireplace), never DIY gas connections.
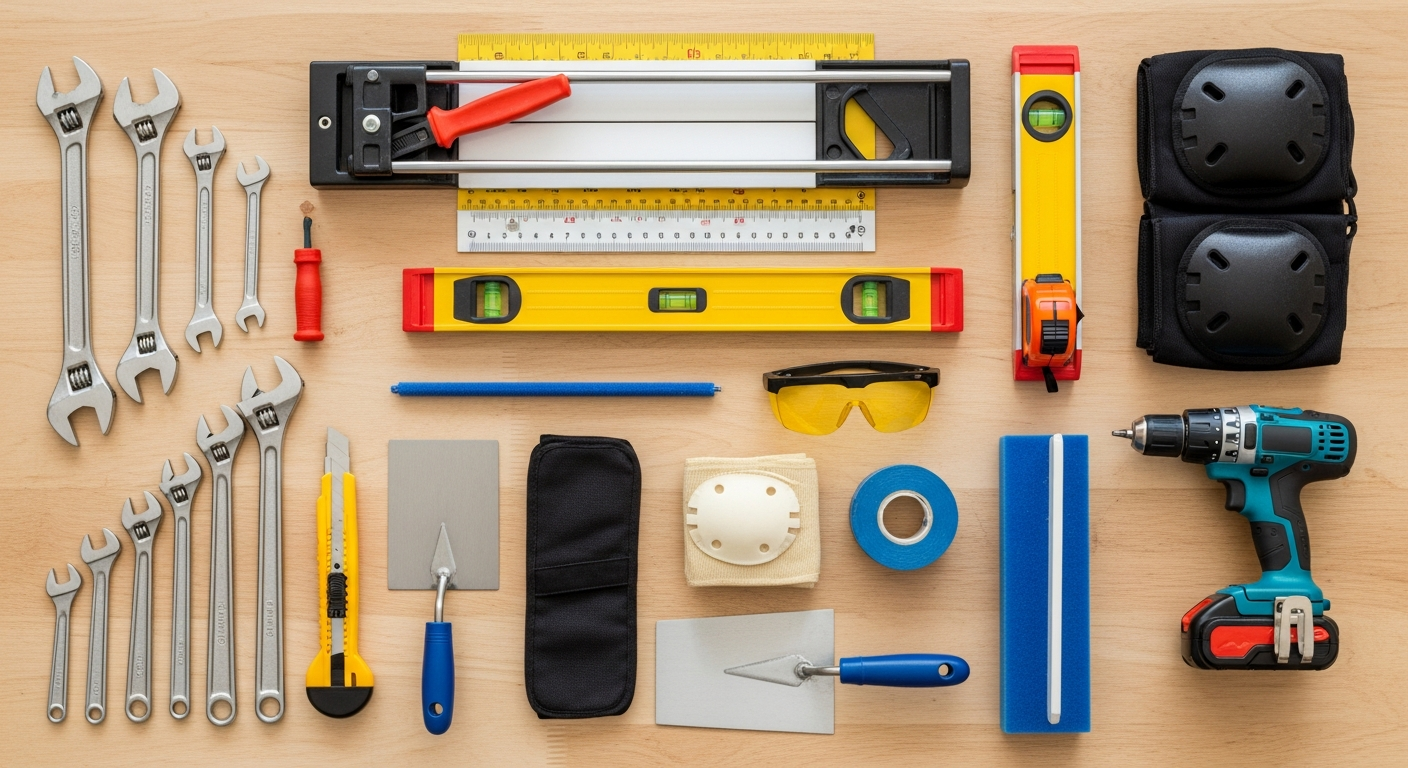
Essential Tools and Materials Checklist
Before starting your DIY bathroom remodel, invest in quality tools that will serve you across multiple projects.
Basic Toolkit ($100-$200)
- Cordless drill/driver with bit set
- Adjustable wrenches (two sizes)
- Screwdriver set (Phillips and flathead)
- Measuring tape (25 ft)
- Level (24-inch and torpedo)
- Utility knife with extra blades
- Pliers (needle-nose and channel-lock)
- Stud finder
- Caulk gun
Plumbing Tools ($50-$100)
- Basin wrench (essential for faucet work)
- Plumber's tape (PTFE thread seal tape)
- Pipe wrench
- Plunger
- Bucket and towels (for water catch)
Tile Tools ($100-$400)
- Manual tile cutter or wet saw rental ($40-$60/day)
- Notched trowel (size matches tile)
- Tile spacers (size for your grout lines)
- Grout float
- Tile nippers for curved cuts
- Mixing paddle and bucket
- Sponge and grout haze remover
Safety Equipment ($50-$100)
- Safety glasses (mandatory for demolition and cutting)
- Work gloves
- Knee pads (essential for tile and floor work)
- Dust mask or respirator (for demolition)
- Voltage tester (non-contact type for electrical work)
- Hearing protection (for wet saw and demolition)
Step-by-Step Phases: How to Remodel a Bathroom
A full bathroom remodel follows a specific order. Doing steps out of sequence causes rework and wasted materials.
Phase 1: Planning and Preparation (1-2 Weeks Before)
- Measure your bathroom and create a floor plan
- Set your budget and add 15-20% contingency
- Select all materials, fixtures, and finishes before starting demolition
- Order materials with long lead times early (vanities, specialty tile)
- Check permit requirements with your local building department
- Arrange alternative bathroom access if remodeling your only one
- Use HanoDecor's Bathroom Visualizer to test designs before purchasing
Planning is where most DIY remodels succeed or fail. Rushing into demolition without all materials on hand leads to a torn-apart bathroom sitting idle while you wait for backordered tile. Use our complete remodel checklist to ensure nothing is overlooked.
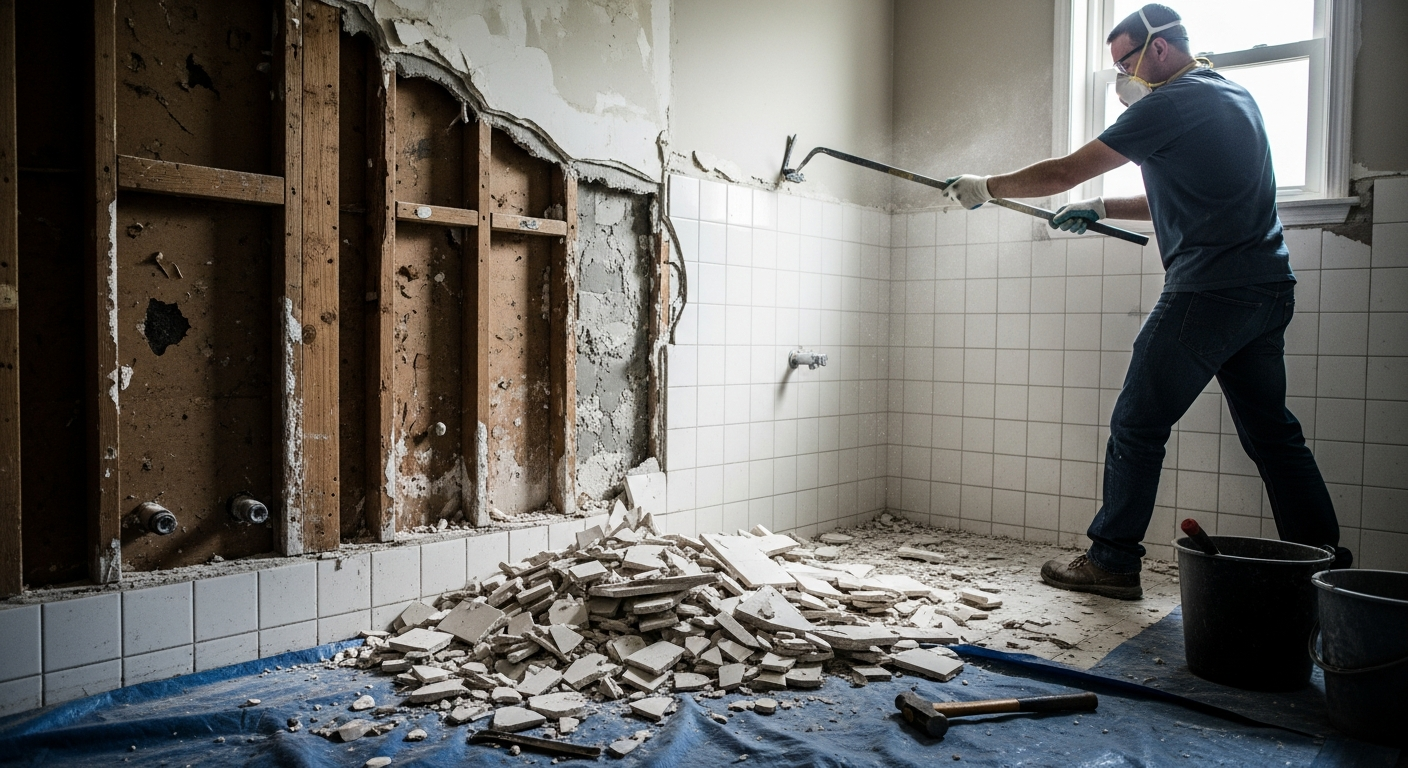
Phase 2: Demolition (1-2 Days)
Demolition is physically demanding but one of the most satisfying DIY tasks.
- Shut off water at the bathroom supply valves (and verify at the main if needed)
- Disconnect and remove toilet, vanity, and fixtures
- Remove old tile, starting from the top of walls and working down
- Pull up flooring down to the subfloor
- Remove drywall if replacing (inspect for mold and water damage behind it)
- Bag debris and haul to dumpster ($300-$500 rental) or dispose in stages
This is the phase where hidden problems reveal themselves. Water damage, mold, or outdated plumbing may require professional intervention. Do not proceed until structural issues are resolved. Learn about the most costly renovation mistakes so you can catch problems early.
Phase 3: Rough-In Work (Hire Professionals)
If your remodel involves any plumbing or electrical changes, this is when licensed professionals do their work.
- Plumber moves or adds supply lines and drain connections
- Electrician updates wiring, adds GFCI outlets, runs circuits for heated floors or exhaust fans
- Schedule inspections as required by your permits
- Install cement board or moisture-resistant backer board on walls and floors
Even in a primarily DIY remodel, most homeowners hire professionals for this phase. The cost of a plumber for a day ($500-$1,500) is far less than repairing water damage from improper connections.
Phase 4: Waterproofing (1 Day Plus Cure Time)
Waterproofing is the single most important step in any bathroom remodel. Every surface that will get wet needs proper moisture protection.
- Apply waterproof membrane to shower walls and floor (Schluter KERDI, RedGard, or similar)
- Seal all seams, corners, and penetrations (valve openings, showerhead, drain)
- Allow full cure time per manufacturer instructions (typically 24 hours)
- Test for leaks before proceeding to tile
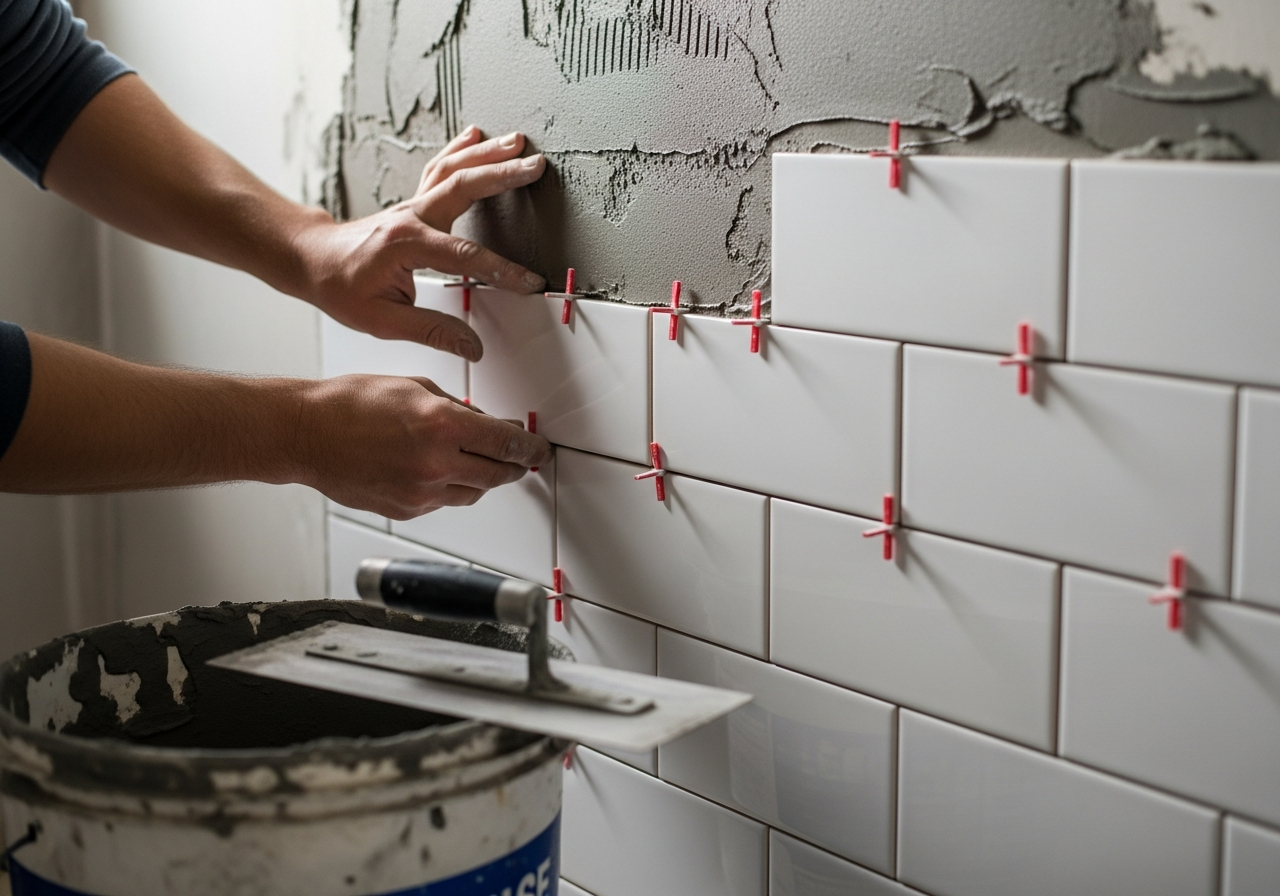
Phase 5: Tile Installation (2-5 Days)
Tile work is the most time-consuming phase but delivers the biggest visual transformation.
- Dry-lay tile on the floor to plan cuts and layout before applying thinset
- Start with shower walls (work from bottom up, use spacers for consistent grout lines)
- Install floor tile after walls are complete
- Allow thinset to cure 24 hours before grouting
- Apply grout, clean excess with damp sponge, and seal after curing
For tile pattern ideas and layout planning, check our shower tile patterns guide and materials comparison.
Phase 6: Fixture Installation (1-2 Days)
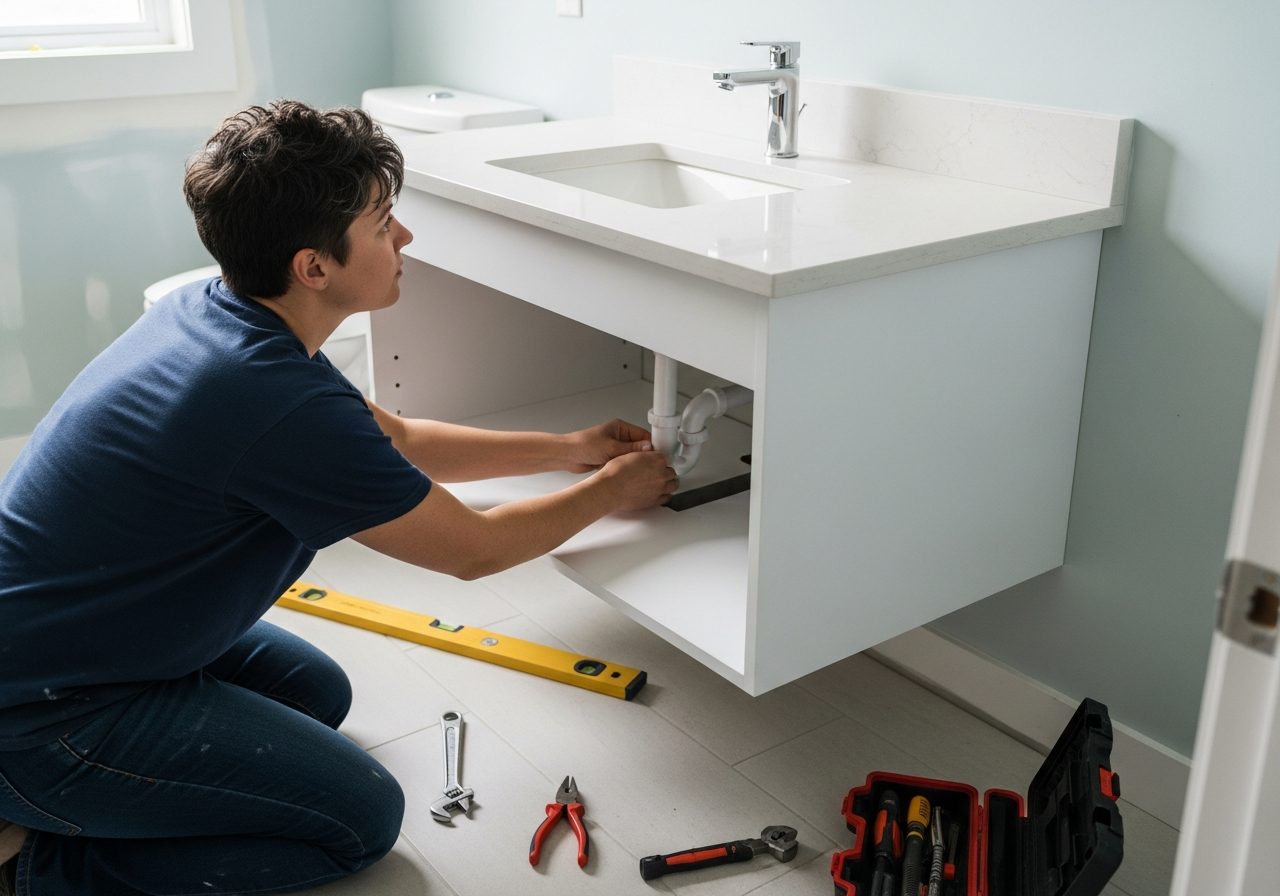
- Install the vanity and connect plumbing (supply lines, drain, P-trap)
- Set and bolt the toilet, connect water supply
- Mount faucets and showerhead
- Install towel bars, toilet paper holder, robe hooks, and accessories
- Hang mirror and install light fixtures
- Install exhaust fan if replacing
Phase 7: Finishing Touches (1 Day)
- Apply silicone caulk around tub, shower, vanity, and toilet base
- Touch up paint on walls and ceiling
- Install trim and transition strips
- Final cleaning and inspection
- Test all plumbing for leaks and all electrical for proper function
DIY vs. Hire a Pro: Cost Savings Breakdown
Here is how the numbers compare for a typical mid-range bathroom remodel on a standard 5x8 bathroom.
Full contractor remodel: $15,000 to $22,000 total
- Contractor markup and overhead: $3,000 to $5,000
- Full labor costs: $6,000 to $10,000
- Materials: $6,000 to $8,000
Hybrid DIY remodel (DIY labor + hire plumber/electrician): $8,000 to $13,000 total
- Licensed plumber (1-2 days): $800 to $2,000
- Licensed electrician (half day to full day): $400 to $1,000
- Your labor: free (but 80-120 hours of your time)
- Materials: $6,000 to $8,000
- Tool investment: $300 to $600
Typical savings: $5,000 to $10,000 by doing demolition, tile, vanity installation, painting, and finishing work yourself while hiring licensed trades for plumbing and electrical.
For a complete cost breakdown by project scope, see our 2026 bathroom remodel cost guide.
Common DIY Mistakes and How to Avoid Them
Learning from others' mistakes is far cheaper than making your own.
Not ordering enough tile: Always buy 15% extra beyond measured area. Cuts, breakage, and future repairs require matching tile. Discontinued tile cannot be replaced.
Skipping the waterproofing test: Fill the shower pan with water and wait 24 hours before tiling. A leak found now costs almost nothing to fix. A leak found after tiling costs thousands.
Wrong thinset for the application: Large-format tiles need large-and-heavy-tile mortar. Wall tiles need non-sag thinset. Floors need standard modified thinset. Using the wrong type leads to tile failure.
Not checking for level and plumb: Walls and floors are rarely perfectly level in older homes. Shim and adjust before tiling. Starting with an out-of-level first row compounds across the entire wall.
Rushing cure times: Thinset needs 24 hours. Grout needs 24-72 hours before sealing. Caulk needs 24 hours before water exposure. Rushing these timelines causes failure.
Ignoring ventilation: A bathroom without adequate exhaust will develop mold regardless of how beautifully you tile it. Our ventilation guide explains proper CFM sizing.
Safety and Code Compliance
DIY does not mean ignoring building codes. These rules exist to protect you and future occupants.
- GFCI protection: All bathroom outlets must be GFCI-protected. This is non-negotiable. GFCI outlets cost $15-$25 each and prevent electrocution.
- Exhaust ventilation: Most codes require a minimum exhaust fan rated at 1 CFM per square foot of bathroom area, or a window that opens.
- Permits: Any plumbing or electrical work beyond simple fixture replacement typically requires a permit. Check with your local building department. Unpermitted work can cause problems when selling your home.
- Water shutoffs: Know where your main water shutoff is located before starting any plumbing work. Test it in advance.
- Asbestos and lead: Homes built before 1978 may contain lead paint. Homes built before 1980 may have asbestos in floor tiles, adhesive, or pipe insulation. Test before disturbing these materials.
Realistic Timeline for a Weekend Warrior
If you can only work weekends, here is a realistic schedule for a full DIY bathroom remodel.
- Weekend 1: Demolition. Remove all fixtures, tile, and flooring. Inspect for hidden issues.
- Week 1-2 (weekdays): Licensed plumber and electrician do rough-in work and inspections.
- Weekend 2: Install cement board. Apply waterproofing membrane. Allow to cure.
- Weekend 3: Tile shower walls.
- Weekend 4: Tile floor and remaining walls. Grout shower.
- Weekend 5: Grout floors. Install vanity and toilet.
- Weekend 6: Install fixtures, accessories, paint, caulk, and finishing touches.
Total: 6 weekends (plus weekday professional work) over about 8 weeks. This is realistic, not rushed. For detailed phase-by-phase timing, see our bathroom remodel timeline guide.
Frequently Asked Questions
Can a beginner remodel a bathroom?
Yes, with the right approach. Start with cosmetic projects (painting, hardware, accessories) to build confidence. Progress to intermediate tasks (faucet swap, toilet replacement) on your second project. A full DIY remodel is achievable for a motivated beginner who researches thoroughly, follows proper sequence, and hires licensed professionals for plumbing and electrical rough-in work.
How much money can I save with a DIY bathroom remodel?
A hybrid approach (DIY labor plus hired plumber and electrician) typically saves $5,000 to $10,000 compared to a full contractor remodel. On a $15,000-$20,000 mid-range project, that represents 30-50% savings. The trade-off is your time: expect to invest 80 to 120 hours of labor across multiple weekends.
What is the hardest part of a DIY bathroom remodel?
Tile work, specifically shower tile installation. It demands precise waterproofing, level substrate preparation, consistent thinset application, accurate cuts, and patience during long cure times. Many experienced DIYers choose to tile floors and backsplashes themselves but hire professionals for shower enclosures where waterproofing failure has severe consequences.
Do I need a permit to remodel my bathroom?
It depends on scope. Cosmetic changes (paint, fixtures, accessories) never require permits. Replacing a toilet or vanity in the same location usually does not. However, any new plumbing lines, electrical circuits, or structural changes typically require permits and inspection. Always check with your local building department before starting work.
How to remodel a bathroom on a tight budget?
Focus on the highest-impact, lowest-cost changes first: paint the walls, replace hardware and accessories, update the mirror and light fixtures, and re-caulk around the tub and shower. These cosmetic updates can transform a dated bathroom for under $500. If budget allows more, a new vanity and faucet ($400-$800) dramatically change the focal point. Read our complete cost guide for detailed budget breakdowns.
Plan Your DIY Remodel with Confidence
A successful DIY bathroom remodel starts with a clear plan, honest skill assessment, and the right tools. Before purchasing materials, visualize your design choices in your actual bathroom.
HanoDecor's Bathroom Visualizer lets you experiment with tile patterns, vanity styles, paint colors, and fixture finishes on a photo of your real space. See the finished result before you pick up a single tool.
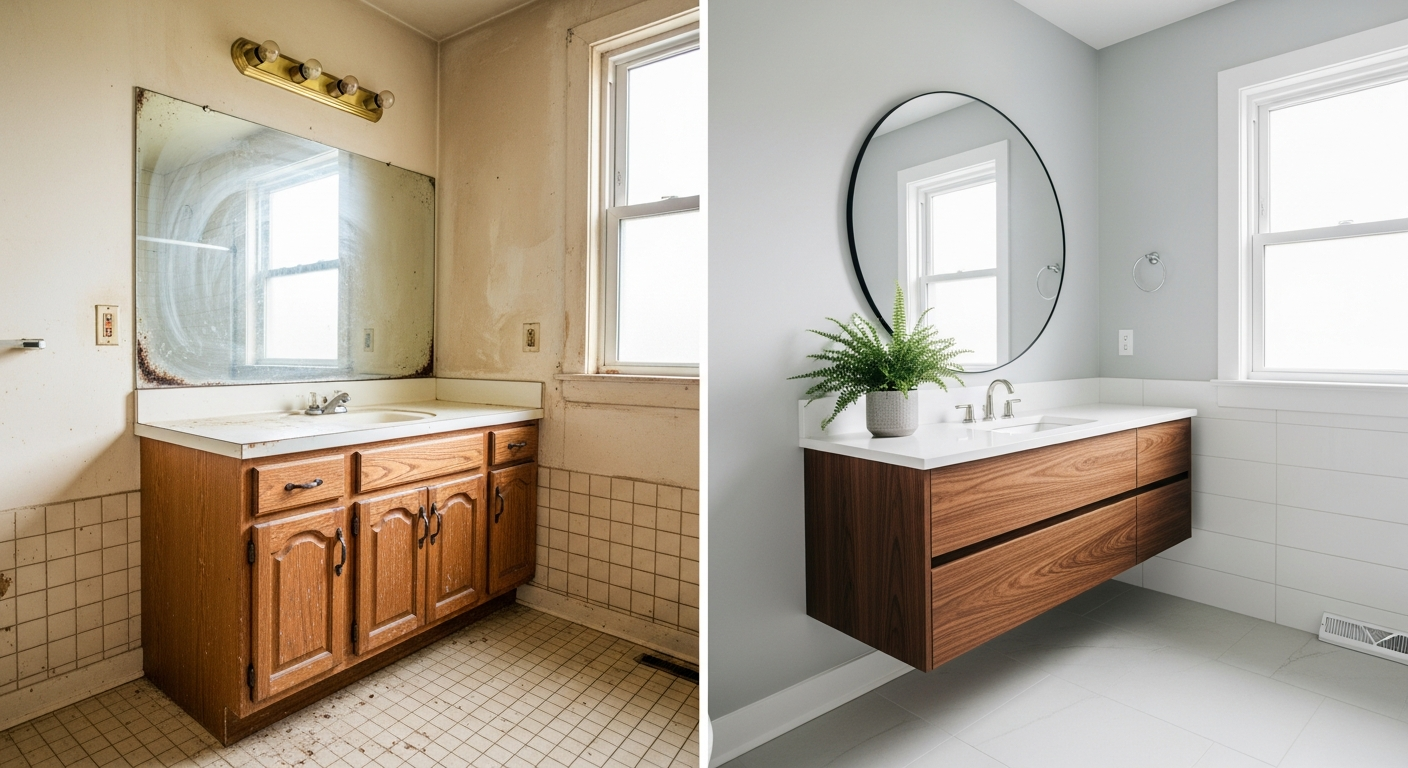
For more planning resources, explore our before and after transformations for real-world inspiration, our 2026 bathroom trends for current style direction, and our color scheme guide to finalize your palette before buying paint.
DIY Bathroom Remodel FAQs
Written by
Michael Torres
Bathroom and Kitchen Design Specialist with 15 years of remodeling experience. NKBA-certified designer focused on functional layouts, fixture selection, and spa-inspired wellness spaces.