Bathroom Ventilation Guide: Exhaust Fans, Windows, and Moisture Control
Quick Summary
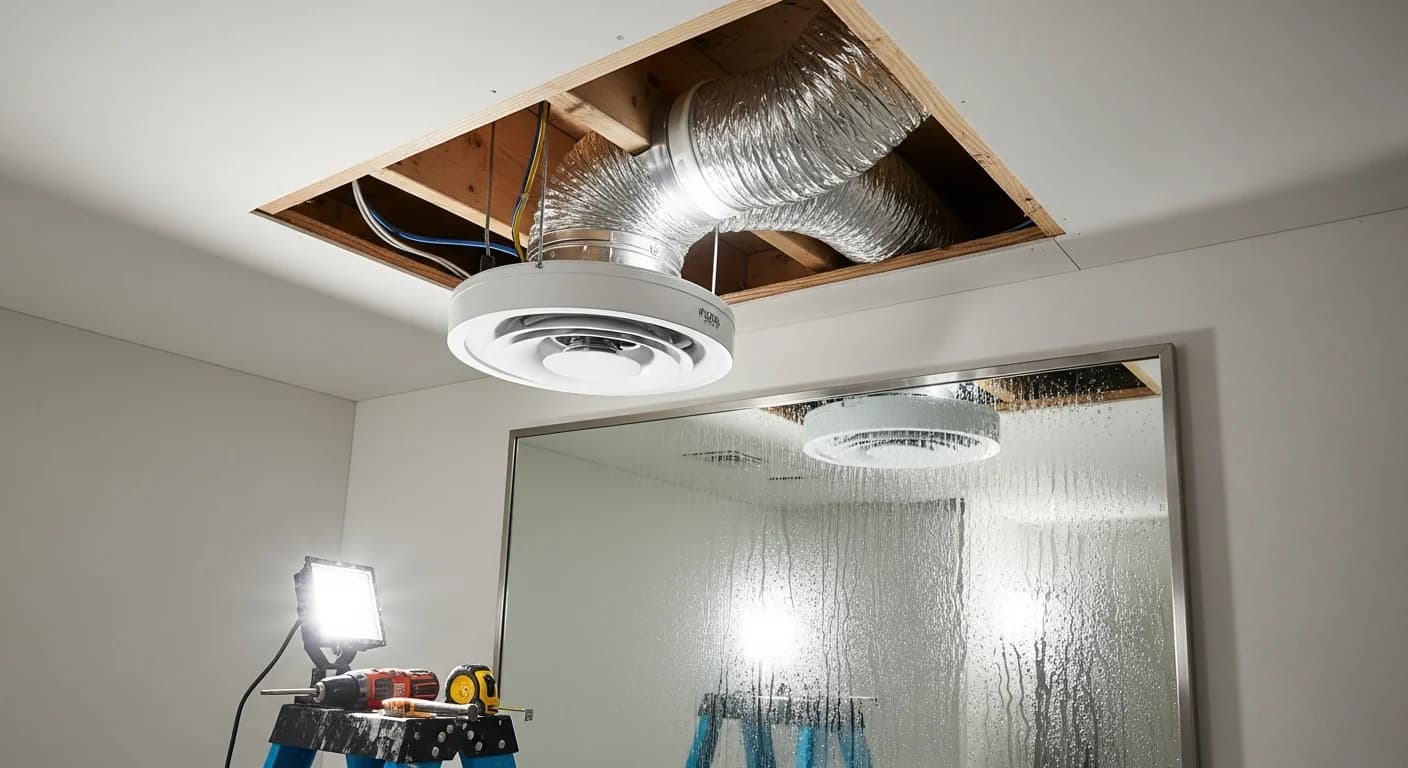
Proper bathroom ventilation is one of the most critical yet overlooked elements of any bathroom remodel. Without adequate airflow, moisture from showers and baths becomes trapped, leading to mold growth, peeling paint, and structural rot. This guide covers everything you need to know about bathroom ventilation, from calculating the correct CFM rating for your exhaust fan to understanding sone ratings for quiet operation. You will learn about ceiling-mounted fans, inline fan systems, multi-port fan configurations, smart controls with humidity sensors and timer switches, proper duct routing, window ventilation options, and moisture-resistant materials that provide an extra layer of defense. Whether you are planning a full renovation or simply upgrading the ventilation in an existing bathroom, this guide gives you the knowledge to protect your investment and maintain a healthy indoor environment.
Why Bathroom Ventilation Is Non-Negotiable
Every hot shower sends roughly half a pint of water vapor into the air. Without a working ventilation system, that moisture clings to every surface — walls, ceilings, mirrors, and cabinetry. The consequences extend far beyond a foggy mirror, and understanding them is essential before starting any bathroom remodel project.
Mold and mildew growth is the most visible consequence. Mold spores need moisture to colonize surfaces, and a poorly ventilated bathroom provides the perfect breeding ground. Black mold can appear on grout lines, caulk seams, and ceiling corners within 24 to 48 hours of sustained moisture exposure. Once established, mold prevention becomes far more expensive than prevention — professional remediation typically costs $1,500 to $5,000.
Paint and finish damage follows closely. Excess condensation causes paint to bubble, peel, and flake, particularly on ceilings above the shower. Even high-quality bathroom paint deteriorates when relative humidity regularly exceeds 60 percent. Wallpaper adhesive fails, wood stain discolors, and metal fixtures develop premature corrosion.
Structural damage represents the most expensive consequence. Persistent moisture weakens drywall, causes wooden framing to rot, and degrades subfloor materials. Repairing structural moisture damage from years of inadequate ventilation can cost $10,000 to $30,000. This is one of the most common bathroom renovation mistakes homeowners make.
Health effects are the most important reason to prioritize ventilation. Mold and mildew release spores that cause respiratory irritation, allergic reactions, and exacerbate asthma. The EPA identifies indoor mold exposure as a significant health risk, particularly for children and the elderly.
Exhaust Fan CFM Sizing Guide
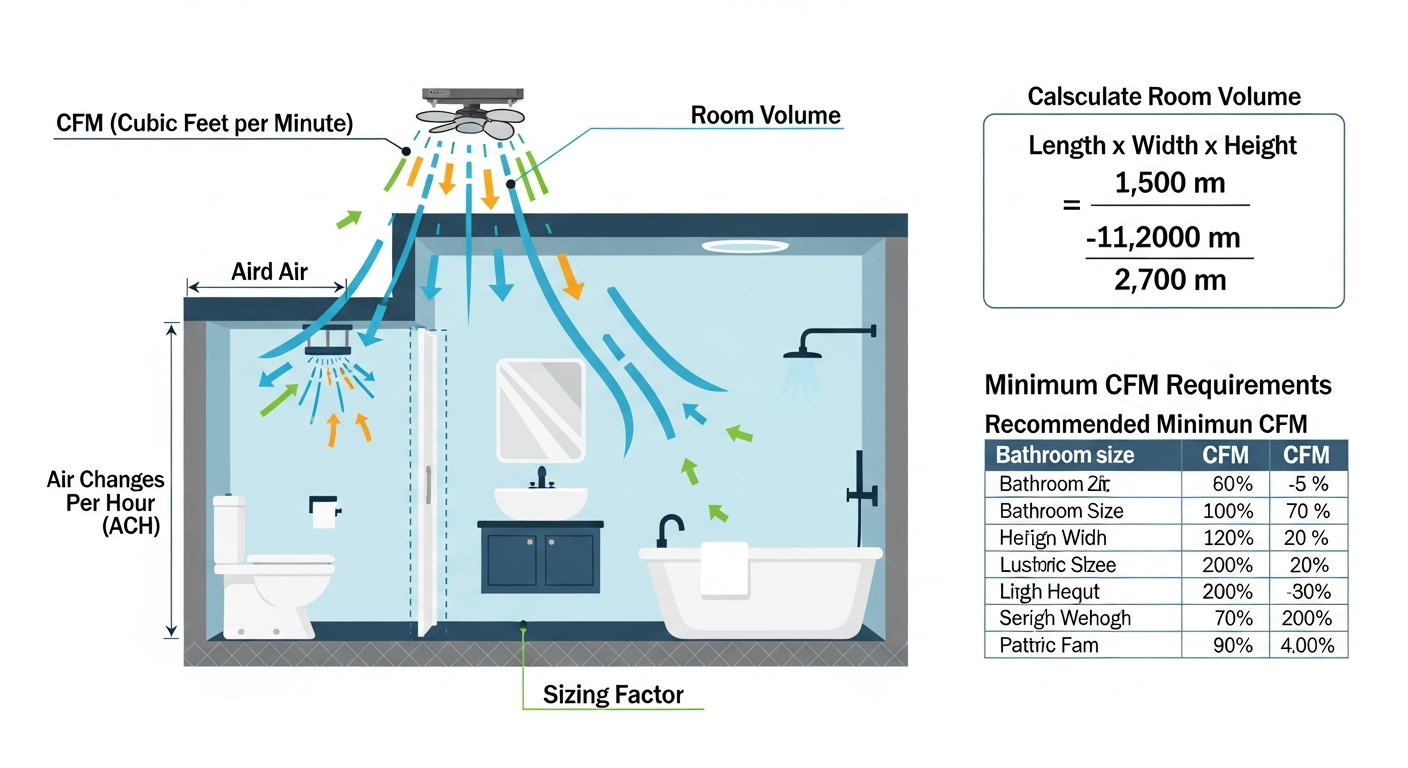
Choosing the right exhaust fan starts with understanding CFM, which stands for cubic feet per minute. This measurement tells you how much air the fan moves in one minute, and selecting the correct CFM rating is essential for effective moisture removal. The Home Ventilating Institute (HVI certified) and ASHRAE provide the standards that contractors and inspectors rely on.
Formula: 1 CFM per Square Foot
The baseline formula is straightforward: you need a minimum of 1 CFM per square foot of bathroom floor area. A 50-square-foot bathroom requires at least a 50 CFM fan. For bathrooms smaller than 50 square feet, the HVI recommends a minimum of 50 CFM regardless of actual square footage. According to ASHRAE Standard 62.2, bathrooms require a minimum continuous ventilation rate of 20 CFM or an intermittent rate of 50 CFM. Most building codes adopt this standard, though local codes may be stricter.
High-Ceiling Adjustments
The standard formula assumes an 8-foot ceiling. If your bathroom has taller ceilings, adjust upward by dividing actual ceiling height by 8, then multiplying by the baseline CFM. For example, a 75-square-foot bathroom with a 10-foot ceiling calculates as: 75 CFM multiplied by 10 divided by 8 equals approximately 94 CFM — select a 100 CFM fan. Vaulted and cathedral ceilings require even greater capacity because warm, moist air collects at the highest point.
Fan Sizing for Shower and Tub Combinations
An alternative sizing method calculates CFM by fixture count: add 50 CFM for each enclosed toilet, shower, or bathtub. A bathroom with a separate shower, freestanding tub, and enclosed toilet compartment needs 150 CFM. Use whichever method — square footage or fixture count — produces the higher number. For steam showers or large walk-in showers with multiple heads, increase calculated CFM by 20 to 30 percent. Learn more about planning shower upgrades in our DIY bathroom remodel guide.
Exhaust Fan Types
Bathroom exhaust fans come in several configurations, each suited to different installation scenarios and noise preferences. The fan type also affects overall remodel costs, so evaluate all options before committing.
Ceiling-Mounted Standard Fans
Ceiling-mounted exhaust fans are the most common type in residential bathrooms. They install directly between ceiling joists, with the motor housed in the ceiling cavity and a decorative grille visible below. Modern ceiling fan models range from 50 to 400 CFM and include features like built-in LED lighting, nightlights, and Bluetooth speakers. Many homeowners choose combination fan-light units to consolidate ceiling fixtures and maintain a cleaner aesthetic. They are the most affordable option at $80 to $300, though noise is more noticeable since the motor sits directly above the room. Despite this, ceiling-mounted fans remain the go-to choice for most bathroom renovations due to their straightforward installation and wide availability.
Inline and Remote Fans
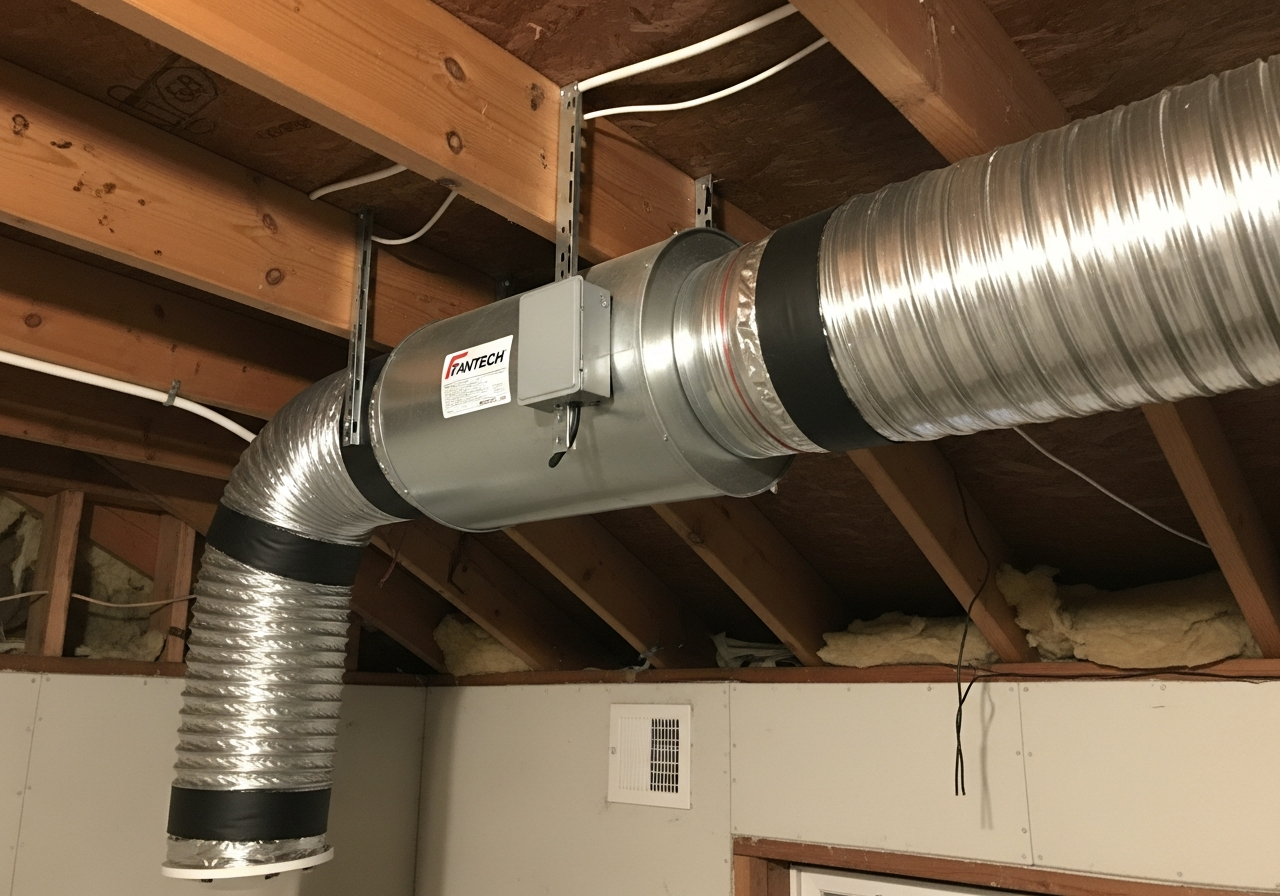
Inline fans mount in the attic or between floors rather than in the bathroom ceiling. Only a passive intake grille is visible in the room. This separation dramatically reduces noise, often achieving below 0.5 sones — nearly silent. Inline fans are ideal for primary bathrooms where quiet operation matters and typically cost $200 to $600 for the unit, plus ductwork and labor.
Multi-Port Systems
A multi-port fan system uses a single powerful inline fan to serve two or more bathrooms simultaneously through separate duct runs. Motorized dampers ensure air is drawn from the correct bathroom when needed. These systems reduce total cost and simplify maintenance compared to individual fans. Two-port systems start around $400, while three- and four-port configurations range from $600 to $1,200.
Noise Levels: Understanding Sone Ratings
Fan noise is measured in sones, a unit of perceived loudness. Unlike decibels, the sone rating system is linear — a fan rated at 2.0 sones sounds twice as loud as one rated at 1.0 sone. Understanding sone ratings is crucial because a noisy fan gets turned off, defeating its purpose.
- 0.3 sones: Nearly silent — rustling leaves. Premium quiet fan models achieve this level.
- 0.5 sones: Very quiet — comparable to a quiet refrigerator. Excellent for primary bathrooms.
- 1.0 sone: Quiet — similar to a calm office. The threshold most homeowners consider acceptable.
- 2.0 sones: Moderate — equivalent to normal conversation. Standard in builder-grade fans.
- 3.0 sones: Noticeable — comparable to a television at normal volume. Intrusive in quiet homes.
- 4.0+ sones: Loud — similar to a window AC unit. Often found in older or low-cost fans.
For primary bathrooms and en-suite bathrooms, look for fans rated at 1.0 sone or below. For guest bathrooms and powder rooms where the fan runs less frequently, up to 2.0 sones is generally acceptable. Always verify that the rating is HVI certified, as non-certified noise claims can be misleading. Note that some fans are rated at their lowest speed setting, not at full capacity — always check the sone rating at the CFM level your bathroom actually requires. Investing in a quiet fan pays dividends in daily comfort, especially in bathrooms adjacent to bedrooms where fan noise can disrupt sleep.
Smart Fan Controls
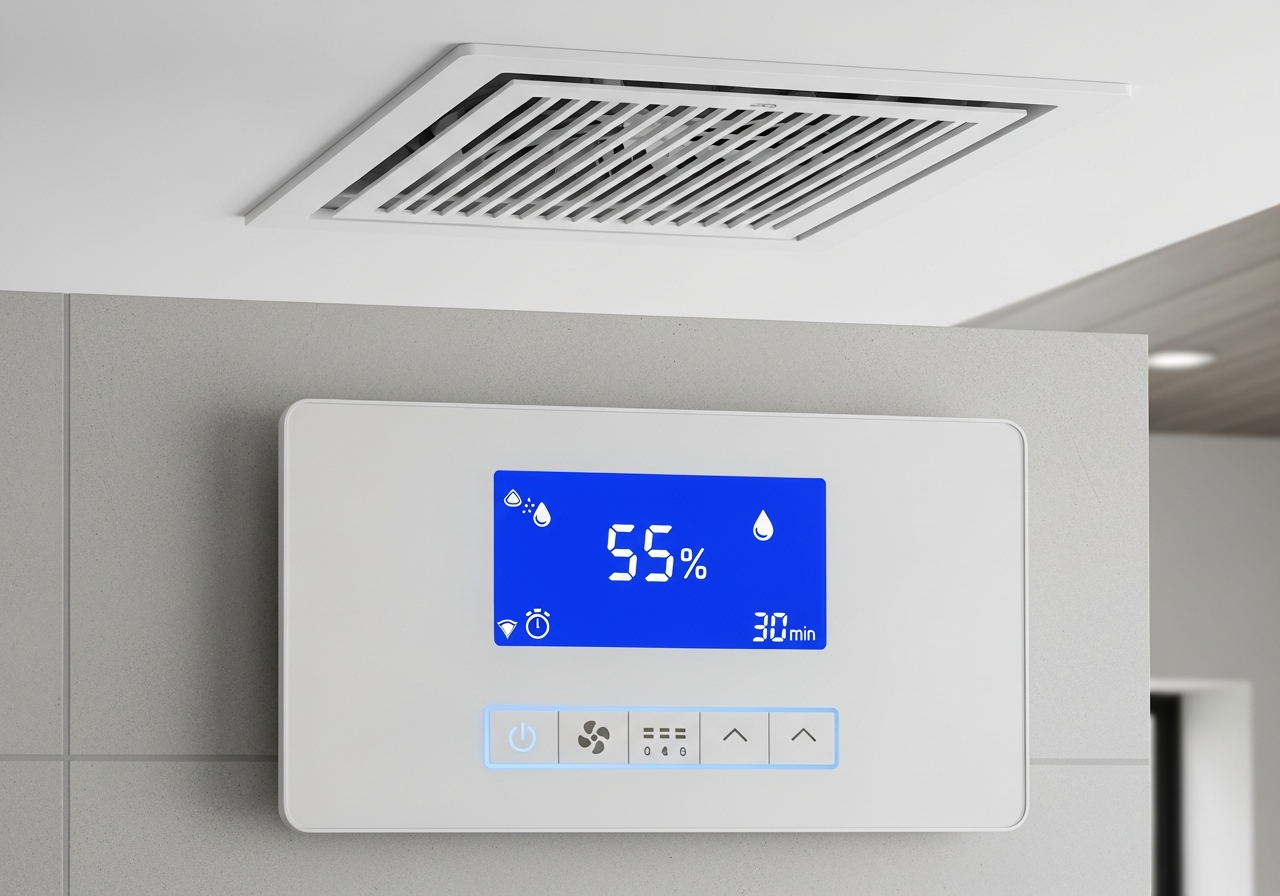
Modern exhaust fan technology goes far beyond the basic on-off switch. Smart controls automate ventilation, ensuring adequate airflow even when you forget to flip a switch — reducing energy waste by running the fan only when needed.
Humidity sensor controls are the most effective option. A built-in humidity sensor monitors relative humidity and automatically activates the fan when levels exceed a preset threshold, typically 60 to 70 percent. The fan continues running until humidity normalizes, then shuts off. Many models allow you to adjust the trigger threshold to match your local climate.
Timer switches replace the standard toggle with a countdown timer switch that runs the fan for 10, 20, 30, or 60 minutes, then shuts off automatically. This cost-effective upgrade prevents the common problem of leaving the fan running all day or forgetting to use it. Programmable timers can also run brief intervals throughout the day for continuous baseline ventilation per ASHRAE requirements.
A motion sensor fan activates when someone enters the bathroom and continues running after the room is vacated. Motion-activated controls are practical in guest bathrooms and children's bathrooms. Advanced models combine motion detection with humidity sensing — activating at low speed upon entry and ramping up when shower moisture is detected.
For a complete bathroom remodel, combining a humidity sensor with a timer provides the most comprehensive ventilation strategy.
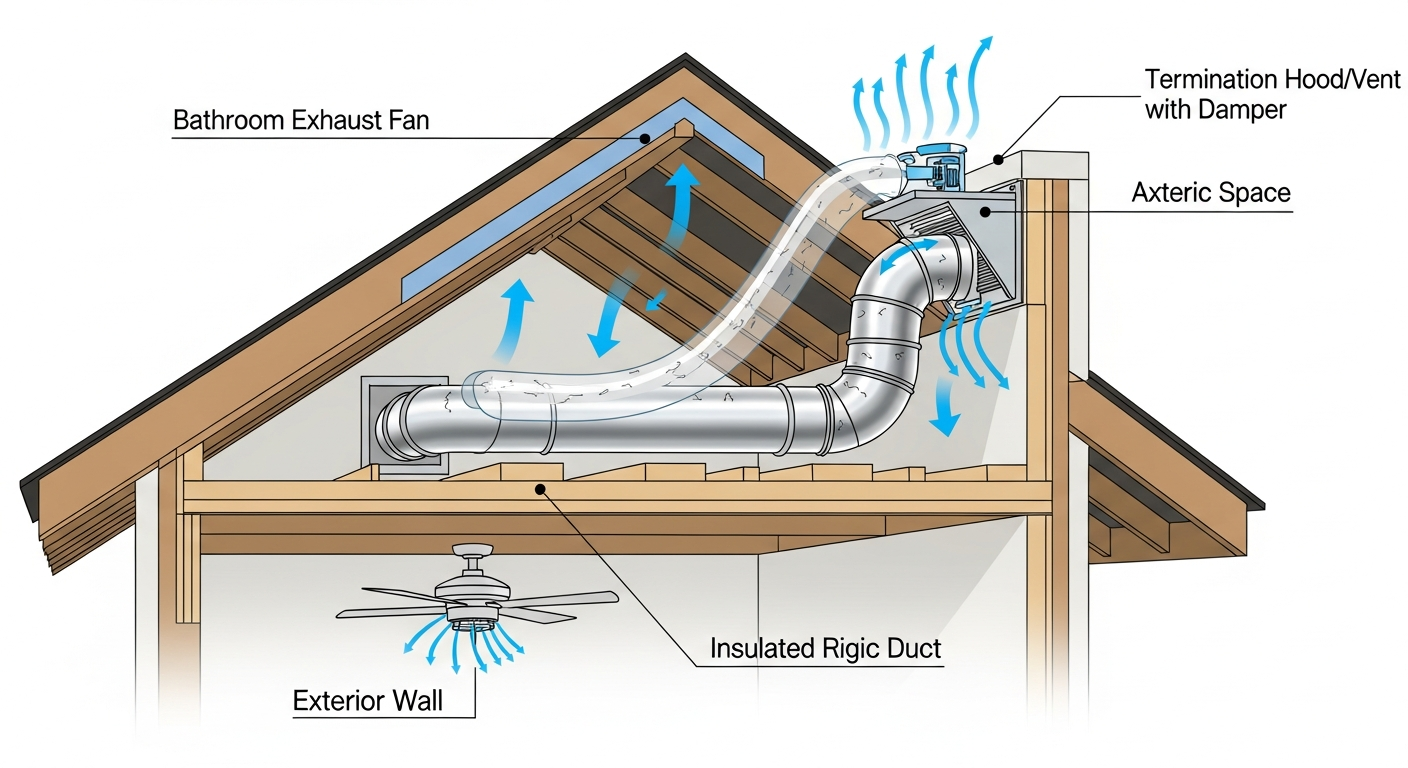
Ductwork Installation Essentials
Even the best exhaust fan underperforms with improper ductwork. Duct routing, sizing, insulation, and termination determine how effectively moist air is expelled from the bathroom.
Duct sizing must match the fan's output port. Most residential fans use 4-inch round duct, while higher-capacity fans (150+ CFM) require 6-inch duct. Never reduce duct diameter below the fan's outlet size, as this creates back pressure that reduces airflow and increases noise.
Duct material matters. Rigid metal duct provides the best airflow with minimal friction. Flexible duct is easier to install but creates more resistance due to its ribbed interior. If using flex duct, keep runs short and straight. Every 90-degree bend in rigid duct reduces effective CFM by about 5 percent, while the same bend in flex duct can reduce it by 10 to 15 percent.
Duct insulation is essential when ductwork passes through unconditioned spaces like attics or crawl spaces. Without insulation, warm moist air condenses on cold duct surfaces, causing water to drip back through the ceiling. Use insulation rated R-6 or higher, and R-8 in cold climates.
Termination is where the duct exits the building. Exhaust must terminate outdoors — never into an attic, soffit, or wall cavity. Dumping moist air into an attic causes mold and wood rot and violates building code. Acceptable termination points include a roof vent cap, a wall vent with damper, or a gable vent. Each termination fitting should include a backdraft damper that prevents outside air, insects, and rain from entering the duct when the fan is off. Keep total duct runs under 25 feet with no more than two 90-degree elbows. Longer or more convoluted runs require a fan with higher static pressure capability to overcome friction losses. Review your complete ductwork plan as part of your bathroom remodel checklist before beginning installation.
Window Ventilation: Supplement or Alternative?
A bathroom window provides natural ventilation and can help with moisture control, but relying on windows alone has significant limitations.
Most modern building codes allow a bathroom to use either a mechanical exhaust fan or an operable window with at least 1.5 square feet of openable area. In practice, however, nearly all professionals recommend installing a mechanical fan regardless of whether a window exists.
The primary limitation is dependence on weather and user behavior. During cold months, opening a window after a hot shower is uncomfortable and energy-wasteful. During rainy or humid seasons, outside air may be just as moist as indoor air, rendering the window ineffective for mold prevention. And windows only work when someone remembers to open them.
Windows do provide valuable supplemental ventilation alongside a mechanical system. Cross ventilation from an open window combined with an operating exhaust fan clears moisture faster than either method alone. If your bathroom has a window, consider it a bonus rather than a replacement for proper mechanical ventilation. For bathrooms with windows, selecting the right waterproof flooring near the window area is especially important, as rain and condensation around the sill can cause water damage over time.
For windowless bathrooms — common in interior rooms and condominiums — a mechanical exhaust fan is required by every residential building code. In these enclosed spaces, consider adding a dehumidifier as additional backup during humid seasons, and pay extra attention to material selections that resist prolonged moisture exposure.
Moisture-Resistant Materials for Extra Protection
Ventilation is your first line of defense, but the materials on walls, ceilings, and surfaces serve as a critical second layer. For a comprehensive comparison of bathroom surface options, see our bathroom materials comparison guide.
Mold-resistant paint is formulated with antimicrobial additives that inhibit mildew growth. For bathrooms, always use satin or semi-gloss sheen — these finishes resist moisture penetration better than flat finishes and are easier to clean. Apply mold-resistant paint on ceilings and wall areas not covered by tile, especially the ceiling directly above the shower.
Mold-resistant drywall uses fiberglass facing instead of paper and a moisture-resistant gypsum core. It should be used on all bathroom walls and ceilings. For shower enclosure walls, cement backer board combined with a waterproof membrane remains the gold standard.
Silicone caulk with mold-resistant properties should be used at all transitions — tub-to-wall, tile-to-vanity, and around plumbing penetrations. Pure silicone outperforms acrylic and latex caulk in wet environments. Replace caulk at the first sign of discoloration or separation.
Grout sealer is essential for all cement-based grout in showers and floors. Unsealed grout absorbs water like a sponge, allowing moisture behind tiles and into the substrate. Apply a penetrating grout sealer after installation and reapply annually in shower areas. Alternatively, consider epoxy grout for shower floors and walls — it is non-porous, does not require sealing, and resists staining and mold growth far better than traditional cement grout. Our bathroom fixture finishes guide covers how to choose finishes that also resist moisture and corrosion.
Combined with proper ventilation, a vapor barrier behind shower walls and moisture-resistant materials throughout the bathroom create a comprehensive moisture management system that protects your remodel investment for decades. When selecting wall and ceiling materials, think of ventilation and material choices as two halves of the same strategy — one removes moisture from the air, and the other prevents moisture from penetrating surfaces.
Frequently Asked Questions
How long should I run my bathroom exhaust fan after a shower?
Run your exhaust fan for at least 20 minutes after finishing a shower or bath. A timer switch or humidity sensor automates this process. If your bathroom still feels damp after 20 minutes, your fan may be undersized or your ductwork may have airflow issues.
Can I vent my bathroom exhaust fan into the attic?
No. Venting into an attic violates building codes and causes attic mold, wood rot, and insulation damage. The duct must terminate outdoors through a roof vent, wall vent, or gable vent with a backdraft damper.
What CFM rating do I need for my bathroom?
Use the formula of 1 CFM per square foot of floor area. A 60-square-foot bathroom needs at least 60 CFM. Adjust upward for ceilings taller than 8 feet or steam showers. For bathrooms under 50 square feet, the minimum is 50 CFM. Always choose an HVI certified fan to ensure the published CFM rating is accurate.
What is a good sone rating for a bathroom fan?
For primary bathrooms, aim for a sone rating of 1.0 or below. For guest bathrooms, up to 2.0 sones is acceptable. Premium quiet fan models achieve 0.3 to 0.5 sones, which is nearly inaudible.
Do I need a bathroom fan if I have a window?
While some building codes allow an operable window as a substitute, most professionals strongly recommend a mechanical fan. Windows depend on weather and user behavior, making them unreliable for consistent mold prevention.
How much does it cost to install a bathroom exhaust fan?
A standard ceiling fan replacement with existing ductwork costs $150 to $350. New installations requiring ceiling cuts, ductwork, and exterior venting typically cost $300 to $800. Inline fan systems range from $500 to $1,200. Factor these costs into your overall bathroom remodel budget.
Can a dehumidifier replace a bathroom exhaust fan?
A dehumidifier can supplement an exhaust fan but should not replace it. Exhaust fans physically remove moist air and expel it outdoors, while dehumidifiers recirculate the same air. For optimal results, use both — the exhaust fan handles peak moisture during showers, while the dehumidifier manages ambient humidity throughout the day.
Plan Your Bathroom Ventilation with HanoDecor
Proper ventilation is the foundation of every successful bathroom remodel. Before selecting tile patterns, vanity styles, or fixture finishes, ensure your ventilation system is properly planned to protect your investment from condensation, mold, and moisture damage.
Ready to visualize your complete bathroom renovation? Use the HanoDecor Bathroom Remodel Visualizer to see how different layouts, materials, and design choices come together in your space. Upload a photo of your current bathroom and explore styles, colors, and configurations before committing to purchases. Our AI-powered tool helps you experiment with different layouts, tile patterns, and fixture placements so you can make confident decisions about your renovation.
Browse our project gallery to see real bathroom transformations that incorporate proper ventilation planning alongside beautiful design. For personalized guidance on fan placement, duct routing, or any other aspect of your bathroom project, visit our support page to connect with our team. And if you are just getting started with your renovation journey, our bathroom remodel checklist walks you through every step from initial planning through final inspection, ensuring nothing — including ventilation — gets overlooked.
Bathroom Ventilation Guide FAQs
Written by
Michael Torres
Bathroom and Kitchen Design Specialist with 15 years of remodeling experience. NKBA-certified designer focused on functional layouts, fixture selection, and spa-inspired wellness spaces.