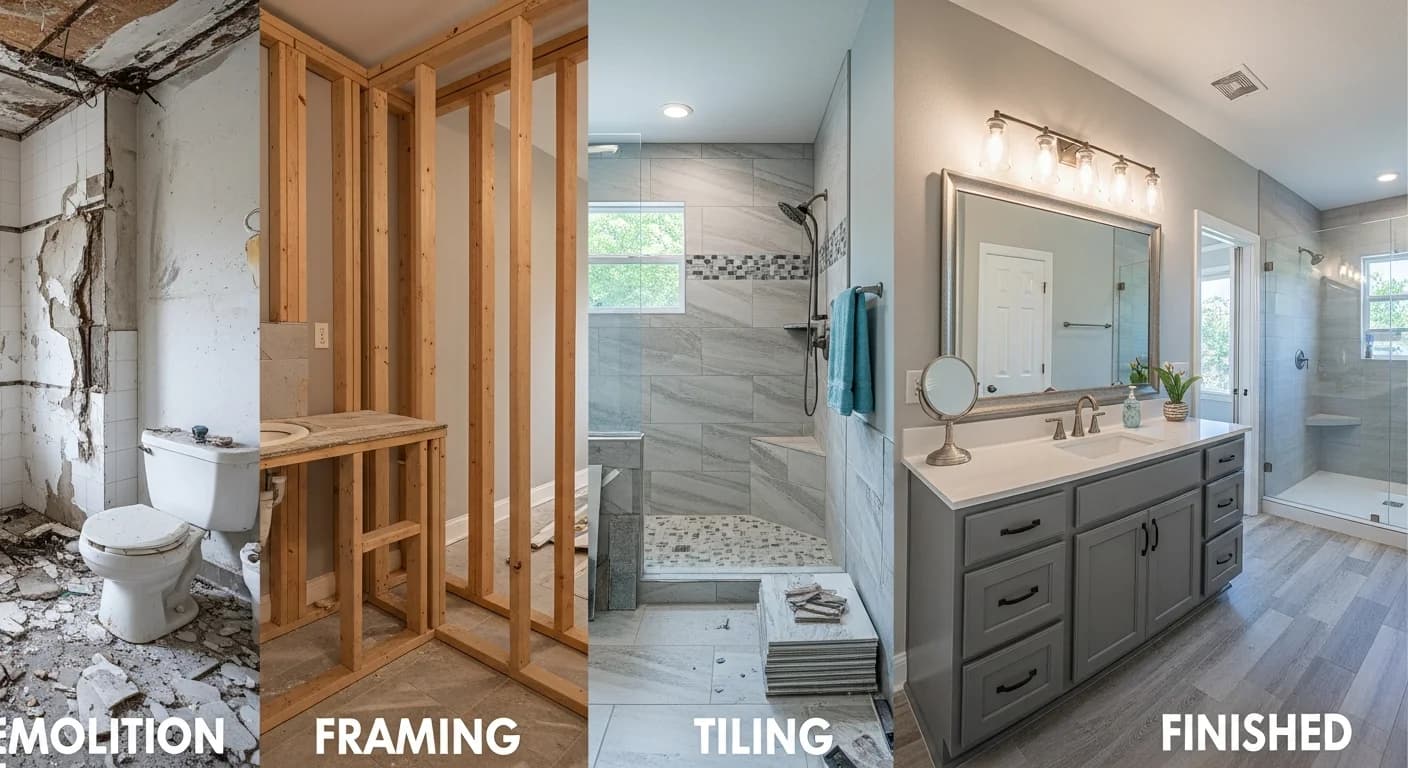
Bathroom Renovation Mistakes: 15 Costly Errors and How to Avoid Them
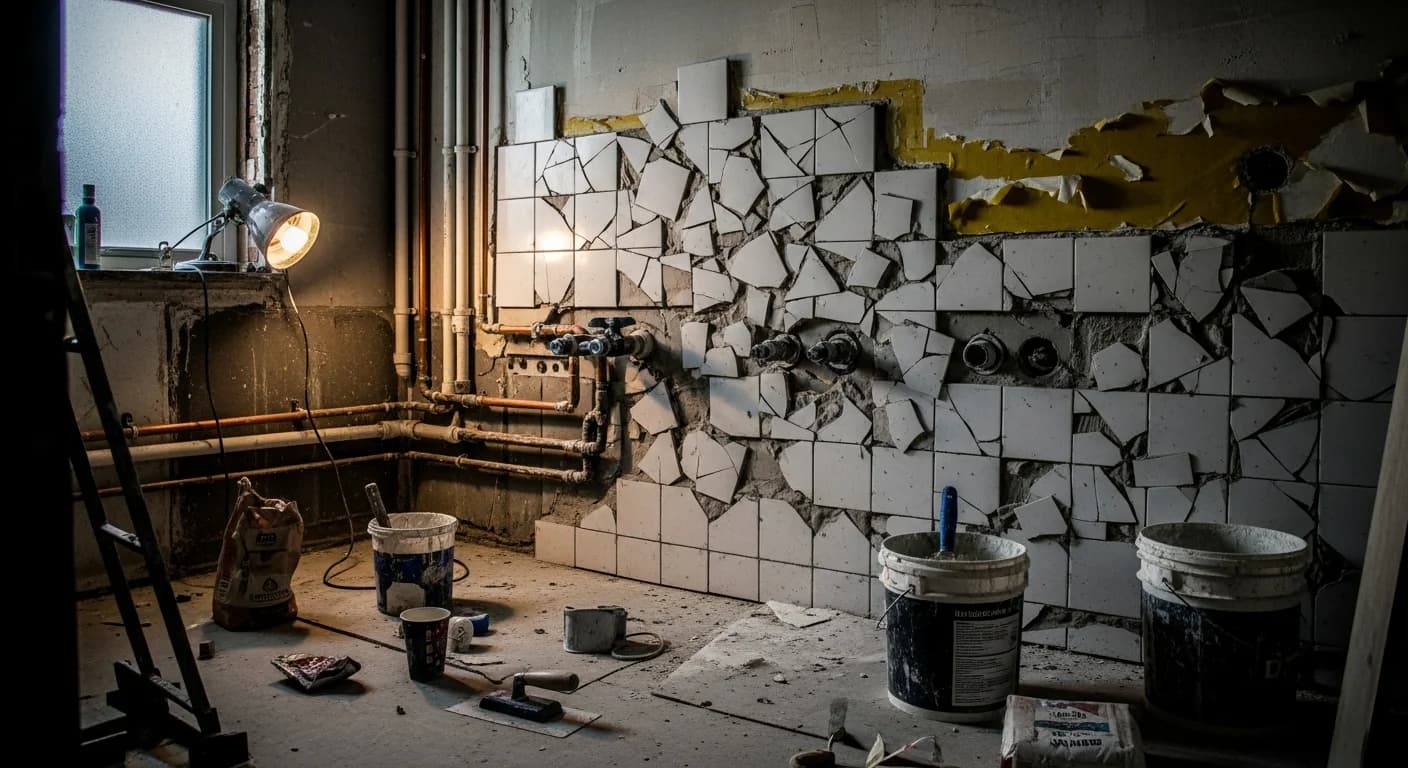
Bathroom renovations consistently rank among the most rewarding home improvement projects — and among the most prone to costly mistakes. Industry data shows that 30–50% of homeowners exceed their original bathroom renovation budget, with the average overrun reaching $3,500 on a $15,000 project. The root causes are predictable: inadequate planning, skipped waterproofing steps, wrong material selections, and layout decisions that look reasonable on paper but fail in daily use.
The difference between a renovation that adds $20,000 in home value and one that requires $8,000 in repairs within five years often comes down to a handful of decisions made in the first two weeks of planning. Bathroom renovation mistakes compound in ways that other room remodels do not, because bathrooms are uniquely hostile environments — high humidity, daily water exposure, temperature swings, and chemical contact from cleaning products create conditions where every shortcut eventually surfaces as mold, water damage, or structural failure. The 2026 bathroom remodel pricing guide provides baseline costs that help calibrate realistic budgets from the start.
This guide documents 15 specific errors drawn from contractor interviews, building inspector reports, and insurance claim data. For each mistake, you will find the typical cost of making it, the cost of fixing it afterward, and the straightforward prevention strategy that experienced renovators use. Whether planning a DIY bathroom project or hiring a general contractor, knowing these pitfalls in advance is the most cost-effective investment in any renovation.
Quick Summary
- 15 costly renovation errors organized into six categories: planning, waterproofing, materials, layout, lighting, and contractors
- Budget overruns averaging 23–35% affect nearly half of all bathroom renovations
- Waterproofing failures cost $2,000–$12,000 to repair and are the leading cause of post-renovation insurance claims
- Undersized exhaust fans (below required CFM) contribute to mold growth in 40% of remodeled bathrooms within 3 years
- Fixture spacing violations can force a complete tearout — an additional $5,000–$10,000 expense
- The 15–20% contingency rule protects against unforeseen structural, plumbing, and electrical issues
- Visualizing your design before construction prevents 80% of layout regrets
Best for: Homeowners in the planning phase of a bathroom remodel, DIY renovators, and anyone hiring a contractor who wants to know the right questions to ask.
Reading time: 13 minutes
Why Renovations Go Wrong
These costly remodel errors rarely happen because of incompetence. They happen because of invisible complexity. Behind every bathroom wall lies a convergence of plumbing supply lines, drain pipes, electrical circuits, ventilation ducts, and structural framing — systems that interact in ways that are not apparent until demolition begins. A survey of licensed contractors found that 68% of bathroom renovations reveal at least one unexpected condition (corroded pipes, inadequate framing, previous water damage, outdated wiring) that was not visible during the planning phase.
The three root causes behind most renovation regrets are poor planning (starting without a complete scope, timeline, and budget), poor communication (unclear expectations between homeowner and contractor), and poor prioritization (spending heavily on visible finishes while cutting corners on invisible infrastructure like waterproofing, ventilation, and electrical). Understanding these patterns is the first step toward avoiding them.
Planning and Budget Mistakes
Underestimating Costs
The most pervasive of all bathroom renovation mistakes is underestimating total costs by 30–50%. Homeowners typically budget for fixtures, tile, and labor but overlook permit fees ($200–$1,500), dumpster rental ($300–$600), temporary bathroom arrangements during construction ($50–$200 per week), structural repairs discovered during demolition ($500–$5,000), and the inevitable scope changes that occur once walls are opened. A realistic budget adds 15–20% contingency on top of the itemized estimate. For a $20,000 renovation, that means setting aside $3,000–$4,000 as an untouchable reserve.
Forgetting Permits
Permit requirements vary by municipality, but any work involving plumbing relocation, electrical modifications, or structural changes almost certainly requires a permit. Skipping permits saves $200–$1,500 upfront but creates three serious risks: failing inspection when selling the home (requiring expensive retroactive compliance), voiding homeowner's insurance coverage for water damage, and facing municipal fines of $500–$10,000. Building departments are increasingly using satellite imagery and utility records to identify unpermitted work. The prevention is simple: call the local building department before starting and ask which permits apply to the planned scope of work.
No Contingency Fund
The 15–20% contingency rule exists because bathrooms are the most likely room in a home to conceal prior damage. Water intrusion behind tiles, subfloor rot around toilets, galvanized pipe corrosion, and aluminum wiring are common discoveries during demolition that cannot be ignored. Without a contingency fund, homeowners face an impossible choice: stop the project mid-renovation (leaving an unusable bathroom) or finance emergency repairs at premium rates. Setting aside contingency funds is not pessimism — it is responsible planning based on statistical probability. Projects that encounter zero surprises can redirect contingency funds toward upgrades.
Waterproofing and Ventilation Failures
Waterproof Membranes
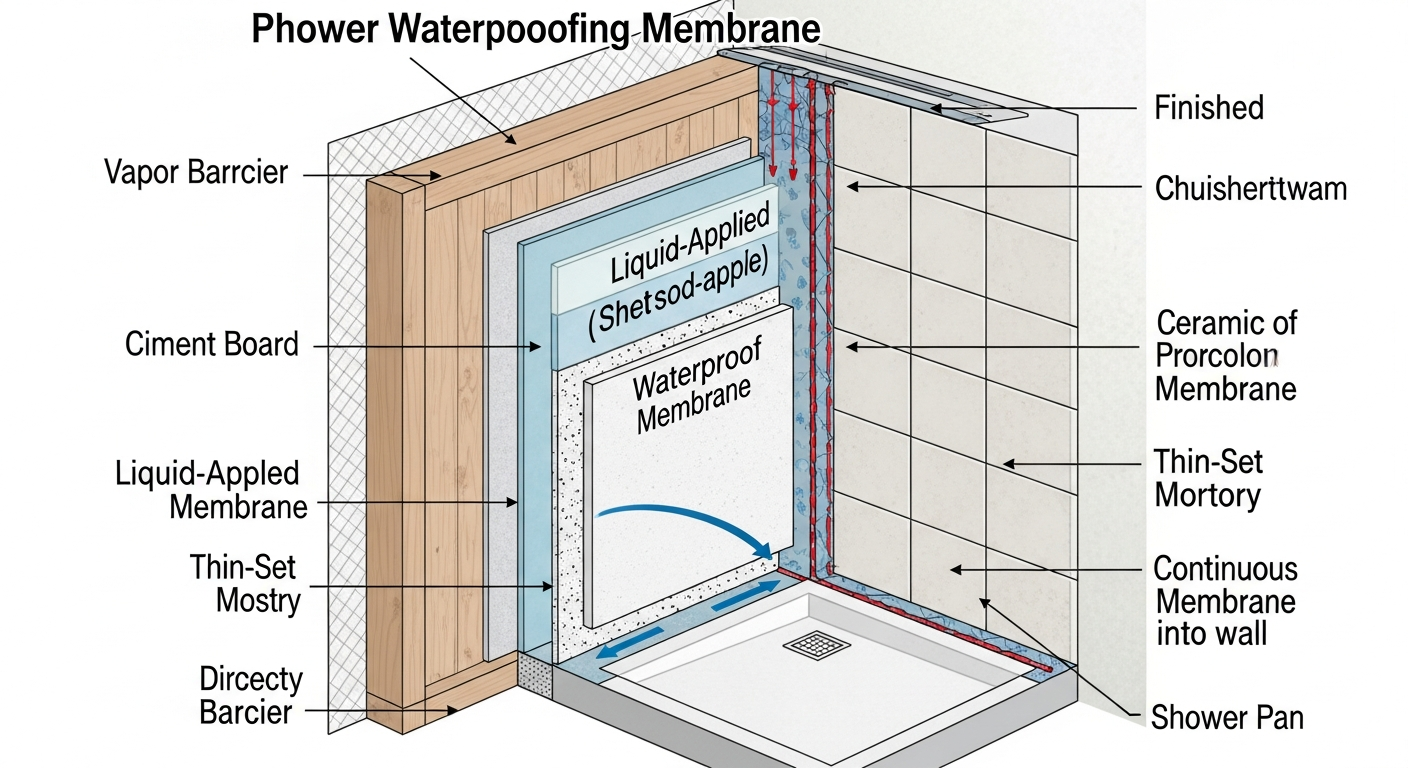
Inadequate waterproofing is the single most expensive bathroom renovation mistake, with repair costs ranging from $2,000 for localized damage to $12,000+ for full-scale mold remediation and structural repair. Every shower and tub surround requires a continuous waterproof membrane — not just water-resistant drywall (green board), not just tile and grout, but a dedicated membrane system like Schluter KERDI, Laticrete Hydro Ban, or RedGard applied to every surface that contacts water. Cement board alone is not waterproof; it resists deterioration but allows water passage to the framing behind it.
The critical failure points are corners, curbs, niches, and transitions between different materials. These areas require reinforced membrane treatment with fabric strips embedded in the waterproofing compound. A complete shower waterproofing system adds $300–$800 to material costs — a trivial investment compared to the $5,000–$12,000 cost of tearing out a failed shower to address moisture damage behind the walls.
Undersized Fans
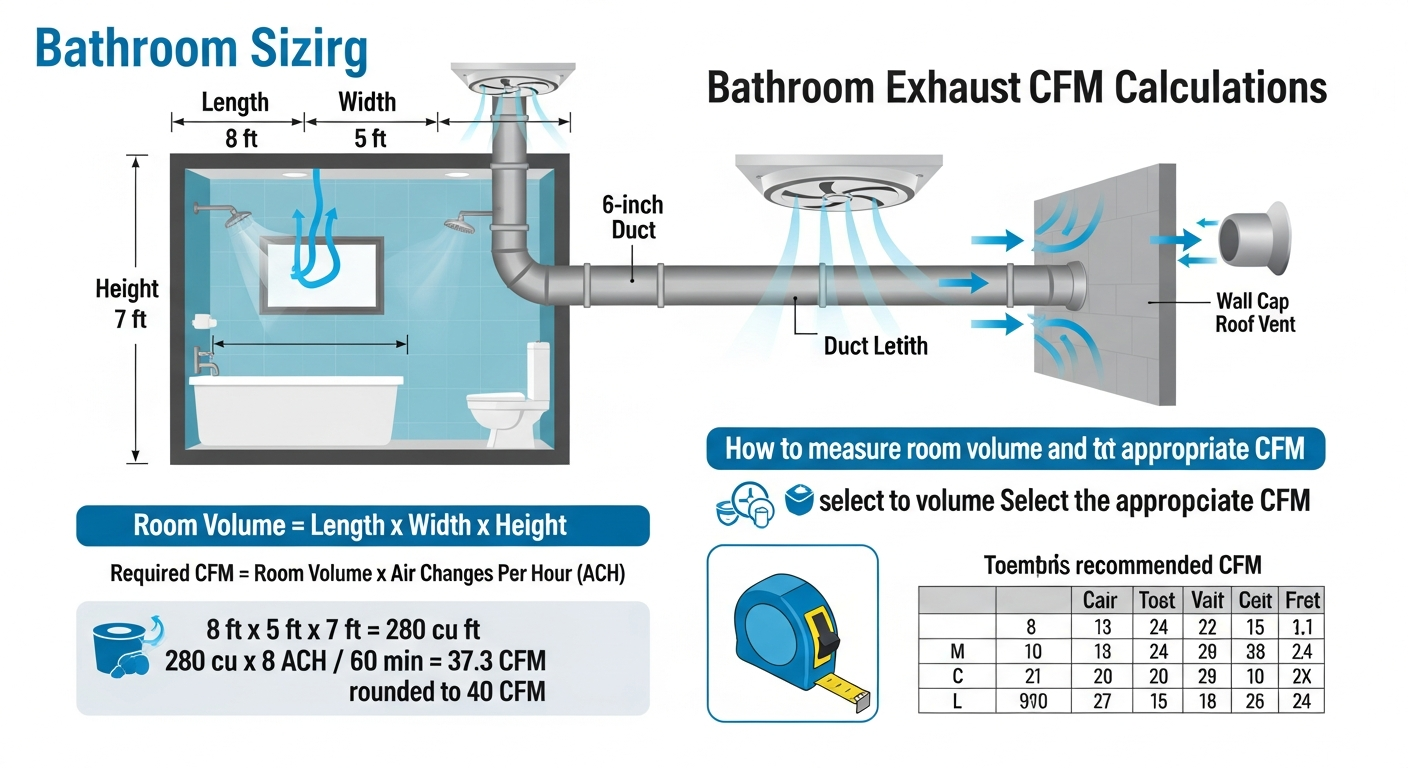
Exhaust fans are sized by airflow capacity measured in cubic feet per minute (CFM). The minimum requirement is 1 CFM per square foot of bathroom floor area, with a minimum of 50 CFM for any bathroom. A 100-square-foot bathroom needs a 100 CFM fan — yet many renovators install the cheapest 50–70 CFM unit available, creating chronic moisture problems. Bathrooms with steam showers, soaking tubs, or jetted tubs need significantly higher ventilation: 150–200 CFM minimum. The fan must vent to the exterior through insulated ductwork — never into the attic, which simply relocates the moisture problem. Inline fans mounted in the duct run offer quieter operation (0.3–1.0 sones) than ceiling-mounted units and can serve multiple extraction points.
Moisture Behind Walls
Moisture that penetrates behind walls creates ideal conditions for mold growth, which can begin within 24–48 hours of sustained dampness. The most insidious aspect of this mistake is its invisibility — mold colonies can flourish behind tile for years before producing visible signs like discoloration, musty odors, or buckling surfaces. Prevention requires three layers of defense: a waterproof membrane on wet-zone walls, an appropriately sized exhaust fan running for at least 20 minutes after each shower (use a timer or humidity-sensing switch), and moisture-resistant wall materials (cement board, not standard drywall) behind all wet areas.
Material Selection Errors
Non-Moisture Materials
Using materials not rated for high-moisture environments is a surprisingly common error, especially among DIY renovators and budget-conscious contractors. Standard MDF (medium-density fiberboard) vanities swell and delaminate within 2–3 years in humid bathrooms. Regular drywall behind shower enclosures absorbs moisture and promotes mold growth. Non-vitreous tile (water absorption rate above 7%) on shower floors degrades and harbors bacteria. The solution is specifying moisture-rated materials for every application: marine-grade plywood or solid wood for vanities, cement board or fiber-cement board for wet-zone walls, and porcelain or vitreous tile (water absorption below 0.5%) for floors and shower surrounds. Review the bathroom tile selection guide for moisture ratings by material type.
Wrong Grout
Grout selection affects both the aesthetics and the waterproofing performance of every tiled surface. Unsanded grout in wide joints (over 1/8 inch) cracks and crumbles. Sanded grout in narrow joints with polished stone scratches the tile edges. White grout on shower floors stains permanently within months. Cement-based grout without sealer absorbs moisture and discolors. The recommended approach: use epoxy grout for shower floors and areas of heavy water exposure (waterproof, stain-proof, never needs sealing) and high-quality polymer-modified sanded grout with penetrating sealer for wall tile. Choose a grout color one shade darker than the lightest tile to minimize the appearance of discoloration over time.
Slippery Floors
Floor tile that becomes hazardous when wet is a safety failure that can result in serious injury and liability. Polished porcelain, glossy ceramic, and honed marble all become dangerously slippery when wet. Slip-resistant flooring requires a coefficient of friction (COF) rating of 0.42 or higher when wet — verified by the DCOF AcuTest method. Textured porcelain, matte-finish tile, small-format mosaic (the grout lines add traction), and natural stone with a tumbled or brushed finish all meet this standard. Always request COF test data from the tile supplier before purchasing floor tile for a bathroom.
Layout and Space Planning Blunders
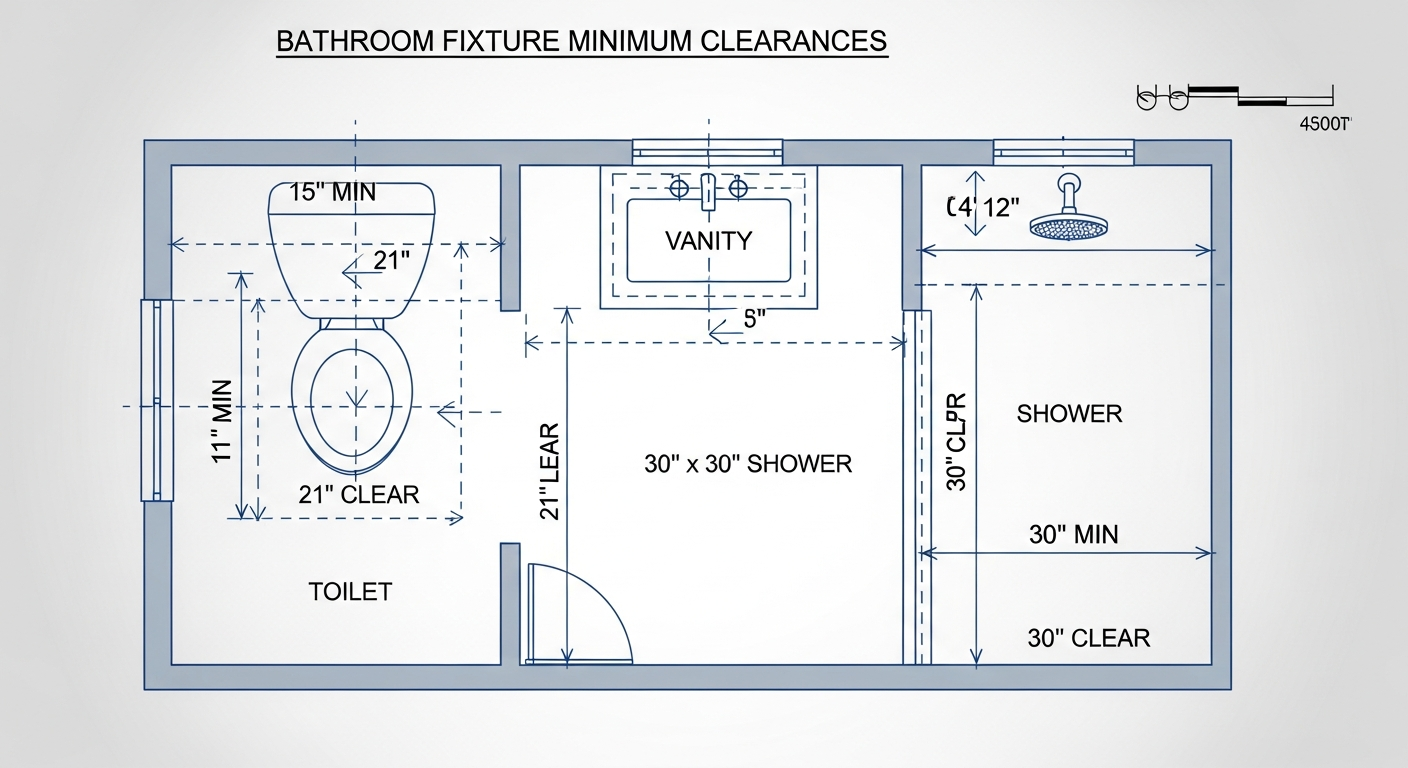
Layout mistakes are the most expensive category of renovation errors to fix because they require tearing out and relocating plumbing, which costs $1,500–$5,000 per fixture. The most common violations involve minimum clearance requirements: 15 inches from the center of a toilet to any side wall or obstruction, 21 inches of clear space in front of the toilet (30 inches preferred), 30 inches of minimum vanity clearance for comfortable use, and 24 inches of minimum door swing clearance. Fixture spacing requirements are not arbitrary — they come from the International Residential Code and are verified during inspections.
Door and drawer clearance issues emerge when vanity drawers collide with toilet tanks, cabinet doors block the shower entry, or the bathroom entry door cannot fully open. These problems are entirely preventable with accurate floor plans drawn to scale before any demolition begins. Tape out the proposed layout on the existing floor to physically test clearances. Open every door and drawer in the proposed configuration. Sit on the proposed toilet position and verify that your knees do not contact the vanity or opposite wall. The bathroom vanity guide covers sizing for single, double, and floating vanity configurations that optimize clearance in tight layouts.
Lighting Design Oversights
Installing only a single overhead light fixture is the most common lighting mistake in bathroom renovations, creating harsh shadows at the vanity that make grooming tasks difficult and unflattering. Proper bathroom lighting requires a minimum of three layers: ambient (overhead), task (vanity), and accent (shower/tub niche). Vanity lighting specifically requires fixtures mounted at eye level on both sides of the mirror (or a continuous strip above a wide mirror), producing at least 75–100 watts of warm-white light (2700K–3000K). Wall sconces flanking the mirror at 60–66 inches above the floor eliminate the undereye shadows that a ceiling-mounted fixture creates. For comprehensive guidance, the bathroom lighting ideas guide details fixture placement, color temperature, and layering strategies for every bathroom size.
Poor lighting design extends beyond the vanity. Shower niches benefit from a small recessed LED (wet-rated, IC-rated housing). Tub areas benefit from soft ambient lighting on a dimmer. Nighttime use benefits from a low-level LED strip along the baseboard or under the vanity toe kick, providing enough illumination to navigate safely without triggering full wakefulness. Every bathroom lighting circuit should be on a dimmer — the cost difference between a standard switch ($3) and a dimmer switch ($25) is negligible compared to the daily improvement in ambiance and functionality.
Storage Shortfalls
Sacrificing storage for aesthetic minimalism is a mistake that becomes apparent within weeks of completing a renovation. Every bathroom requires storage for towels (a family of four needs space for 8–12 bath towels), toiletries, cleaning supplies, medications, and grooming tools. The most space-efficient storage strategies include recessed medicine cabinets (gaining 3–4 inches of depth without projecting into the room), shower niches built into stud cavities (essentially free space), vanity drawers rather than shelves (20% more usable capacity), and vertical tower cabinets in unused corners. For a full breakdown of storage solutions, see the bathroom storage ideas guide.
The minimum recommended storage in a primary bathroom is 12 cubic feet — roughly equivalent to a 36-inch vanity with three drawers plus a 24-inch recessed medicine cabinet. Guest bathrooms can function with 6–8 cubic feet. Insufficient storage leads to countertop clutter, which undermines the clean aesthetic that most renovators are seeking in the first place.
Trend-Chasing vs Timeless Design
Trendy features that date a bathroom within 3–5 years represent a significant waste of renovation dollars. Colored toilets (1970s), pedestal sinks without storage (2000s), vessel sinks that splash (2010s), and overly themed designs (nautical bathrooms, all-gray everything) all felt fresh at installation and dated shortly after. The most timeless bathroom elements — white or neutral tile, simple Shaker-style vanity cabinets, brushed nickel or matte black hardware, and frameless glass shower enclosures — have remained desirable for decades and are unlikely to feel outdated within the typical 15–20 year bathroom renovation cycle.
The practical approach to balancing current style with longevity is to invest in timeless infrastructure (layout, fixtures, tile, cabinetry) and express trend through easily replaceable accents (paint, hardware, mirrors, textiles, accessories). This strategy allows a $100–$500 refresh every few years rather than a $15,000+ full renovation when trends shift. The bathroom ROI upgrade guide ranks features by both aesthetic impact and resale value retention.
Contractor and DIY Pitfalls
Hiring the wrong contractor and attempting DIY work beyond skill level are two sides of the same coin — both result from underestimating the complexity of bathroom systems. Red flags when hiring a contractor include: no written contract, no proof of insurance (general liability and workers' compensation), unwillingness to pull permits, requesting more than 10% deposit upfront, no references from recent bathroom-specific projects, and a bid significantly below competitors (25%+ lower usually means corners will be cut).
DIY bathroom projects are appropriate for cosmetic upgrades: painting, hardware replacement, mirror installation, accessory mounting, and basic tile backsplash. Tasks that should always go to licensed professionals include plumbing relocation, electrical work (especially GFCI installation and circuit additions), structural modifications, waterproof membrane installation, shower pan construction, and gas line work for heated towel systems. A DIY plumbing mistake that results in a hidden leak can cause $10,000–$50,000 in water damage and mold remediation — far exceeding the cost of hiring a licensed plumber. See real results in the bathroom remodel before-and-after gallery to understand the quality difference professional execution delivers.
Cost of Fixing Mistakes
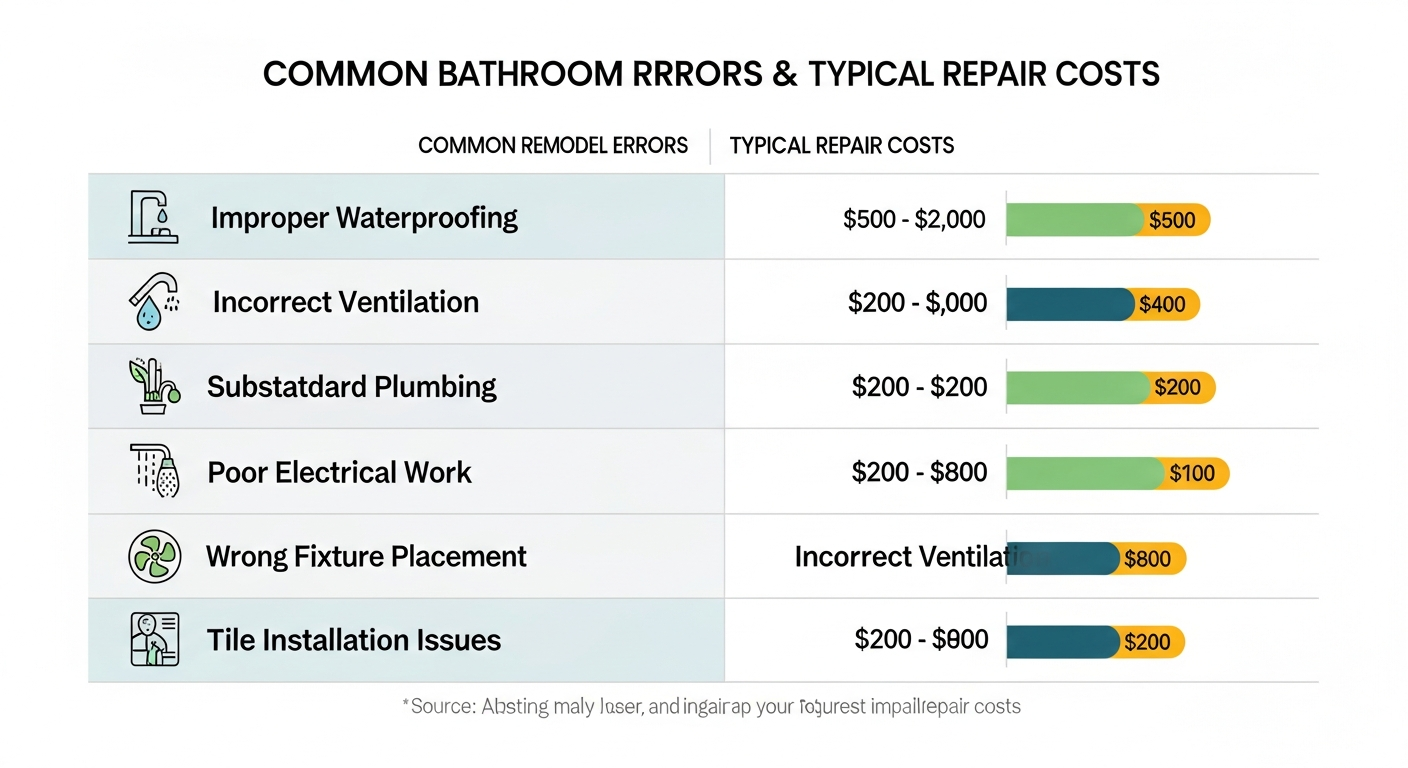
The financial impact of bathroom renovation mistakes ranges from minor inconveniences to catastrophic expenses. The following table represents typical repair costs when common mistakes are discovered after completion:
- Waterproofing failure (shower leak): $2,000–$12,000 — includes demolition, mold remediation, membrane installation, and retiling
- Mold remediation (behind walls): $1,500–$8,000 — depends on extent of contamination and structural damage
- Fixture relocation (spacing violation): $1,500–$5,000 per fixture — requires plumbing rough-in modification
- Exhaust fan upgrade/replacement: $300–$1,200 — includes new fan, ductwork, and exterior vent
- Floor tile replacement (slip hazard): $1,500–$4,000 — full removal and reinstallation with slip-resistant tile
- Vanity replacement (moisture damage): $800–$4,000 — includes plumbing disconnection, new vanity, and reinstallation
- Grout replacement (wrong type): $500–$2,000 — grinding out existing grout and regrouting
- Retroactive permit and inspection: $500–$3,000 — includes fees, potential fines, and required corrections
The cumulative cost of fixing multiple mistakes on a single project can exceed the original renovation budget. Prevention through proper planning, material specification, and qualified labor is always more cost-effective than remediation. Check current pricing and cost estimates for renovation planning resources.
Frequently Asked Questions
What is the most common bathroom remodel mistake?
Inadequate waterproofing in the shower area is the most consequential mistake, leading to hidden water damage, mold growth, and structural deterioration. The second most common is budget underestimation — failing to include a 15–20% contingency fund for unexpected discoveries during demolition.
How much does it cost to fix a waterproofing failure?
Repairing a waterproofing failure typically costs $2,000–$12,000 depending on the extent of water damage, mold presence, and structural repair needs. Early detection (within 6–12 months) usually limits costs to $2,000–$4,000. Failures discovered after several years often require complete shower demolition and rebuild at $8,000–$12,000+.
Should you get a permit for a bathroom remodel?
Any work involving plumbing changes, electrical modifications, or structural alterations requires a permit in most jurisdictions. Cosmetic updates (paint, fixtures, accessories) typically do not. Skipping required permits risks inspection failures during home sale, insurance claim denials, and municipal fines. Always check with the local building department before starting work.
How do you avoid going over budget on a bathroom renovation?
Three strategies significantly reduce budget overrun risk: (1) include a 15–20% contingency fund in the original budget, (2) finalize all material selections and purchases before demolition begins, and (3) get detailed written quotes from at least three contractors that itemize labor, materials, permits, and disposal separately. The transformation gallery showcases projects completed within realistic budget ranges for reference.
Plan Your Renovation Right with HanoDecor
The most effective way to prevent bathroom renovation mistakes is to visualize the complete design before any demolition begins. The HanoDecor bathroom remodel visualizer allows you to upload a photo of your current bathroom and test layout changes, material selections, fixture placements, and color schemes in your actual space. Discovering that a double vanity crowds the toilet or that dark tile makes the room feel smaller costs nothing in a visualization tool — and costs thousands to fix after installation. Start with a virtual renovation to make every real-world decision with confidence.
Bathroom Renovation Mistakes FAQs
Written by
Michael Torres
Bathroom and Kitchen Design Specialist with 15 years of remodeling experience. NKBA-certified designer focused on functional layouts, fixture selection, and spa-inspired wellness spaces.