Bathroom Remodel Checklist: Step-by-Step Planning Guide
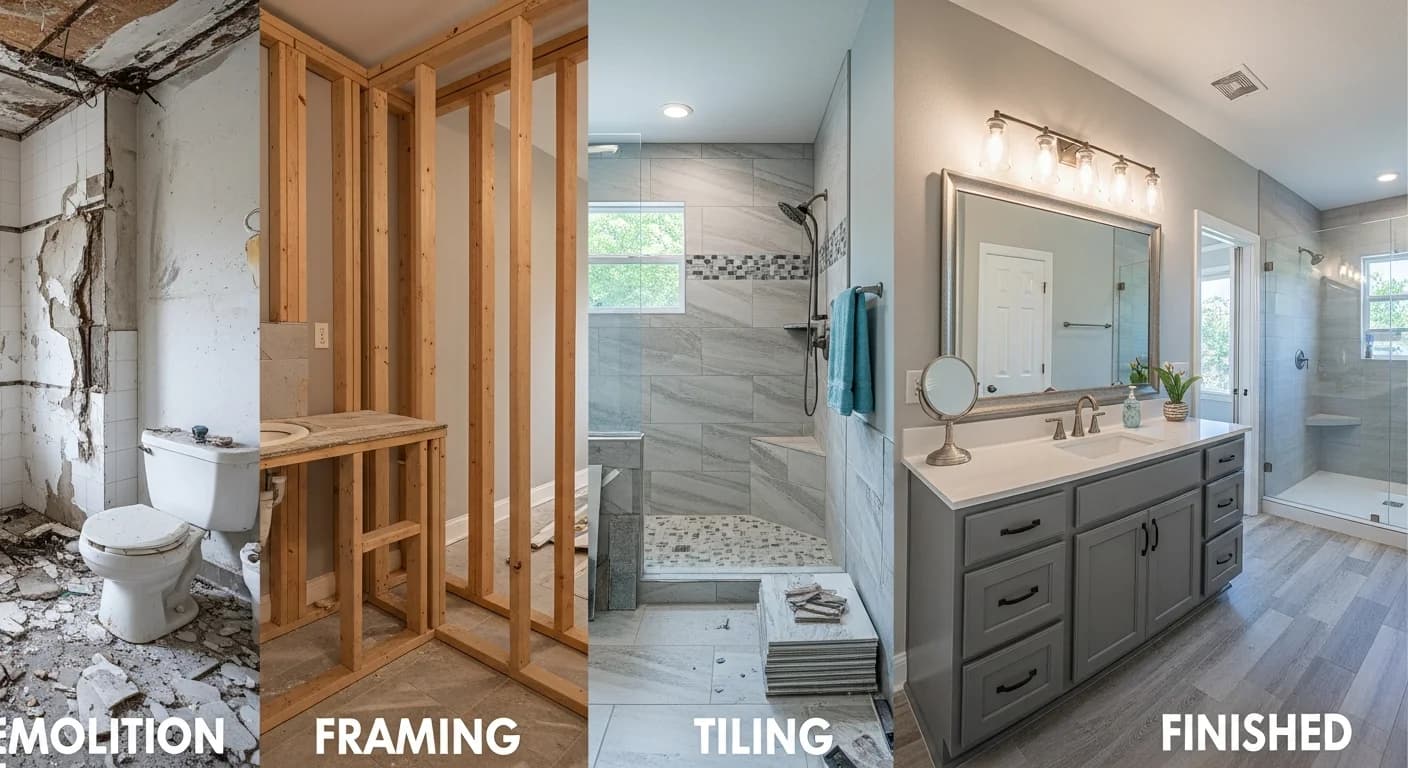
A bathroom remodel involves more sequential steps than any other room renovation. Plumbing, electrical, waterproofing, tile, fixtures, and finishes must happen in a precise order — and skipping or misordering a single step can cascade into weeks of delays and thousands of dollars in rework. The average bathroom remodel takes 4–6 weeks for a standard renovation and 8–12 weeks for a full gut-and-rebuild, but timelines stretch when homeowners discover mid-project that they forgot to order tile with a 6-week lead time or neglected to pull the required building permit.
A bathroom remodel checklist eliminates these preventable failures by organizing every decision, purchase, and construction task into the correct sequence. This guide breaks the entire renovation process into 10 distinct phases — from initial research through final inspection — with specific action items, timelines, and cost checkpoints at each stage. Whether managing a contractor-led renovation or tackling DIY bathroom projects, following this structured approach ensures nothing is forgotten and nothing is done out of order.
The guide concludes with a complete checklist summary that consolidates every phase into a single reference. Use it as a project management tool from day one, checking off items as they are completed. A well-executed bathroom remodel checklist is the difference between a renovation that finishes on time and on budget and one that becomes an open-ended source of stress. For baseline budgeting, start with the 2026 bathroom remodel cost guide.
Quick Summary
- 10 project phases in sequential order, from research through final inspection
- Average timeline: 4–6 weeks (standard remodel) or 8–12 weeks (full gut renovation)
- Budget range: $10,000–$30,000 (mid-range), $30,000–$75,000+ (upscale)
- Critical lead times: custom vanities (6–12 weeks), specialty tile (4–8 weeks), fixtures (2–4 weeks)
- Permit requirements vary by municipality — check before demolition begins
- A 15–20% contingency fund covers unexpected discoveries behind walls
- Best for: Homeowners planning a renovation, first-time remodelers, anyone managing a contractor-led project
- Reading time: 15 minutes
Phase 1: Research and Budgeting
Setting Your Budget
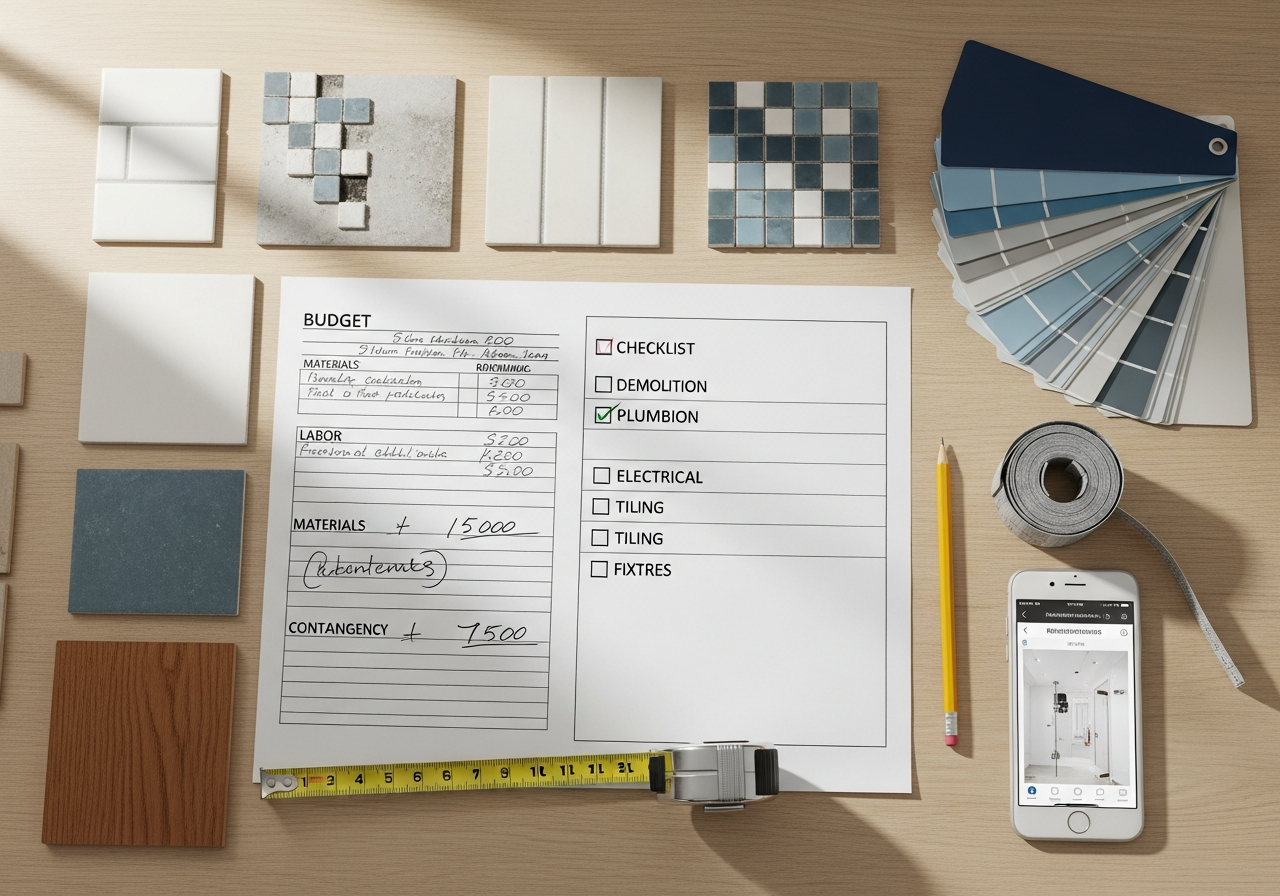
The budget establishes the scope of the entire project. The standard guideline allocates 5–10% of home value for a bathroom remodel — a $400,000 home supports a $20,000–$40,000 bathroom renovation. Within this total, allocate costs approximately as follows: labor (40–50%), materials and fixtures (30–40%), permits and design fees (5–10%), and contingency (15–20%). The contingency fund is non-negotiable: every experienced contractor reports that 70–80% of bathroom renovations uncover unexpected issues — rotted subfloor, outdated plumbing, inadequate electrical — that add $2,000–$8,000 to the project cost.
Gathering Inspiration
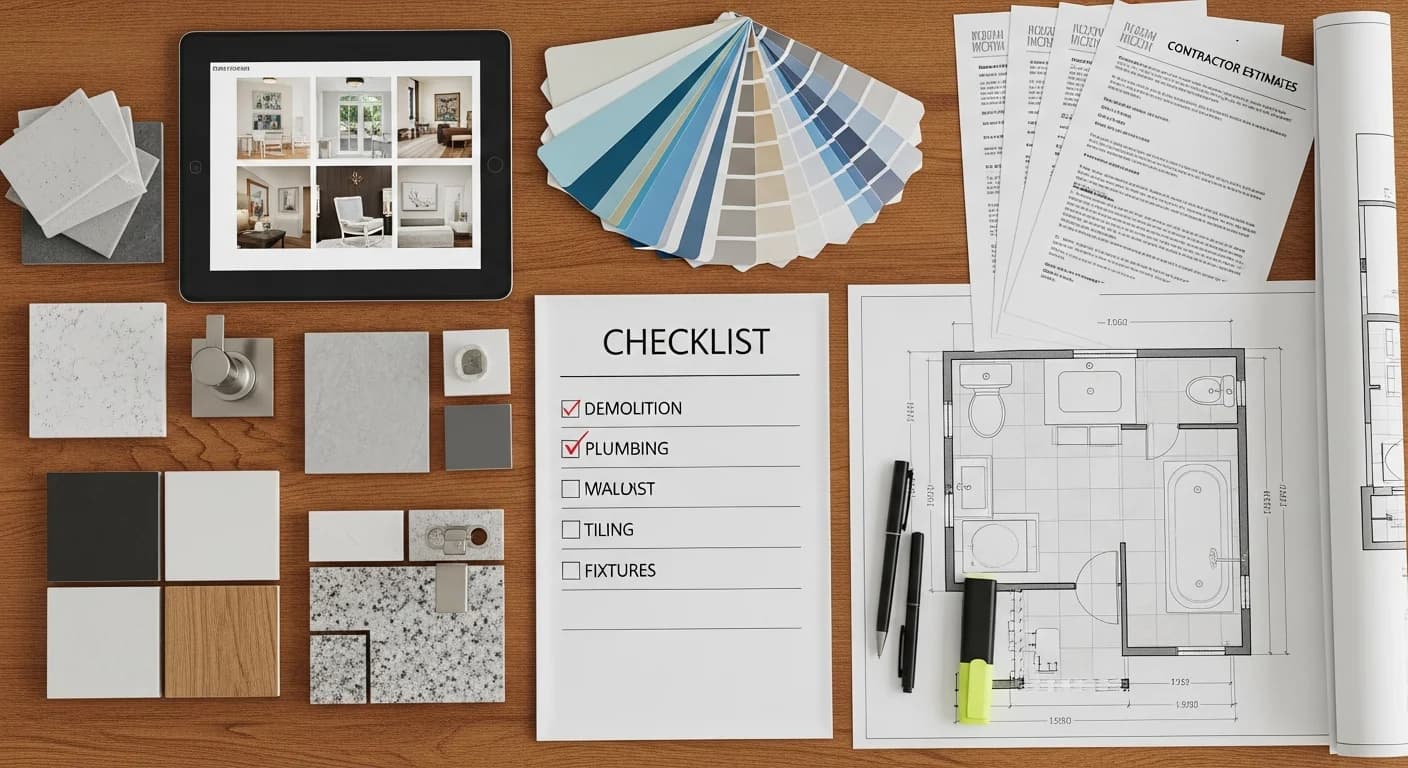
Collect 20–30 inspiration images before meeting with any contractor or designer. Organize images by category: overall layout, tile and flooring, vanity and storage, fixtures and hardware, and lighting. This visual brief communicates preferences more efficiently than verbal descriptions and helps contractors provide accurate bids. The before-and-after transformation gallery provides realistic examples of what different budgets achieve.
DIY vs Contractor
Certain bathroom tasks are suitable for confident DIY homeowners: painting, hardware replacement, accessory installation, and cosmetic updates like mirror replacement. Plumbing modifications, electrical work, waterproofing, and structural changes require licensed professionals in most jurisdictions. The cost savings from DIY labor (30–50% on applicable tasks) must be weighed against the risk of mistakes that require professional correction — a failed DIY waterproofing job, for example, can cost $5,000–$15,000 to repair including mold remediation.
Phase 2: Design and Planning
Creating a Floor Plan
Measure the existing bathroom precisely: wall-to-wall dimensions, door and window locations, ceiling height, and the exact position of existing plumbing (drain locations, supply lines, vent stack). A floor plan drawn to scale — even a hand-drawn version on graph paper — reveals spatial constraints and opportunities that photos miss. Note the locations of structural elements (load-bearing walls, floor joists) that may affect layout changes.
Selecting Materials
Order material samples for in-person evaluation before making final selections. View tile samples in the actual bathroom under both natural and artificial light — colors shift dramatically between showroom fluorescent lighting and bathroom LED or incandescent. Confirm that all selected materials are rated for bathroom use (moisture resistance, slip rating for floor tiles). The bathroom tile selection guide covers material ratings and compatibility in detail.
Getting Contractor Bids
Obtain three to five written bids from licensed, insured contractors. Each bid should include a detailed scope of work, itemized costs, project timeline, payment schedule, and warranty terms. Compare bids line-by-line, not just total price — a lower bid that excludes waterproofing or permits will exceed the higher bid once those essentials are added. Verify license numbers and review completed projects in person.
Phase 3: Pre-Construction
Permits and HOA Approval
Most municipalities require building permits for bathroom renovations that involve plumbing modifications, electrical changes, or structural work. Permit applications typically require a floor plan, scope of work description, and contractor license number. Processing takes 1–4 weeks depending on jurisdiction. HOA approval — if applicable — may require additional documentation and review periods. Starting demolition without required permits risks stop-work orders, fines, and the requirement to undo completed work for inspection.
Ordering Materials
Order all materials with long lead times as soon as design decisions are finalized. Custom vanities require 6–12 weeks. Specialty tile (handmade, imported, or custom-colored) requires 4–8 weeks. Standard fixtures require 2–4 weeks. Order 10–15% extra tile to account for cuts, waste, and future repairs. Store delivered materials in a dry, accessible location — a garage or spare room — protected from damage until installation day. Verify every delivery against the order: color, size, quantity, and lot numbers (tile from different production lots may vary in shade).
Setting Up a Temporary Bathroom
If the home has only one bathroom, plan an alternative during renovation. Options include a portable toilet rental ($75–$150/month), a gym membership for showering ($30–$50/month), or a temporary shower in the laundry room. Establish the setup before demolition begins.
Phase 4: Demolition
Demolition is the most dramatic and often the most revealing phase. Before swinging a hammer, protect the rest of the home: seal the bathroom doorway with a zippered dust containment barrier, cover hallway floors with ram board or heavy-duty drop cloths, and tape HVAC vents closed to prevent dust from circulating through the house. Asbestos testing is mandatory for homes built before 1980 — floor tiles, adhesives, and pipe insulation may contain asbestos that requires professional abatement ($1,500–$5,000) before demolition proceeds.
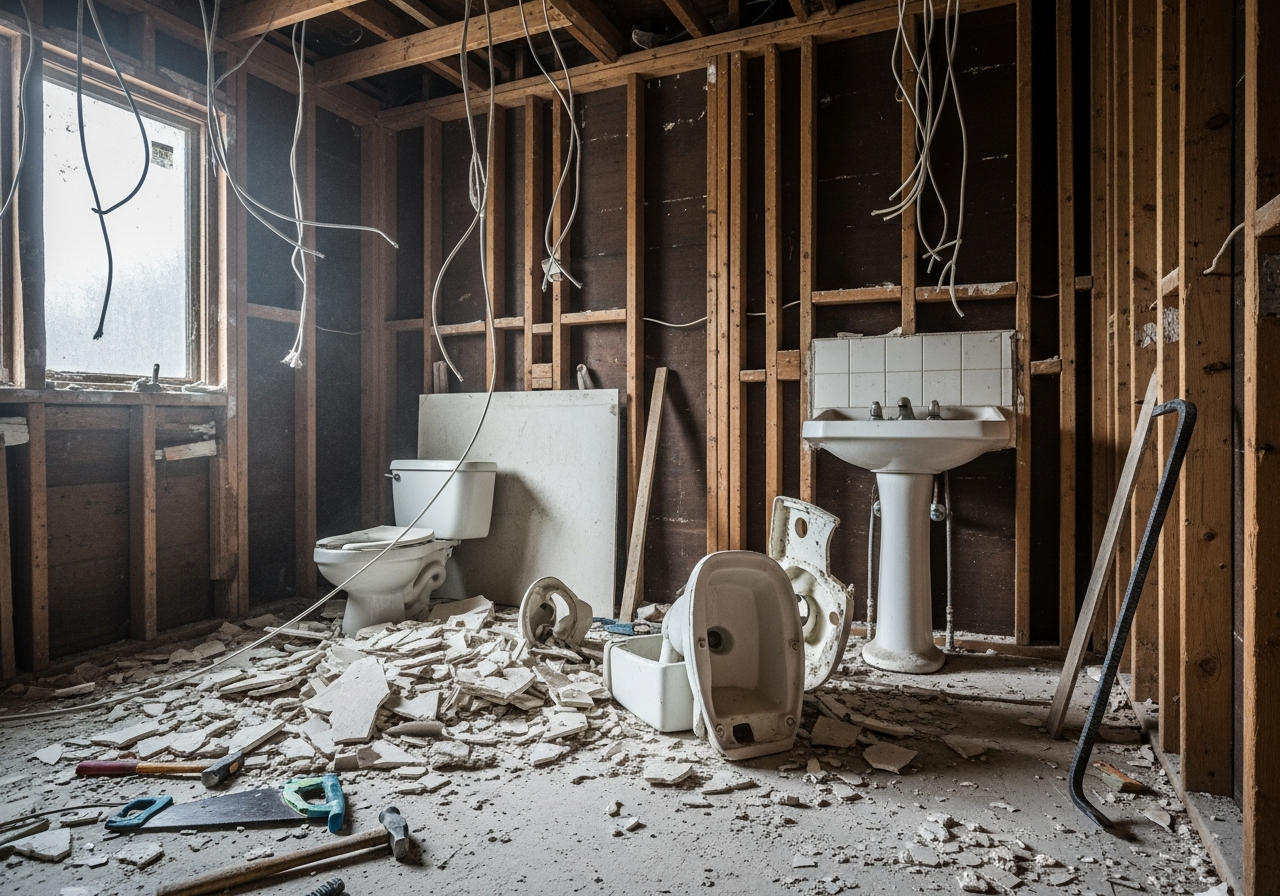
Remove fixtures in reverse order of installation: accessories first, then mirrors, vanity, toilet, and finally tub or shower. Save shut-off valves and supply lines for inspection — corroded valves should be replaced during the renovation rather than left as future failure points. Once surfaces are stripped to framing, inspect for moisture damage, mold, pest evidence, and structural issues. Document any discovered problems with photos before proceeding — this documentation supports change orders and insurance claims if needed.
Phase 5: Rough-In (Plumbing, Electrical, and Framing)
Rough-in work installs the infrastructure hidden behind finished walls. Plumbing rough-in includes repositioning drains, installing supply lines, and setting the shower valve and toilet flange. Electrical rough-in adds GFCI-protected outlets, lighting circuits, exhaust fan wiring, and heated floor systems. Framing modifications — widening doorways, adding blocking for grab bars, building shower curbs — happen at this stage while walls are open.
This phase requires inspection by the local building department before walls are closed. Schedule the inspection as soon as rough-in is complete — inspection wait times of 3–7 days are common, and no work can proceed until the inspection passes. A failed inspection requires corrections and re-inspection, potentially adding 1–2 weeks to the timeline. For vanity and fixture planning, the vanity style and storage guide helps finalize mounting requirements before walls are closed.
Phase 6: Waterproofing and Substrate
Waterproofing is the most critical quality checkpoint in any bathroom remodel. Every surface that will receive tile in wet areas — shower walls, shower floor, tub surround, and the floor around the toilet — must be protected by a waterproof membrane. Cement backer board (Durock, HardieBacker) provides a stable substrate for tile but is NOT waterproof by itself. A liquid-applied or sheet membrane (Schluter KERDI, RedGard, Laticrete Hydro Ban) must cover the backer board with seams sealed and corners reinforced.
The shower floor waterproofing extends at least 3 inches up the wall (the full wall height is preferred for walk-in showers). The shower pan must be tested for leaks before any tile is applied: fill the pan with water to the curb height and monitor for 24 hours. Any drop in water level indicates a membrane failure that must be repaired before proceeding. Skipping or rushing waterproofing is the single most expensive mistake in bathroom remodeling — a failed membrane discovered after tile installation requires complete demolition and rebuild of the shower ($5,000–$15,000+).
Phase 7: Tile and Surfaces

Tile installation proceeds in a specific order: shower walls first (bottom to top, working from the back wall forward), then shower floor, then bathroom floor, then any wall tile outside the shower. Use the appropriate thin-set mortar for the tile type: large-format tiles (12x24 and larger) require a medium-bed mortar and back-buttering to achieve full coverage. Leveling spacer clips prevent lippage (uneven tile edges) on large-format installations. Grout is applied after all tile has set for at least 24 hours — rushing grout application before the thin-set fully cures can shift tiles and crack joints.
Non-tile surfaces — paint, wallpaper, wainscoting — are applied after tile is complete and grouted. Paint at least 2 coats of a mildew-resistant bathroom paint (semi-gloss or satin finish) on all non-tiled surfaces. The bathroom lighting guide provides specifications for fixture placement that should be finalized before painting to avoid touch-up work.
Phase 8: Fixture Installation
Fixtures install in a specific sequence to avoid damage to finished surfaces. Vanity cabinet and countertop install first, followed by the faucet and drain connection. The toilet sets onto the flange with a new wax ring or wax-free seal. The shower valve trim, showerhead, and glass enclosure install after all tile grout has fully cured (typically 48–72 hours). Accessories — towel bars, toilet paper holder, robe hooks, and mirrors — install last, after all paint has dried and all other fixtures are in place.
Test every fixture immediately after installation: run each faucet for 5 minutes checking for leaks at all connections, flush the toilet multiple times, and run the shower for 10 minutes verifying proper drainage, temperature control, and showerhead function. Address any issues before the contractor leaves — corrections made during fixture installation are significantly less expensive than callbacks after the project is closed out.
Phase 9: Finishing Touches
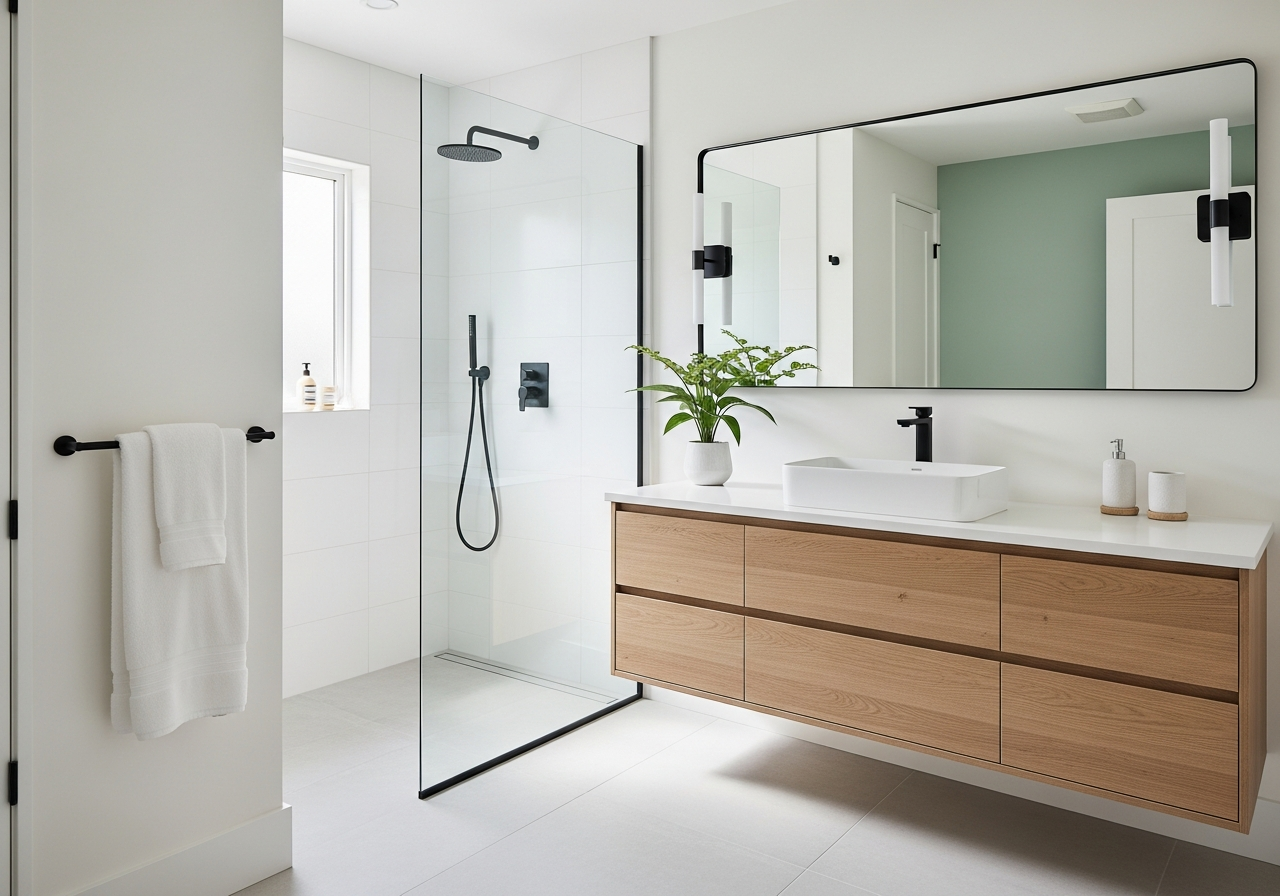
Finishing touches transform a construction zone into a finished room. Install switch plates and outlet covers (matching the fixture finish — brushed nickel, matte black, or white). Apply silicone caulk at all tile-to-fixture transitions: tub-to-tile, shower floor-to-wall, vanity-to-wall, and toilet base-to-floor. Install the exhaust fan cover, light fixtures, and any remaining accessories. Apply grout sealer to all cement-based grout lines (epoxy grout does not require sealing). Clean all surfaces, remove construction dust and debris, and dispose of waste materials properly.
Phase 10: Final Inspection and Punch List
The final inspection serves two purposes: confirming code compliance for the building department and creating a punch list of items requiring correction before final payment. Walk every inch of the bathroom with the contractor, checking for incomplete grout lines, paint touch-ups, loose fixtures, proper caulk application, and correct operation of all mechanical systems. The punch list should be written, dated, and signed by both parties, with a deadline for completion (typically 7–14 days).
Final payment should be withheld until all punch list items are resolved. A standard payment schedule holds 10% of the total contract as retainage until the project is complete and inspected. Obtain all warranty documentation for fixtures, materials, and labor guarantees. File permits and inspection records — these documents are required for insurance claims and future home sales. Contact renovation support resources if questions arise during the warranty period.
Complete Checklist Summary
- Establish total budget with 15–20% contingency
- Collect 20–30 inspiration images organized by category
- Decide DIY scope versus contractor-led tasks
- Measure existing bathroom and create a scaled floor plan
- Select all materials, finishes, and fixtures
- Obtain 3–5 written contractor bids with itemized scope
- Apply for building permits and HOA approval
- Order long-lead-time materials (vanity, specialty tile, custom items)
- Set up temporary bathroom facilities
- Test for asbestos (pre-1980 homes) and lead paint (pre-1978)
- Install dust containment barriers
- Complete demolition and document any hidden issues
- Complete plumbing, electrical, and framing rough-in
- Pass rough-in building inspection
- Install waterproofing membrane and test shower pan
- Install cement backer board on walls and floor
- Set tile on shower walls, shower floor, and bathroom floor
- Apply grout and allow full cure time
- Paint all non-tiled surfaces
- Install vanity, countertop, and faucet
- Set toilet with new seal
- Install shower trim, showerhead, and glass enclosure
- Mount accessories: towel bars, mirrors, hooks
- Apply caulk at all transitions
- Test all fixtures for leaks and proper operation
- Complete punch list walk-through with contractor
- Pass final building inspection
- Collect warranty documents and file permits
This bathroom remodel checklist ensures that every phase is completed in the correct sequence. Print or save this summary and check off items as the project progresses. The project gallery showcases completed renovations that followed this systematic approach, demonstrating the results achievable with proper planning and execution.
Frequently Asked Questions
How long does a bathroom remodel take?
A standard bathroom remodel (same layout, new finishes) takes 4–6 weeks. A full gut-and-rebuild with layout changes takes 8–12 weeks. Add 2–4 weeks for permit processing and material lead times that occur before construction begins. The most common delay is waiting for materials ordered after demolition rather than before — following this bathroom remodel checklist prevents that specific timeline expansion.
What is the most expensive part of a bathroom remodel?
Labor typically represents 40–50% of the total cost. Among materials, the tile (material plus installation) and vanity/countertop are usually the two largest line items, each representing 15–25% of the budget. Plumbing modifications — especially moving drain locations — can add $2,000–$8,000 above the baseline cost.
Do you need a permit for a bathroom remodel?
Most jurisdictions require permits for plumbing modifications, electrical changes, and structural work. Cosmetic updates — paint, hardware, accessories, and vanity swaps using existing plumbing — typically do not require permits. Check with the local building department before starting, as requirements vary by municipality.
How much contingency should you budget?
Budget 15–20% of the total project cost as contingency for unexpected issues. The most common surprises include rotted subfloor ($500–$2,000 to repair), outdated plumbing requiring replacement ($1,000–$4,000), inadequate electrical service ($500–$2,000), and mold remediation ($1,500–$5,000). Homes over 30 years old are more likely to encounter these issues. A bathroom remodel checklist reduces — but cannot eliminate — the chance of encountering hidden problems behind finished walls.
Start Your Remodel with HanoDecor
Every successful renovation begins with a clear vision of the finished result. Upload a photo of your current bathroom and visualize new tile patterns, vanity styles, fixture finishes, and layout configurations before committing to any purchases or contractor agreements. Our bathroom remodel visualizer renders realistic previews that align your expectations with achievable results — reducing change orders, preventing costly mid-project pivots, and helping you communicate your vision clearly to contractors. Explore pricing options to find the visualization plan that fits your project scope.
Bathroom Remodel Checklist FAQs
Written by
Michael Torres
Bathroom and Kitchen Design Specialist with 15 years of remodeling experience. NKBA-certified designer focused on functional layouts, fixture selection, and spa-inspired wellness spaces.