How to Hang Wall Decor: 6 Essential Rules for Perfect Height and Spacing
Quick Summary
A practical guide to hanging wall decor with precision and confidence. Covers 6 essential rules including the 57-inch center rule, spacing formulas for groupings, tool selection for different wall types, template techniques, common hanging mistakes, and room-specific height adjustments for living rooms, bedrooms, hallways, and stairways.
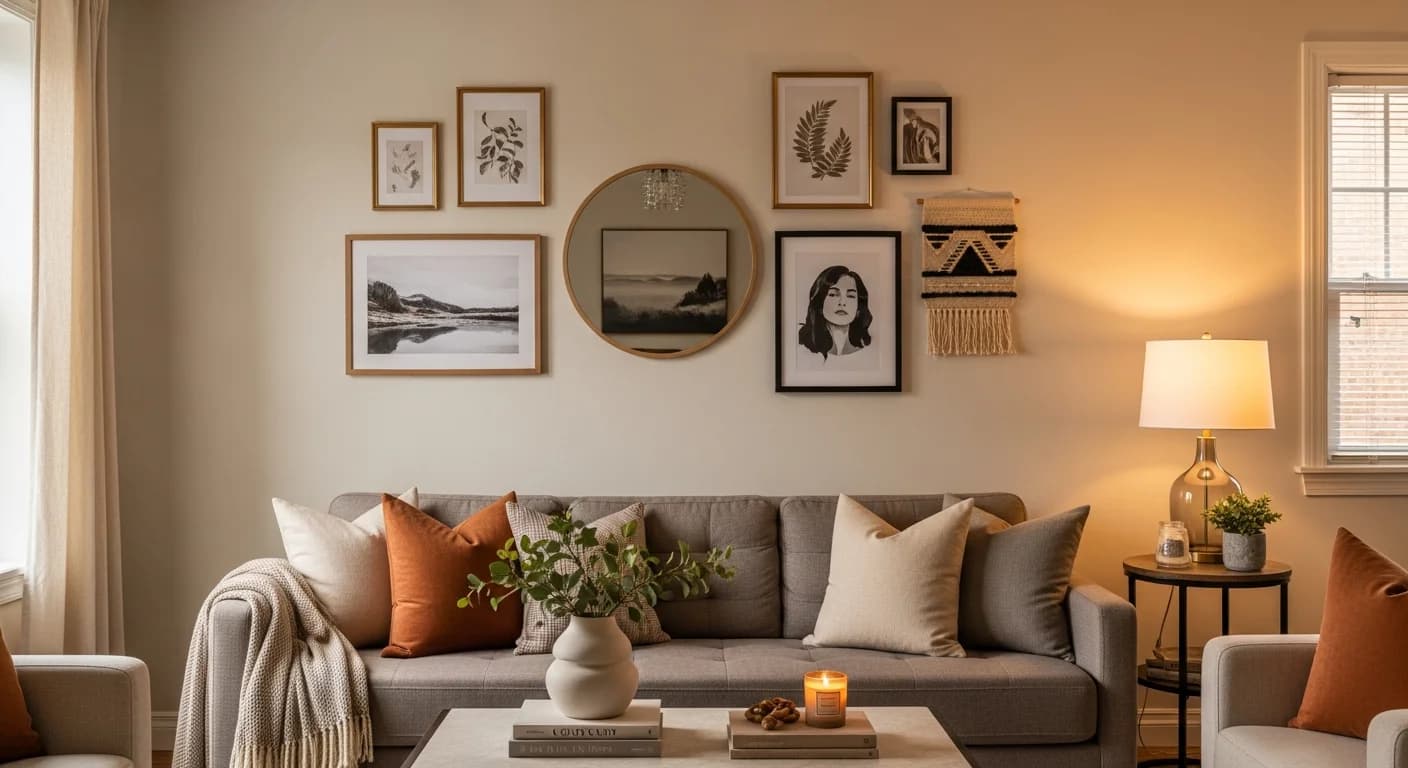
Knowing how to hang wall decor at the correct height and spacing transforms blank walls into intentional design statements. Yet most homeowners hang artwork and mirrors too high, too close together, or without a plan — and the result feels disconnected from the room. According to interior design surveys, improperly hung wall art is the single most common decorating mistake in American homes, with 57% of homeowners admitting they simply eyeball placement rather than measuring.
The good news is that professional-looking wall decor placement follows a handful of reliable rules. Whether you are hanging a single statement piece above a sofa, creating a gallery wall in a hallway, or positioning mirrors to maximize natural light, these six rules will give you the confidence to nail the placement every time — without unnecessary holes in your drywall. If you are still choosing what to hang, browse wall decor ideas for inspiration across every style.
Rule 1 — Use the 57-Inch Center Rule for Standard Hanging Height
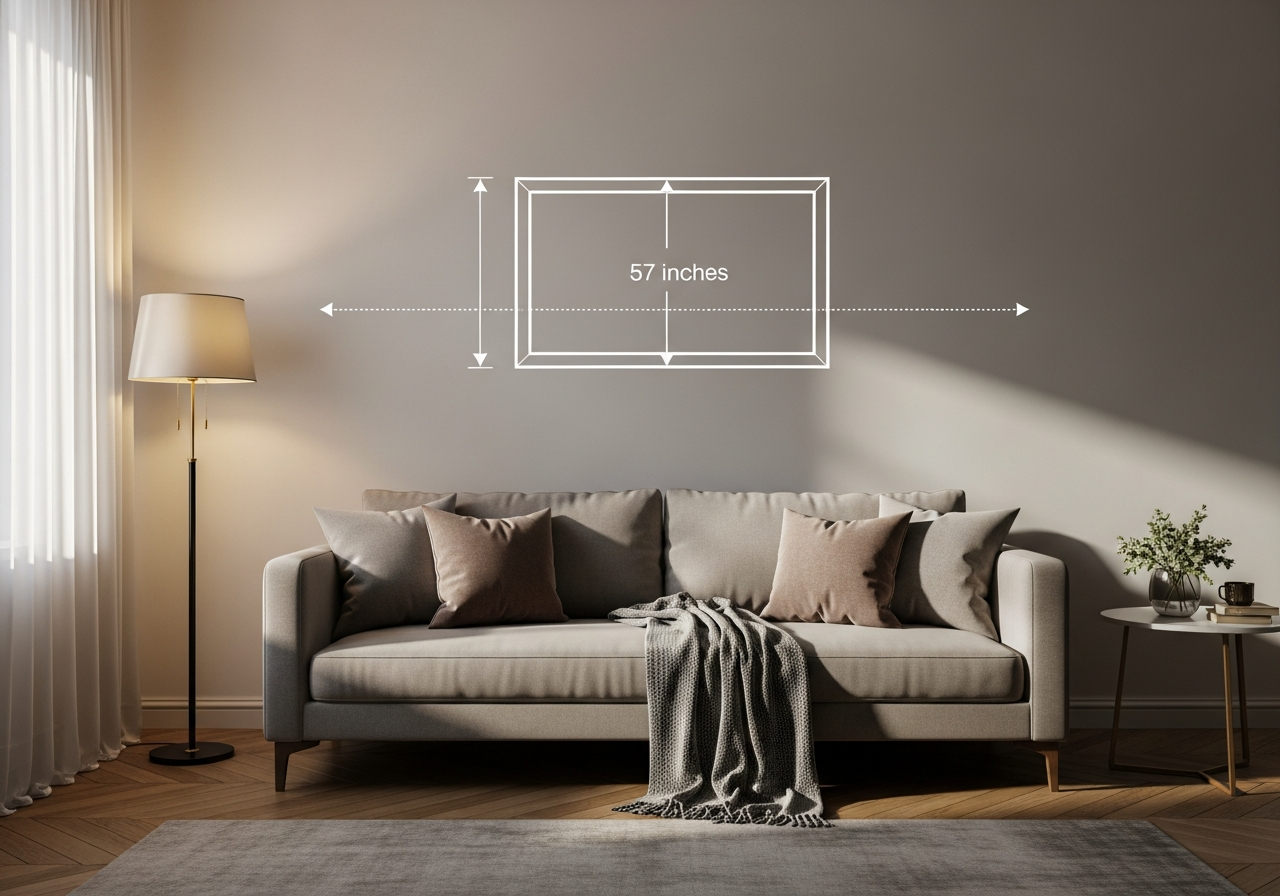
The museum standard for hanging artwork places the center of every piece at 57 inches from the floor. This height corresponds to the average adult eye level and ensures that wall decor feels connected to the room rather than floating near the ceiling. Measure 57 inches up from the floor, then calculate half the height of your frame to find the exact hook placement. For a frame that is 20 inches tall, the hook goes at 67 inches from the floor — 57 inches plus 10 inches (half the frame height).
This picture hanging guide works for standalone pieces on open walls. When hanging above furniture, the rule shifts: the bottom edge of the frame should sit 6 to 8 inches above the top of the sofa, console table, or headboard. Hanging higher creates a visual gap that disconnects the artwork from the furniture below. Hanging lower risks damage when someone leans back or bumps the piece. The wall decor hanging height adjusts slightly for rooms with ceilings above 9 feet — raise the center point to 60 inches to maintain proper visual proportion in taller spaces.
Rule 2 — Space Grouped Pieces 2 to 3 Inches Apart
When hanging multiple pieces together, consistent spacing is what makes a grouping look intentional rather than random. The standard spacing between frames in a gallery wall or grid arrangement is 2 to 3 inches — measured from frame edge to frame edge. Spacing tighter than 2 inches makes individual pieces hard to appreciate, while gaps wider than 4 inches break the visual connection between pieces and make the grouping feel scattered across the wall.
For a horizontal row of three prints above a sideboard, maintain exactly 2.5 inches between each frame. For a vertical stack in a narrow hallway, use 2 inches between frames to create a cohesive column. The overall width of your grouping should be approximately two-thirds the width of the furniture below it. A 72-inch sofa calls for a grouping that spans about 48 inches. This proportion keeps the arrangement visually anchored to the furniture beneath it rather than floating independently on the wall.
Rule 3 — Choose the Right Hanging Hardware for Your Wall Type
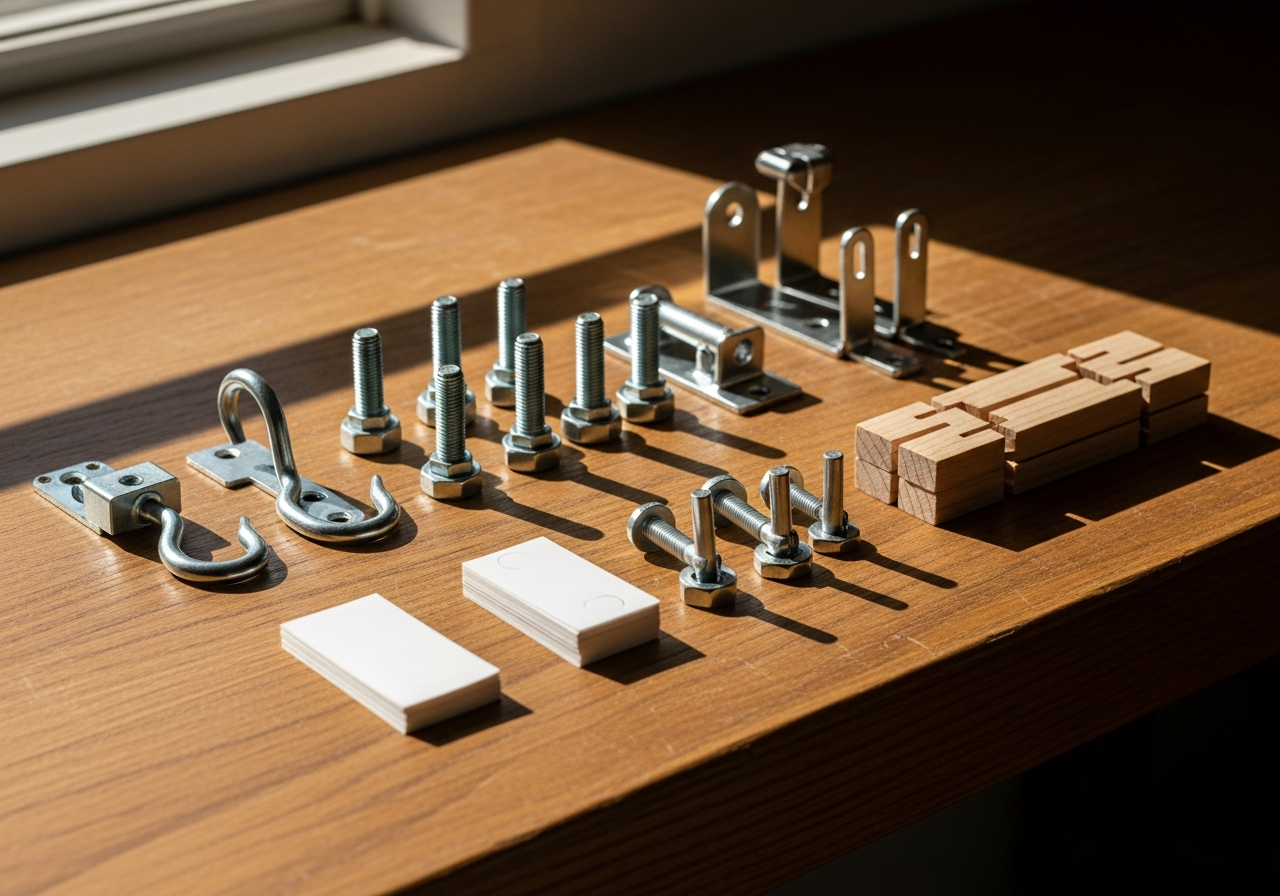
The wrong hardware is the most common reason wall decor falls down. Drywall alone holds very little weight — a standard nail in drywall supports only 5 to 10 pounds before pulling out. For pieces under 15 pounds, picture hanging hooks with hardened steel nails driven at a 45-degree angle distribute weight effectively and leave minimal holes. For pieces between 15 and 50 pounds, toggle bolts or heavy-duty wall anchors spread the load across a wider area of drywall and can support significantly more weight.
Always try to hit a wall stud for heavy items — a single wood screw into a stud supports up to 80 pounds. Use a stud finder to locate framing before drilling. For plaster walls common in older homes, avoid standard drywall anchors — they can crack the plaster. Instead, use plaster-specific toggle bolts or adhesive-backed French cleats rated for your wall type. For exposed masonry surfaces, our guide on hanging decor on brick walls covers specialized hardware and techniques. If you prefer not to drill, our guide on hanging wall decor without nails covers damage-free alternatives including Command strips, adhesive hooks, and leaning techniques that work for renters and homeowners alike.
Rule 4 — Use Paper Templates Before Drilling Any Holes
Paper templates eliminate guesswork and prevent unnecessary holes. Trace each frame onto kraft paper or newspaper, cut out the shapes, and tape them to the wall with painter's tape. Step back and evaluate the arrangement from across the room — adjust spacing, swap positions, and experiment with different layouts without putting a single hole in the wall. This technique is especially valuable for gallery walls where multiple pieces need to work together as a unified composition.
Mark the nail or hook position on each paper template before removing it from the wall. Measure where the hanging wire sits on the back of each frame — typically 2 to 4 inches below the top edge — and transfer that measurement to your template. When you are satisfied with the arrangement, drive your nails through the marked spots on the paper, then peel the templates away. This method produces professional results every time and works for any wall material, from standard drywall to lath-and-plaster to concrete block.
Rule 5 — Adjust Height by Room and Furniture Context
Different rooms call for different hanging heights. In living rooms, art above a sofa should have its bottom edge 6 to 8 inches above the sofa back — this typically places the center around 55 to 58 inches from the floor. In dining rooms, lower artwork slightly to 54 inches center height, since occupants are seated most of the time. In hallways and staircases, follow the 57-inch rule along flat stretches, and step artwork up or down with the staircase slope, maintaining consistent vertical spacing between each piece.
In bedrooms, hang art above the headboard 5 to 8 inches higher than the headboard top — close enough to read as a cohesive unit but high enough to avoid head contact. Browse our bedroom wall decor ideas for style-specific inspiration. For bathroom walls, consider moisture levels before hanging anything with paper matting or fabric backing. In kitchens, keep wall decor above splash zones and away from heat sources. The common thread across all rooms is proportion: wall decor should complement the furniture and architecture around it, not compete with them. Use the AI room designer to preview wall art placement in your actual space before committing to nail holes.
Rule 6 — Avoid These Common Wall Decor Hanging Mistakes
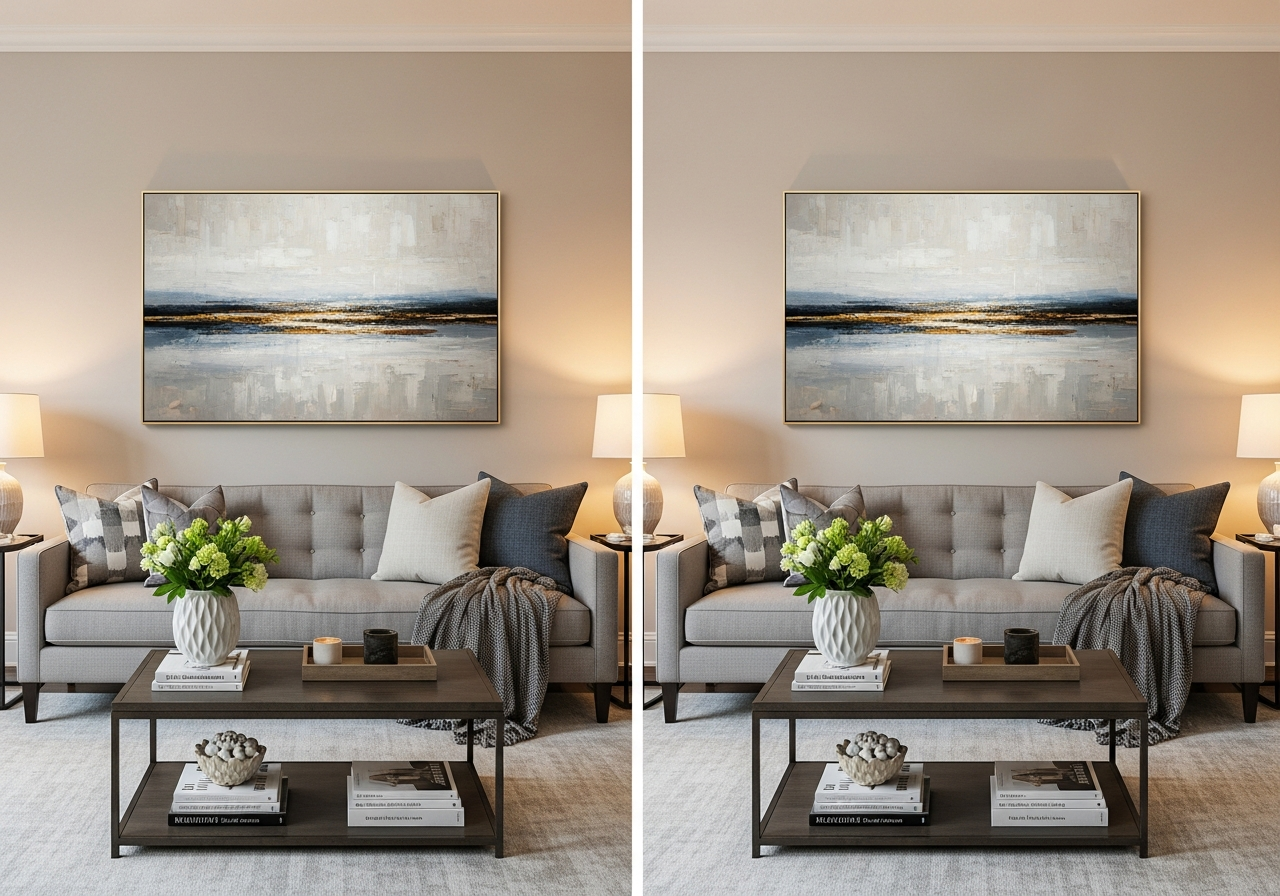
Mistake 1: Hanging everything at the same height regardless of context. A piece over a tall credenza needs a different center height than the same piece on an empty wall. Always consider what is below the artwork. Mistake 2: Using a single centered nail for heavy or wide pieces. Frames wider than 24 inches should use two hanging points spaced 8 to 12 inches apart for stability and to prevent tilting over time.
Mistake 3: Ignoring the room's sight lines. Hang art where people actually look — across from the main seating area, at the end of a hallway, or flanking a window. A beautiful print hung behind an open door or above a rarely used corner gets no visual attention. For living room wall placement, pair these rules with our complete living room decorating guide. Mistake 4: Choosing frames that are too small for the wall. A tiny 8x10 frame on a 12-foot wall looks lost. Scale artwork to fill approximately 60 to 75 percent of the available wall space above the furniture. Mistake 5: Mixing hanging styles without a unifying element. If your frames vary in size and style, choose a common color or matting to tie the collection together.
Essential Tools for Hanging Wall Decor
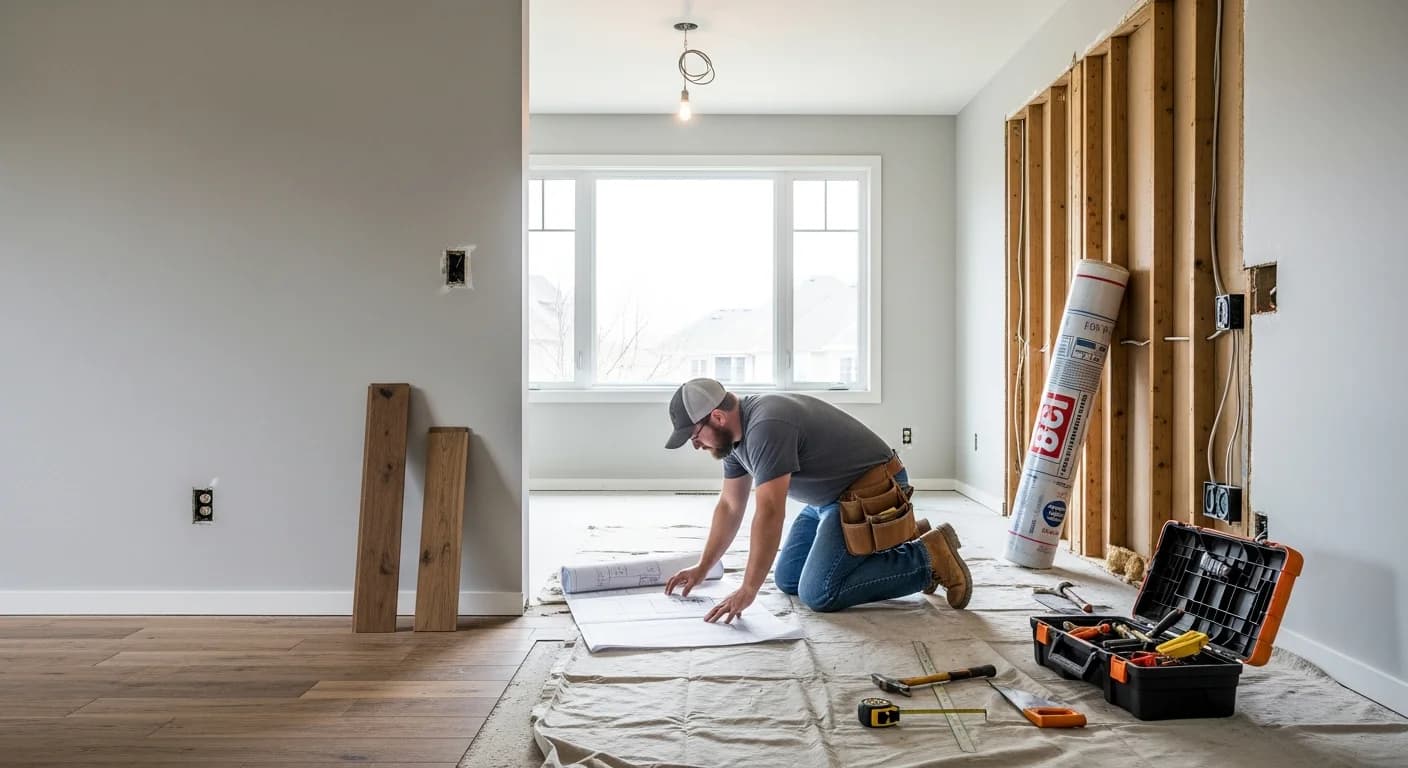
Having the right tools makes wall decor installation faster and more accurate. A laser level projects a perfectly straight line across any wall — essential for hanging rows or grids. A stud finder locates wood framing behind drywall for secure heavy-item mounting. A standard tape measure and a pencil handle precise placement. Painter's tape marks positions without damaging paint. A small torpedo level confirms each piece hangs straight after installation.
For renters or anyone who prefers minimal wall damage, Command picture hanging strips rated for the appropriate weight provide a reliable adhesive solution that removes cleanly. Sawtooth hangers screwed to the back of frames provide a stable, adjustable mounting point. D-ring hangers with wire create the most flexibility for fine-tuning height after the hook is in place. Investing in a basic hanging kit — typically $15 to $25 — saves time and frustration on every project. Explore how different wall decor arrangements look in your room using the gallery wall arrangement guide for layout templates and spacing formulas.
Related Articles
Expand your wall decor expertise with these guides: explore creative ceiling-hung decor ideas for an unexpected twist, learn renter-friendly hanging techniques that protect your walls, find inspiration in our dining room wall art ideas, browse the living room ideas gallery for wall styling examples, and discover how to style wall shelves and floating shelves as an alternative to framed art.
Frequently Asked Questions
What is the standard height to hang wall decor?
The standard height places the center of the artwork at 57 inches from the floor, which corresponds to average adult eye level. When hanging above furniture, position the bottom edge of the frame 6 to 8 inches above the top of the sofa, headboard, or console table for a visually connected arrangement.
How far apart should pictures be hung on a wall?
Space frames 2 to 3 inches apart when creating a gallery wall or grouped arrangement. This spacing is close enough to read as a unified composition but wide enough to let each piece breathe. For larger frames above 24 inches, increase spacing to 3 to 4 inches to maintain visual balance.
How do I hang wall decor without damaging walls?
Command strips, adhesive hooks, and velcro-style picture hanging strips provide damage-free solutions for lightweight pieces up to 16 pounds. For heavier items without drilling, consider leaning large frames on a shelf or mantel, using over-door hooks, or installing a picture rail molding that lets you hang and rehang artwork from hooks on a rail.
What size wall decor should I hang above a sofa?
Wall decor above a sofa should span approximately two-thirds the width of the sofa. For a standard 84-inch sofa, aim for a single piece or grouping that covers about 56 inches of wall space. This proportion creates visual balance and prevents the artwork from looking too small or overwhelming for the furniture below.
Can I mix different frame styles on one wall?
Yes, mixing frame styles works well when you have a unifying element — consistent matting color, a shared color palette in the artwork, or uniform spacing between pieces. Avoid mixing more than three distinct frame materials on a single wall. A curated mix of thin black metal, natural wood, and white lacquer frames reads as intentional eclecticism rather than random clutter.
Visualize Your Wall Decor Arrangement with HanoDecor
Getting wall decor placement right on the first try saves time, fills unnecessary holes, and creates the polished look that makes a room feel complete. The six rules in this guide — the 57-inch center, 2-to-3-inch spacing, correct hardware, paper templates, room-specific adjustments, and avoiding common mistakes — cover every hanging scenario from a single statement piece to a full salon-style gallery wall.
Ready to see how wall art and decor will look in your actual space before you start hammering? Try the AI room designer — upload a photo of your room, experiment with different wall decor styles and placements, and get a photorealistic preview in seconds. No holes required until you are confident in the result.
How to Hang Wall Decor FAQs
Written by
Lisa Wang
Sustainable Design Writer focused on eco-friendly materials, energy efficiency, and budget-conscious home improvement. LEED Green Associate with expertise in low-impact renovation strategies.