How to Hang Decor on Brick Walls: 5 Safe Methods Without Drilling
Quick Summary
A practical guide to mounting art, mirrors, shelves, and decorative objects on exposed brick surfaces. Five reliable methods cover every weight range from lightweight prints to heavy mirrors, with step-by-step instructions, tool lists, and damage-prevention strategies for both interior and exterior brick walls.

Why Brick Walls Need a Different Hanging Approach
Knowing how to hang decor on brick walls correctly can save you from crumbling mortar, cracked masonry, and expensive repair bills. Exposed brick adds character and texture to any room — loft apartments, industrial-style living rooms, renovated basements, and accent walls all benefit from the warmth that brick provides. However, brick's irregular surface and brittle mortar joints make standard drywall anchors and nail-driven hardware completely ineffective. If you are renting and need zero-damage solutions for all wall types, our renter-friendly wall decor guide covers additional techniques beyond brick-specific methods.
Unlike drywall, which is relatively soft and uniform, brick is a dense ceramic material fired at temperatures above 2,000 degrees Fahrenheit. Mortar joints — the cement-based material between bricks — vary in hardness depending on the mix and age of the wall. A 100-year-old lime mortar joint behaves very differently from a modern Portland cement joint. Attempting to hammer a nail into brick can crack the face of the brick itself, while drilling without the right bit creates dust, vibration, and potential structural micro-fractures that weaken the wall over time.
The good news is that several specialized mounting methods exist for brick surfaces, ranging from zero-damage adhesive solutions for lightweight pieces to masonry-rated hardware for heavy mirrors and shelving. Each method suits a different weight range, brick condition, and permanence requirement — and understanding which to use is the key to hanging decor on brick walls safely and beautifully.
Method 1 — Brick Clips for Zero-Damage Mounting
Brick clips (also called brick hangers or brick hooks) are spring-loaded metal clips that grip the top and bottom edges of a single brick without drilling, adhesive, or mortar penetration. They are the fastest, easiest, and most renter-friendly method for hanging decor on brick. Most brick clips support 25 to 30 pounds per clip, and doubling up with two clips can handle mirrors, framed canvas prints, and medium-weight shelves.
To install a brick clip, measure the height of the target brick and adjust the clip's spring tension to match. Slide the top hook over the upper edge of the brick, then press the bottom hook upward until it snaps under the lower edge. The clip should sit flush against the brick face with no wobble. Hang your decor from the integrated hook or wire slot on the front of the clip.
Brick clips work best on standard-sized bricks with clearly defined mortar joints and consistent brick depth. They struggle on bricks that are recessed, rounded, or significantly weathered, because the spring mechanism needs a clean edge to grip. Painted brick may also reduce grip due to the smooth coating. If your bricks have uneven surfaces or thick mortar joints, consider mortar hooks instead.
Method 2 — Adhesive Strips and Mounting Putty
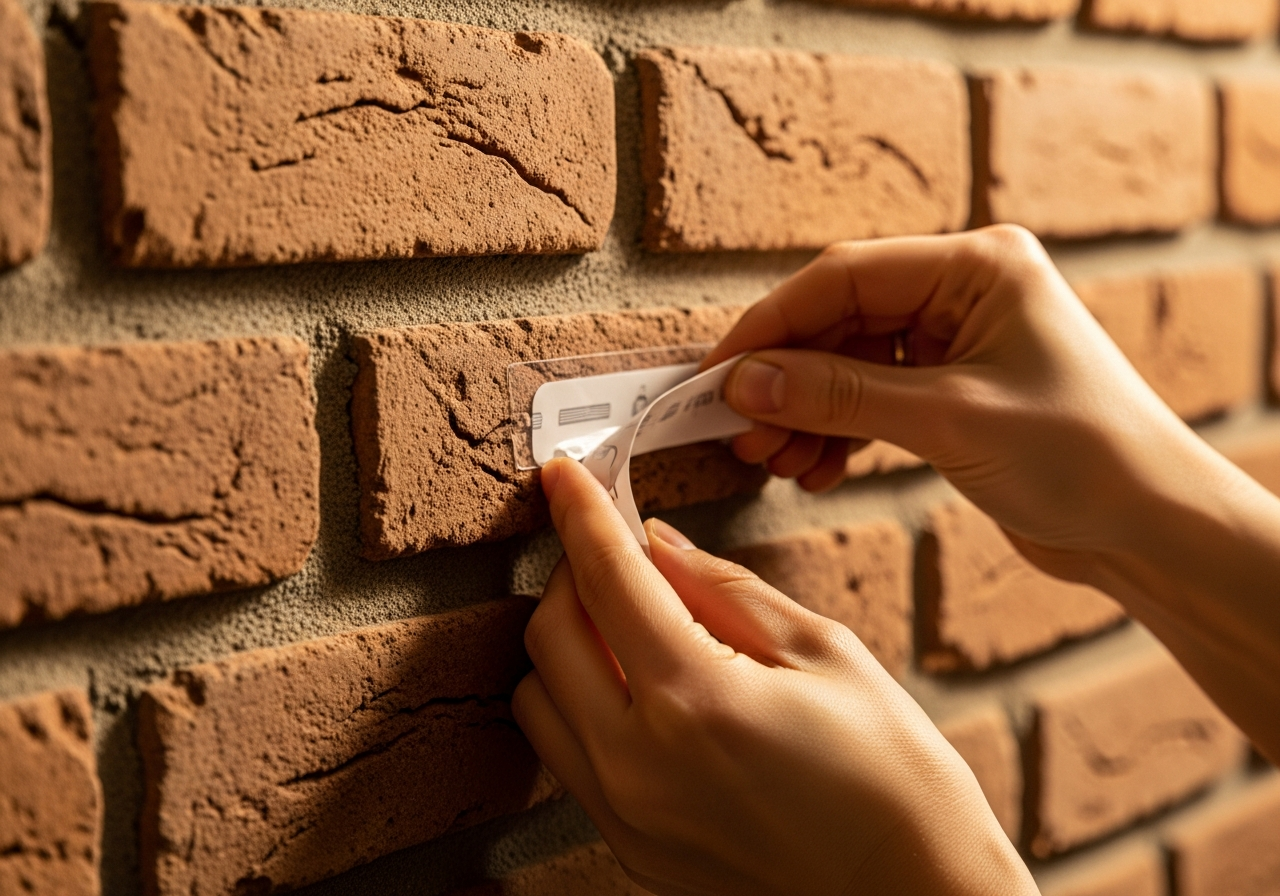
Heavy-duty adhesive strips — such as Command Strips designed for rough surfaces — offer another damage-free option for lighter items. These strips use a pressure-sensitive adhesive that bonds to textured surfaces including brick, stone, and concrete block. Most rough-surface adhesive strips support 5 to 16 pounds per pair, making them suitable for small framed prints, lightweight mirrors, decorative plates, and textile wall hangings.
For the best adhesion on brick, clean the surface thoroughly with rubbing alcohol to remove dust, grease, and loose particles. Press the adhesive strip firmly against the brick face — not the mortar joint — for at least 30 seconds, then wait 24 hours before hanging your item. Temperature matters: adhesive strips perform best between 50 and 105 degrees Fahrenheit and may fail in humid environments or on exterior walls exposed to rain.
Museum putty and mounting putty provide an alternative for very lightweight items under 2 pounds — small frames, decorative tiles, and dimensional wall art. Roll a pea-sized ball of putty, press it onto each corner of the item, then press the item against the brick. Putty is easily removable and leaves no residue, making it ideal for seasonal decor rotations and renters who change their wall displays frequently.
Method 3 — Mortar Hooks and Hardwall Hangers
Mortar hooks (also called mortar clips or mortar nail hooks) are designed to be driven into the mortar joint rather than the brick itself. Because mortar is softer than brick and easier to repair, this method causes minimal permanent damage while offering significantly higher weight capacity — typically 20 to 50 pounds per hook depending on the design and mortar condition.
To install a mortar hook, identify a horizontal mortar joint at the correct height for your decor. Use a masonry nail and hammer to create a small pilot indent in the mortar, then drive the hook's hardened steel pin into the joint at a slight downward angle. The hook sits flush against the brick face above the joint and provides a standard hanging point for wire-backed frames, mirrors, and clocks.
Hardwall hangers offer a similar concept with multiple thin pins arranged in a fan pattern. When hammered into mortar or even directly into brick, the pins spread the load across a wider area, reducing the risk of a single-point failure. Hardwall hangers rated for 25 pounds or more are available at most hardware stores and require only a standard hammer for installation — no drill, no anchors, no special tools.
Method 4 — Masonry Drill and Anchors for Heavy Pieces
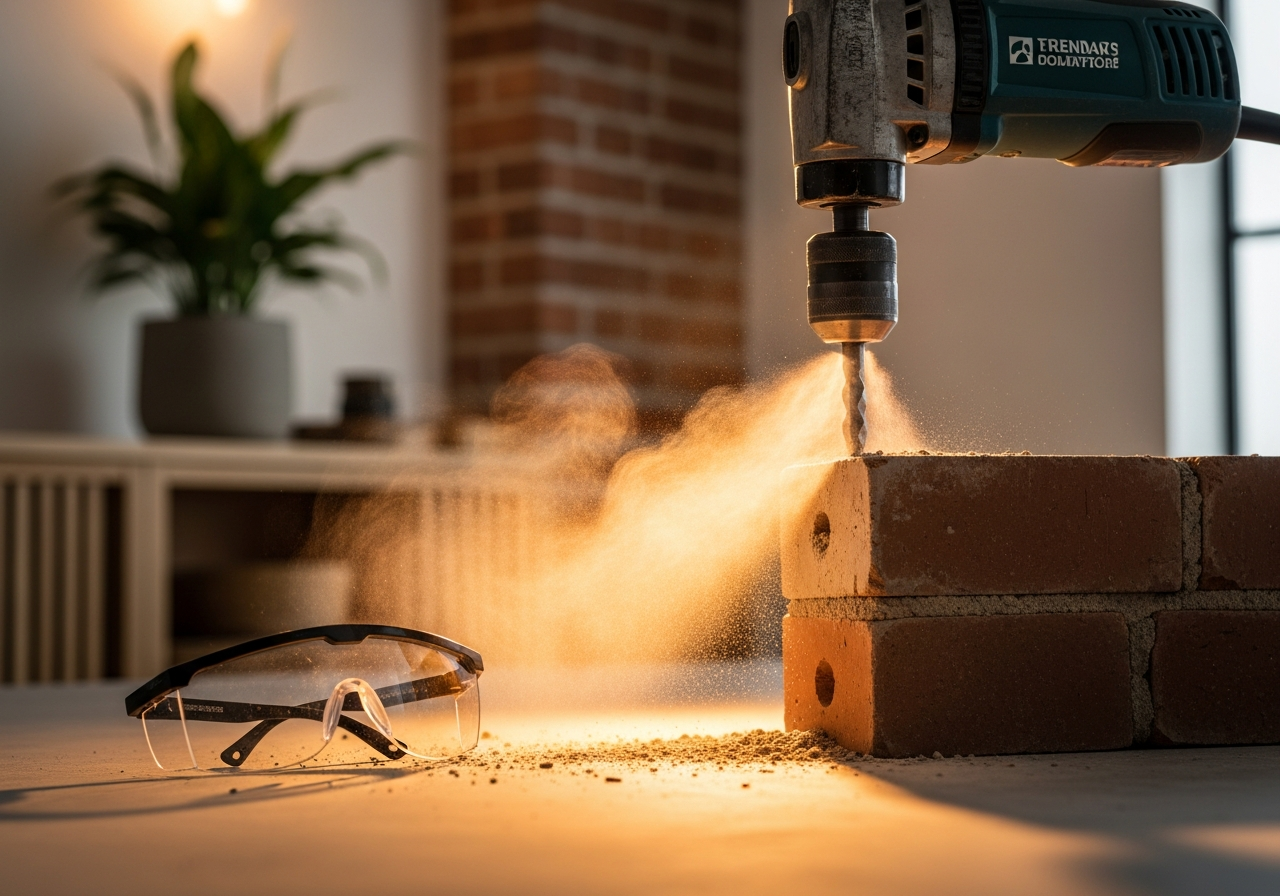
For heavy items — large mirrors over 30 pounds, floating shelves with books, mounted coat racks, or wall-hung planters — drilling into brick with masonry anchors is the most secure option. This method requires a hammer drill (or rotary hammer) with a carbide-tipped masonry bit, plastic or lead sleeve anchors, and corrosion-resistant screws.
Always drill into the mortar joint rather than the brick face when possible. Mortar is easier to drill, easier to repair if you remove the hardware later, and less likely to crack than the brick itself. Mark your hole locations with a pencil, then drill at low speed with steady pressure. Clear dust from the hole with compressed air before inserting the anchor sleeve. Thread the screw through your mounting hardware and into the anchor until snug — do not overtighten, as this can crack the surrounding mortar.
If you must drill into the brick face — for example, when the mortar joints are too thin or deteriorated — use a masonry bit sized exactly for your anchor and drill at the slowest speed your tool allows. Start without the hammer function to create a guide indent, then switch to hammer mode for the full depth. A single 3/16-inch sleeve anchor in solid brick can hold over 75 pounds in shear load, making this method suitable for the heaviest wall-mounted decor items.
Method 5 — Freestanding and Leaning Display Systems
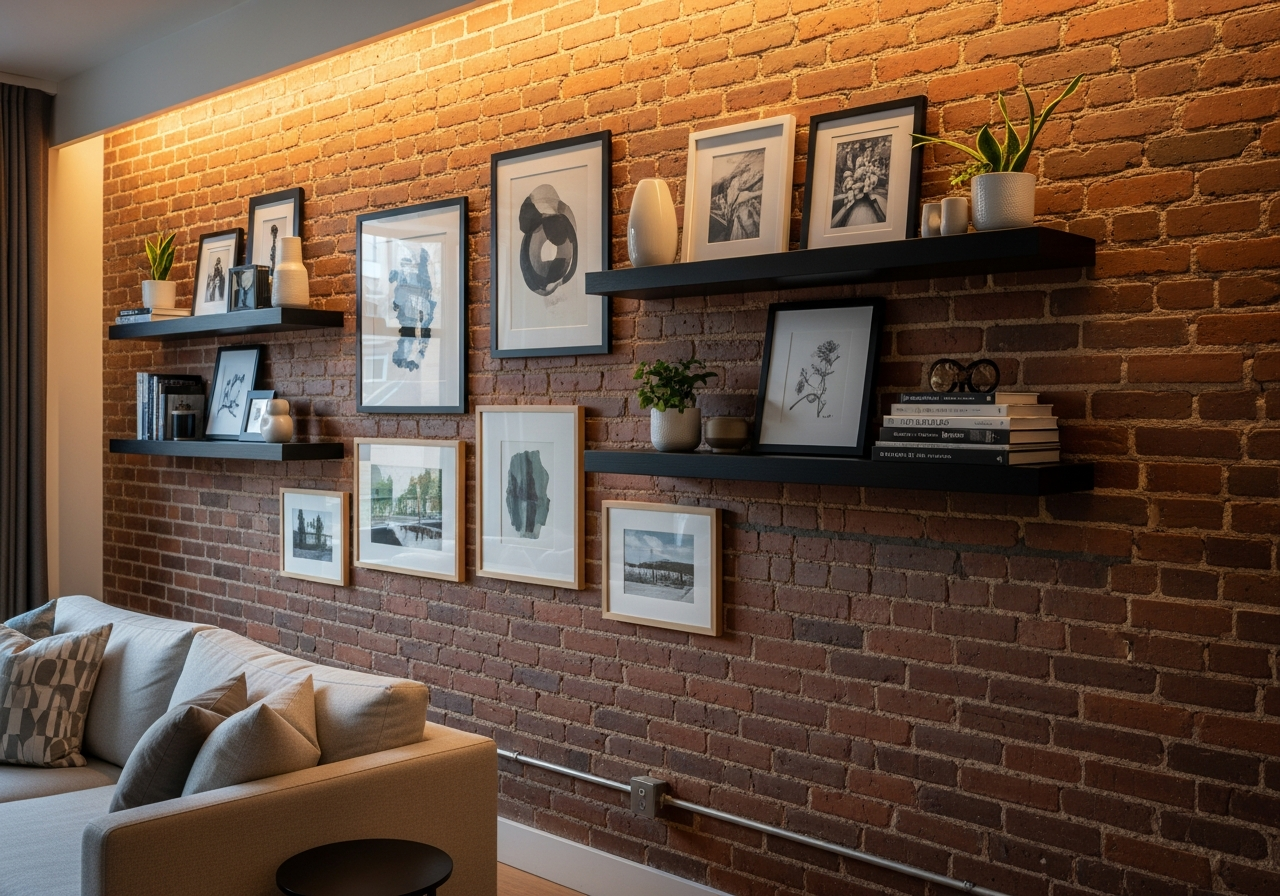
Sometimes the best way to display decor on a brick wall is to avoid penetrating it entirely. Leaning large framed prints, mirrors, and canvases against the brick creates a relaxed, gallery-like aesthetic that works particularly well in industrial and bohemian interiors. Prop frames on a styled floating shelf, mantel, or directly on the floor leaning against the wall at a 10 to 15 degree angle for stability.
Picture ledges — narrow shelves specifically designed for displaying framed art — can be mounted using any of the methods above and then used to hold multiple frames without additional wall penetrations. A single 36-inch picture ledge can display three to five frames of varying sizes, creating a layered gallery arrangement that is easy to rearrange seasonally. Floor-to-ceiling tension rods, freestanding ladder shelves, and suspended ceiling-mounted systems offer additional mounting-free display options that complement brick textures beautifully.
Weight Guide: Choosing the Right Method for Your Decor
| Weight Range | Best Method | Examples | Damage Level |
|---|---|---|---|
| Under 2 lbs | Mounting putty | Small frames, decorative tiles, postcards | None |
| 2–16 lbs | Adhesive strips (rough surface) | Medium frames, lightweight mirrors, textile art | None |
| 5–30 lbs | Brick clips | Framed art, medium mirrors, clocks | None |
| 10–50 lbs | Mortar hooks / hardwall hangers | Large frames, heavy mirrors, small shelves | Minimal (mortar only) |
| 30–100+ lbs | Masonry drill + anchors | Floating shelves, coat racks, mounted planters | Repairable holes in mortar |
How to Repair Mortar After Removing Hardware
If you do drill into mortar and later remove the hardware, repairing the hole is straightforward. Purchase premixed mortar repair compound from any hardware store — a small tube costs under $10 and handles dozens of small holes. Clean debris from the hole, dampen the surrounding mortar with a spray bottle, then press the repair compound into the hole with a putty knife. Smooth the surface flush with the surrounding joint and allow 24 hours to cure. For a perfect color match, blend a small amount of masonry pigment into the compound before application.
Painted brick walls are even simpler to repair: fill the hole, let the compound cure, then touch up with matching paint. The repair becomes virtually invisible, leaving no evidence of the previous mounting point. This repairability is one reason mortar-based methods are preferred over drilling into the brick face itself — a cracked or chipped brick is much harder to disguise.
Common Mistakes When Hanging Decor on Brick
The most common mistake is using standard drywall nails or picture hooks on brick. These fasteners are designed for soft gypsum board and will bend, bounce, or shatter against hard masonry. Another frequent error is drilling into old, deteriorated mortar without testing its condition first — crumbly mortar cannot hold anchors securely and may need repointing before any hardware is installed.
Overloading adhesive products is another pitfall. Always check the manufacturer's weight rating and subtract 20 percent as a safety margin, especially for items displayed above furniture or walkways. Hanging heavy items on a single mounting point rather than distributing weight across two or three points creates unnecessary stress on both the hardware and the masonry. Finally, neglecting to check for hidden utilities — electrical wiring, gas pipes, or plumbing — behind or within the brick wall can lead to dangerous and costly accidents. Use a stud finder with masonry mode or consult building plans before drilling. For more wall hanging techniques on different surfaces, see our guide to hanging wall decor at the right heights.
Frequently Asked Questions
Can I hang heavy mirrors on brick walls without drilling?
Yes, mirrors up to 30 pounds can be hung using brick clips or mortar hooks without any drilling. For heavier mirrors, use two brick clips spaced apart to distribute the weight. If the mirror exceeds 50 pounds, drilling with masonry anchors into the mortar joints is the safest approach — the mortar holes are easily repaired if you remove the mirror later.
Do Command Strips work on brick walls?
Standard Command Strips are not recommended for brick because the rough, porous texture prevents a full adhesive bond. However, Command makes a rough-surface variant specifically designed for textured walls including brick, concrete, and stucco. These strips support up to 16 pounds per pair and require a clean, dry brick face for proper adhesion.
Will hanging things on brick damage the mortar?
Brick clips and adhesive methods cause zero mortar damage. Mortar hooks create small pin holes that are easily filled with premixed repair compound. Drilling creates larger holes but these are also repairable — especially when drilled into mortar joints rather than the brick face. The key is using the lowest-impact method that supports your item's weight.
Should I drill into the brick or the mortar?
Always drill into the mortar joint when possible. Mortar is softer than brick, easier to drill, and significantly easier to repair if you remove the hardware later. Drilling into brick risks cracking or chipping the face, which is expensive and difficult to repair. The only exception is when mortar joints are too thin, too deteriorated, or positioned at an inconvenient height for your mounting point.
How do I find studs behind a brick wall?
Most interior exposed brick walls are solid masonry without studs — the brick itself is the structural element. If the brick is a veneer (a thin layer applied over a framed wall), a deep-scanning stud finder with masonry mode can detect the wood framing behind the brick. Tap the wall and listen: solid masonry produces a dull thud, while veneer over studs sounds slightly hollow between framing members.
Visualize Your Brick Wall Decor with HanoDecor
Before drilling a single hole or applying any adhesive, see exactly how your decor arrangement will look on your brick wall. Upload a photo of your space to HanoDecor's AI Room Designer and experiment with different art placements, mirror sizes, and shelf configurations. Preview gallery wall layouts, oversized statement pieces, and mixed-media arrangements — all without lifting a hammer. Pair with our gallery wall arrangement guide for the perfect layout, then hang with confidence using the method that matches your decor's weight and your wall's condition.
Related Articles: Looking for more wall and surface styling techniques? Learn how to hang wall decor without nails for damage-free methods on every surface, or explore console table styling ideas for pairing your brick wall display with furniture below. For hardware finish coordination, see our guide on mixing metals in home decor. Browse our living room ideas gallery for more exposed brick inspiration, or check out our wall decor ideas for additional creative display concepts.
How to Hang Decor on Brick Walls FAQs
Written by
Lisa Wang
Sustainable Design Writer focused on eco-friendly materials, energy efficiency, and budget-conscious home improvement. LEED Green Associate with expertise in low-impact renovation strategies.