How to Hang Wall Decor Without Nails: 8 Proven Damage-Free Methods
Quick Summary
This practical guide covers 8 damage-free methods for hanging wall decor without nails, perfect for renters and homeowners who want to preserve their walls. From adhesive strips and magnetic mounts to leaning art and tension rods, each technique includes weight ratings, surface compatibility, and step-by-step instructions.
Why Damage-Free Hanging Matters for Renters and Homeowners
Knowing how to hang wall decor without nails is essential whether you rent an apartment with strict lease terms or own a home with delicate plaster walls. According to the National Apartment Association, over 44 million households in the United States rent their homes, and most standard lease agreements prohibit nail holes or charge damage fees ranging from $25 to $150 per hole at move-out. Even homeowners face situations where drilling is impractical — tile backsplashes, brick fireplaces, glass partitions, and freshly painted surfaces all demand nail-free solutions.
The good news is that modern adhesive technology, magnetic mounting systems, and creative display techniques make it entirely possible to create a gallery-worthy wall arrangement without ever picking up a hammer. Today's damage-free hanging products support items weighing up to 16 pounds per hook, which covers the vast majority of framed prints, mirrors, shelves, and decorative objects. The key is matching the right method to your wall surface, decor weight, and aesthetic goals. If you are renting and want a comprehensive overview of renter-safe solutions, our renter-friendly wall hanging guide covers lease-compliant strategies in detail.
Method 1 — Adhesive Strips and Hooks (Command Strips)
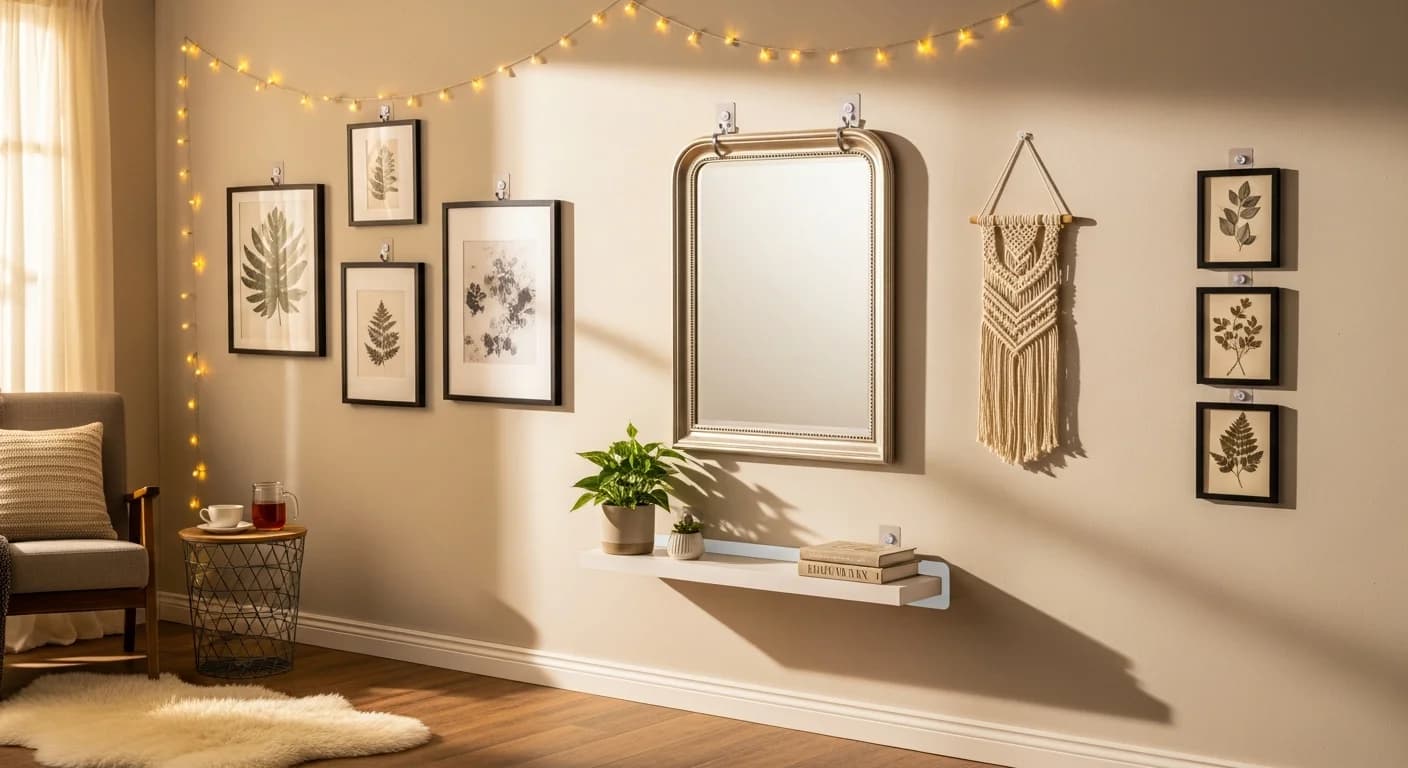
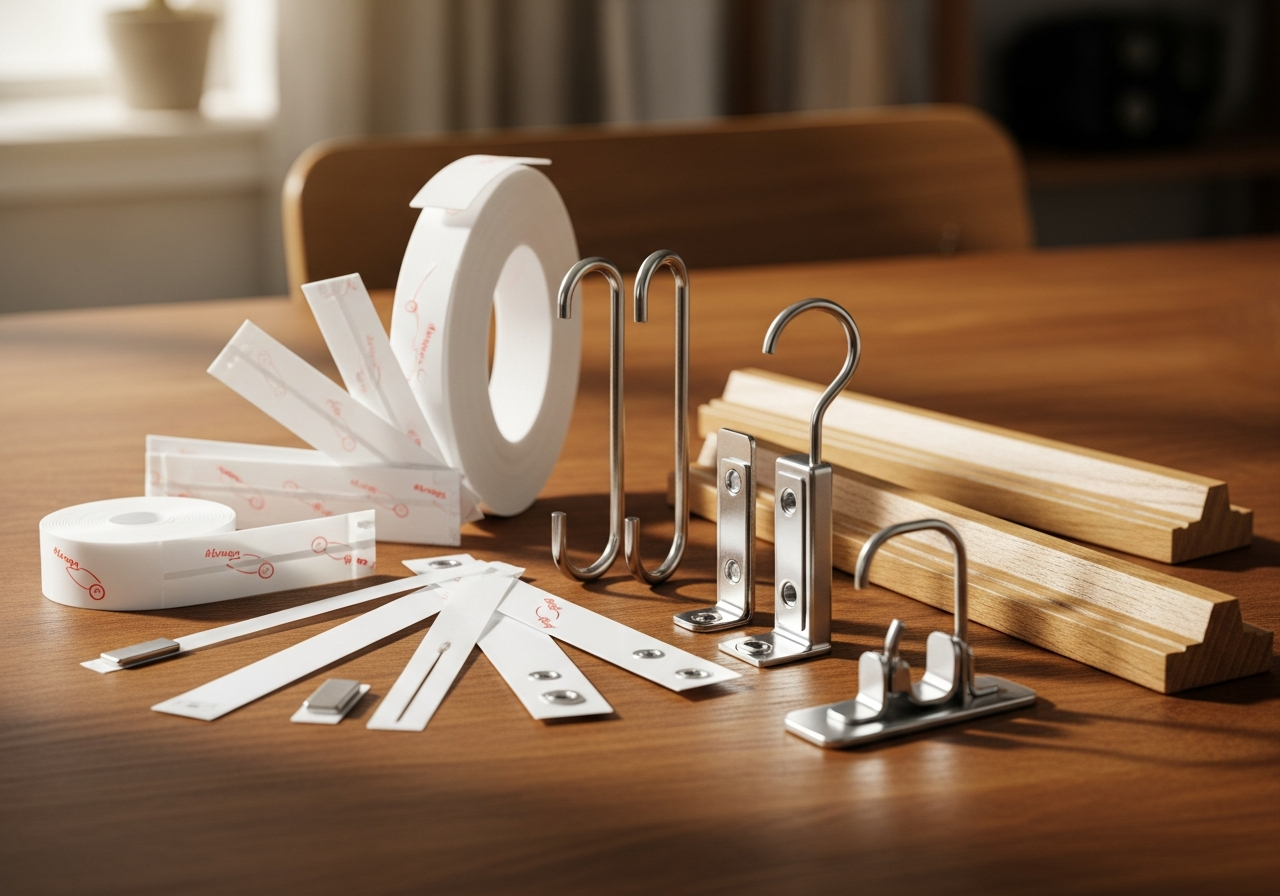
Adhesive strips are the most popular no-drill hanging solution, and for good reason. Command strips by 3M use a stretch-release adhesive that bonds firmly to the wall surface but peels away cleanly without leaving residue or pulling off paint. They come in dozens of configurations — picture hanging strips that support frames from 1 to 16 pounds, decorative hooks for lighter items, and wire-backed hangers for heavier pieces.
For best results, clean the wall surface with rubbing alcohol before application to remove dust, oils, and residue that weaken adhesion. Press each strip firmly for 30 seconds, then wait one full hour before hanging anything. Temperature matters: adhesive strips perform poorly below 50 degrees Fahrenheit and on surfaces with high humidity, so avoid using them in unheated garages or directly above a shower. On textured walls like orange peel or knockdown finishes, use the heavy-duty outdoor versions, which feature a thicker adhesive layer that grips irregular surfaces.
The weight rating on the package reflects the capacity of a single strip pair. For heavier items like mirrors weighing 8 to 12 pounds, use multiple strip sets spaced evenly across the back of the frame. A 24-by-36-inch framed poster typically weighs 4 to 6 pounds and requires two sets of medium strips. Always check the wall decor weight before selecting your strip size — a small kitchen scale works perfectly for this.
Method 2 — Magnetic Paint and Magnetic Strips
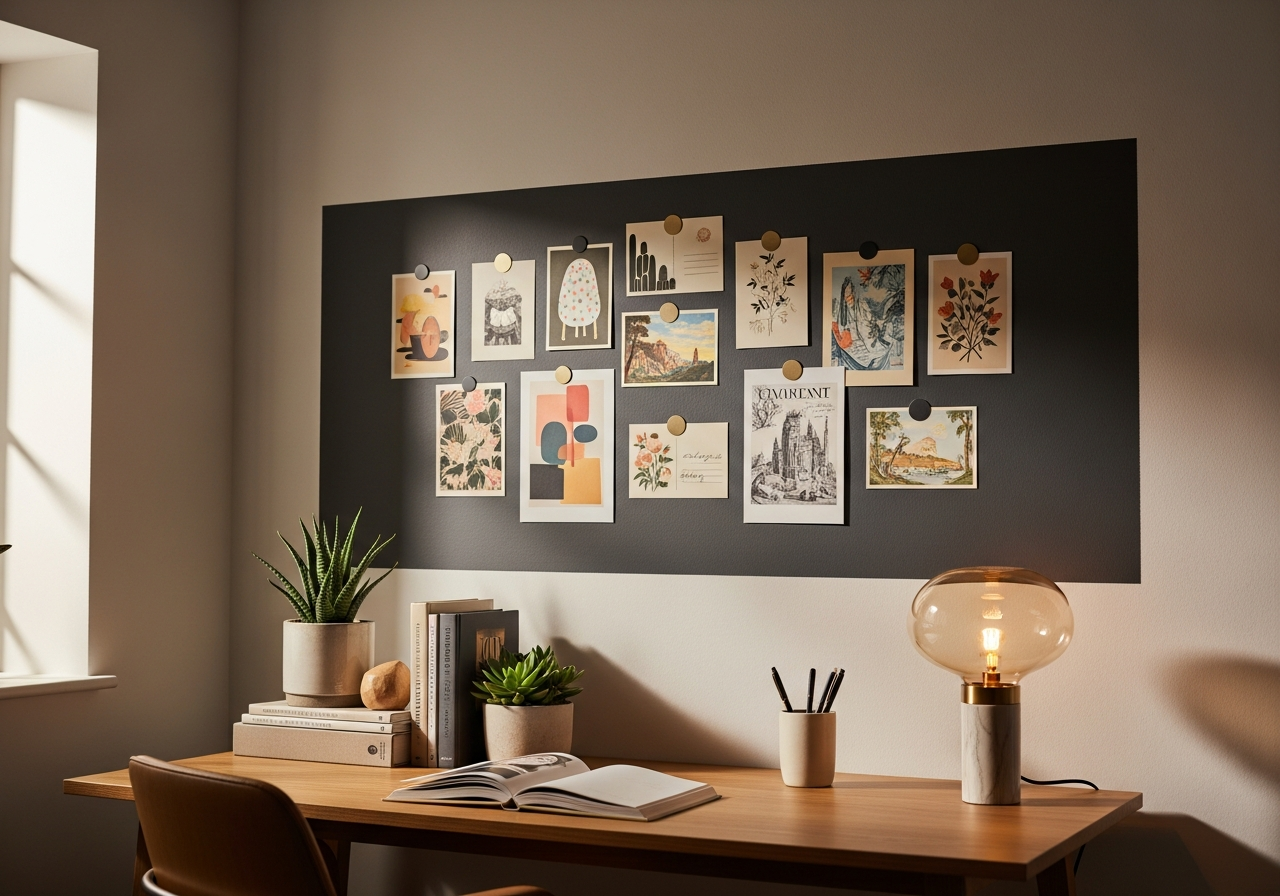
Magnetic mounting creates a reconfigurable display system that lets you rearrange wall decor in seconds. Apply two to three coats of magnetic primer to a section of wall, then cover it with your regular wall paint. Once dry, lightweight prints, postcards, and photos with small magnets on the back attach directly to the wall. This system works beautifully for rotating art displays, children's artwork galleries, or seasonal decor swaps.
For renters who cannot paint, adhesive magnetic strips offer a similar effect. Magnetic tape rated for wall use supports items up to 2 pounds per strip, which covers unframed prints, fabric wall hangings, and lightweight metal decorations. Place one strip on the wall and a corresponding strip on the back of your decor piece. The renter-friendly adhesive peels away at move-out without damaging the surface.
Method 3 — Picture Ledges and Floating Shelves
Picture ledges eliminate the need for individual hanging hardware entirely. A single ledge — typically 24 to 48 inches long — holds multiple frames that lean against the wall, creating a layered gallery effect. Many ledges mount with adhesive strips rated for 12 to 16 pounds, making them completely nail-free. You can lean framed art, unframed canvases, small plants, and decorative objects along the ledge for a curated, collected look. For tips on styling what goes on those ledges and shelves, see our guide on styling floating shelves.
The layering flexibility is the biggest advantage. Unlike nailed frames that require careful measuring and commitment to a specific arrangement, leaning art on a ledge lets you swap pieces, adjust spacing, and experiment with different combinations whenever you want. Install ledges at 57 to 60 inches from the floor to the center of your display — this is the standard museum hanging height that feels natural at eye level. For a stacked gallery effect, add a second ledge 12 to 16 inches above the first.
Method 4 — Leaning Art Against the Wall
Leaning large-scale art against the wall is a deliberate design choice used by professional interior stylists, not a compromise. Oversized canvases, mirrors, and framed prints measuring 30 inches or larger look intentionally casual and contemporary when propped against a wall at floor level or atop a console table, dresser, or mantel. This approach works especially well with artwork too heavy for adhesive solutions.
For stability, tilt the piece back at a 10 to 15 degree angle against the wall. Place a non-slip furniture pad or museum putty beneath the bottom edge to prevent sliding on hard floors. Layer multiple pieces by placing the largest canvas at the back and overlapping progressively smaller frames in front. This leaning gallery technique adds depth and dimension that flat wall hanging cannot replicate. It also eliminates every concern about wall damage, since nothing touches the wall surface except the top edge of the frame.
Method 5 — Tension Rods and Curtain Wire Systems
Tension rods designed for curtains can double as wall decor hanging systems in alcoves, window frames, and between closely spaced walls. Install a tension rod at the desired height, then hang lightweight frames, fabric panels, or macramé pieces from S-hooks or curtain rings. This method works particularly well in narrow hallways, inside closet openings, and in window alcoves where you want to display items without drilling into trim.
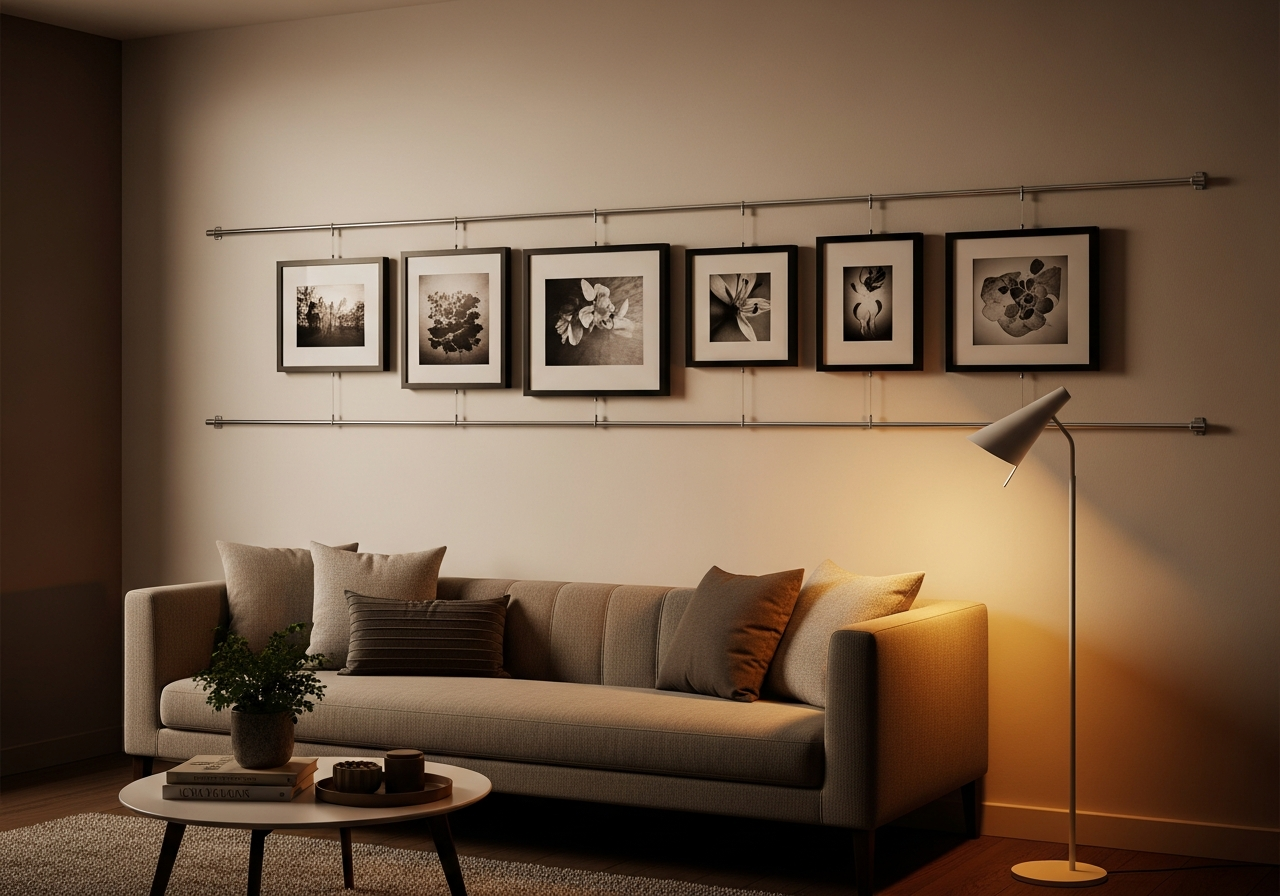
Curtain wire systems offer a more minimal alternative. A thin stainless steel cable stretches between two adhesive-mounted end points, and small clips slide along the wire to hold prints, photos, or postcards. The result looks like a professional gallery hanging system. These wire kits support 10 to 15 pounds distributed across the cable and work on any smooth wall surface. The entire system removes cleanly at move-out.
Method 6 — Washi Tape and Decorative Tape Frames
Washi tape — a decorative paper tape originally from Japan — removes cleanly from walls and comes in hundreds of colors, patterns, and widths. Use it to create faux frames directly on the wall around unframed prints, postcards, or photographs. Simply tape the print to the wall with a small loop of washi tape on the back, then add a border of contrasting washi tape around the edges to simulate a frame. The effect is playful, graphic, and entirely renter-friendly.
For a more sophisticated look, use solid-color washi tape in metallic gold, matte black, or copper to outline geometric shapes on the wall as a backdrop for your decor. Create a hexagonal pattern, a single bold stripe, or a series of rectangles that function as both wall art and display frames. This technique adds visual interest to blank walls without any hanging hardware at all. Washi tape typically costs $3 to $8 per roll and covers 30 to 50 feet of decorative border.
Method 7 — Velcro Strips and Dual-Lock Fasteners
Industrial-strength Velcro strips and 3M Dual-Lock reclosable fasteners provide a damage-free hanging option for heavier decor items. Dual-Lock fasteners feature interlocking mushroom-shaped stems that snap together with 5 times the holding power of standard hook-and-loop fasteners. A single 1-by-3-inch strip holds up to 10 pounds, and multiple strips can support mirrors, shadow boxes, and heavy frames weighing 15 pounds or more.
The reclosable design means you can remove the decor piece for cleaning or rearranging without replacing the wall-side strip. When you eventually want to remove the system entirely, apply gentle heat from a hair dryer for 30 seconds to soften the adhesive, then peel slowly at a 90-degree angle. This prevents paint damage on most standard latex wall finishes. Dual-Lock fasteners adhere best to smooth, non-porous surfaces like painted drywall, glass, and metal.
Method 8 — Rail Systems and Molding Hooks
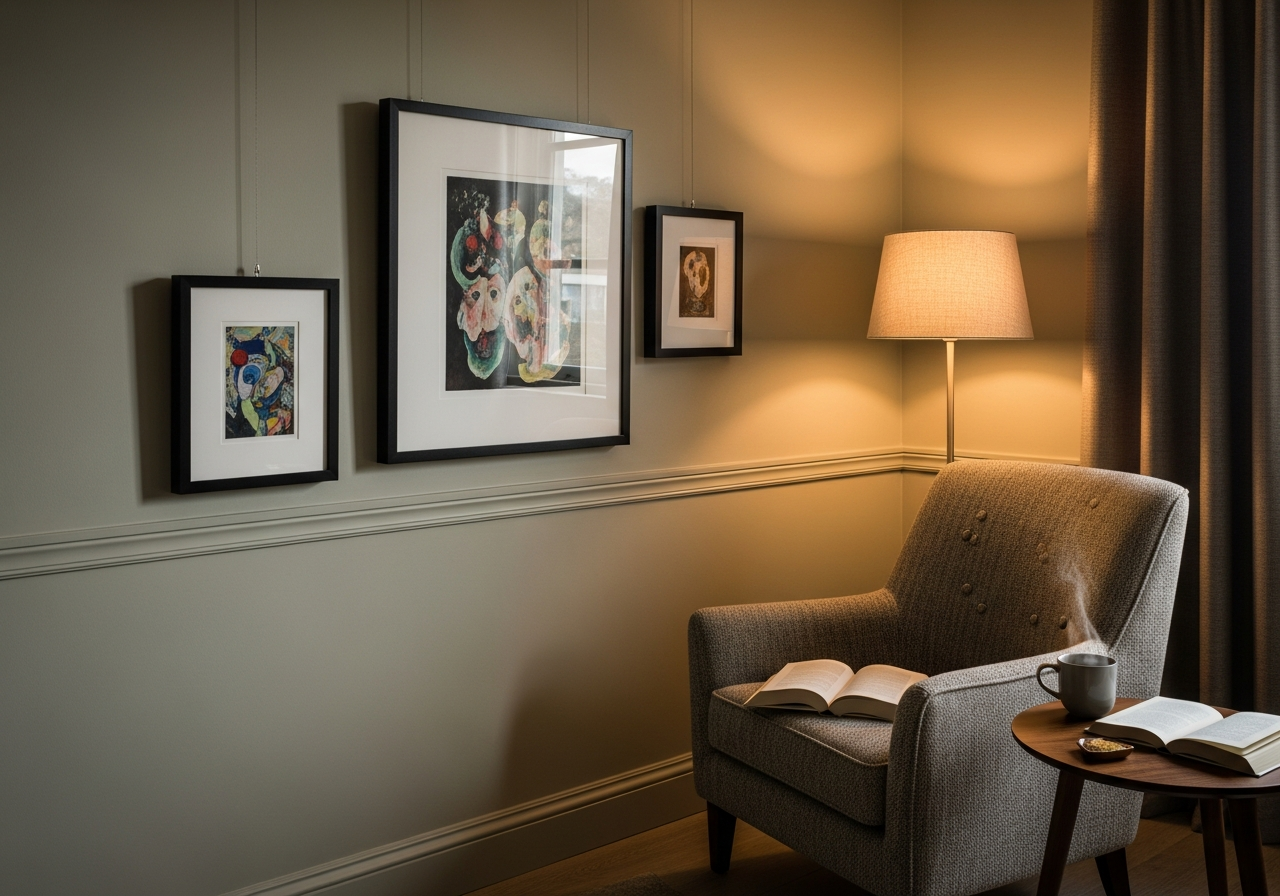
If your apartment or home has existing picture rail molding — a narrow wooden strip running along the wall near the ceiling — you already have a built-in no-nail hanging system. Picture rail hooks clip over the molding, and thin cables or cords drop down to support framed art at any height. This classic European technique supports heavy items up to 50 pounds per hook and creates an elegant, gallery-like display. For even more creative overhead display options, explore our guide on hanging decor from the ceiling.
For homes without existing molding, adhesive-mounted rail strips create a similar effect. These thin aluminum channels mount to the wall with high-strength adhesive and accept sliding hooks that move freely along the rail. The system supports 15 to 20 pounds per rail section and allows infinite repositioning without new adhesive application. Rail systems work especially well above sofas and beds where you want a symmetrical arrangement that can be adjusted without measuring new hole positions.
Surface Compatibility Guide: Which Method Works on Your Wall
| Wall Surface | Best Methods | Avoid |
|---|---|---|
| Smooth painted drywall | Adhesive strips, Velcro, magnetic strips, picture ledges | None — all methods work |
| Textured drywall (orange peel, knockdown) | Heavy-duty adhesive strips, Dual-Lock, rail systems | Standard adhesive strips (weak bond) |
| Brick or stone | Brick clips, mortar hooks, leaning art | Adhesive strips (poor adhesion) |
| Tile or glass | Suction cups, magnetic strips, leaning art | Adhesive strips (may damage grout) |
| Wallpapered walls | Leaning art, picture rail, tension rods | Any adhesive product (peels wallpaper) |
| Concrete or cinder block | Adhesive hooks rated for rough surfaces, leaning art | Standard strips (insufficient grip) |
Frequently Asked Questions
How much weight can Command strips hold on drywall?
Command strips hold between 1 and 16 pounds depending on the specific product and size. The small picture hanging strips support 1 to 4 pounds, medium strips handle 4 to 8 pounds, and large heavy-duty strips hold 12 to 16 pounds per set. For heavier items, use multiple strip sets distributed evenly across the back of the frame. Always follow the weight rating on the packaging and allow one hour of bonding time before hanging your decor.
Do adhesive strips damage paint when removed?
When removed correctly, adhesive strips like Command strips do not damage most latex paint finishes. Pull the tab straight down along the wall surface at a slow, steady pace rather than pulling the strip away from the wall. If a strip has been on the wall for more than a year, apply gentle heat from a hair dryer for 20 to 30 seconds before pulling to soften the adhesive. Flat and eggshell paint finishes are the most compatible — high-gloss finishes may show minor adhesive residue that cleans off with rubbing alcohol.
What is the best way to hang a heavy mirror without nails?
For heavy mirrors weighing 10 to 20 pounds, use multiple sets of heavy-duty adhesive strips or 3M Dual-Lock fasteners distributed across the back of the mirror frame. Place strips at all four corners and along the top and bottom edges for maximum support. Alternatively, lean the mirror against the wall on a sturdy surface like a console table or dresser. For mirrors over 20 pounds, consider a floor-standing easel mirror or a picture rail system rated for the weight.
Can I hang shelves without drilling into the wall?
Yes, several adhesive-mounted shelf systems support 10 to 15 pounds without drilling. Look for floating shelves specifically designed for adhesive installation — they use industrial-strength mounting tape and typically support small plants, picture frames, and lightweight decorative objects. For heavier loads, a tension-mounted corner shelf or a floor-to-ceiling tension pole with attached shelves provides a completely damage-free storage and display solution.
How do I hang wall decor on textured walls without nails?
Textured walls like orange peel, knockdown, and popcorn finishes require heavy-duty adhesive products with thicker adhesive layers that grip the uneven surface. 3M Command Outdoor strips and Dual-Lock fasteners work best on textured drywall. For very rough textures, apply a small patch of clear silicone caulk to the wall first, let it cure for 24 hours, then apply the adhesive strip to the smooth silicone surface. This creates a reliable bond point without permanently damaging the wall.
Visualize Your Gallery Wall Before Hanging with HanoDecor
Before committing to any arrangement — damage-free or otherwise — visualize how your wall decor will look in your actual space. Upload a photo of your blank wall to see different art arrangements, frame sizes, and layout options rendered in your room's specific lighting and dimensions. Testing layouts digitally saves time, eliminates measurement guesswork, and ensures your final display looks intentional and balanced.
Ready to plan your perfect wall arrangement? Try the HanoDecor Room Designer to preview gallery walls, picture ledge layouts, and leaning art compositions before you stick a single strip to the wall. For more hanging techniques with traditional hardware, read our complete guide on how to hang wall decor at the right height and spacing, or explore gallery wall arrangement ideas for layout templates and spacing formulas.
Related Articles: Working with brick or masonry? See our specialized guide on hanging decor on brick walls for surface-specific methods. For styling the surfaces below your wall displays, explore bookshelf styling techniques and console table arrangement ideas. Browse our wall decor ideas gallery for creative display inspiration, or visit living room design ideas to see complete room transformations.
How to Hang Wall Decor Without Nails FAQs
Written by
Lisa Wang
Sustainable Design Writer focused on eco-friendly materials, energy efficiency, and budget-conscious home improvement. LEED Green Associate with expertise in low-impact renovation strategies.