How to Redesign Your Home Without a Contractor: 11 Essential DIY Steps
Quick Summary
This comprehensive DIY guide shows you how to redesign your home without hiring a contractor. Learn which projects are safe to tackle yourself, which require professional help, and follow 11 essential steps covering planning, painting, flooring, fixtures, and finishing touches.
How to Redesign Your Home Without a Contractor
Wondering how to redesign your home without a contractor? You are part of a growing trend. According to the Joint Center for Housing Studies at Harvard, homeowner spending on DIY projects has increased by 35% since 2020, driven by both budget constraints and the satisfaction of hands-on improvement. The reality is that many home redesign projects do not require professional help at all, and tackling them yourself can save 40-60% of the total project cost.
However, there is a critical distinction between projects that are safe and rewarding to DIY and projects that require licensed professionals for safety, code compliance, or structural integrity. This guide walks you through 11 essential steps for a successful DIY home redesign, starting with planning and moving through execution, while clearly marking where the DIY line ends and professional help begins.
Step 1: Assess Every Room and Prioritize
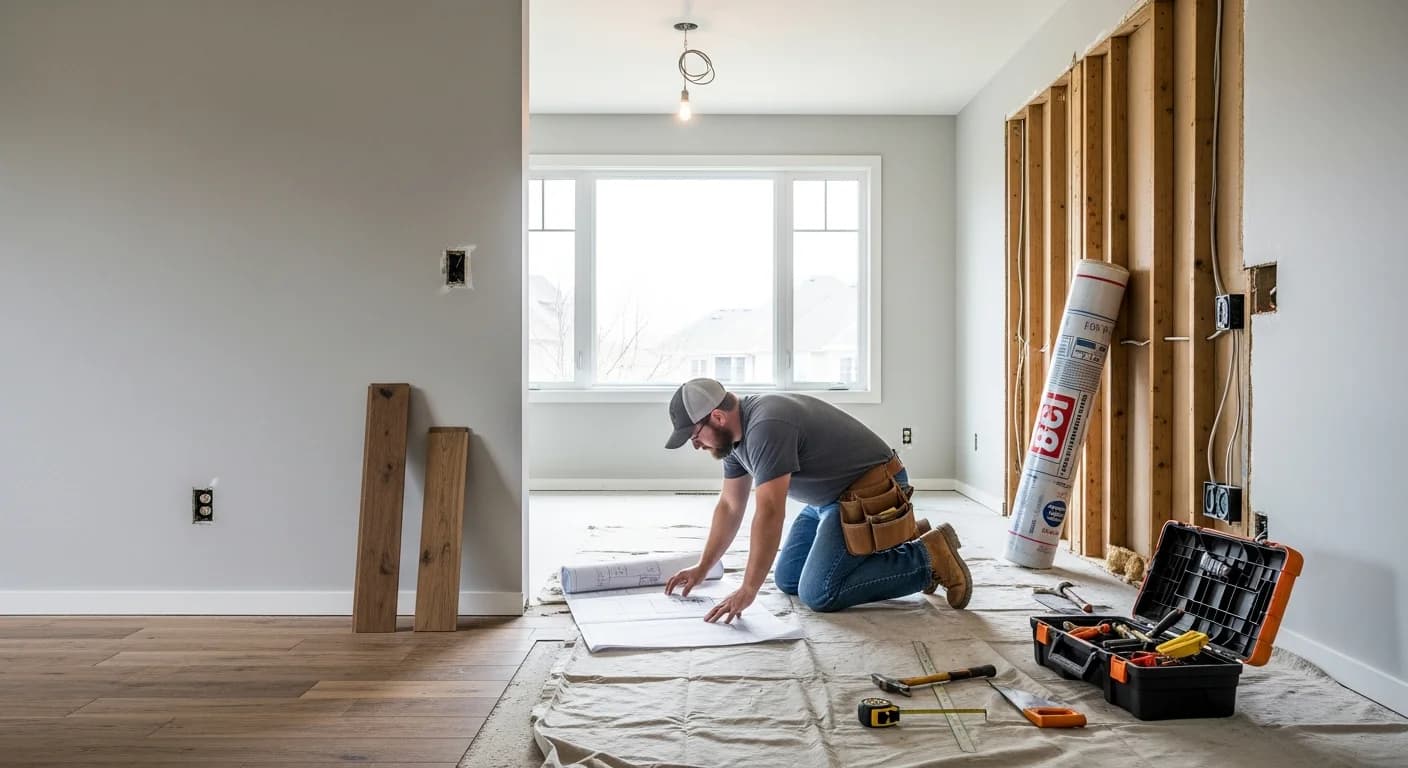
Before picking up a paintbrush, walk through every room in your home with a notebook and a critical eye. For each room, list what bothers you most, what functions well, and what you would change if money were no object. Then rate each item on a scale of 1-5 for both impact (how much it would improve the room) and feasibility (how realistic it is to DIY). Focus first on high-impact, high-feasibility items.
Common high-impact DIY items include painting walls and ceilings, replacing hardware (knobs, pulls, hinges), updating light fixtures, installing new switch plates and outlet covers, hanging curtains or blinds, and adding or replacing baseboards. These items collectively transform the look of a room for relatively low cost and skill requirements.
Use HanoDecor's whole house remodel visualizer to see potential changes before you start. Upload photos of each room and experiment with different styles, colors, and configurations. This visual planning step prevents costly mistakes by letting you preview results before committing to any changes.
Step 2: Set a Realistic DIY Budget
DIY does not mean free. Materials, tools, and supplies add up quickly, and underestimating costs is the number one reason DIY projects stall or remain unfinished. Create a detailed budget spreadsheet that includes materials cost, tool purchases or rentals, disposal fees for removed materials, and a 20% contingency for unexpected discoveries like damaged subfloor under old carpet.
A typical DIY whole-home cosmetic redesign budget breaks down as follows: paint and supplies (15-20% of total budget), flooring materials (25-35%), lighting fixtures (10-15%), hardware and accessories (5-10%), textiles and decor (15-20%), and tools (5-10%). For a three-bedroom home, expect to spend $3,000-$8,000 on a comprehensive cosmetic refresh without any contractor involvement.
Compare this to the average contractor-led cosmetic renovation cost of $15,000-$25,000 for the same scope of work. The savings are substantial, but they require your time and effort. Be realistic about both your budget and your available time when planning the project timeline.
Step 3: Know Your DIY Limits (Safety First)
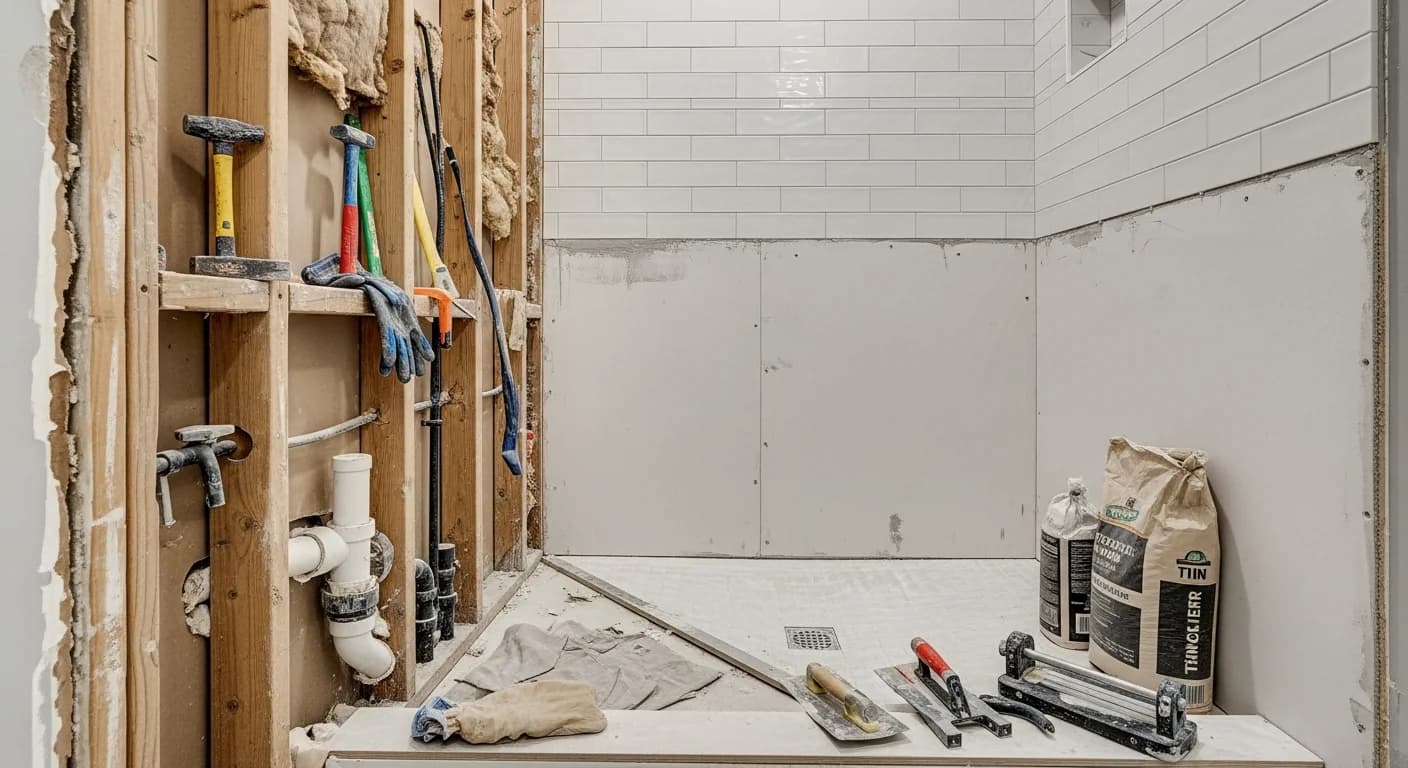
This is the most important step in the entire guide. Some projects should never be DIY regardless of your skill level. Any work involving structural changes (moving or removing walls), electrical panel upgrades, gas line modifications, major plumbing rerouting, or asbestos and lead paint removal must be handled by licensed professionals. These projects require permits, inspections, and specialized knowledge that protect your safety and your home's value.
| Project | DIY Safe? | Notes |
|---|---|---|
| Interior painting | Yes | Most impactful and approachable DIY project |
| Replacing light fixtures | Yes (with breaker off) | Simple swap on existing wiring is safe for most homeowners |
| Installing LVP flooring | Yes | Click-lock systems require no special skills |
| Cabinet hardware replacement | Yes | Just a drill and measuring tape |
| Hanging shelves and art | Yes | Use a stud finder for heavy items |
| Installing backsplash tile | Moderate | Peel-and-stick is easy; mortar tile requires practice |
| Replacing a toilet | Moderate | Straightforward but heavy; watch tutorials first |
| Adding a new electrical circuit | No | Requires licensed electrician and permit |
| Moving plumbing | No | Requires licensed plumber and inspection |
| Removing walls | No | Must verify load-bearing status with engineer |
| Gas appliance installation | No | Always requires licensed professional |
Step 4: Build Your DIY Toolkit
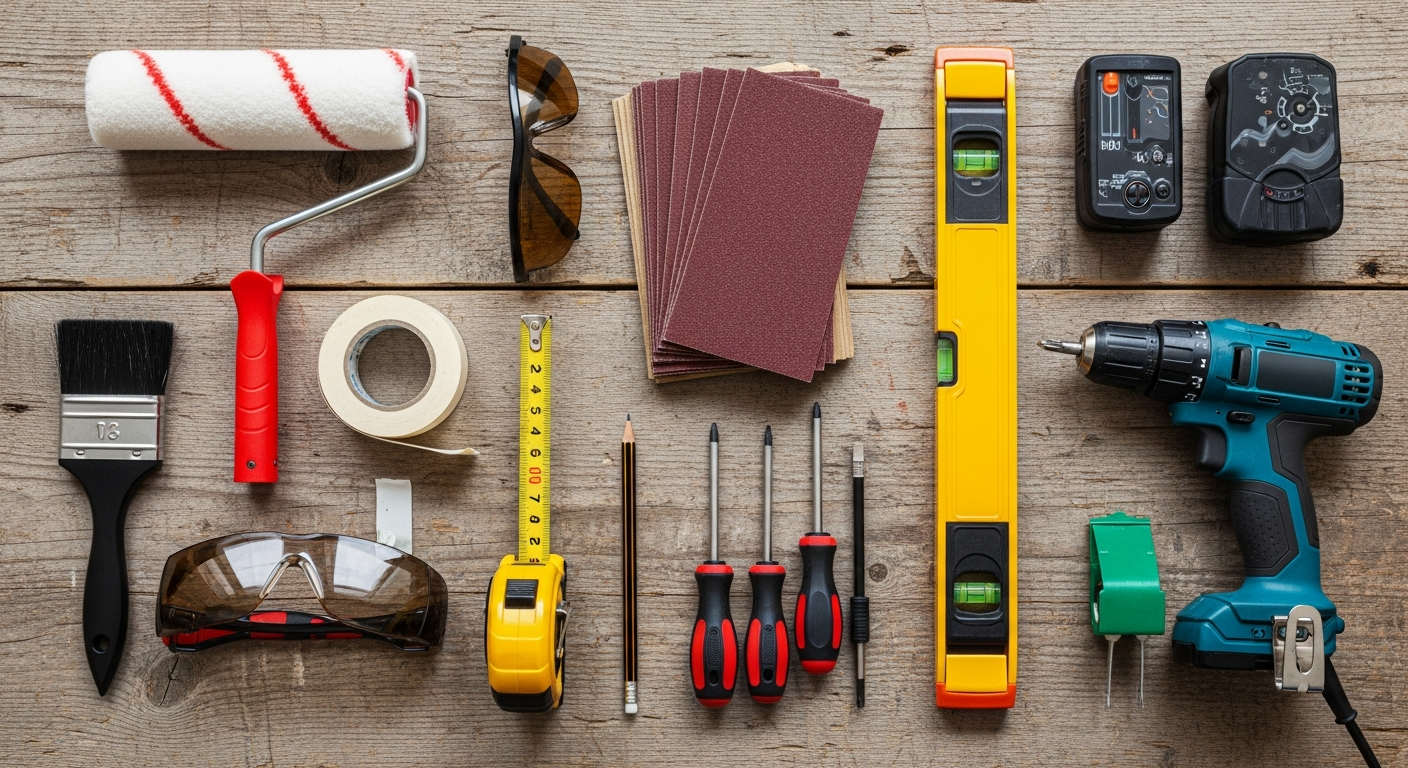
Having the right tools makes every project easier and produces better results. For a comprehensive home redesign, you need a core toolkit that covers painting, installation, and finishing work. Essential tools include a quality paint roller and extension pole, angled sash brush for cutting in, painter's tape, drop cloths, a cordless drill/driver, level, tape measure, stud finder, utility knife, and a rubber mallet for flooring installation.
For flooring projects specifically, add a pull bar, tapping block, spacers, and a miter saw for cutting planks. Many home improvement stores rent miter saws and other specialty tools by the day, which is more economical than purchasing if you only need them once. A quality tool rental typically costs $30-$60 per day compared to $200-$400 to purchase.
Invest in quality over quantity for items you will use repeatedly. A $15 paint roller covers better and sheds fewer fibers than a $3 roller, saving you time on touch-ups and producing a smoother finish. A good cordless drill with a battery that holds a charge will serve you for years of home projects beyond this redesign.
Step 5: Master the Art of Painting
Painting delivers the highest impact per dollar of any DIY redesign project. A gallon of quality paint costs $35-$55 and covers approximately 350-400 square feet, meaning you can completely transform a room for under $100 in materials. Professional painters charge $300-$800 per room, so the DIY savings are substantial.
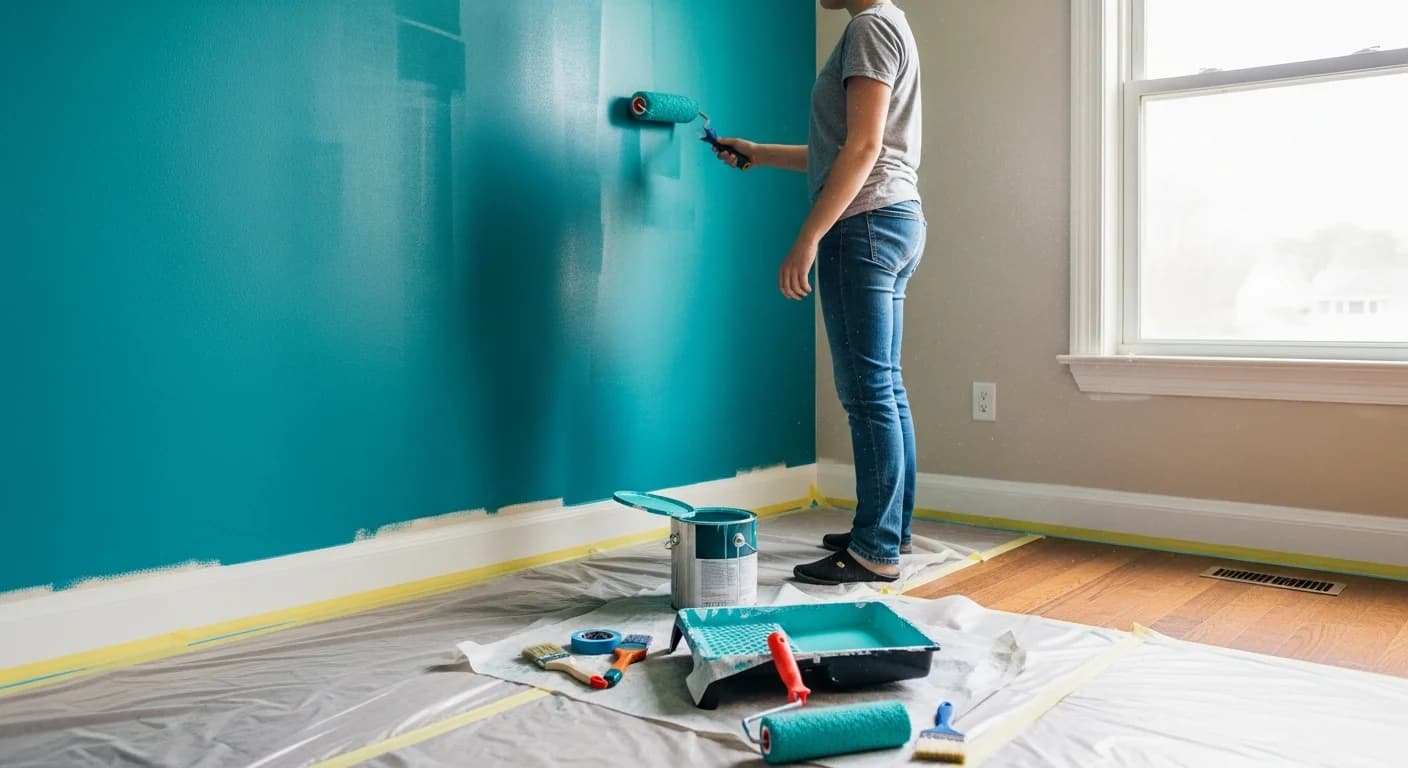
The secret to professional-looking paint results is preparation. Spend 60% of your time on prep and 40% on painting. Fill nail holes and dents with lightweight spackle and sand smooth. Clean walls with a damp cloth to remove dust and grease. Apply painter's tape along ceiling lines, trim, and adjacent walls. Use a primer on any stained, patched, or previously dark surfaces.
For the best results, cut in all edges with an angled brush first, then roll the large surfaces with a 9-inch roller loaded with quality paint. Work in sections of about 4 feet wide, maintaining a wet edge to avoid lap marks. Apply two coats minimum, allowing full drying time between coats (typically 2-4 hours for latex paint). Remove painter's tape while the final coat is still slightly tacky for the cleanest edge lines.
Step 6: Transform Your Floors
Flooring is the second-highest-impact DIY project after painting. Modern click-lock luxury vinyl plank (LVP) and laminate flooring systems are designed specifically for DIY installation. They float over existing subfloors, require no glue or nails, and can be installed in a typical room in a single weekend. The cost is $2-$5 per square foot for materials compared to $8-$15 per square foot installed by a professional.
Before installing new flooring, ensure the subfloor is clean, dry, level, and free of debris. Use a self-leveling compound to fill any low spots greater than 3/16 inch. Install the manufacturer's recommended underlayment (many LVP products have attached underlayment). Start installation along the longest wall, working toward the shortest wall, and maintain a 1/4-inch expansion gap at all walls.
For the most cohesive look throughout your home, use the same flooring in all connected spaces (living room, hallway, kitchen). This creates visual flow and makes the home feel larger. Choose a neutral tone in medium lightness that works with both your current and future furniture choices. Wide-plank formats (7 inches or wider) are the most popular choice in 2026 and make rooms appear more spacious.
Step 7: Upgrade Lighting Without Rewiring
Replacing existing light fixtures is one of the easiest DIY upgrades. Turn off the breaker, remove the old fixture, connect the wires (typically black to black, white to white, and green or bare copper to ground), mount the new fixture, and restore power. The entire process takes 15-30 minutes per fixture and requires only a screwdriver and wire nuts.
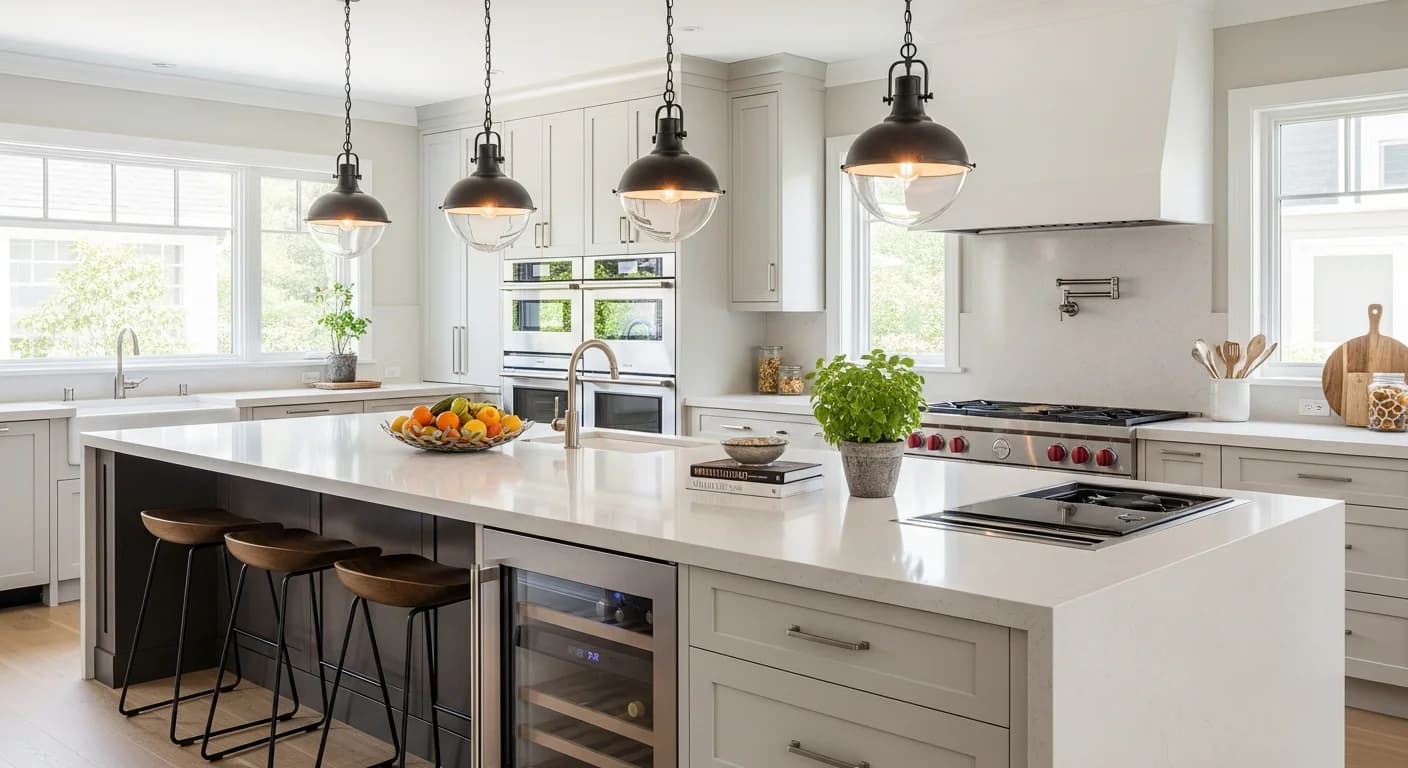
When selecting new fixtures, consider the scale of your room. A dining room chandelier should be approximately 12 inches narrower than the table width. Pendant lights over a kitchen island should hang 30-36 inches above the countertop. Flush-mount ceiling lights work best in rooms with ceiling heights under 8 feet, while semi-flush mounts add visual interest in rooms with 9-foot ceilings.
Beyond replacing fixtures, consider upgrading all switches to dimmer switches ($15-$25 each, DIY installation). Dimmers give you control over ambiance and can make the same room feel energizing during the day and relaxing in the evening. Smart dimmer switches allow voice and app control and can be programmed for different scenes throughout the day.
Step 8: Refresh Cabinets Without Replacing
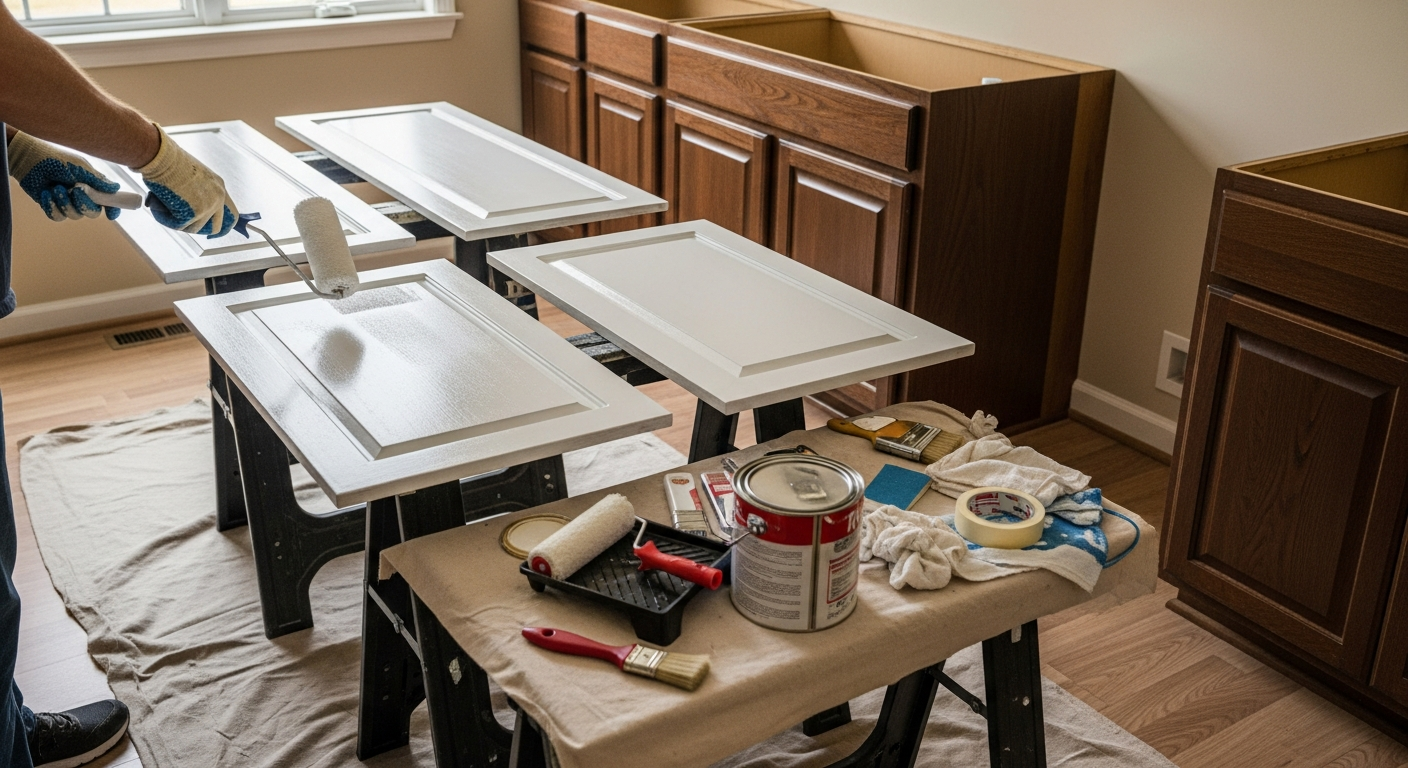
Kitchen and bathroom cabinets dominate the visual landscape of those rooms, and replacing them is one of the most expensive renovation items ($10,000-$25,000 for a kitchen). The DIY alternative is cabinet refinishing: painting or staining existing cabinets, replacing hardware, and adding organizational inserts. This approach costs $200-$800 for a full kitchen and delivers a dramatic transformation.
For painted cabinets, the process involves removing all doors and hardware, cleaning with TSP (trisodium phosphate), lightly sanding for adhesion, priming with a bonding primer, and applying two coats of cabinet-grade paint. Use a small foam roller for the flattest finish on door fronts and a brush for detailed areas. Cabinet-specific paints like Benjamin Moore Advance or Sherwin-Williams ProClassic are self-leveling and produce a factory-smooth finish.
New hardware is the finishing touch that ties the refresh together. Replace pulls and knobs with updated styles that match your design direction. Brushed brass and matte black are the most popular hardware finishes in 2026. If your existing doors have outdated raised panels, consider adding flat panel overlays for a modern shaker-style look at a fraction of the cost of new doors. For more cabinet redesign ideas, see our guide on how to redesign kitchen cabinets without replacing them.
Step 9: Update Hardware and Fixtures Throughout
Coordinated hardware and fixtures create visual cohesion throughout your home. Replace all doorknobs, cabinet pulls, switch plates, and outlet covers with matching finishes. Choose one metal finish (brushed brass, matte black, brushed nickel, or polished chrome) and use it consistently in every room. This seemingly small change creates a surprising sense of intentional design.
Bathroom fixtures like faucets, towel bars, and toilet paper holders can also be replaced as a DIY project. Most bathroom faucets connect with standard supply lines and can be swapped in 30-60 minutes. Towel bars and accessories require only a drill and wall anchors. Updating all the metal elements in a bathroom from brushed nickel to matte black, for example, creates a completely different look for under $200.
Step 10: Style with Textiles and Accessories
After the foundational changes (paint, flooring, lighting, hardware), textiles and accessories are the styling layer that makes a house feel like a home. New curtains, throw pillows, area rugs, bedding, and bath towels can shift the entire mood of a room. The key is consistency: choose a color palette of 3-4 colors and repeat them throughout the home in varying proportions.
Window treatments have an outsized impact on how a room feels. Hang curtain rods 4-6 inches above the window frame and extend them 3-6 inches beyond each side. This makes windows appear larger and lets in more light when curtains are open. Choose curtains that reach the floor for a polished look. For a modern, clean aesthetic, consider Roman shades or roller blinds in a neutral fabric.
Area rugs define spaces within open floor plans and add warmth to hard flooring. In a living room, the rug should be large enough for all front legs of seating furniture to rest on it. In a dining room, the rug should extend at least 24 inches beyond all sides of the table so chairs remain on the rug when pulled out. Getting rug size right is one of the most impactful design decisions you will make.
Step 11: Final Walkthrough and Finishing Touches
Once all major changes are complete, do a final walkthrough of every room with fresh eyes. Look for missed paint touch-ups, uneven caulk lines, loose hardware, or styling gaps. Take photos of each room from the same angles you used in your initial assessment to create satisfying before-and-after comparisons. These photos also serve as documentation for insurance purposes and future sale staging.
Finishing touches include installing or updating wall art, adding plants (real or high-quality faux), placing books and decorative objects on shelves and tables, and ensuring every room has proper task lighting for its function. These final 10% of details account for 50% of the visual impact and are what separate a freshly painted room from a thoughtfully designed space.
Common DIY Redesign Mistakes to Avoid
The most common mistake is tackling too many rooms simultaneously. Start with one room, complete it fully, then move to the next. Working on multiple rooms at once means living in chaos for longer and increases the risk of project abandonment. A completed room gives you momentum and satisfaction that carries you through the next one.
Skipping surface preparation is the second most common mistake. Painting over dirty walls, installing flooring on an unlevel subfloor, or skipping primer on stained surfaces will produce results that look amateur and may not last. Preparation is not glamorous, but it is the difference between a DIY project that looks professional and one that looks homemade.
Choosing trendy over timeless is a mistake that becomes apparent within 2-3 years. Bold accent walls, highly specific color trends, and statement fixtures may look dated quickly. For foundational elements (paint, flooring, major fixtures), choose timeless options and express trends through easily changed accessories like pillows, art, and small decor items.
Frequently Asked Questions
How much can I save by redesigning my home without a contractor? Most homeowners save 40-60% on total project costs by doing cosmetic redesign work themselves. A typical contractor-led cosmetic renovation for a three-bedroom home costs $15,000-$25,000, while the same scope of DIY work typically costs $3,000-$8,000 in materials and tool rentals. The trade-off is your time: expect to invest 80-150 hours over several weekends.
What is the easiest DIY home redesign project with the biggest impact? Interior painting delivers the highest impact per dollar and per hour invested. A single room can be painted in one weekend for $50-$100 in materials, and the visual transformation is dramatic. Follow up with new hardware (cabinet pulls, doorknobs, switch plates) for an additional high-impact, low-effort upgrade.
Do I need permits for a DIY home redesign? Cosmetic changes like painting, flooring, light fixture swaps, and hardware replacement do not require permits. Permits are required for structural changes, new electrical circuits, plumbing modifications, and any work that changes the footprint or load path of your home. Check your local building department's website for specific requirements in your area.
How long does a whole-home DIY redesign take? A comprehensive cosmetic redesign of a three-bedroom home typically takes 6-12 weekends when working at a DIY pace. This includes painting all rooms, updating flooring in main living areas, replacing light fixtures, updating hardware, and styling with new textiles and accessories. Working room by room keeps the project manageable.
Should I watch YouTube tutorials before starting DIY projects? Absolutely. Video tutorials are the best preparation for any DIY project. Watch at least 2-3 different tutorials for each project type to see different techniques and common mistakes. Practice on a small, less visible area first before tackling the main project. The investment in learning time pays off in better results and fewer costly mistakes.
Can I redesign my home without any prior DIY experience? Yes. The projects in this guide are organized from easiest to most challenging, and most homeowners with no prior experience can successfully complete steps 1-7 (assessment, planning, painting, basic flooring, lighting swaps, and hardware replacement). Build your confidence and skills progressively, and do not hesitate to call a professional for anything that feels beyond your comfort level.
Visualize Your DIY Redesign with HanoDecor
Before you start any DIY project, see the potential results with AI visualization. HanoDecor's whole house remodel visualizer lets you upload photos of every room and preview different paint colors, flooring options, and design styles. Compare options side by side, share visualizations with family members for input, and build confidence in your design choices before spending a dollar on materials.
Browse our living room ideas and kitchen design ideas for additional DIY-friendly inspiration. Every redesign starts with a vision, and HanoDecor helps you refine that vision before you pick up a paintbrush.
Related Articles
How to Redesign Your House: Complete Room-by-Room Planning Guide — A comprehensive planning guide for whole-home redesign with or without a contractor.
How to Redesign Kitchen Cabinets Without Replacing Them — Detailed guide to cabinet painting, refacing, and hardware upgrades that transform your kitchen on a budget.
How to Redesign Your Entire Home on a $10,000 Budget — Strategic budget allocation and prioritization for a complete home makeover.
How to Redesign Your Home Without a Contractor FAQs
Written by
Lisa Wang
Sustainable Design Writer focused on eco-friendly materials, energy efficiency, and budget-conscious home improvement. LEED Green Associate with expertise in low-impact renovation strategies.