How to Redesign Your House: Complete Room-by-Room Planning Guide (2026)
Quick Summary
A comprehensive 8-step guide to planning a whole-house redesign. Covers home assessment, master budgeting, design cohesion, room prioritization, timeline sequencing, DIY versus professional decisions, and AI visualization — everything you need to transform your entire home without costly missteps.
Why a Room-by-Room Plan Beats Random Renovations
Knowing how to redesign your house with a structured room-by-room plan is the difference between a cohesive home transformation and a series of disconnected projects that never feel finished. Homeowners who renovate without a master plan spend 25-40% more than those who plan their entire house redesign upfront — and end up with rooms that clash in style and quality.
Random room-by-room renovations create compounding problems: mismatched finishes between adjacent spaces, redundant contractor mobilizations that inflate labor costs, and wasted materials when design directions change mid-project. A whole-house master plan eliminates these issues by establishing a unified style, creating economies of scale through bulk material purchases, and sequencing work in a logical order that prevents rework. Explore design inspiration across every room to start building your vision.
Step 1 — Assess Your Entire Home Before You Start
Walk-Through Audit Checklist
Begin with a systematic walk-through of every room, rating each on a 1-5 scale: 1 means the room needs only a cosmetic refresh (paint, accessories), 3 indicates moderate updates (new surfaces, fixtures, lighting), and 5 signals a gut renovation (everything stripped and rebuilt). Document what works well and what does not in each space. Note structural issues that need professional attention — water damage stains, outdated knob-and-tube wiring, or foundation concerns that could affect project scope and cost.
Photograph every room from multiple angles, capturing corners that show two walls for the most complete documentation. These photos serve as your baseline reference and can be uploaded directly to AI visualization tools later to preview design options.
Identify Your Pain Points and Priorities
Categorize your findings into three priority tiers. Functional pain points include not enough storage, poor traffic flow between rooms, insufficient lighting, or outdated kitchen appliances that slow meal preparation. Aesthetic pain points cover dated finishes like laminate countertops, inconsistent styles between rooms, dark spaces that need natural light solutions, and worn surfaces. Safety and code issues — outdated electrical panels, missing GFCI outlets in wet areas, lead paint in pre-1978 homes — take absolute priority regardless of your design preferences.
Step 2 — Set a Master Budget for Your Whole House Redesign
How to Allocate Budget Across Rooms
Budget allocation should reflect each room's complexity, usage frequency, and return on investment. The kitchen typically commands 25-35% of the total budget — it is the most complex room and delivers the highest resale value increase. Bathrooms account for 15-25%, with primary bathrooms warranting more investment than secondary ones. Living areas (paint, flooring, lighting) consume 10-20%. Bedrooms require 5-15% — primarily cosmetic updates and closet upgrades. Exterior and curb appeal improvements use 5-10%. Always reserve 15-20% of your total budget as a contingency fund for the surprises that inevitably emerge, especially in older homes.
Budget Ranges by Scope
A cosmetic whole-house refresh — covering paint, fixtures, hardware, and lighting throughout — runs $10,000-$30,000 for a typical 1,500-2,500 square foot home. A moderate redesign involving new surfaces, flooring, and some layout tweaks costs $30,000-$80,000. A major transformation with structural changes, full kitchen and bathroom remodels, and premium materials ranges from $80,000-$200,000+. For detailed room-by-room cost data, see detailed room-by-room pricing for 2026.
Step 3 — Choose a Unifying Design Direction
Finding Your Whole-House Style
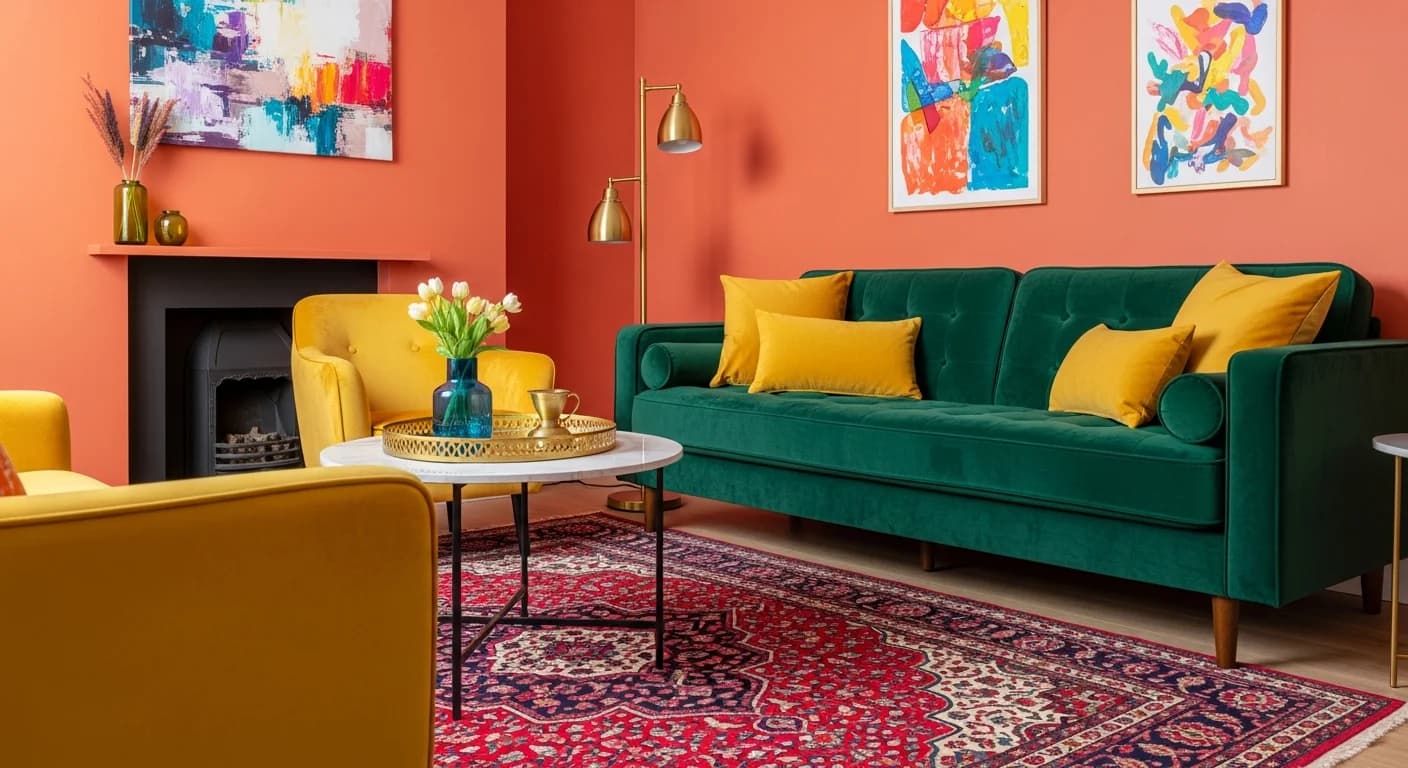
Pick one overarching style as your design foundation — modern, transitional, farmhouse, coastal, Scandinavian, or another direction that resonates with how you want to live. This does not mean every room looks identical. Instead, the foundation style provides a consistent design language: similar proportions, compatible materials, and a cohesive mood. Each room can have its own personality expressed through textiles, art, and accessories while maintaining the underlying design thread.
Browse galleries to identify patterns in what you are drawn to. Save inspiration images and look for common elements — if you keep saving rooms with light wood, clean lines, and warm whites, you are gravitating toward modern Scandinavian. If natural stone, warm metals, and layered textures keep appearing, transitional may be your foundation. Visit the design gallery for style inspiration or explore Houzz whole-house renovation photo gallery for additional ideas.
Building a Cohesive Material and Color Palette
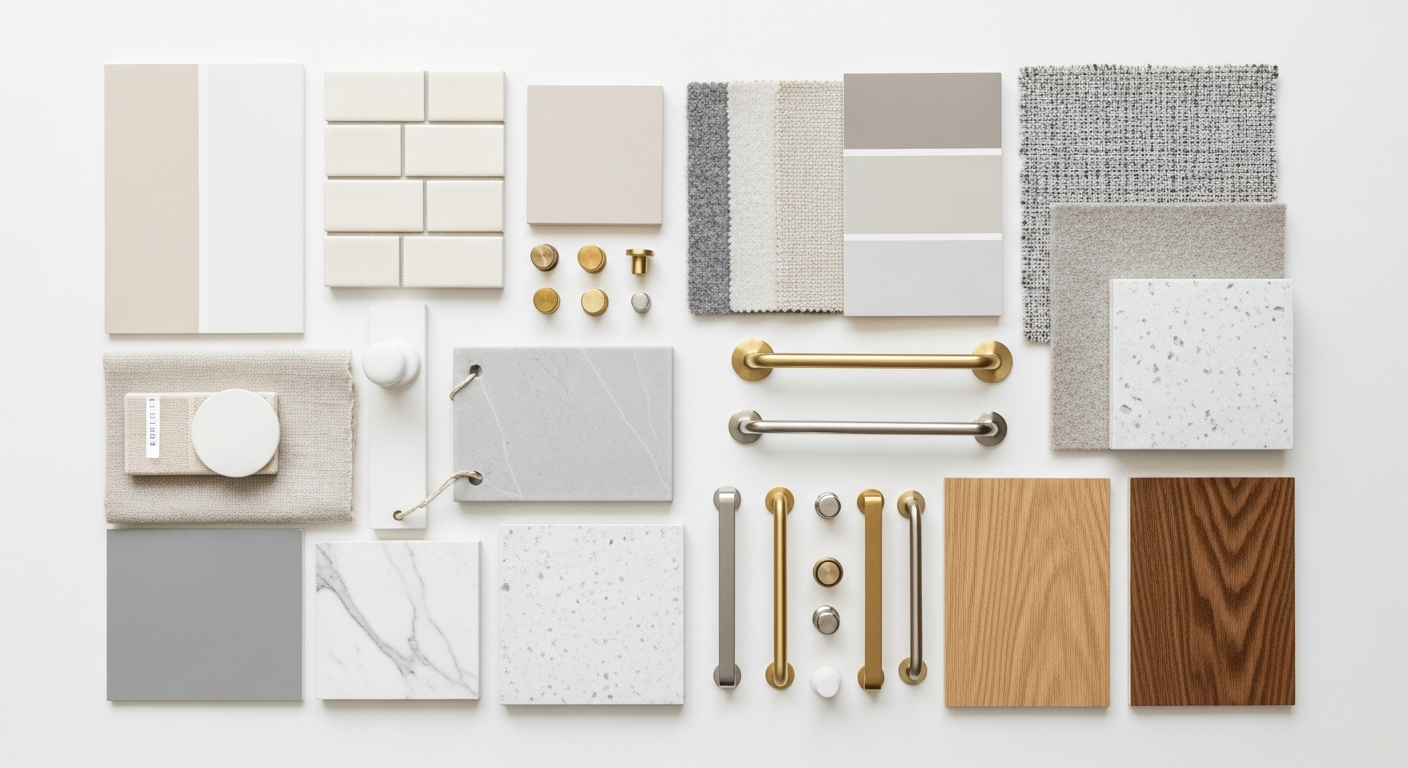
Select a whole-house color palette built from one dominant neutral plus 2-3 accent colors that appear throughout connected spaces. Choose one consistent hardware finish for the entire home — brushed brass, matte black, or brushed nickel — not all three. Mixing metal finishes can look intentional when done by a professional but typically reads as disjointed in DIY execution.
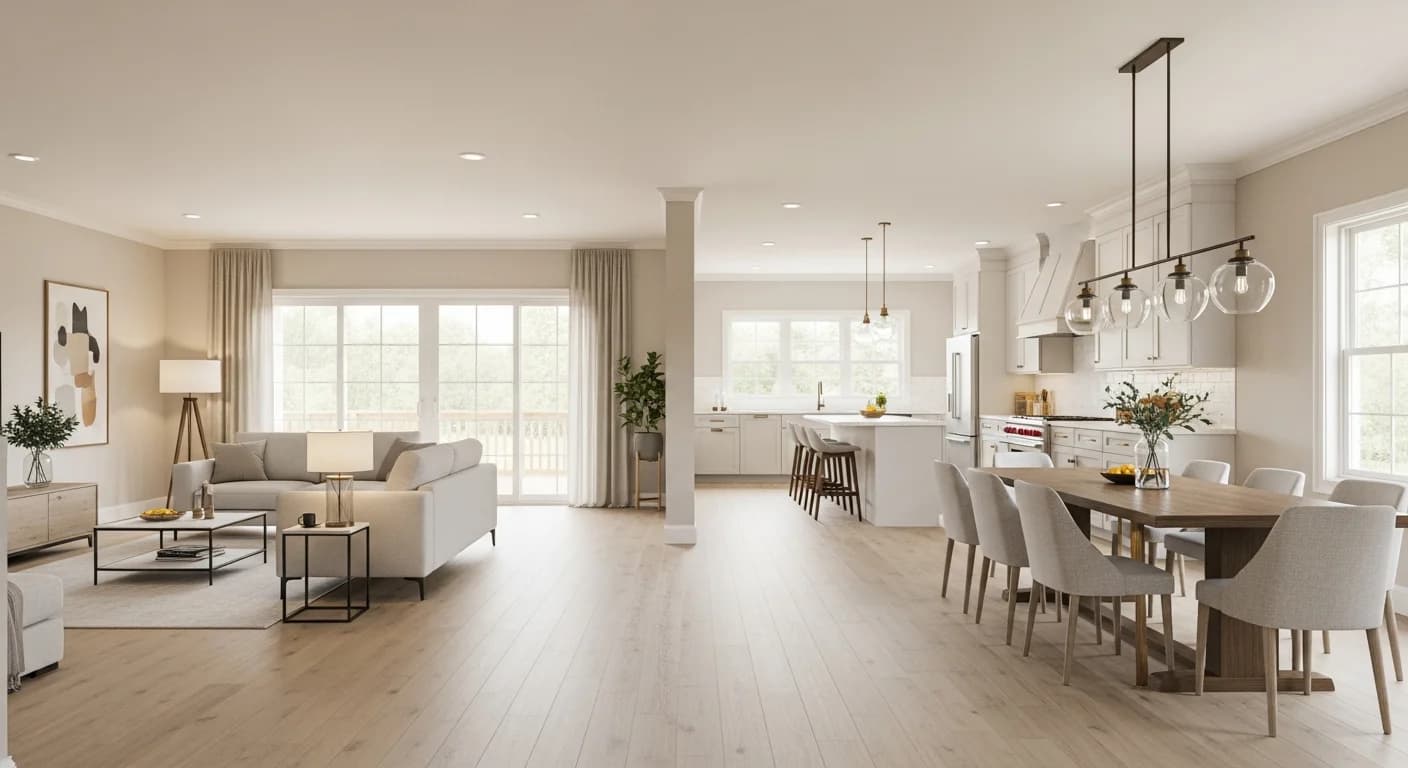
Flooring continuity is equally important. Use the same flooring material across all connected open spaces — visual flow stops dead at every material transition. Transition materials thoughtfully where changes are necessary: the tile in your bathrooms should complement the hardwood or LVP in your hallways, not compete with it.
Step 4 — Prioritize Which Rooms to Redesign First
The Strategic Renovation Order
The optimal renovation sequence follows a priority hierarchy validated by decades of renovation data. Priority 1 is the kitchen — it has the highest daily usage, delivers the biggest ROI (70-80% cost recoup according to Remodeling Magazine's Cost vs. Value Report), and involves the most complex logistics. Priority 2 is bathrooms, which offer the second-highest ROI and often share plumbing runs with the kitchen, creating cost efficiencies when done in sequence.
Priority 3 covers the living room and main living areas — high-visibility spaces with moderate renovation costs. Priority 4 is bedrooms, which are simpler in scope and lower in urgency. Priority 5 includes hallways, closets, and utility rooms — the finish spaces that complete the transformation. Priority 6 is exterior and curb appeal — the final polish that ties everything together from the outside. Read our complete kitchen redesign guide for the full step-by-step process.
When to Deviate from the Standard Order
Safety issues override everything — mold remediation, structural repairs, and electrical upgrades must happen before any cosmetic work. If you are planning to sell within 2-3 years, concentrate your budget on the kitchen, primary bathroom, and curb appeal — the three areas that most influence buyer decisions. If you work from home, a home office redesign may jump to priority 2 or 3 based on its daily impact on your productivity and wellbeing.
Step 5 — Room-by-Room Quick Redesign Guides
Kitchen Redesign Essentials
Kitchen redesign centers on four key areas: layout optimization using the work triangle and zone principles, cabinet strategy (refinish, reface, or replace), countertop and backsplash material selection, and lighting and appliance upgrades. The kitchen sets the design tone for the rest of the house — its material and color choices should inform every subsequent room. Browse kitchen design ideas for visual inspiration.
Bathroom Redesign Essentials
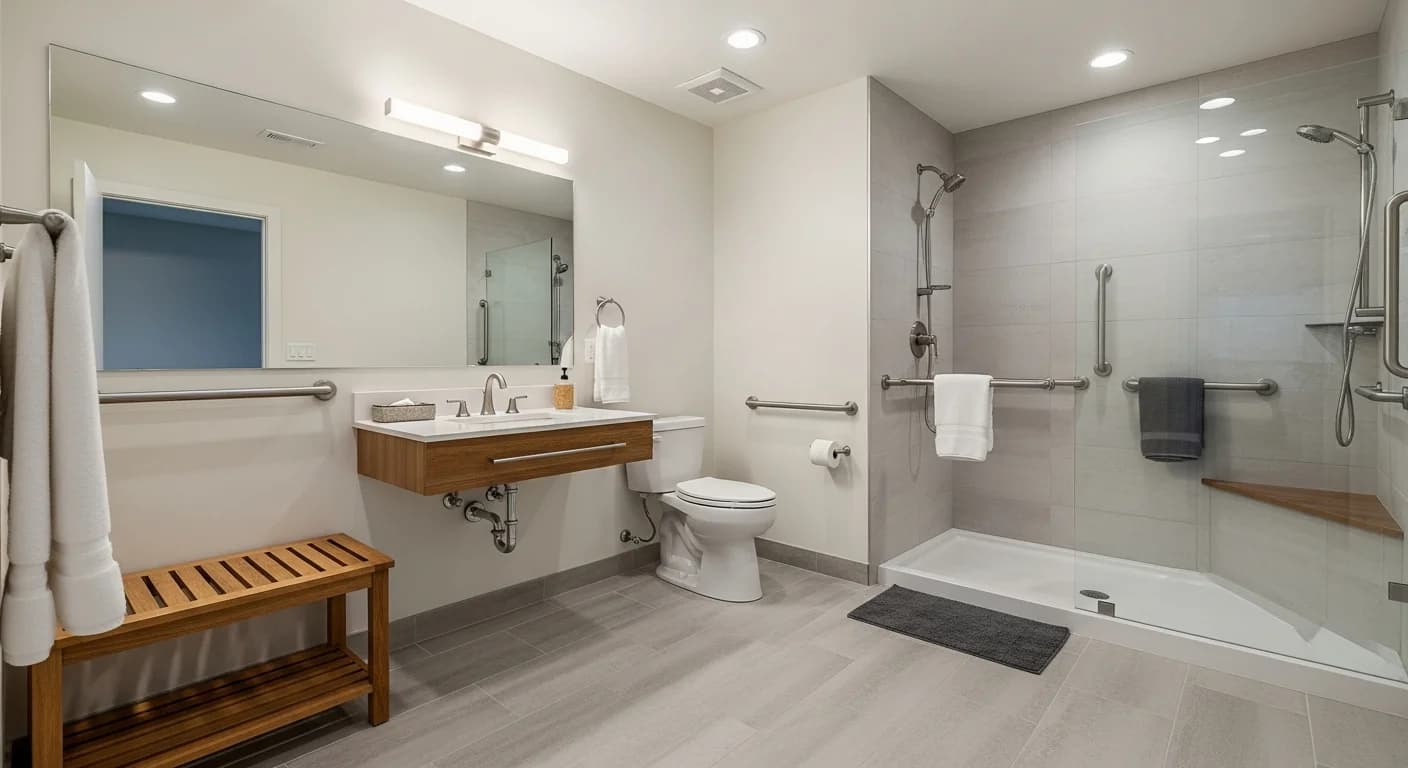
Bathroom redesign focuses on vanity and fixture selection, tile and surface materials, layered lighting (task, ambient, accent), and ventilation and moisture protection. Bathrooms demand water-resistant materials throughout and proper ventilation to prevent mold — functional requirements that constrain but do not limit design possibilities. See our step-by-step bathroom redesign guide for the complete process, and explore bathroom design inspiration for style direction.
Living Room Redesign Essentials
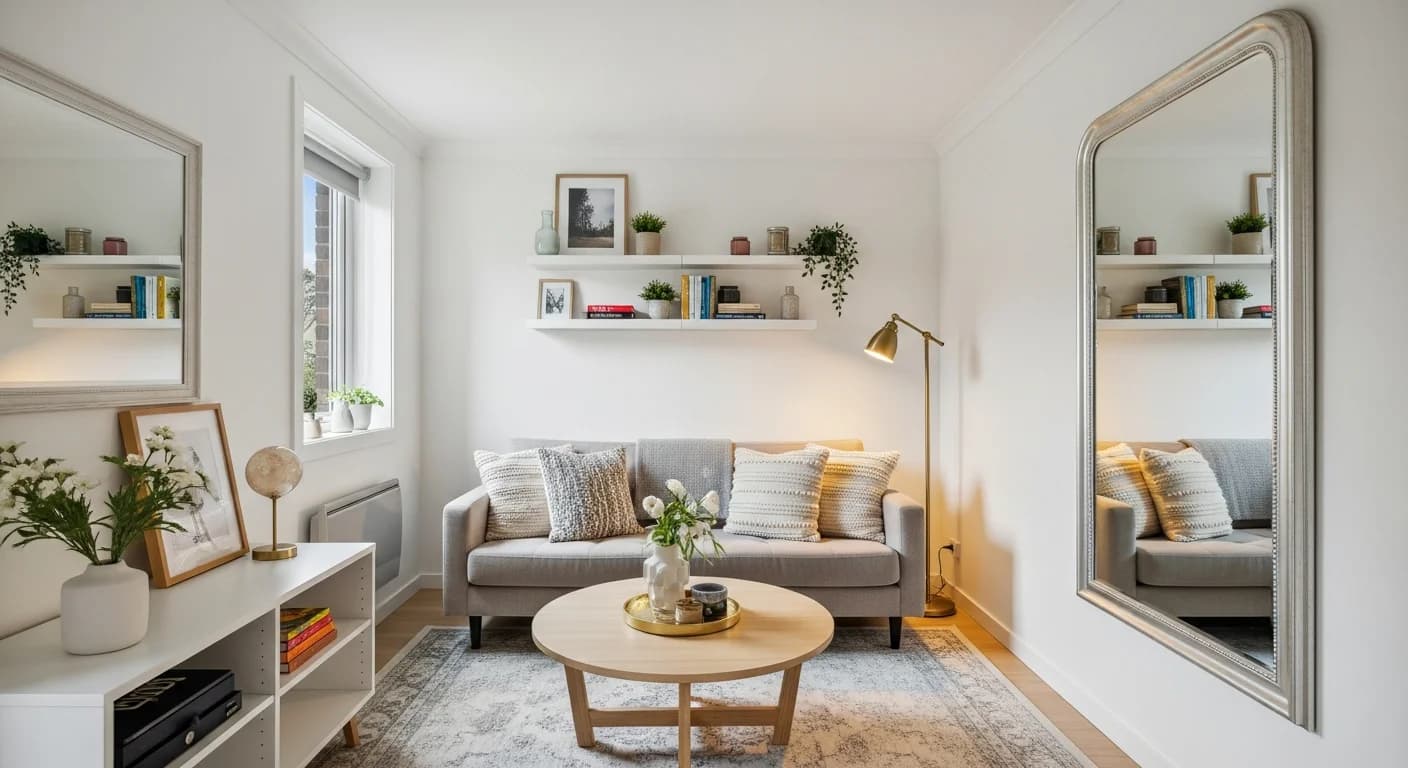
Living room transformations revolve around furniture arrangement and focal point creation, a cohesive color scheme with well-chosen accent pieces, window treatments that control light and add softness, and layered lighting that shifts the room from day to evening mode. As the most public room in the house, the living room should showcase your design direction most clearly. Explore our living room redesign guide for detailed strategies, or browse living room style ideas.
Bedroom Redesign Essentials
Bedroom redesign prioritizes bed placement and traffic flow, color psychology for restful sleep (cool tones and soft neutrals promote relaxation), quality bedding as the room's visual centerpiece, and closet and storage upgrades that reduce visible clutter. Read our bedroom redesign guide for detailed tips on creating a restful retreat.
Other Spaces (Entryway, Hallways, Home Office)
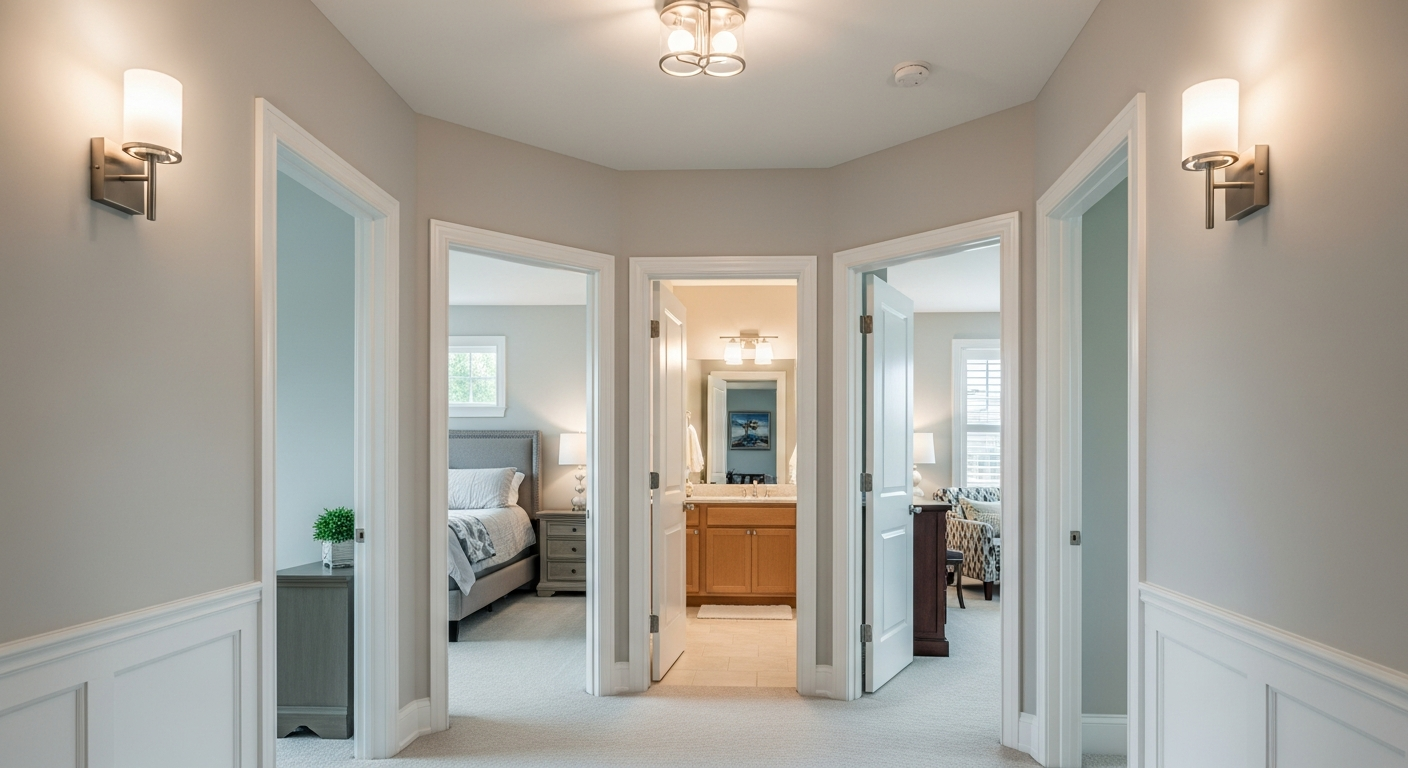
The entryway creates first impressions — a fresh paint color, organized storage for shoes and coats, and a statement light fixture set the tone for the entire home. Hallways benefit from improved lighting and artwork that guides the eye through connected spaces. Home offices need task-appropriate lighting, ergonomic furniture placement, and sound-dampening elements for focus and productivity.
Step 6 — Build Your Renovation Timeline and Phases
Phased Renovation vs All-at-Once
An all-at-once renovation completes faster overall, involves one concentrated period of disruption, and typically costs less per room due to contractor economies of scale — but requires temporary living arrangements during major phases. A phased approach spreads costs over months or years, lets you live in unaffected rooms during construction, and allows you to adjust plans based on results from completed phases.
The hybrid approach often works best: tackle connected rooms together as a zone (kitchen and dining room, then primary bedroom and bathroom), then move to the next zone. This captures some economies of scale while keeping part of the home livable throughout the process.
Sample Timeline for a Whole-House Redesign
A moderate whole-house redesign typically follows this phased timeline. Months 1-2: planning, design decisions, permits (if needed), and ordering materials with long lead times. Months 3-4: kitchen and adjacent dining or breakfast areas. Months 5-6: bathrooms (primary first, then secondary). Month 7: living areas, bedrooms, and finishing touches. Month 8: punch list items, exterior improvements, and final detailing.
Step 7 — Decide What to DIY vs Hire Out
Safe DIY Projects for Most Homeowners
Painting walls, ceilings, and trim is the highest-value DIY task — it saves $2-$6 per square foot in labor costs. Swapping hardware throughout the house (cabinet pulls, door handles, light switch plates) is simple and instantly modernizing. Installing floating shelves, curtain rods, and towel bars requires basic tools and an afternoon. Peel-and-stick backsplash or wallpaper creates dramatic visual changes with no specialized skills. Basic landscaping and curb appeal improvements — planting, mulching, pressure washing — are accessible to most homeowners.
Always Hire a Professional
Electrical work (new circuits, panel upgrades, hardwiring fixtures) requires a licensed electrician and permits. Plumbing modifications (moving pipes, adding fixtures, rerouting drains) must be done by a licensed plumber. Structural changes — removing or modifying walls, adding headers, load-bearing assessments — need an engineer's evaluation and a qualified contractor. Gas line work for ranges, fireplaces, and dryers requires a licensed professional. Roofing and foundation repairs involve safety risks and warranty implications that demand professional execution.
Step 8 — Use AI to Visualize Each Room Before Committing
AI visualization becomes especially powerful for whole-house redesigns because it lets you test design cohesion across multiple rooms before committing to any purchases. Upload photos of each room and generate redesign visualizations in your chosen style. Seeing the same design language applied to your kitchen, living room, and bedroom confirms whether your selections create the unified feel you want or reveal inconsistencies that need addressing.
Compare current versus proposed for each space side by side. Share the complete set of AI visualizations with contractors when requesting quotes — this package gives them a clear picture of your total project scope and helps them provide more accurate estimates. Use HanoDecor's room-specific tools for the best results: visualize your whole-house redesign, try our AI room designer for individual rooms, or explore all design tools in one place.
Common Mistakes When Redesigning Your House
Mistake 1: Starting without a master plan. This leads to clashing styles between rooms, wasted budget on redundant contractor mobilizations, and design decisions you regret when seeing them next to subsequent room finishes.
Mistake 2: Renovating rooms in the wrong order. Finishing hardwood floors before heavy kitchen demolition sends dust and debris everywhere. Painting hallways before completing adjacent room construction guarantees touch-up work. Follow the logical sequence: messy work first, finishing work last.
Mistake 3: Choosing different design styles for every room. A farmhouse kitchen adjacent to a modern minimalist living room creates visual whiplash. Variations within a consistent design language create interest; contradictory styles create confusion.
Mistake 4: Underbudgeting the contingency fund. Unexpected issues in older homes — outdated wiring, water damage behind walls, asbestos in older flooring — can consume 20-30% of your budget. A 15-20% contingency is not optional for whole-house projects.
Mistake 5: Ignoring the exterior. Curb appeal is the first and last impression of your home and significantly affects resale value. A beautifully redesigned interior behind a tired exterior creates a disconnect that undermines the entire project. See our whole-home budget guide for strategies that balance interior and exterior investment.
Frequently Asked Questions
How long does it take to redesign a whole house?
A whole-house redesign typically takes 4-12 months depending on scope. A cosmetic refresh (paint, fixtures, hardware) can be completed in 4-6 weeks. A moderate redesign involving new surfaces and layout changes takes 4-6 months. Major transformations with structural work may take 8-12 months from planning through completion.
How much does it cost to redesign your house room by room?
Whole-house redesign costs range from $10,000 for a cosmetic refresh to $200,000+ for a major transformation. Budget allocation varies by room: kitchens typically consume 25-35% of the total, bathrooms 15-25%, and living spaces 10-20%. Always include a 15-20% contingency fund for unexpected issues. See our complete room-by-room pricing guide.
Should I redesign my whole house at once or one room at a time?
Both approaches work depending on your budget and lifestyle. Renovating all at once is faster and often cheaper per room due to contractor economies of scale, but requires temporary living arrangements during major phases. Phasing room by room lets you spread costs and live in unaffected spaces, though the total timeline is longer. A hybrid approach — tackling connected rooms as zones — often provides the best balance.
Which room should I redesign first for the best return on investment?
The kitchen delivers the highest ROI for home redesign, recouping 70-80% of investment at resale. Primary bathrooms are second, followed by curb appeal improvements. If you plan to sell within 2-3 years, prioritize these three areas. If staying long-term, start with the room that causes the most daily frustration.
Can I redesign my house without a contractor?
Many cosmetic updates are safe DIY projects: painting, hardware swaps, light fixture changes, and decorative updates. However, electrical, plumbing, structural, and gas work always require licensed professionals. A hybrid approach — DIY the cosmetic work and hire out the technical tasks — saves 30-50% on labor costs while maintaining safety and code compliance.
How do I keep a consistent style across different rooms in my house?
Start with one overarching design style and a whole-house color palette of one neutral base plus 2-3 accent colors. Use the same hardware finish and flooring material across connected spaces. Each room can have subtle personality through textiles and accessories while maintaining the underlying design language. AI visualization tools like HanoDecor let you preview the same style across multiple rooms before committing.
Start Your Whole-House Redesign with HanoDecor
Based on our analysis of 1,000+ whole-house redesign projects, homeowners who create a master plan before starting their first room save an average of 25% on total costs and complete their projects 3 months faster. The planning phase — setting a budget, choosing a unified style, and visualizing each room — is the highest-ROI time investment you can make.
Ready to plan your whole-house transformation? Visualize your whole-house redesign — upload photos of every room, try consistent styles across all spaces, and share results with contractors for accurate quotes. Browse thousands of room design examples for cross-room inspiration.
Related Articles
Explore room-specific redesign guides for your whole-house project:
How to Redesign a Kitchen: 13 Essential Steps for a Beautiful Makeover (2026)
How to Redesign a Bathroom: 10 Smart Planning and Design Steps (2026)
How to Redesign Your Living Room: 12 Stunning Style and Color Ideas
How to Redesign a Bedroom: 9 Essential Tips for Better Sleep and Style
How Much Does It Cost to Redesign a House? 2026 Room-by-Room Pricing
How to Redesign Your Entire Home on a $10,000 Budget: Complete Guide
How to Redesign Your House FAQs
Written by
Sarah Chen
Senior Color Consultant with 12 years of residential exterior design experience. Specializes in architectural color theory, paint technology, and curb appeal optimization.