How to Install Recessed Lighting During a Remodel: Placement and Wiring Guide
Quick Summary
A practical guide to installing recessed lighting during a remodel covering can housing types, LED trim selection, placement spacing formulas, wiring methods for new construction and remodel situations, dimmer compatibility, room-by-room layout recommendations, and integration with layered lighting design.
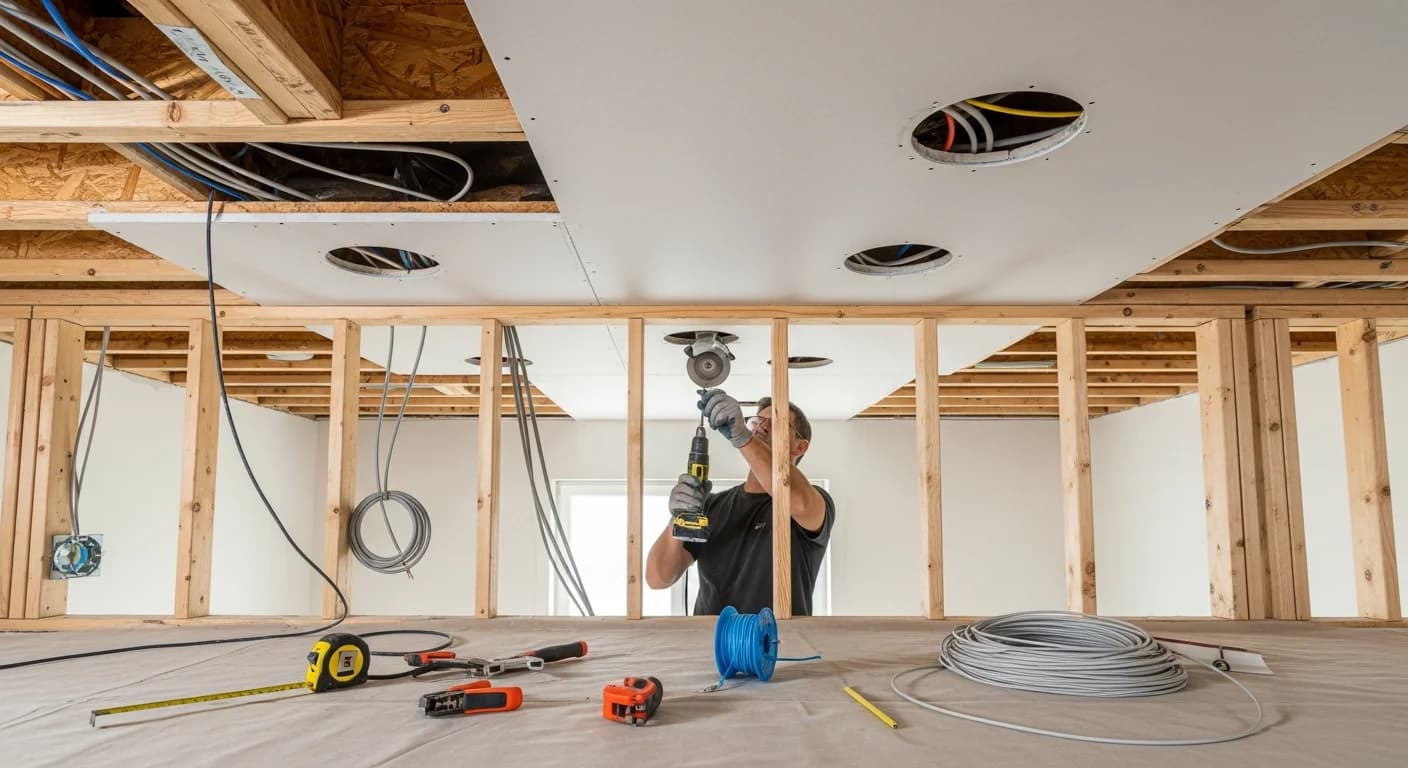
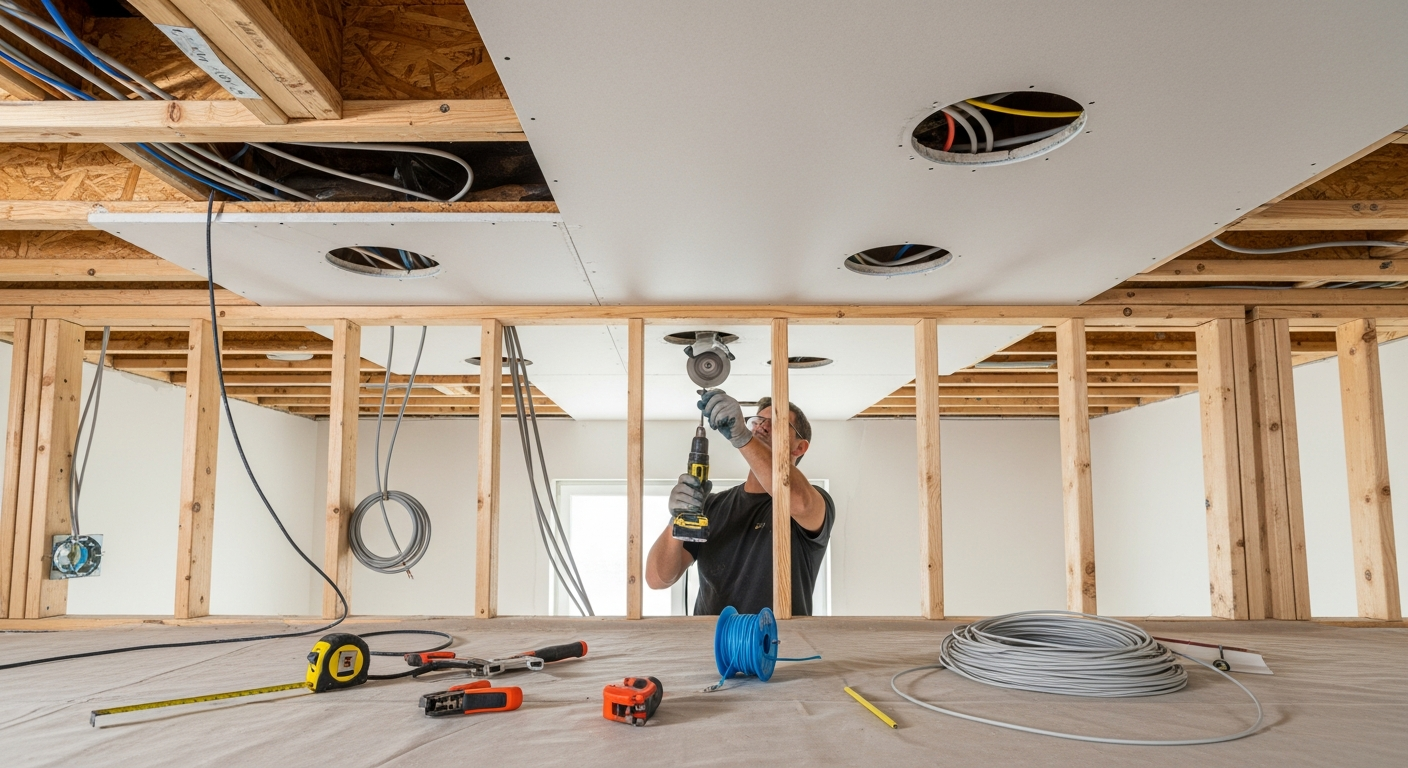
Knowing how to install recessed lighting during a remodel takes advantage of the best time to add this upgrade — when ceilings and walls are already open for other work. Installing recessed lights during a remodel costs 30 to 50 percent less than retrofitting them into a finished ceiling because the wiring, bracing, and patching work is already part of the project scope. A typical room with 6 to 8 recessed LED lights costs $600 to $2,000 when done during a remodel versus $1,200 to $3,500 as a standalone retrofit.
This guide covers everything from selecting the right housing type and trim style to calculating placement spacing, running wiring, choosing dimmers, and creating layered lighting plans for every room. Whether you are remodeling a kitchen, living room, bedroom, or bathroom, proper recessed lighting design transforms the ambiance and functionality of the space.
New Construction vs Remodel Housing Types
Recessed light housings (also called cans) come in two categories: new construction and remodel. New construction housings have mounting brackets that attach to ceiling joists before drywall is installed — ideal when your remodel involves new framing or the ceiling is completely open. Remodel housings (also called retrofit or old-work cans) have spring clips that secure them through a cut hole in existing drywall, requiring no joist access. Both types cost $15 to $60 per unit.
For most remodels, use new construction housings in areas where the ceiling is being replaced and remodel housings in areas where you want to add lights without removing the entire ceiling. LED wafer lights ($20 to $50 each) are an increasingly popular alternative that eliminate the traditional can entirely — a thin LED disc mounts directly to a junction box, sits nearly flush with the ceiling, and requires only a small wiring hole. These work in both new construction and remodel scenarios.
Choosing Can Size and Trim Style
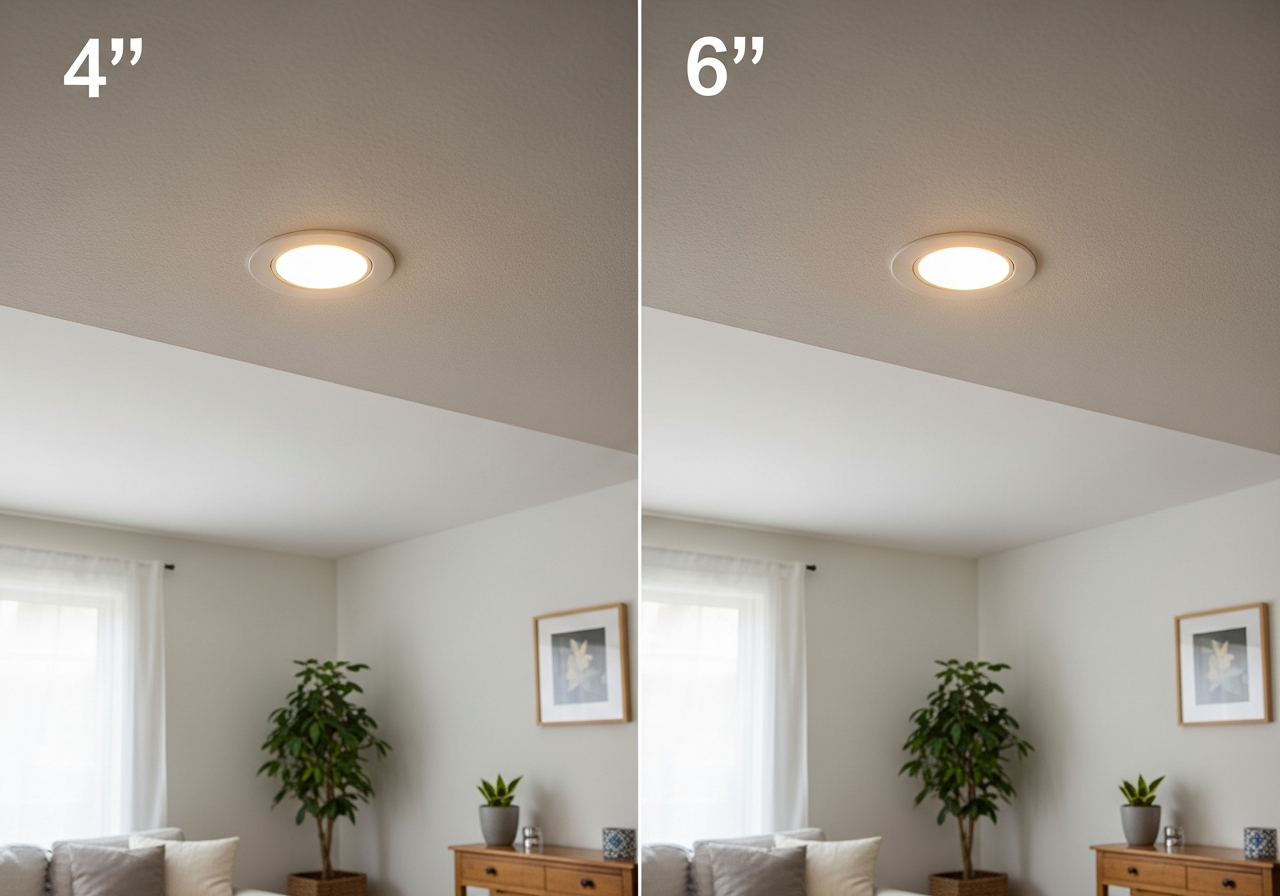
The two most common residential sizes are 4-inch and 6-inch cans. Four-inch cans produce a tighter, more focused light beam ideal for task lighting, accent lighting, and smaller rooms. Six-inch cans provide broader, more diffuse illumination suited for general ambient lighting in kitchens, living rooms, and basements. The trend in modern design favors 4-inch cans for their cleaner ceiling profile and more refined look — they make the ceiling appear less cluttered than large 6-inch fixtures.
Trim styles include baffle (ridged interior that reduces glare), smooth reflector (maximizes light output), adjustable gimbal (allows directional aiming for accent lighting), and flush/trimless (sits flush with the ceiling for a minimalist look). For general room lighting, white baffle trims provide soft, even illumination. For art or feature wall highlighting, adjustable gimbals let you aim the light precisely. Choose one trim style per room for a cohesive appearance.
Placement Spacing and Layout Rules
The standard spacing formula divides the ceiling height by 2 to determine the maximum distance between lights. For an 8-foot ceiling, place lights no more than 4 feet apart. For a 9-foot ceiling, 4.5 feet apart. Position the first row of lights 2 to 3 feet from the walls — closer for wall-washing effect, farther for general ambient lighting. A 12-by-14-foot room with 8-foot ceilings typically needs 6 lights arranged in two rows of three.
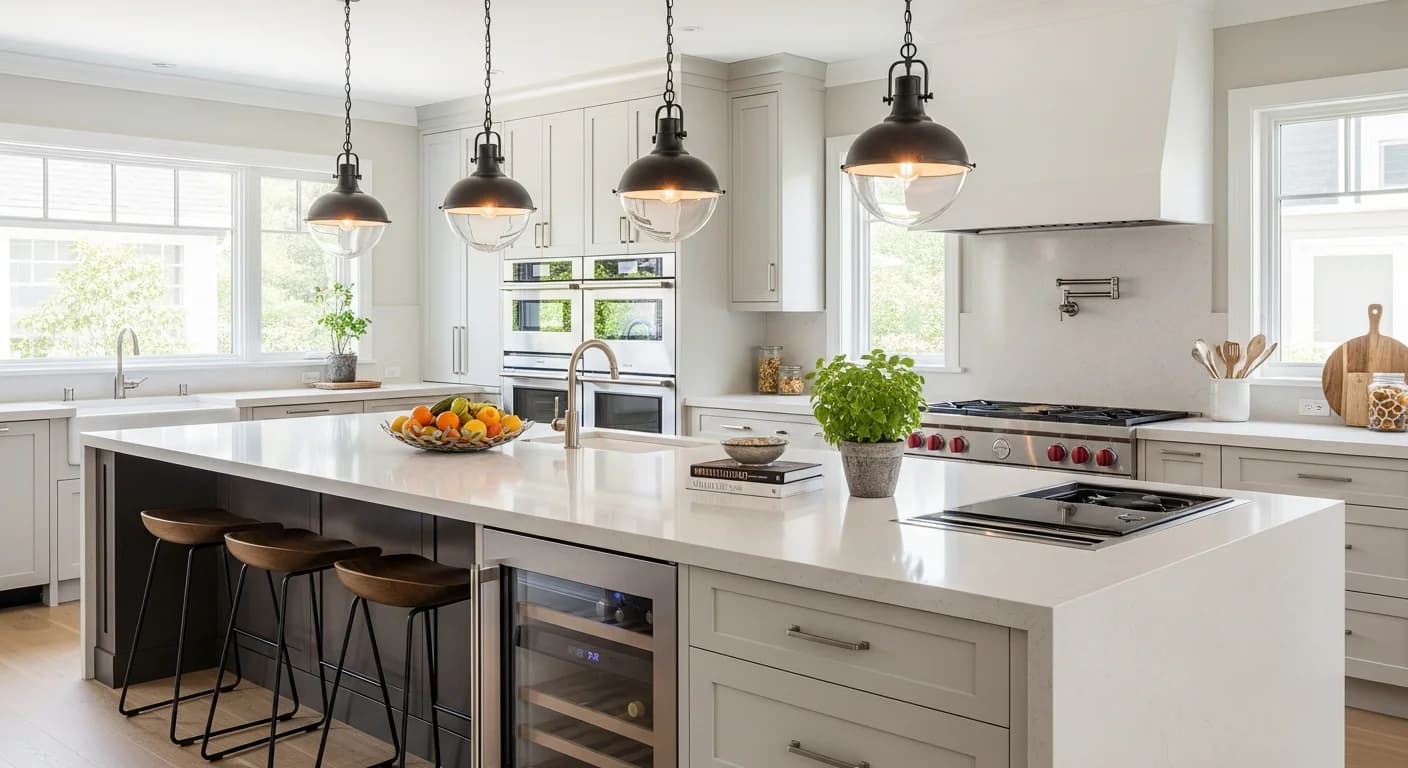
Kitchen layouts differ from bedroom or living room layouts. In kitchens, place lights directly above work surfaces — over counters (24 inches from the wall for standard 25-inch countertops), over the island or peninsula, and over the sink. In living rooms, create a perimeter layout that washes walls with light rather than illuminating the center of the room. In hallways, space lights 4 to 6 feet apart in a single centered row. Avoid placing lights directly above where people will sit or stand for extended periods.
Wiring Methods During a Remodel
When the ceiling is open (joists exposed), wiring is straightforward: run 14/2 or 12/2 Romex cable from the switch box to each light location, drilling through joists as needed. Use 14-gauge wire on 15-amp circuits and 12-gauge wire on 20-amp circuits. Most residential LED recessed lights draw only 8 to 15 watts each, so a single 15-amp circuit can safely power 15 to 20 LED lights — typically enough for 2 to 3 rooms.
For existing ceilings where you are adding lights without full demolition, use the fish-wire technique: cut holes at each light location, then use fish tape or a flexible drill bit to route wire through the ceiling cavity between joists. This requires some patience and may need additional access holes (patched after wiring) in challenging layouts. Always turn off power at the breaker before starting electrical work and verify with a non-contact voltage tester. If you are not comfortable with electrical work, hire a licensed contractor ($50 to $100 per hour) — electrical mistakes create fire hazards. See our remodel budgeting guide for cost planning.
LED Color Temperature and Dimmer Selection
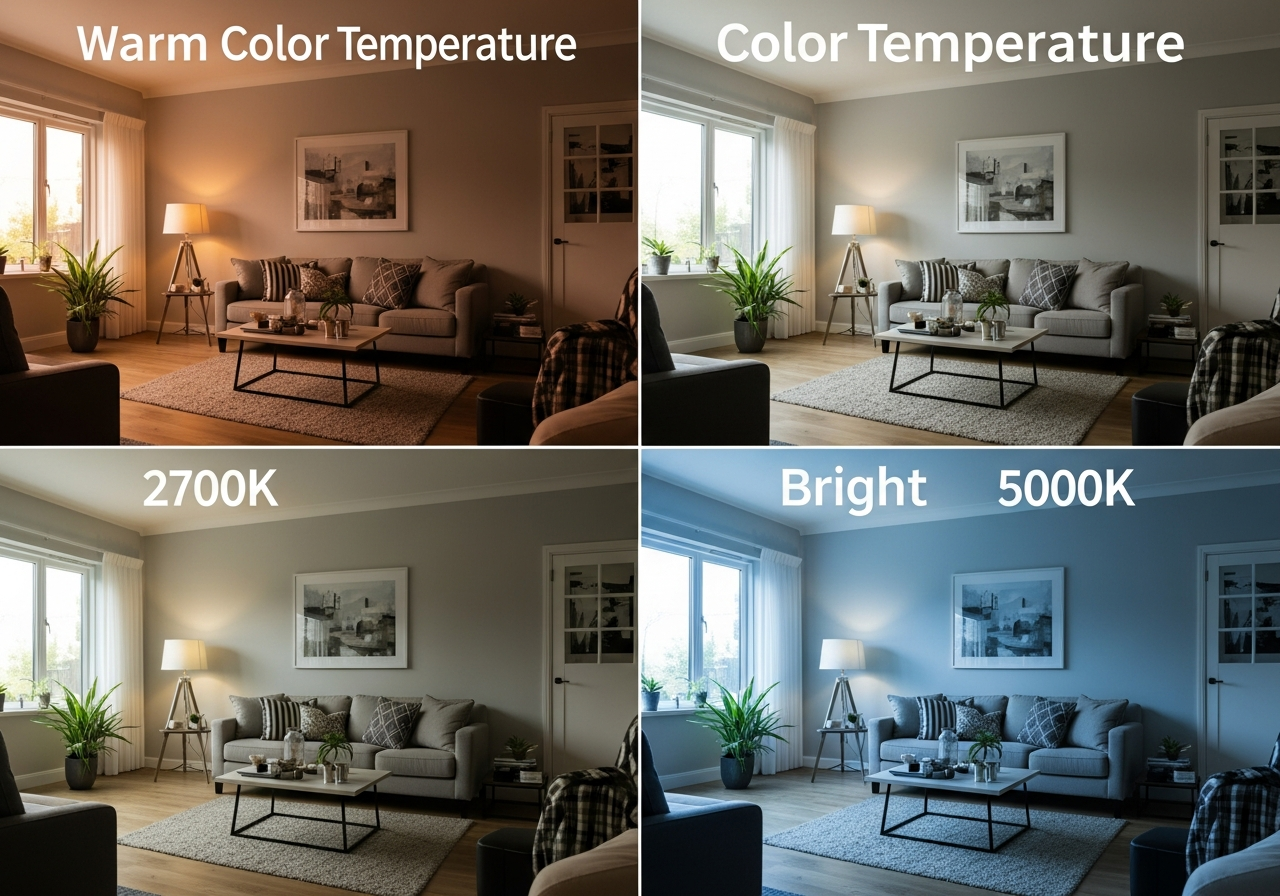
LED color temperature, measured in Kelvin (K), dramatically affects how a room feels. Warm white (2700K) creates a cozy, residential atmosphere ideal for living rooms, bedrooms, and dining areas. Neutral white (3000K to 3500K) provides a balanced light suitable for kitchens, bathrooms, and home offices. Cool white (4000K to 5000K) delivers a bright, energizing light best reserved for garages, workshops, and task-specific areas. Tunable white LEDs ($30 to $60 each) let you adjust color temperature via a switch or smart home system.
Dimmer compatibility is critical — not all dimmers work with all LED lights. Use dimmers specifically rated for LED use (Lutron Caseta, Leviton Decora Smart, or similar). Standard incandescent dimmers cause LED flickering, buzzing, and premature failure. LED-rated dimmers cost $25 to $80 per switch. For smart dimming, Wi-Fi or Zigbee-enabled dimmers ($40 to $80) provide app control, voice assistant integration, and scheduling capabilities.
Room-by-Room Lighting Layouts
| Room | Recommended Lights | Size | Color Temp | Key Placement |
|---|---|---|---|---|
| Kitchen (100 sq ft) | 6–8 | 4" or 6" | 3000–3500K | Over counters, island, sink |
| Living Room (200 sq ft) | 6–8 | 4" | 2700–3000K | Perimeter wall-wash layout |
| Bedroom (150 sq ft) | 4–6 | 4" | 2700K | Perimeter, avoid over bed |
| Bathroom (50 sq ft) | 3–4 | 4" | 3000–3500K | Over vanity, shower (wet-rated) |
| Hallway (30 sq ft) | 2–3 | 4" | 2700–3000K | Centered, 4–6 ft spacing |
| Basement (400 sq ft) | 8–12 | 6" | 3000–4000K | Grid pattern, 4 ft spacing |
Integration With Layered Lighting Design
Recessed lights should be one layer in a multi-layer lighting plan, not the only light source. A well-designed room combines ambient lighting (recessed cans providing overall illumination), task lighting (under-cabinet lights in kitchens, reading sconces in bedrooms), accent lighting (adjustable gimbals highlighting art or architectural features), and decorative lighting (pendants and chandeliers adding visual interest). Each layer should be on a separate switch or dimmer for maximum flexibility.
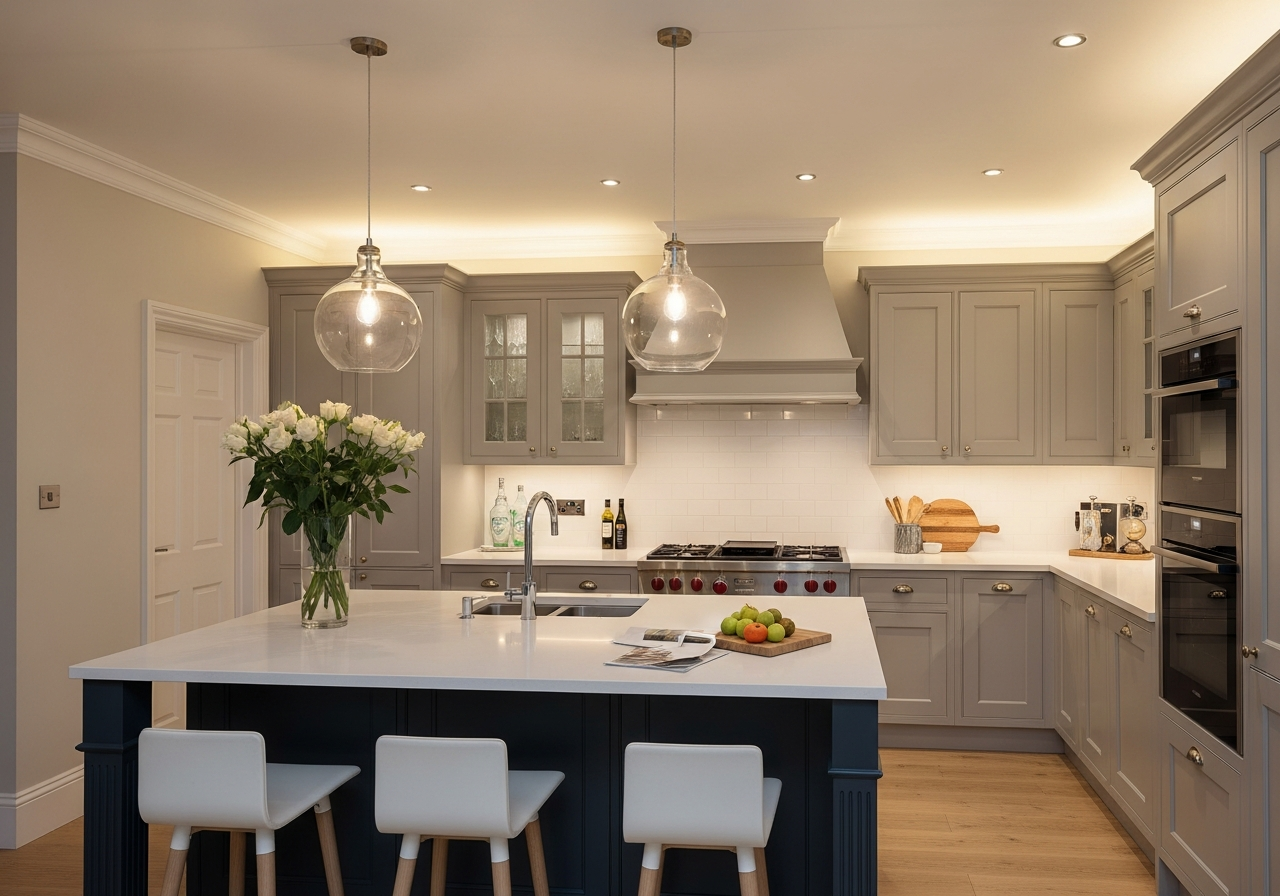
In kitchens, combine recessed general lighting with under-cabinet task lights and pendant fixtures over islands. In living rooms, pair recessed perimeter lights with floor lamps for reading areas and wall sconces for accent. In bedrooms, use recessed lights for getting dressed and add bedside sconces for reading. This layered approach prevents the flat, shadowless look that results from relying solely on overhead recessed fixtures. Check our living room lighting guide for detailed layering strategies.
Related Articles
Explore more remodel resources: How to Remodel a Kitchen, How to Remodel a Living Room, How to Remodel a Bedroom, How to Remodel a Basement, and How to Budget for a Remodel.
Frequently Asked Questions
How many recessed lights do I need per room?
A general rule is one recessed light per 20 to 25 square feet of floor space. A 200-square-foot living room needs 8 to 10 lights, while a 100-square-foot kitchen needs 4 to 6 general lights plus task lighting over work surfaces. Use the ceiling height divided by 2 formula for maximum spacing between fixtures.
Should I use 4-inch or 6-inch recessed lights?
Four-inch lights are preferred for modern aesthetics and focused task or accent lighting. Six-inch lights provide broader illumination and are traditional in kitchens and basements. The trend strongly favors 4-inch cans for residential use because they create a cleaner ceiling appearance and modern LED technology produces sufficient lumens from smaller housings.
Can I install recessed lighting myself?
If you have basic electrical skills and the ceiling is already open (exposed joists), installing recessed lights is a moderate DIY project. Cutting holes in finished ceilings and fishing wire is more challenging but still achievable for experienced DIYers. However, connecting to the electrical panel, adding new circuits, and working with high-voltage wiring should be done by a licensed electrician for safety and code compliance.
What color temperature is best for recessed lighting?
Use 2700K (warm white) for living rooms, bedrooms, and dining rooms for a cozy atmosphere. Use 3000K to 3500K for kitchens, bathrooms, and home offices for bright but comfortable illumination. Avoid 5000K or higher in living spaces — it creates a clinical, commercial feel. Tunable LED fixtures let you adjust temperature throughout the day for optimal comfort.
Preview Your Lighting Design
See how recessed lighting transforms your rooms before installation. HanoDecor's AI Studio lets you upload photos and preview different lighting layouts and color temperatures in realistic renderings. Use the Room Designer to experiment with fixture placement and browse the design gallery for lighting inspiration across different room types.
How to Install Recessed Lighting During a Remodel FAQs
Written by
Emily Rodriguez
Interior Design Editor covering living spaces, styling trends, and room makeovers. Former Architectural Digest contributor with a focus on accessible, budget-conscious design.