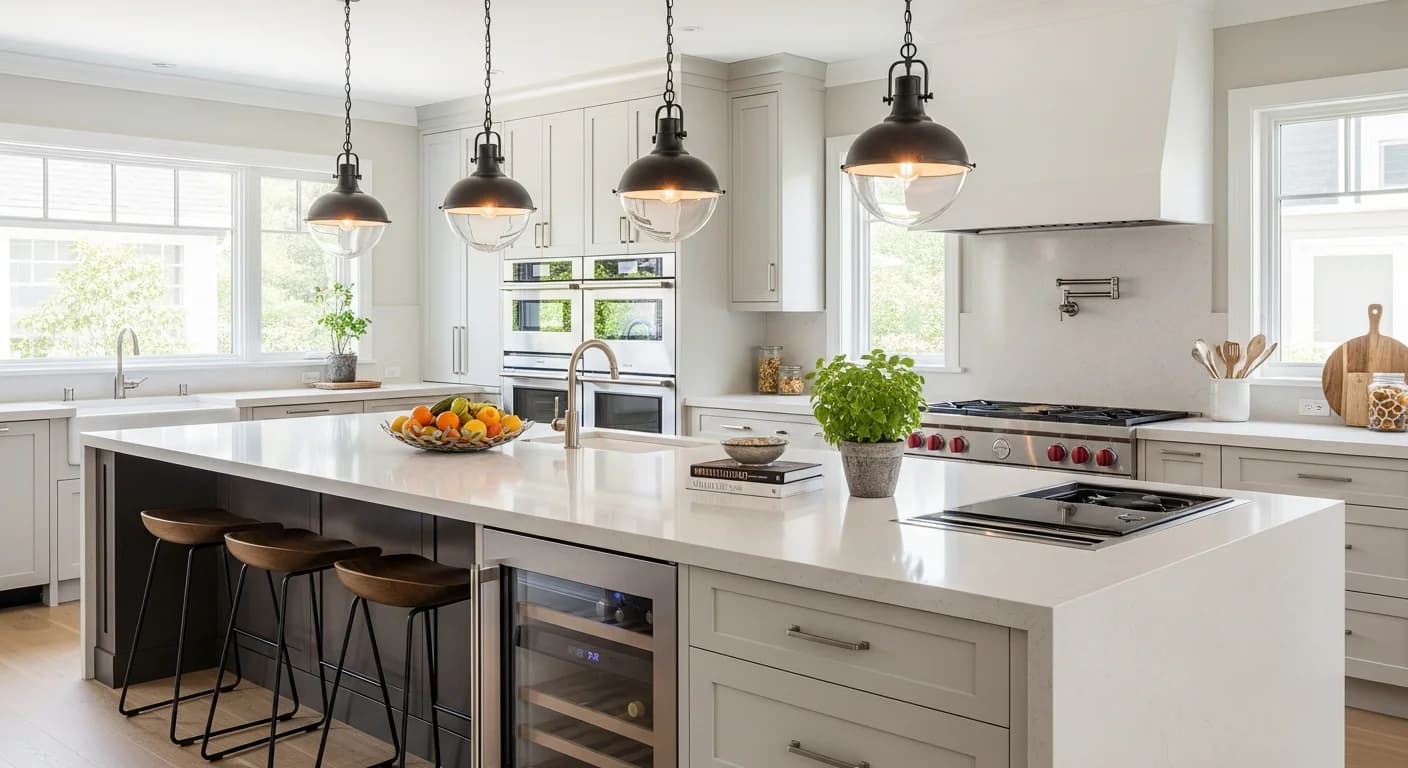
How to Decorate Kitchen Counters: 9 Brilliant Tips for Function and Style
Quick Summary
This guide covers 9 expert tips for decorating kitchen counters that balance daily function with visual appeal. Learn the zone method for organizing countertop items, tray grouping techniques, appliance concealment strategies, and rules for maintaining clear workspace while keeping your kitchen styled and beautiful.
Why Kitchen Counter Styling Is the Hardest Decorating Challenge
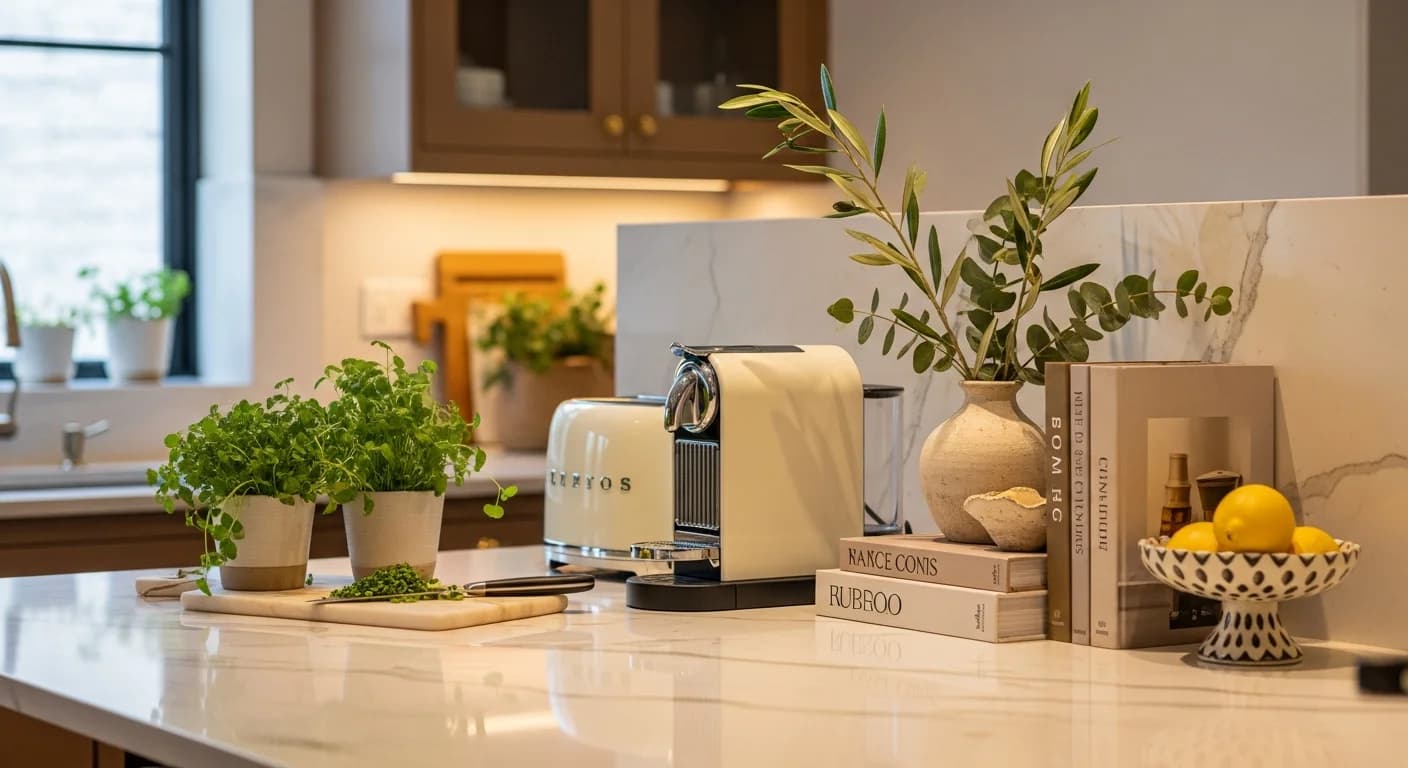
Knowing how to decor kitchen counters is arguably the trickiest surface styling challenge in any home. Unlike a coffee table or mantel that exists purely for display, kitchen countertops must serve as a workspace for meal prep, a landing pad for groceries, a charging station for devices, and a decorative surface — often all on the same 25 square feet of countertop. A 2025 survey by the National Kitchen and Bath Association found that cluttered countertops are the number-one complaint homeowners have about their kitchens, cited by 63% of respondents.
The solution is not clearing everything off the counters — bare surfaces feel sterile and impractical. Instead, the goal is intentional arrangement that keeps daily essentials within reach while creating visual vignettes that make the kitchen feel styled rather than chaotic. The zone method, tray grouping, vertical storage, and strategic concealment techniques in this guide will help you achieve kitchen counters that look as good as they function.
Tip 1 — Apply the Zone Method to Organize Your Counter
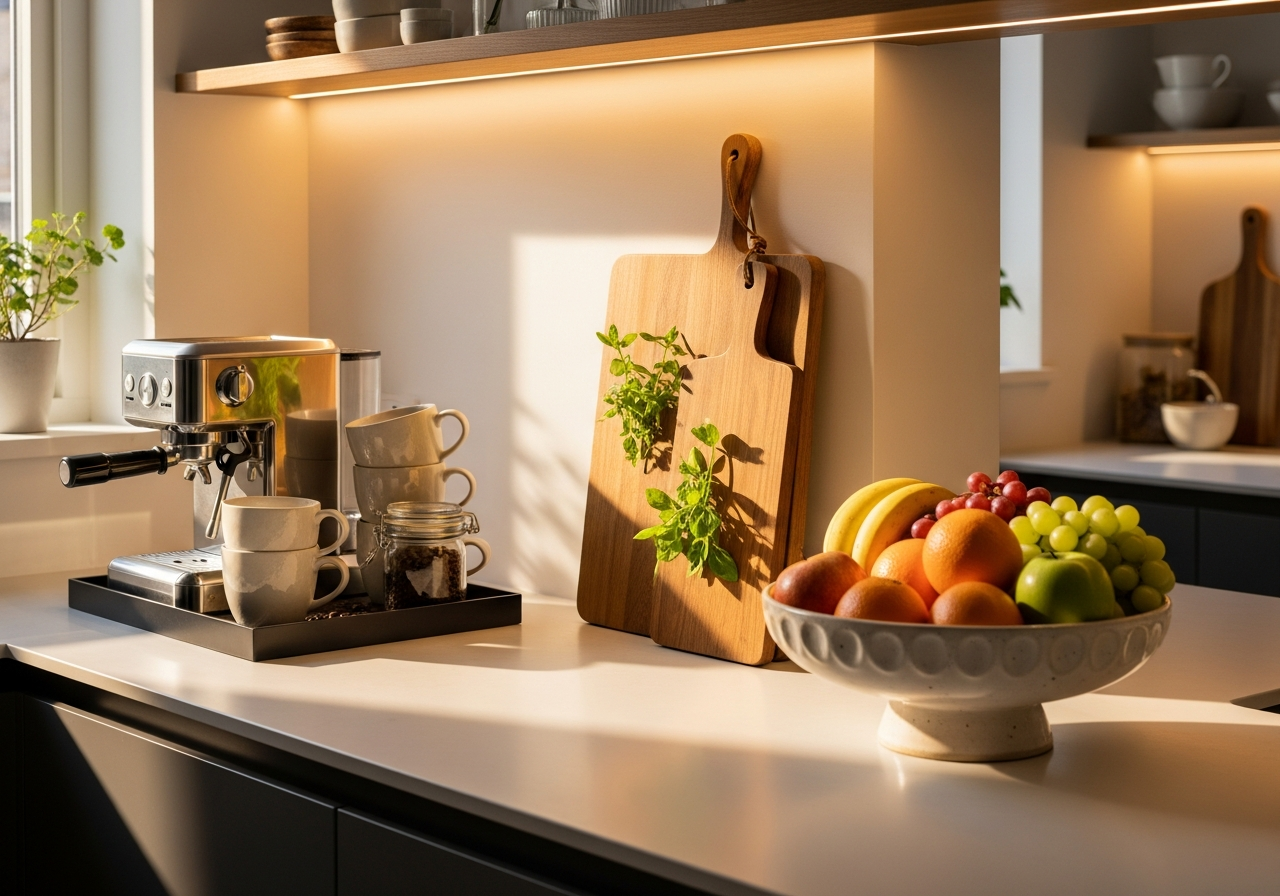
The zone method divides your counter into three to four functional areas, each with a specific purpose: a prep zone near the sink and stove for cutting boards and utensil crocks, a beverage station near the coffee maker with mugs and canisters, a display zone for decorative items like a vase or cookbook stand, and a clear zone that remains completely empty as workspace. Designating these zones prevents the random accumulation of items that creates visual clutter.
Map your zones based on workflow. The prep zone should be adjacent to the stove and sink — group your knife block, utensil crock, salt cellar, and olive oil here. The beverage station works best near the water source or refrigerator. Position your display zone on a stretch of counter that is visible from the main living area — this is where your styling investment has the most visual impact. Reserve at least 24 to 36 inches of continuous clear counter as a landing and prep zone. This clear space is what makes the styled zones look intentional rather than cluttered.
Tip 2 — Group Items on Trays and Boards
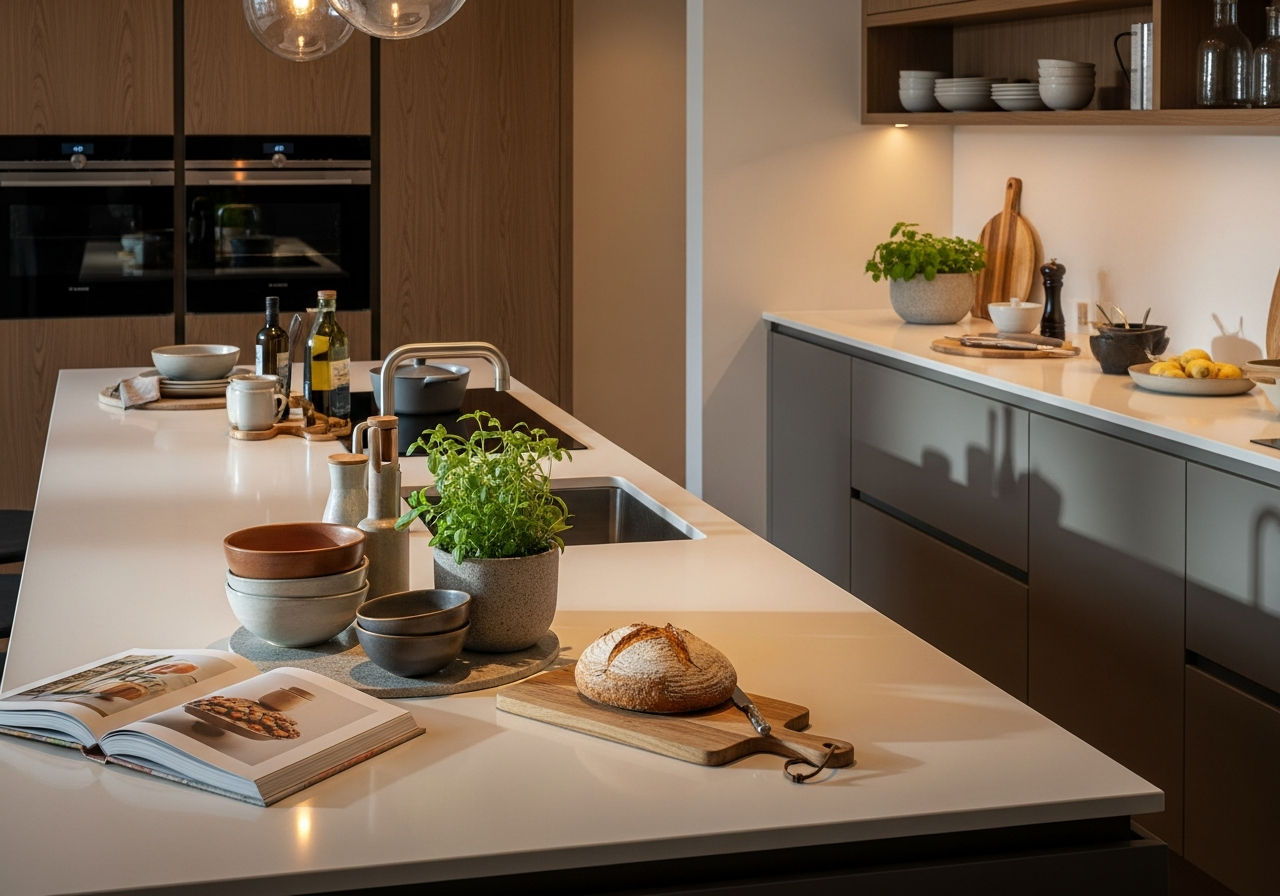
A tray or cutting board placed on the counter instantly transforms a random collection of items into a curated grouping. Place your cooking oil bottles, salt and pepper mills, and a small herb pot on a rectangular wooden tray next to the stove — what was clutter becomes a styled cooking station. The tray creates a visual boundary that contains the items and makes them read as a single composed element rather than scattered objects. This tray-as-foundation technique is the same principle used in coffee table styling — it works on any flat surface.
For the beverage station, a round tray in brass, marble, or ceramic corrals the coffee maker, sugar canister, and a small stack of mugs into a cafe-like vignette. Keep the tray items to an odd number — three or five objects arranged at varying heights create the most visually appealing composition. A tall canister, a medium-height coffee maker, and a low sugar bowl follow the triangle principle that interior stylists use for every surface arrangement. Trays also make cleaning effortless — lift the entire tray, wipe the counter, and set it back in seconds.
Tip 3 — Use Vertical Storage to Free Counter Space
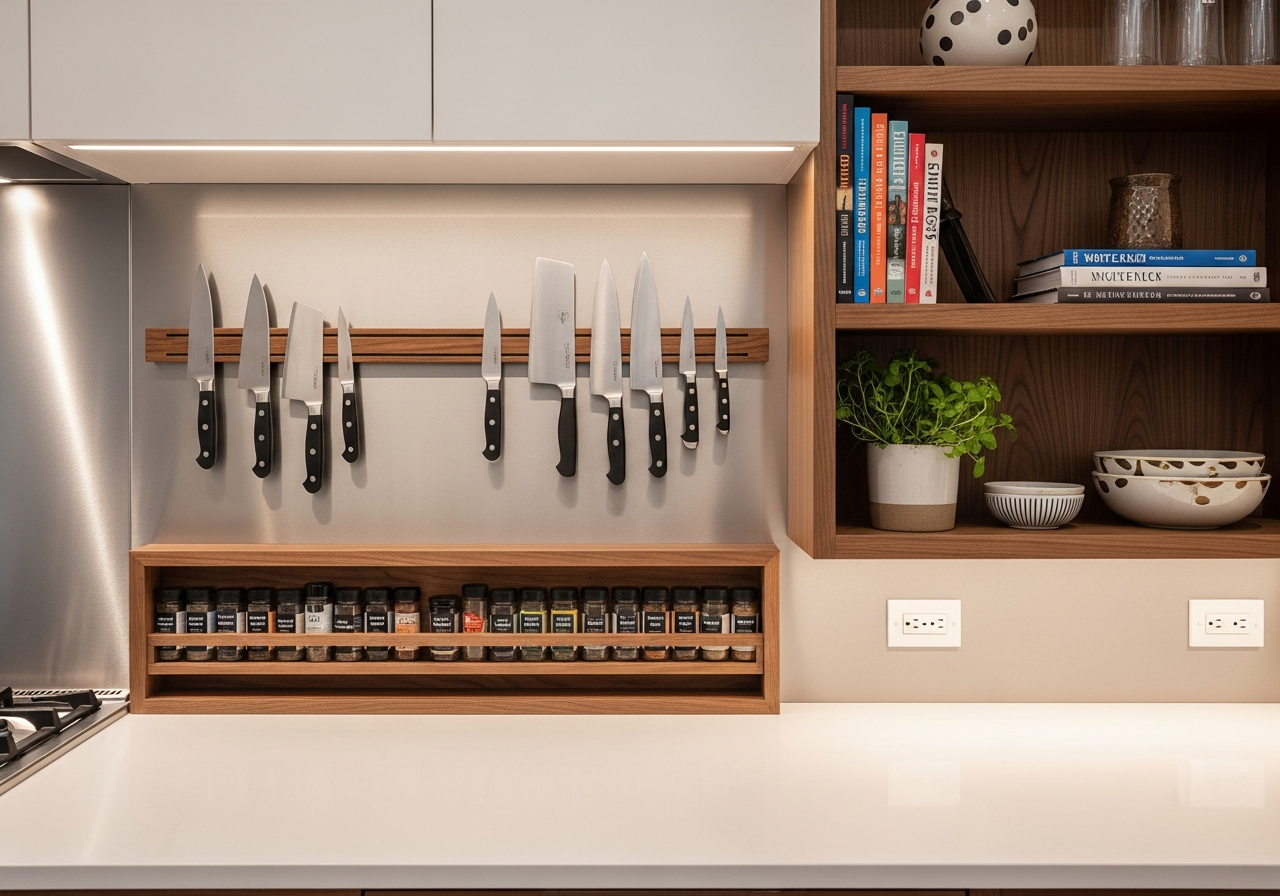
Moving items off the counter and onto the wall or under cabinets reclaims valuable horizontal space while adding visual interest at eye level. A magnetic knife strip mounted on the wall replaces a bulky knife block and saves 6 to 8 inches of counter depth. Under-cabinet paper towel holders, spice racks, and mug hooks keep everyday essentials accessible without occupying counter real estate. Open shelving above the counter creates display space for cookbooks, decorative bowls, and canisters that would otherwise crowd the work surface.
Tiered countertop organizers provide another vertical solution — a two or three-tier corner shelf holds spices, oils, and frequently used items in a compact vertical footprint that occupies just 10 by 10 inches of counter space. Choose organizers in materials that match your kitchen hardware: matte black metal for modern kitchens, natural wood for farmhouse styles, or brushed stainless for contemporary spaces. The material consistency creates visual cohesion across all your counter accessories.
Tip 4 — Hide Appliances That Are Not Used Daily
The average American kitchen contains 12 to 15 small appliances, but only 3 to 4 are used daily. Toasters, blenders, stand mixers, air fryers, and instant pots that sit on the counter permanently consume 40 to 60% of available workspace. Apply the daily-use test: if you do not use an appliance at least five times per week, store it in a cabinet, pantry, or appliance garage. This single decision typically frees 4 to 8 square feet of counter space.
For appliances that remain on the counter, coordinate their finish whenever possible. Mismatched appliances — a red toaster next to a silver coffee maker next to a white stand mixer — create visual noise. When replacing appliances, choose a consistent finish family: all stainless, all matte black, or all white. If existing appliances cannot be replaced, group them together in the prep zone where their utilitarian appearance is expected, and reserve the visible display zone for purely decorative items.
Tip 5 — Add One Statement Decorative Object
Every kitchen counter benefits from one deliberately decorative item that signals this space is styled, not just functional. A sculptural ceramic vase with fresh-cut stems, a wooden bowl filled with seasonal fruit, a potted herb (see our plant styling guide), or a beautiful cookbook displayed on a stand adds personality without compromising workspace. Choose an object that introduces organic shapes or natural materials to contrast with the hard, linear surfaces of countertops and cabinetry.
Scale the decorative object to the counter's proportions. A 6-inch bud vase disappears on a long stretch of counter, while a 14-inch ceramic bowl overwhelms a small galley kitchen surface. Aim for a statement piece that occupies roughly 10 to 15% of the display zone — large enough to read as intentional, small enough to leave breathing room. Position it at the back of the counter against the backsplash where it will not interfere with prep work. A single beautiful object always looks more styled than a collection of small decorative items scattered across the counter.
Tip 6 — Coordinate Canisters and Storage Containers
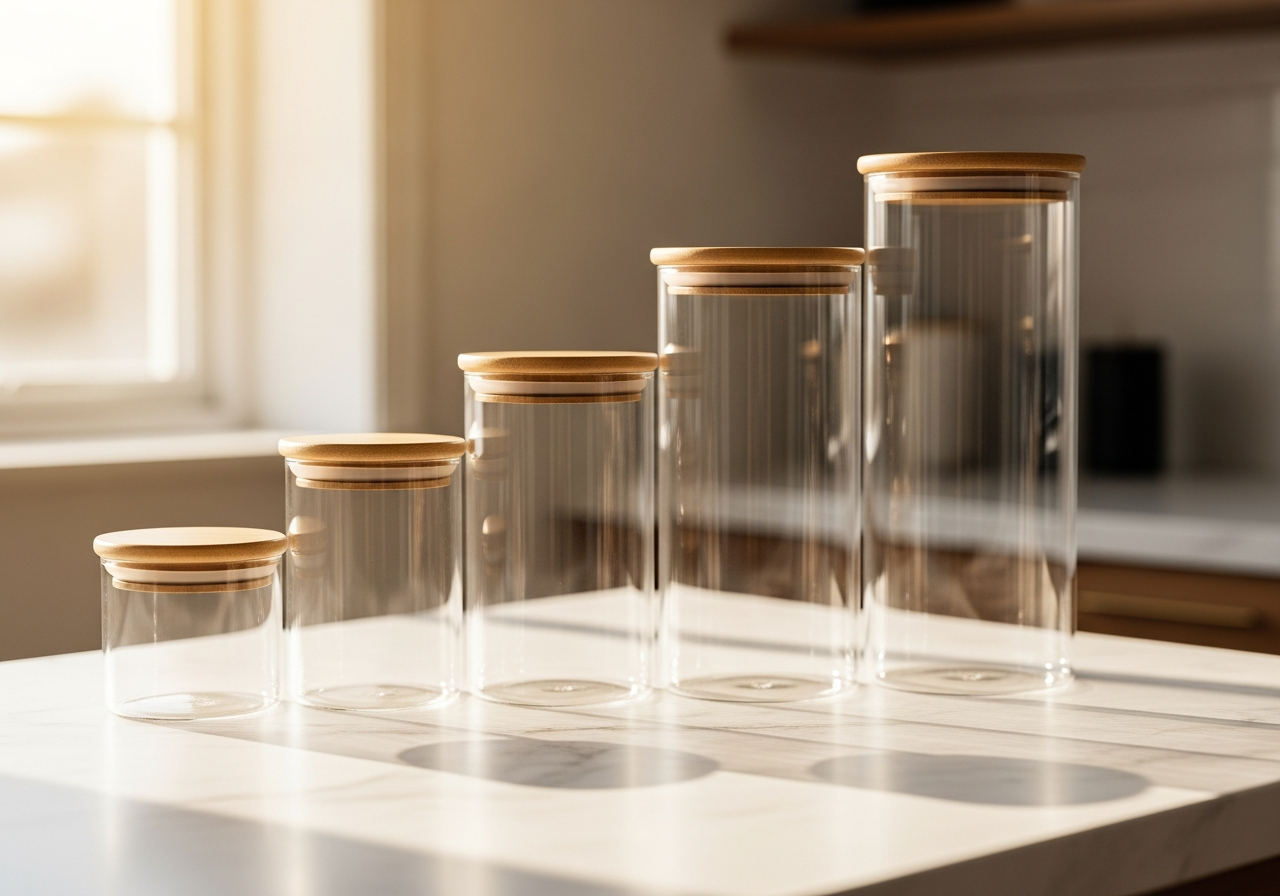
Transferring dry goods from their original packaging into matching canisters is one of the fastest ways to make kitchen counters look organized and intentional. A set of three to five canisters in graduated sizes for flour, sugar, coffee, tea, and pasta creates a clean, uniform line that replaces the visual chaos of branded bags, boxes, and bags with clips. Choose canisters with airtight seals for practical freshness benefits alongside the aesthetic upgrade.
Material choice matters: glass canisters with wooden lids suit modern and Scandinavian kitchens, ceramic canisters work in farmhouse and traditional spaces, and matte stainless steel suits contemporary kitchens. Avoid buying more than five countertop canisters — anything beyond that begins to crowd the counter and defeats the purpose. Less-frequently used items like baking powder, specialty flours, and dried herbs belong in the pantry, not on the counter. Label canisters with simple handwritten or printed labels for both function and visual polish.
Tip 7 — Style the Backsplash-Counter Junction
The 4-inch strip where the counter meets the backsplash is prime styling territory. A cookbook displayed on a stand, a small potted herb like basil or rosemary, or a framed print leaning against the backsplash adds visual depth to an area that typically sits empty. This zone is the ideal location for decorative items because they lean against the wall and do not encroach on workspace.
For a collected, layered look, lean a small cutting board against the backsplash and layer a smaller framed print or menu card in front of it. Add a small trailing plant in a 3-inch pot on one side. This mini-vignette technique borrows from the shelf styling approach used in living rooms — stacking objects at different depths and heights creates visual richness in a compact footprint. The backsplash acts as the backdrop, making even a small arrangement feel intentional and composed.
Tip 8 — Maintain the 40% Clear Rule
Professional kitchen designers recommend keeping at least 40% of your total counter surface clear and empty at all times. This percentage ensures adequate workspace for meal prep while maintaining the visual breathing room that distinguishes a styled kitchen from a cluttered one — the same negative-space principle used in our console table styling guide. Measure your total linear counter footage, multiply by the counter depth (typically 25 inches), and ensure that at least 40% of that area remains completely clear of objects.
The 40% clear rule forces prioritization. If adding a new canister set means dropping below 40% clear space, something else needs to move into cabinet storage. Treat counter space like a budget — every item placed on the counter costs square inches, and every addition should justify its presence by being either used daily or deliberately decorative. A weekly counter reset — removing everything, wiping surfaces, and placing back only what belongs — prevents the gradual creep of clutter that happens when items accumulate without intention.
Tip 9 — Adapt Your Counter Style to Your Kitchen Layout
Different kitchen layouts require different counter styling approaches. Galley kitchens with parallel counters have limited surface area, so minimize decorative items and maximize vertical storage — keep only a utensil crock and a single tray grouping on the counter. L-shaped kitchens have a natural corner that serves as an ideal display zone without compromising the linear workflow along each arm. Island kitchens offer the most flexibility — style the front-facing side of the island as a display surface visible from the living area while keeping the work side clear for prep.
U-shaped kitchens can support more counter decor because the total surface area is larger, but apply the zone method to avoid spreading items across all three arms. Concentrate styling on the arm most visible from adjacent rooms and keep the other two arms functional. Open-concept kitchens where the counter is visible from the living and dining areas demand more styling attention because the counter serves as a visual bridge between rooms — coordinate counter accessories with the adjacent room's color palette for a cohesive flow. For more kitchen styling ideas, browse our kitchen ideas gallery.
Frequently Asked Questions
What should I keep on my kitchen counter?
Keep only items you use daily on the counter: coffee maker, utensil crock, knife block or magnetic strip, and a soap dispenser by the sink. Add one deliberately decorative item — a fruit bowl, small plant, or vase — and group functional items on trays to create organized vignettes. Everything else should live in cabinets or pantry storage. The daily-use test is the simplest rule: if you do not touch it at least five days per week, it does not belong on the counter.
How do I make kitchen counters look less cluttered?
Apply the 40% clear rule — ensure at least 40% of your total counter surface is completely empty. Group remaining items on trays or cutting boards to create contained zones. Hide rarely used appliances in cabinets. Transfer dry goods into matching canisters to eliminate branded packaging. Move items to vertical storage like wall-mounted racks and under-cabinet hooks. The combination of empty space and intentional grouping is what makes a counter look styled rather than messy.
What looks good on kitchen counters for decoration?
The most effective kitchen counter decorations combine beauty with function. A wooden bowl of seasonal fruit adds color and serves as a snack station. A potted herb like basil or rosemary provides fresh ingredients and greenery. A cookbook on a stand introduces personality and inspires meal planning. A sculptural ceramic vase with one or two fresh stems adds elegance with minimal counter footprint. Choose organic materials and shapes that contrast with hard countertop surfaces.
How do I style kitchen counters in a small kitchen?
In small kitchens, prioritize vertical storage to maximize counter workspace. Use a single tray to contain the essentials — oil, salt, and a utensil holder — near the stove. Keep one decorative element on the counter, such as a small plant or fruit bowl. Move the knife block to a wall-mounted magnetic strip and relocate the paper towel holder under the cabinet. For a galley kitchen with under 15 feet of counter space, aim for 50% or more clear surface rather than the standard 40%.
Visualize Your Styled Kitchen Counters with HanoDecor
Wondering how different counter arrangements, canister styles, and decorative objects will look in your specific kitchen? Upload a photo of your kitchen and experiment with countertop styling options, from minimalist clean surfaces to warmly accessorized vignettes — all rendered in your actual space with your existing cabinetry, backsplash, and lighting.
Ready to style your counters with confidence? Try the HanoDecor Room Designer to preview different counter arrangements before purchasing accessories. For a full kitchen transformation, explore the Kitchen Remodel Visualizer to see how new countertops, cabinets, and backsplashes would look alongside your styled surfaces. Also check out our guide on how to decorate a kitchen without a renovation for more no-reno kitchen updates.
Related Articles
Expand your surface styling skills beyond the kitchen: How to Style Bookshelves Like a Designer applies similar proportional formulas to vertical displays. How to Style a TV Stand covers the challenge of balancing electronics with decor on media consoles. How to Style a Mantel shares the three-height layering technique adapted for fireplace surrounds. For coordinating your kitchen table with surrounding decor, see How to Match a Kitchen Table with Your Decor, and for choosing hardware and fixture finishes read How to Mix Metals in Home Decor.
How to Decorate Kitchen Counters FAQs
Written by
Emily Rodriguez
Interior Design Editor covering living spaces, styling trends, and room makeovers. Former Architectural Digest contributor with a focus on accessible, budget-conscious design.