Exterior Painting Preparation: The Step-by-Step Surface Prep Guide
Surface preparation is the single most important factor in determining how long your exterior paint job will last. After two decades of painting homes professionally, I can tell you that 80% of premature paint failures trace directly back to poor or rushed prep work. Whether you plan to tackle the project yourself or hire a professional crew, understanding these seven essential prep steps will help you achieve results that last a decade or more.
Why Surface Preparation Is 60% of the Job
Here is a reality that surprises most homeowners: professional painters spend two to three full days preparing surfaces for every single day they spend actually applying paint. That ratio is not accidental. It reflects the fundamental truth that paint adhesion, durability, and appearance all depend on what happens before the first brush stroke.
The cost of skipping prep is staggering. Investing $300 to $500 in proper preparation materials and time can save you $5,000 or more in premature repainting costs. A properly prepped and painted exterior should last 7 to 10 years on wood siding and even longer on fiber cement or brick. Skip the prep, and you could see peeling and failure within 2 to 3 years.
Paint failure statistics from industry research consistently show that surface contamination, moisture, and poor adhesion cause the vast majority of exterior coating failures. Power washing alone removes surface dirt, but it does not address loose paint, wood rot, or the need for primer on bare substrates. Each prep step serves a specific purpose in creating the foundation for a long-lasting finish.
When you factor in the total cost of painting a house, the prep materials represent a tiny fraction of the overall investment. Cutting corners here is the most expensive mistake you can make.
Step 1 — Inspect and Assess Your Exterior
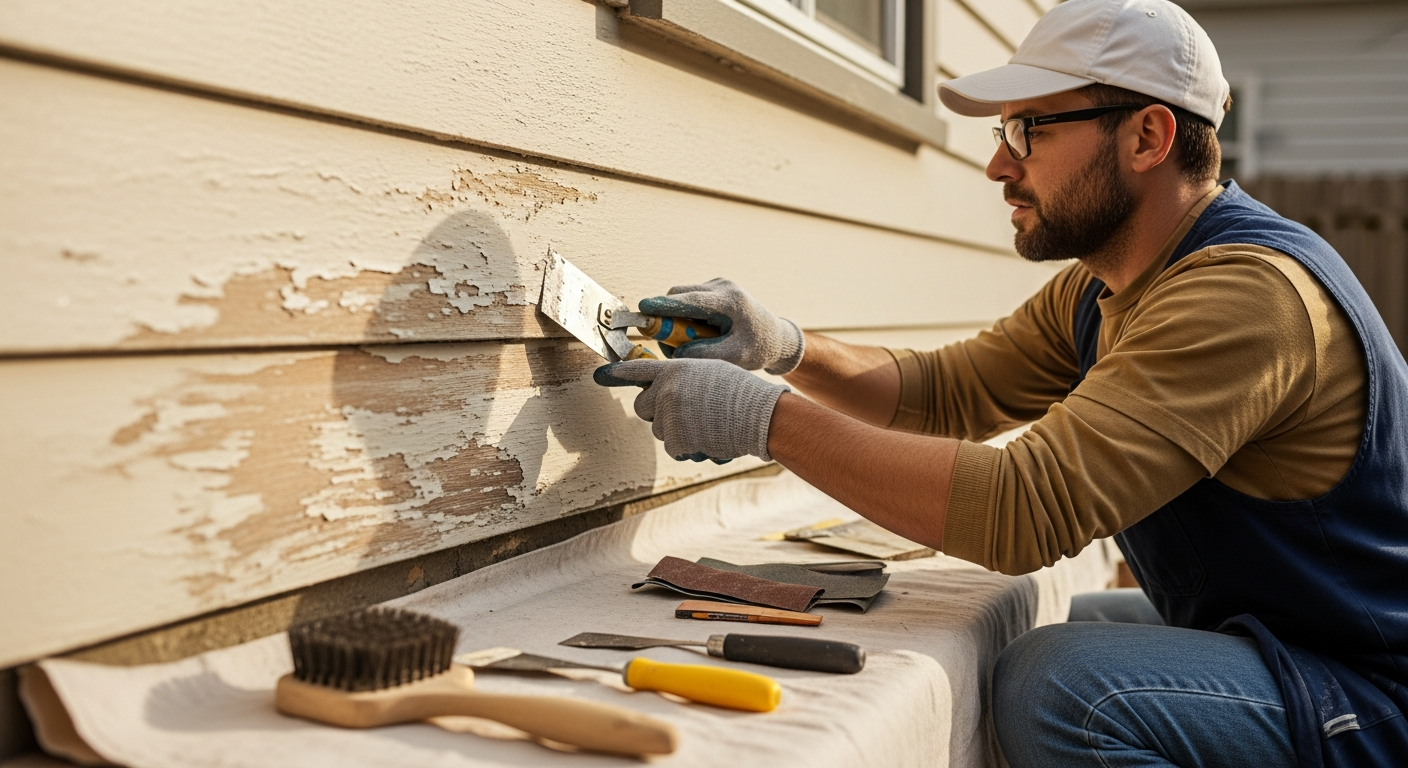
Before you buy a single supply, walk the entire perimeter of your home with a clipboard and note every issue you find. You are looking for peeling paint, cracking, mold or mildew growth, wood rot, failed caulking, and any areas where bare substrate is exposed. Pay special attention to south-facing and west-facing walls, which take the most UV damage, and to areas near the ground where moisture splashes up from rain.
Testing for lead paint is essential for pre-1978 homes. Federal law requires safe handling of lead-based paint, and disturbing it through scraping or sanding without proper containment can create serious health hazards. You can purchase a 3M LeadCheck swab kit for under $30 at any hardware store, or hire a certified inspector for about $300 to $500 for a full home assessment. If lead is present, you may need to hire a certified lead abatement contractor.
Use a moisture meter to check your siding. Insert the pins into the wood at several locations around the house, targeting areas near gutters, downspouts, and the foundation. Your target reading is below 15% moisture content. Anything above 18% means the wood is too wet to paint and you need to identify and fix the moisture source before proceeding. A quality pin-type moisture meter costs $30 to $80 and is invaluable for this step.
Create a detailed checklist as you walk: note the location and severity of each problem, whether it requires repair or replacement, and estimate the materials needed. This inspection typically takes 1 to 2 hours for an average-sized home and will save you multiple trips to the hardware store later.
Step 2 — Cleaning Surfaces Thoroughly
Every exterior surface must be clean before painting. Dirt, mildew, pollen, and chalking residue all prevent proper paint adhesion. The cleaning method you choose depends on the substrate you are working with.
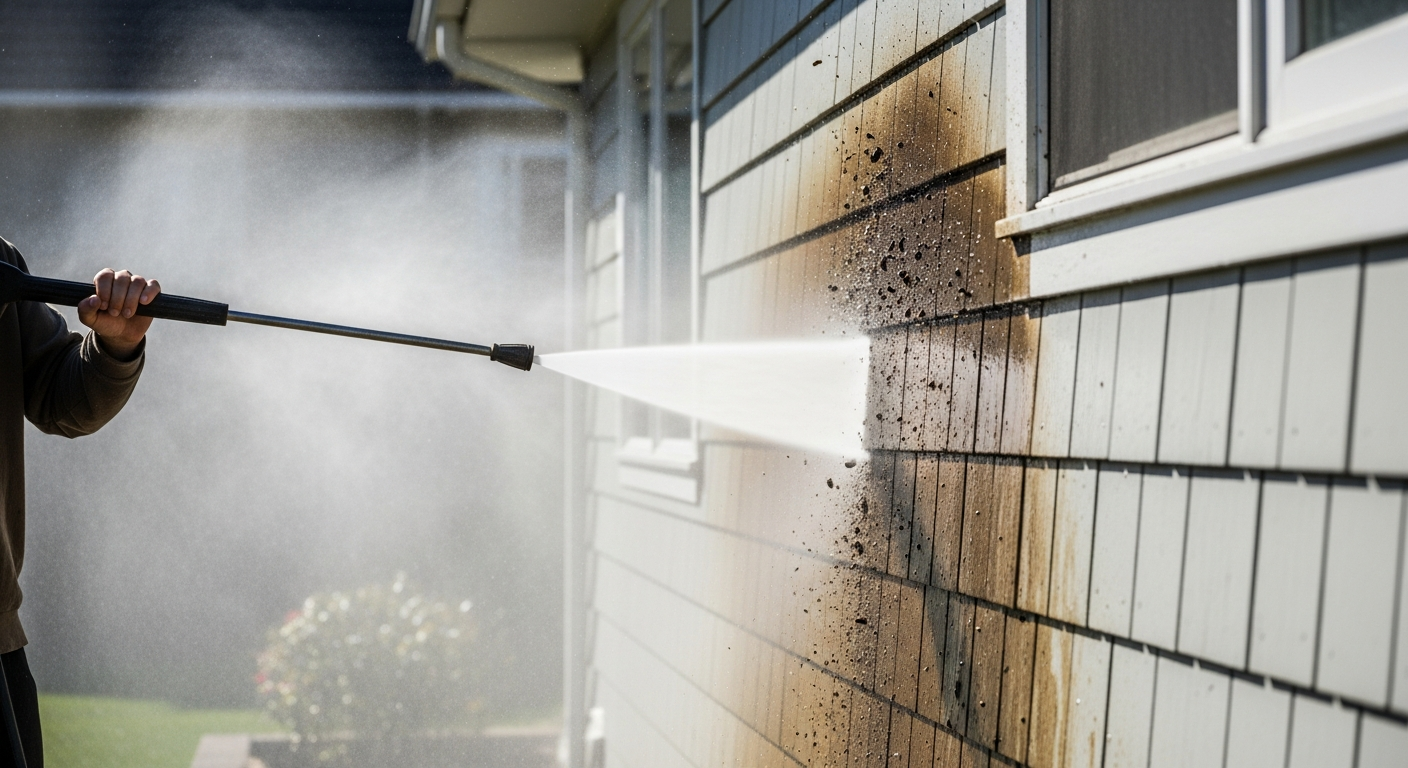
Power washing works well for hard surfaces like fiber cement, vinyl, and brick. Use a pressure washer set between 2,200 and 3,500 PSI with a 25-degree or 40-degree spray tip. Hold the nozzle 12 to 18 inches from the surface and work in overlapping sweeps from top to bottom. For most siding, 2,500 PSI provides enough cleaning power without damaging the surface. You can rent a quality pressure washer for $50 to $100 per day from most equipment rental centers.
Soft woods like cedar and redwood require a gentler approach. High-pressure water can damage the soft grain, creating furring that is difficult to sand smooth. Use a garden hose with a stiff-bristle brush and a TSP (trisodium phosphate) cleaning solution mixed according to the package directions, typically 1/2 cup per 2 gallons of warm water. Work in manageable sections and rinse thoroughly.
Mold and mildew treatment requires a bleach solution. Mix one part household bleach to three parts water, apply with a pump sprayer, let it sit for 10 to 15 minutes, then scrub and rinse. For severe mold growth, you may need a second application. If you are dealing with extensive mold or mildew growth on your siding, it is often a sign that your paint has lost its protective properties.
Drying time after cleaning is critical. Allow a minimum of 24 to 48 hours of dry weather before proceeding to the next step. Wood siding may need even longer, especially in humid climates. If you plan to apply an oil-based primer, wait at least one full week after power washing. Painting over moisture is one of the leading causes of blistering and peeling.
Step 3 — Scraping and Sanding
Once surfaces are clean and dry, remove all loose, peeling, cracking, or flaking paint. You do not need to strip every surface down to bare wood, but you do need to remove any paint that is not firmly adhered. This step creates sound edges where old paint transitions to bare substrate, preventing new paint from lifting along those boundaries.
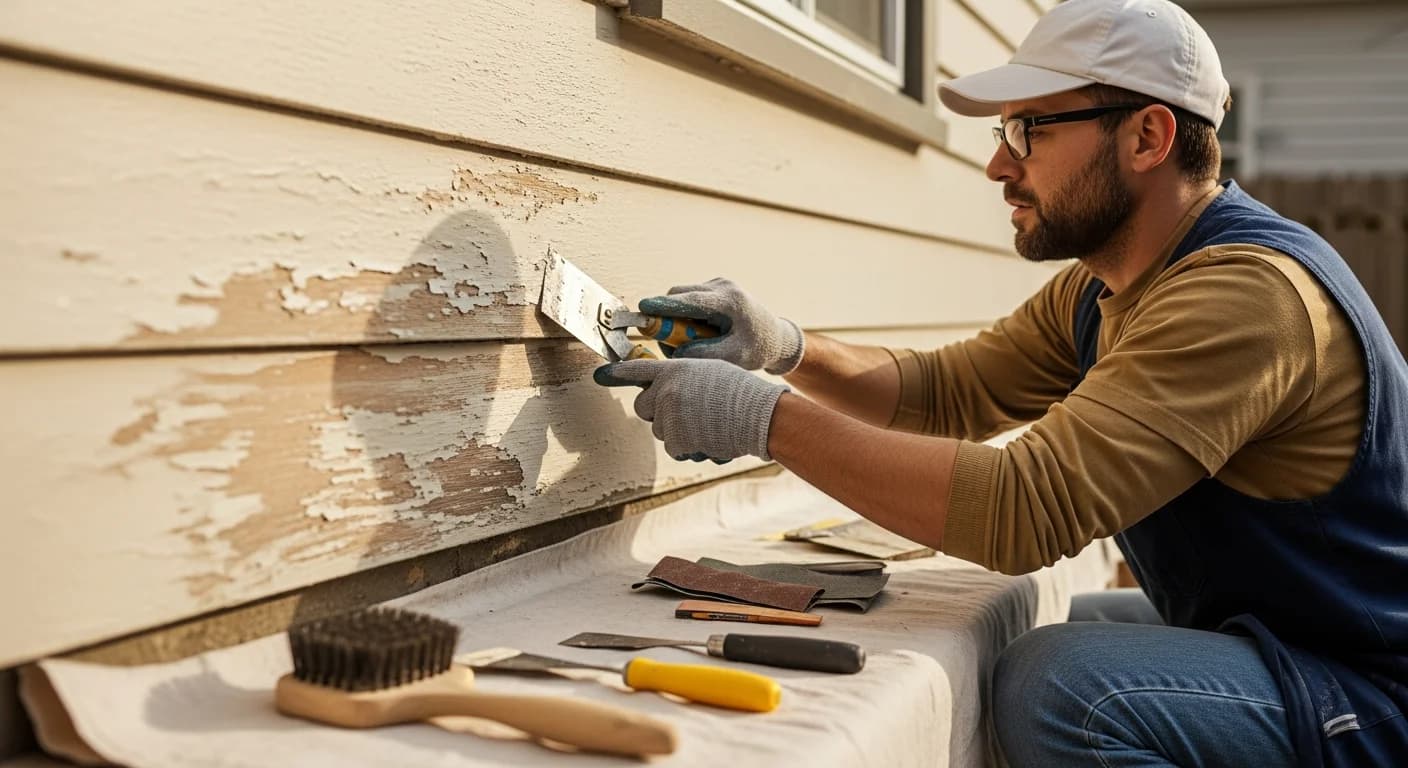
Manual scraping is the most common approach for residential work. Use a flat scraper for broad siding surfaces and a molding scraper for detailed trim areas. Work the scraper under loose paint edges and push or pull in the direction of the wood grain. A sharp scraper does the work for you. Dull scrapers require excessive pressure, which can gouge the wood and create more problems than they solve.
Sanding creates the surface profile needed for paint adhesion. Any area with a glossy or semi-gloss existing finish needs to be sanded to a matte profile so the new paint can grip. Use an orbital sander with 80-grit sandpaper for heavy sanding and 120-grit for feathering edges where scraped areas meet intact paint. The goal is a smooth, even transition with no sharp edges or ridges.
After scraping and sanding, remove all dust from the surface. A leaf blower works well for broad areas, followed by a tack cloth or damp rag for detail surfaces. Dust left on the surface will prevent proper adhesion just as effectively as dirt or mildew. This is also the time to select your paint finish, as the sheen you choose affects how visible surface imperfections will be.
Step 4 — Repairing Damage
With surfaces clean, scraped, and sanded, you can now see every defect clearly. This is the step where you address wood rot, fill holes and cracks, and recaulk all gaps and joints. Skipping repairs means you are painting over problems that will only get worse.
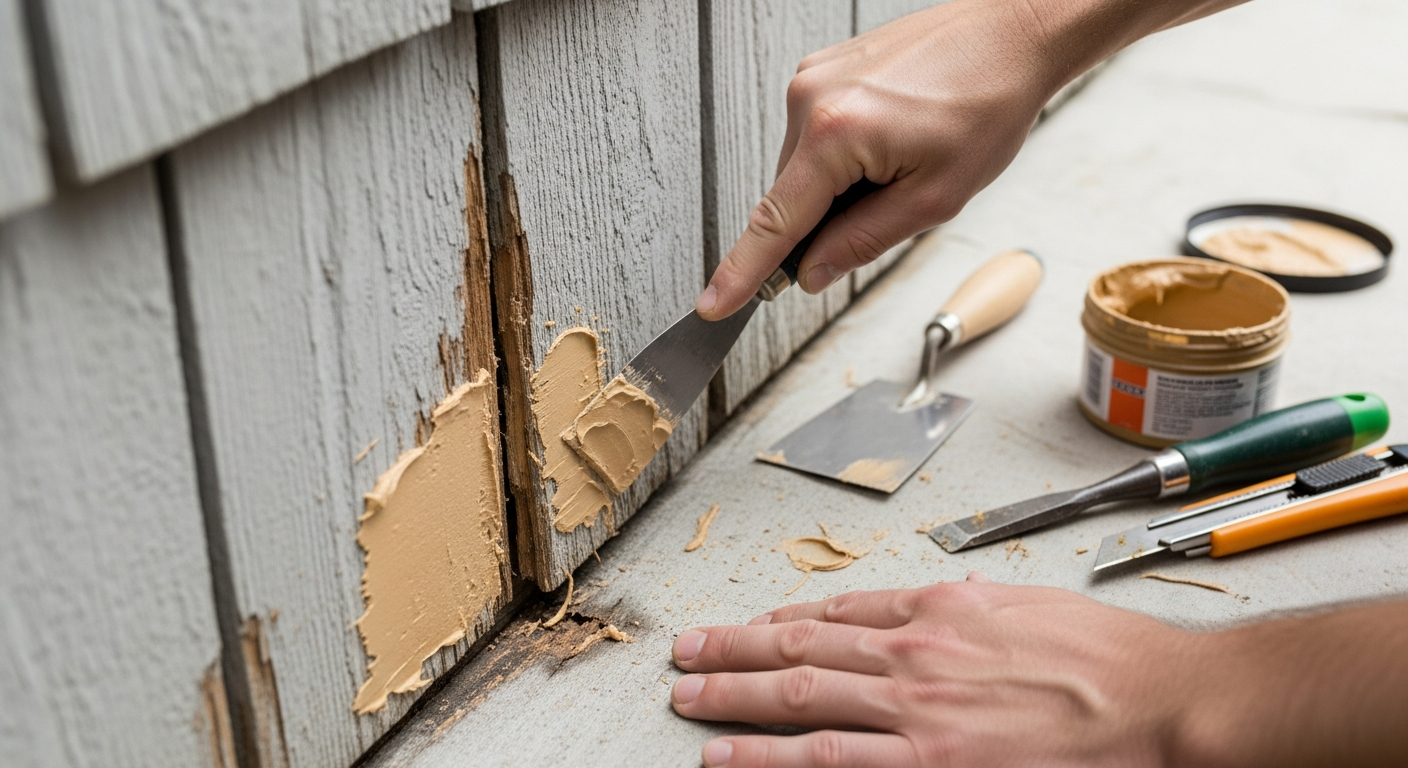
Wood rot repair uses a two-part system. First, apply a wood consolidant like Minwax Wood Hardener or PC Petrifier to stabilize the remaining soft wood. Once the consolidant cures, typically 2 to 4 hours, fill the damaged area with an epoxy wood filler such as Bondo Wood Filler or Abatron WoodEpox. These products are stronger than the original wood and can be shaped, sanded, and painted just like natural wood. For rot deeper than 1/2 inch, consider replacing the damaged board section entirely.
Fill holes, nail heads, and small cracks with exterior wood filler. DAP Plastic Wood-X is an excellent all-weather formula that resists cracking and shrinking. For larger cracks, apply filler in layers no thicker than 1/4 inch, allowing each layer to dry before adding the next. Sand all filled areas smooth and flush with the surrounding surface once fully cured.
Caulking gaps is essential for weather protection and appearance. Use a premium exterior caulk like DAP Big Stretch or GE Dynaflex 230 for gaps between siding and trim, around windows and doors, and at any joint where two materials meet. These products remain flexible over a wide temperature range and resist cracking for 30 or more years. Cut the caulk tube tip at a 45-degree angle and apply a consistent bead, then tool the joint with a wet finger or caulk tool for a clean finish.
Know when to repair and when to replace. If more than 30% of a board is rotted, replacement is more cost-effective and reliable than patching. The same applies to trim pieces with extensive damage. Factor replacement lumber into your project budget from the start.
Step 5 — Priming Properly
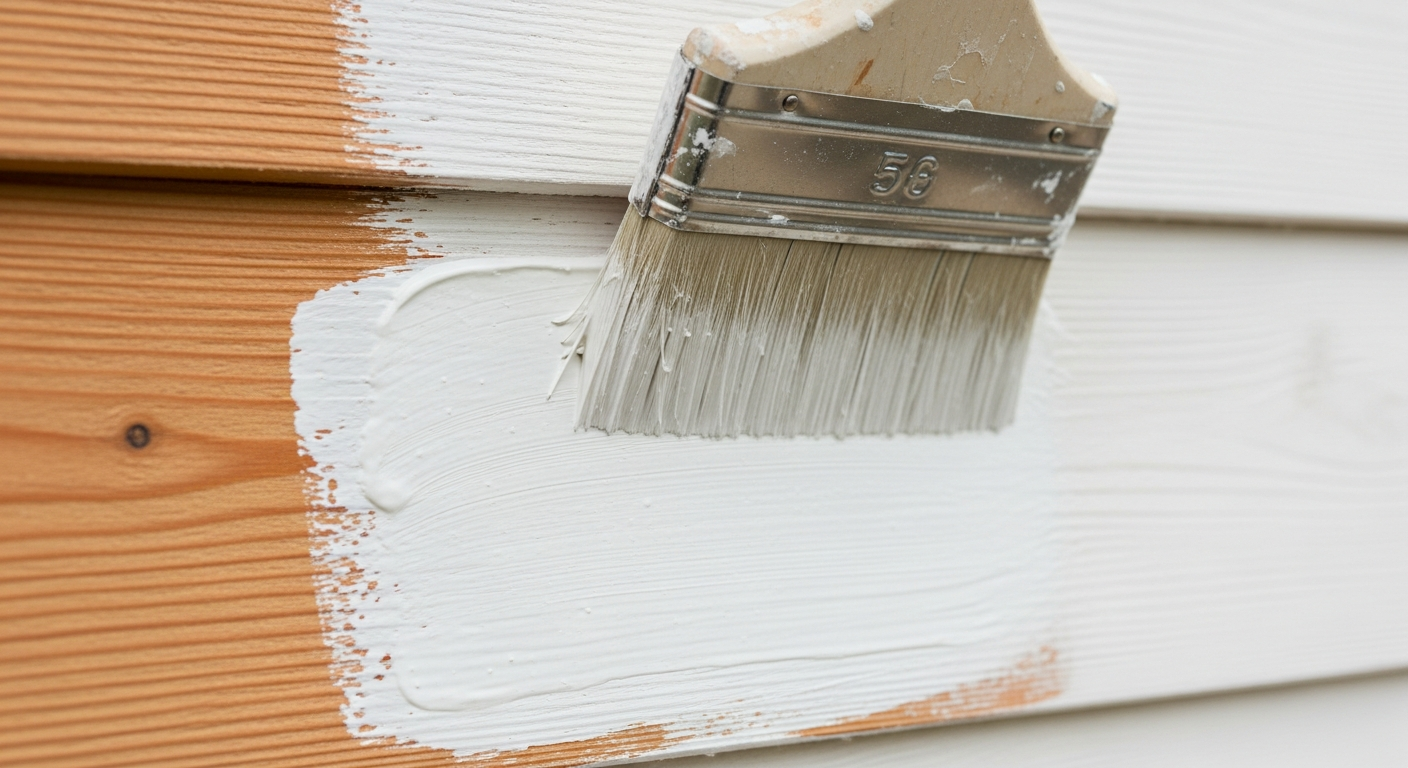
Primer serves three critical functions: it seals the substrate, creates a uniform surface for the topcoat, and improves adhesion. While some premium paints claim to be self-priming, there are situations where a dedicated primer coat is absolutely non-negotiable.
You must prime bare wood, period. Bare wood exposed through scraping, sanding, or repair needs primer within the same day if possible. Unprimed bare wood absorbs moisture from rain and dew, which leads to tannin bleed and adhesion failure. For cedar, redwood, and other tannin-rich woods, use an oil-based primer like Zinsser Cover Stain or KILZ Original to block stain bleed. For pine and other less tannic woods, a high-quality acrylic primer like Benjamin Moore Fresh Start or Sherwin-Williams Extreme Bond works well.
Major color changes also require primer. Going from dark to light or light to dark without primer means you will need three or four coats of topcoat paint to achieve solid coverage, which wastes both time and money. A tinted primer matched close to your finish color reduces topcoat requirements back to the standard two coats. This is especially important if you are exploring bold exterior color ideas.
Match your primer to your substrate. Wood siding gets oil-based or acrylic latex primer. Bare metal gets a rust-inhibiting metal primer. Masonry and stucco get a masonry-specific primer like Loxon or KILZ Masonry. Vinyl gets a bonding primer formulated for slick surfaces. Using the wrong primer for your siding material undermines the entire paint system.
Apply primer at the coverage rate specified on the label, typically 300 to 400 square feet per gallon. Use brush, roller, or sprayer depending on the surface texture and your skill level. Allow the primer to dry fully according to the label directions before applying your topcoat, usually 2 to 4 hours for latex and 24 hours for oil-based products.
Step 6 — Masking and Protection
Protecting the areas you do not want painted is just as important as preparing the areas you do. Proper masking prevents paint drips on windows, doors, fixtures, concrete, and landscaping, and saves hours of cleanup time.
Cover windows and doors with painter's plastic and tape. Use 1.5-inch or 2-inch blue painter's tape (FrogTape or 3M ScotchBlue are professional favorites) along the edges of window trim, door frames, and any hardware you cannot remove. Drape plastic sheeting over the glass and secure it with tape. For large window areas, pre-taped plastic dropper rolls speed the process significantly.
Protect your landscaping and hardscaping. Lay drop cloths over bushes, flower beds, and walkways within the splash zone, typically 6 to 10 feet from the wall being painted. Canvas drop cloths are preferred over plastic because they absorb drips rather than letting paint pool and run. For tall shrubs, drape lightweight plastic sheeting over them and secure with stakes or weights. Move any portable pots, furniture, or decorations away from the work area entirely.
Cover exterior light fixtures, outlet covers, hose bibs, and any utility boxes. Remove house numbers, mailboxes, and decorative items where possible. If you have an irrigation system, note the location of sprinkler heads near the house and protect them from overspray. Taking 1 to 2 hours for thorough masking saves 3 to 4 hours of cleanup and prevents damage to surfaces that are expensive to refinish.
Step 7 — Final Pre-Paint Inspection Checklist
Before you open your first can of paint, walk the entire house one final time with this 10-point checklist. Every item must pass before you proceed.
1. Surfaces are clean — no dirt, dust, mildew, or cobwebs remain. 2. Surfaces are dry — moisture meter reads below 15% on all wood surfaces. 3. All loose paint is removed — edges are feathered smooth. 4. Repairs are complete — all filler and caulk are cured and sanded. 5. Primer is applied — all bare spots, repairs, and stain-prone areas are sealed.
6. Masking is thorough — windows, doors, fixtures, and landscaping are protected. 7. Weather forecast is clear — no rain expected for 48 hours, temperatures between 50 and 85 degrees Fahrenheit. 8. Paint materials are ready — correct products, sufficient quantity, proper tools. 9. Safety equipment is available — ladder secured, proper footwear, eye protection. 10. Work plan is established — start on the shaded side of the house, work around with the sun.
If any item fails, address it before painting. Painting over a problem never fixes it — it only hides it temporarily while creating a bigger and more expensive issue down the road. Professional painters use this go/no-go framework on every single project, and you should too.
Surface-Specific Prep Notes
Different siding materials require different preparation approaches. Understanding these differences is critical if your home has mixed materials or if you are painting a specific siding type for the first time.
Wood siding requires the most intensive prep: thorough scraping, sanding to profile, tannin-blocking primer on bare wood, and careful moisture testing. Expect to spend 60% to 70% of your total project time on prep for wood. Stucco needs crack repair with elastomeric caulk, thorough cleaning to remove chalking, and a masonry-compatible primer. New stucco must cure 30 days minimum before painting.
Brick requires efflorescence treatment with a solution like Loxon Conditioner, and you must wait at least one year before painting new brick. Consider whether alternative treatments like limewash might be better suited to your goals. Vinyl is the easiest to prep — clean thoroughly, no sanding needed, and most premium vinyl-safe paints adhere without primer. Fiber cement often comes factory-primed, requiring only a light sanding and cleaning before topcoating.
Metal and aluminum siding needs chalking removal, rust treatment with a zinc-rich primer, and should be primed and painted the same day on bare metal areas. Each material has unique drying time requirements and primer compatibility considerations, so always check the primer and paint labels for substrate-specific instructions.
Tools and Materials Checklist with Costs
Having the right tools and materials before you start prevents mid-project delays and ensures quality results. Here is a comprehensive list organized by prep phase.
Cleaning supplies ($50 to $100): pressure washer rental or purchase, TSP cleaner, bleach, pump sprayer, stiff-bristle brush, garden hose with spray nozzle. Scraping and sanding supplies ($40 to $80): flat scraper, molding scraper, orbital sander, sandpaper in 80-grit and 120-grit, sanding sponges for detail areas, dust masks.
Repair materials ($50 to $150): wood consolidant, epoxy wood filler, exterior wood filler, exterior caulk (3 to 6 tubes), caulk gun, putty knives in 2-inch and 4-inch widths. Protection supplies ($30 to $60): canvas drop cloths, plastic sheeting, painter's tape, pre-taped masking film.
Priming supplies ($60 to $120): appropriate primer for your substrate (1 to 3 gallons depending on bare area), brushes, roller covers, paint tray. Total estimated DIY prep cost ranges from $200 to $500 depending on the size of your home and the extent of repairs needed. This investment protects a paint job that will cost $2,000 to $6,000 or more in materials and labor. Visit our pricing page to estimate your full project cost.
Frequently Asked Questions
Do I need to remove all old paint before repainting? No. You only need to remove paint that is loose, peeling, cracking, or flaking. Sound, well-adhered paint provides an excellent base for new paint. Scrape and sand to create smooth transitions between bare spots and intact paint, then prime all bare areas before topcoating.
Can I paint over mildew if I treat it first? You must kill and remove all mildew before painting. Apply a bleach solution (1 part bleach to 3 parts water), scrub, and rinse. Wait for the surface to dry completely. If you paint over mildew without fully removing it, the mold will grow through the new paint within months. For heavy mildew, two treatments may be necessary.
How long should I wait to paint after power washing? Wait a minimum of 24 to 48 hours for most surfaces. Wood siding may require 3 to 5 days in humid conditions. Use a moisture meter to confirm readings below 15% before applying primer or paint. Painting over trapped moisture is the leading cause of blistering on freshly painted exteriors.
Is primer always necessary for exterior painting? Primer is required on bare wood, bare metal, stain-prone surfaces, major color changes, and previously uncoated masonry. If you are repainting over sound, well-adhered paint of a similar color, a premium self-priming paint like Sherwin-Williams Duration or Benjamin Moore Aura can serve as its own primer. However, when in doubt, always prime.
What happens if I paint over a damp surface? Moisture trapped beneath paint film causes blistering, bubbling, and peeling, sometimes within days of application. The paint may appear fine initially but will fail prematurely as moisture vapor pushes outward through the film. Always verify moisture content with a meter and wait for proper drying before painting.
See How New Paint Will Look Before You Prep
Before you invest days of preparation work and hundreds of dollars in materials, make sure you are confident in your color choice. There is nothing worse than completing a perfect prep job only to realize the color you chose does not look right on your home.
Upload a photo of your home to HanoDecor's Exterior Visualizer and preview any paint color on your actual exterior. Try multiple color schemes, compare light and dark options, and see exactly how your home will look before you buy a single gallon. You can also use our AI House Painter to experiment with different color combinations and find the perfect palette for your home's architecture. Browse our design gallery for inspiration from real home transformations and discover the best exterior paint colors for curb appeal in 2026.
Exterior Painting Preparation FAQs
Written by
Sarah Chen
Senior Color Consultant with 12 years of residential exterior design experience. Specializes in architectural color theory, paint technology, and curb appeal optimization.