Easy DIY Wall Painting Ideas: Weekend Projects Anyone Can Do
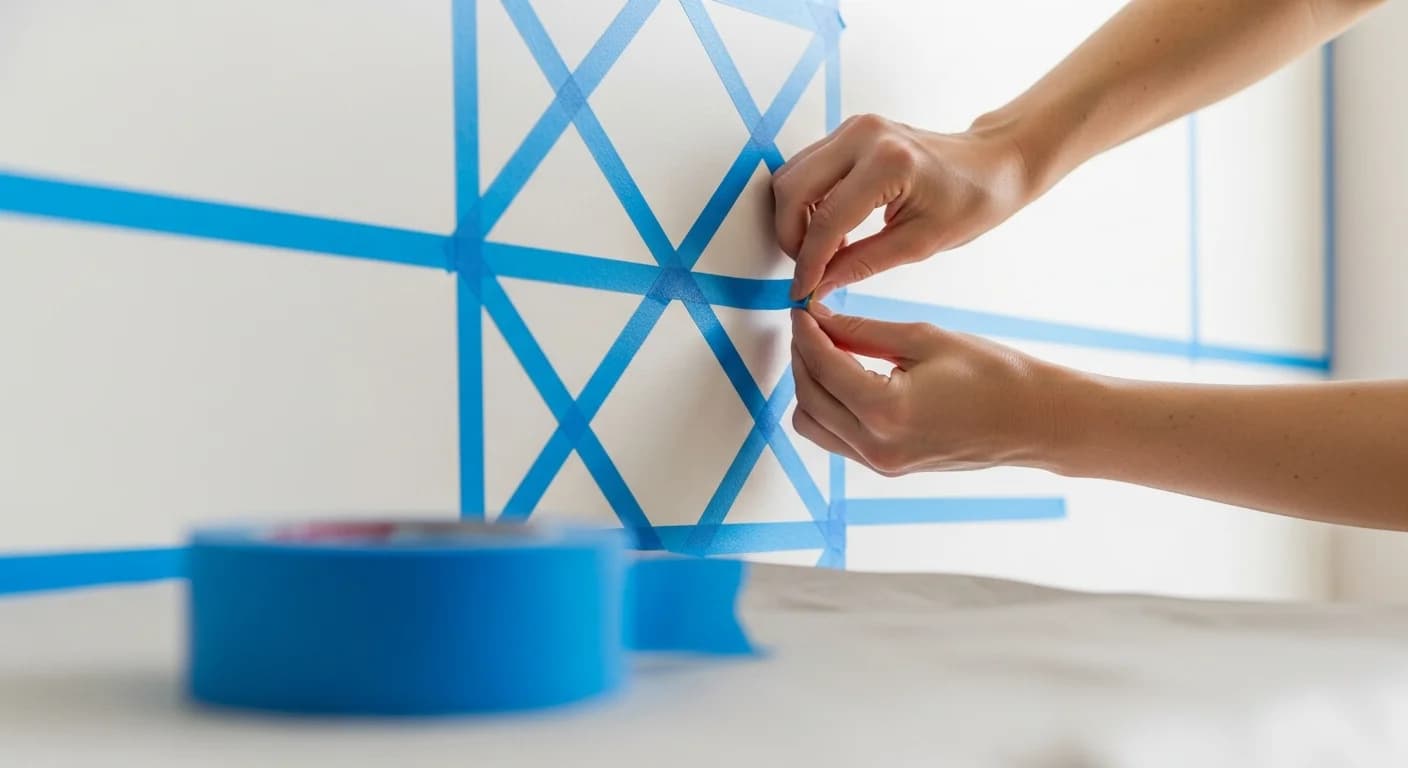
Professional wall painting looks complicated from the outside, but most show-stopping techniques break down into straightforward steps that anyone with patience and a few basic tools can master. The difference between a DIY wall painting that looks amateur and one that looks professional almost always comes down to preparation — not skill. Clean surfaces, quality tape, proper tools, and a willingness to spend the time on setup make the rest surprisingly simple.
This guide walks through five beginner-friendly wall painting techniques with step-by-step instructions, material lists, difficulty ratings, and realistic time estimates. Each project can be completed in a single weekend. Whether you want the clean precision of geometric tape patterns or the organic texture of sponge painting, every technique here has been chosen because it is forgiving of imperfection and delivers high visual impact relative to the effort involved. For room-specific design ideas, see living room wall painting ideas and bedroom wall painting ideas.
Project 1: Geometric Tape Pattern Wall
Difficulty: Beginner | Time: 5-7 hours (including dry time) | Cost: $35-55
Materials needed: FrogTape or ScotchBlue painter's tape (1.5-inch width), 2 quarts of interior latex paint in contrasting colors, paint roller and tray, level, pencil, plastic card or credit card for tape sealing, drop cloths.
Step 1 — Prepare the wall: Clean the wall surface with a damp cloth to remove dust. Fill any holes with lightweight spackle, let dry 30 minutes, and sand smooth with 150-grit sandpaper. If the existing wall color is dramatically different from your base color, apply one coat of primer and let it dry 2-4 hours. A clean, smooth surface is the single most important factor in achieving crisp tape lines.
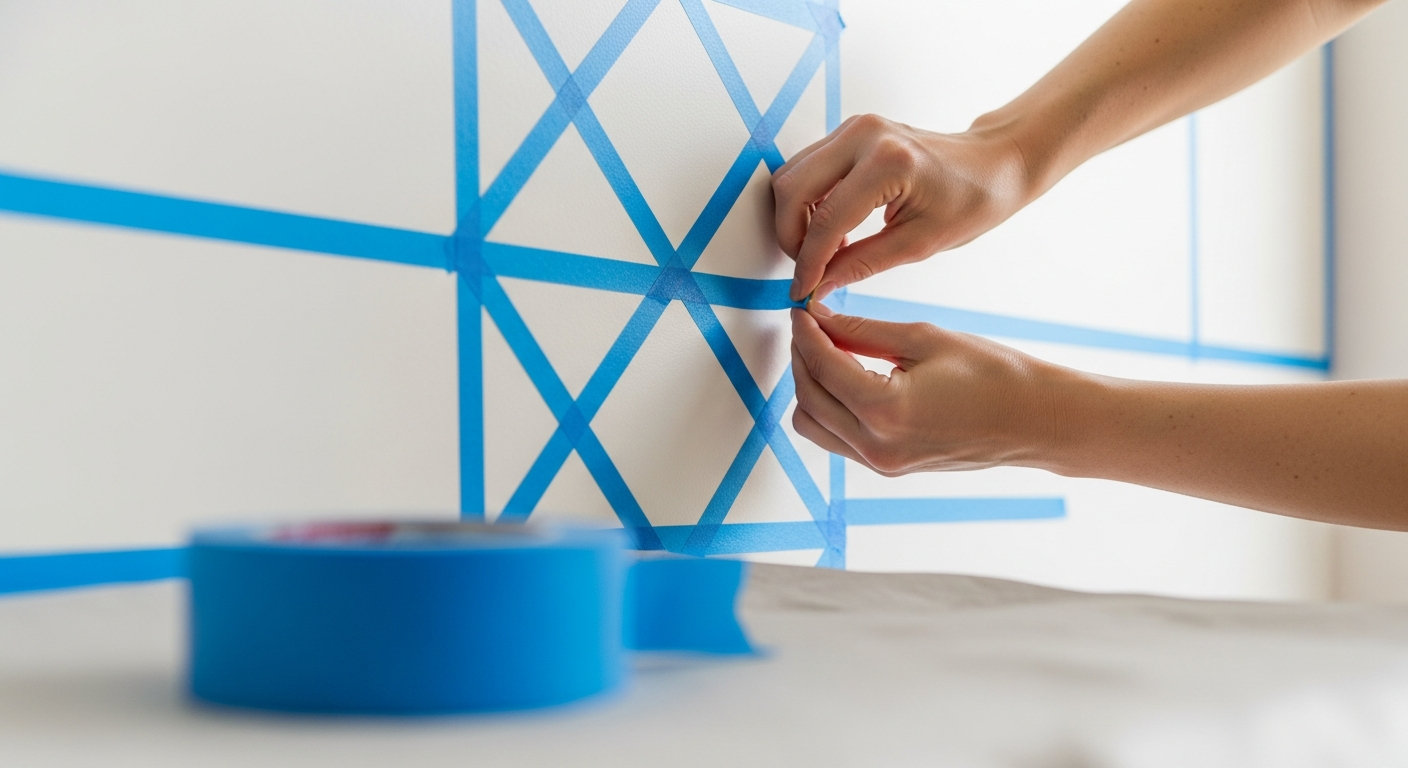
Step 2 — Plan your pattern: Decide on a pattern — diamonds, triangles, chevrons, or random geometric shapes. For a diamond pattern, use a pencil and level to mark horizontal lines every 10-12 inches across the wall, then mark diagonal lines connecting alternating points to create diamond shapes. For random triangles, mark 5-7 points around the wall and connect them with straight lines using the level as a straightedge.
Step 3 — Apply tape precisely: Run painter's tape along every pencil line, pressing firmly with a plastic card along both edges of the tape. This step is critical — the card pressure seals micro-gaps between the tape and the wall texture that would otherwise allow paint to bleed underneath. Take your time here. Tape application accounts for 60% of the total project time but determines 90% of the final result quality.
Step 4 — Seal tape edges: Before applying your pattern color, brush a thin coat of the base color (the existing wall color) over every tape edge. This seals any remaining gaps — if paint bleeds under the tape, it will be the same color as the base, making the bleed invisible. Let this seal coat dry completely (1-2 hours).
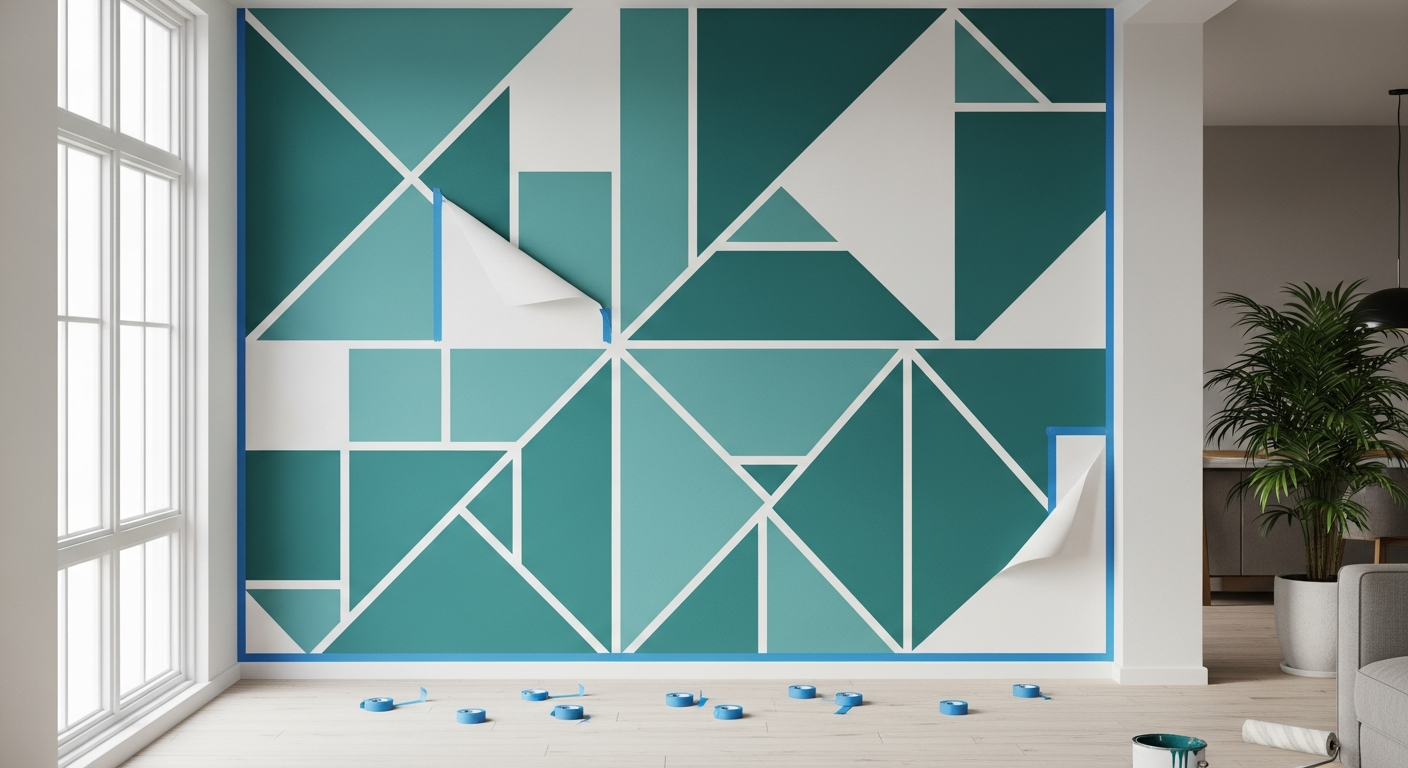
Step 5 — Paint and reveal: Roll your accent color into alternating geometric shapes. Apply two thin coats rather than one thick coat, allowing 1-2 hours between coats. Remove the tape while the final coat is still slightly tacky (not fully dry) — this produces the cleanest edges. Pull the tape at a 45-degree angle away from the painted surface in a slow, steady motion.
Project 2: Sponge-Textured Accent Wall
Difficulty: Beginner | Time: 3-4 hours | Cost: $25-40
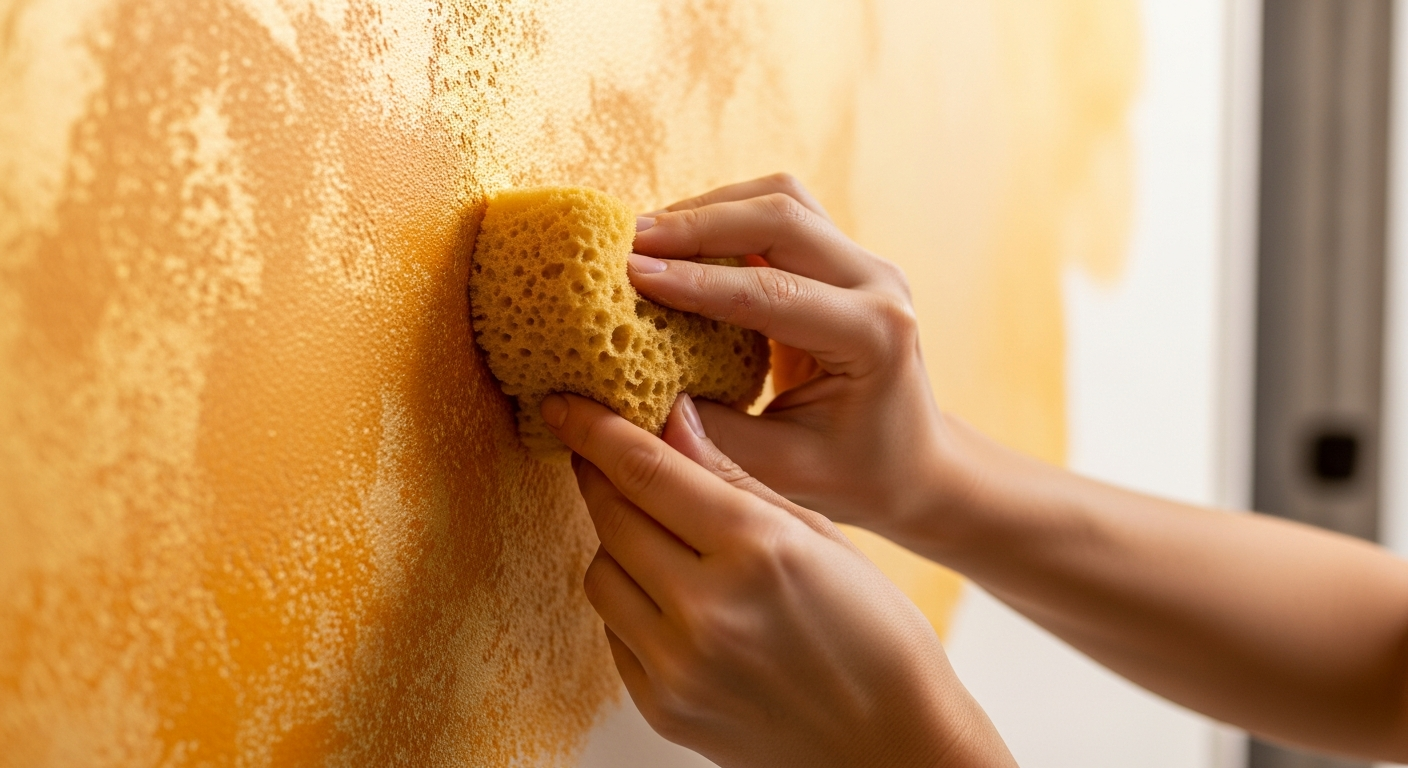
Materials needed: Natural sea sponge (not synthetic — the irregular pores create a more organic pattern), 1 quart of base paint, 1 quart of glaze color (one or two shades darker than the base), mixing container, paint tray, drop cloths.
Step 1 — Apply base coat: Roll the base color onto the entire accent wall. Choose a color in the same family as your glaze — cream base with warm gold glaze, light gray base with charcoal glaze, or pale blue base with navy glaze. Let the base coat dry completely (4-6 hours or overnight for best results).
Step 2 — Prepare the sponge: Soak the natural sea sponge in water, then wring it out until damp but not dripping. A damp sponge produces a softer, more blended texture than a dry sponge. Dip the sponge lightly into the glaze paint, then blot it on a piece of cardboard to remove excess — you want the sponge loaded but not saturated.
Step 3 — Apply in random patterns: Press the sponge against the wall in random, overlapping dabs. Rotate the sponge slightly with each press to avoid creating a repeating pattern. Work in 3-foot sections, stepping back frequently to check for even coverage. Overlap sections while the edges are still slightly wet to avoid visible seams. The beauty of sponging is its forgiveness — if an area looks too heavy, immediately dab with a clean, damp sponge to soften it.
Step 4 — Build layers: After the first pass dries (1-2 hours), add a second, lighter layer for additional depth. This second pass should use even less paint on the sponge and focus on areas that look flat or uniform. Two thin layers always look more professional than one heavy layer.
Project 3: Ombre Gradient Wall
Difficulty: Intermediate | Time: 6-8 hours | Cost: $30-50
Materials needed: 1 gallon of your chosen deep color, 1 quart of white paint for mixing, 3-4 mixing containers, wide paint brush (4-inch), large blending brush or damp rag, paint roller and tray, drop cloths. Tip: purchase three pre-mixed shades of the same color (dark, medium, light) if you are uncomfortable mixing custom shades.
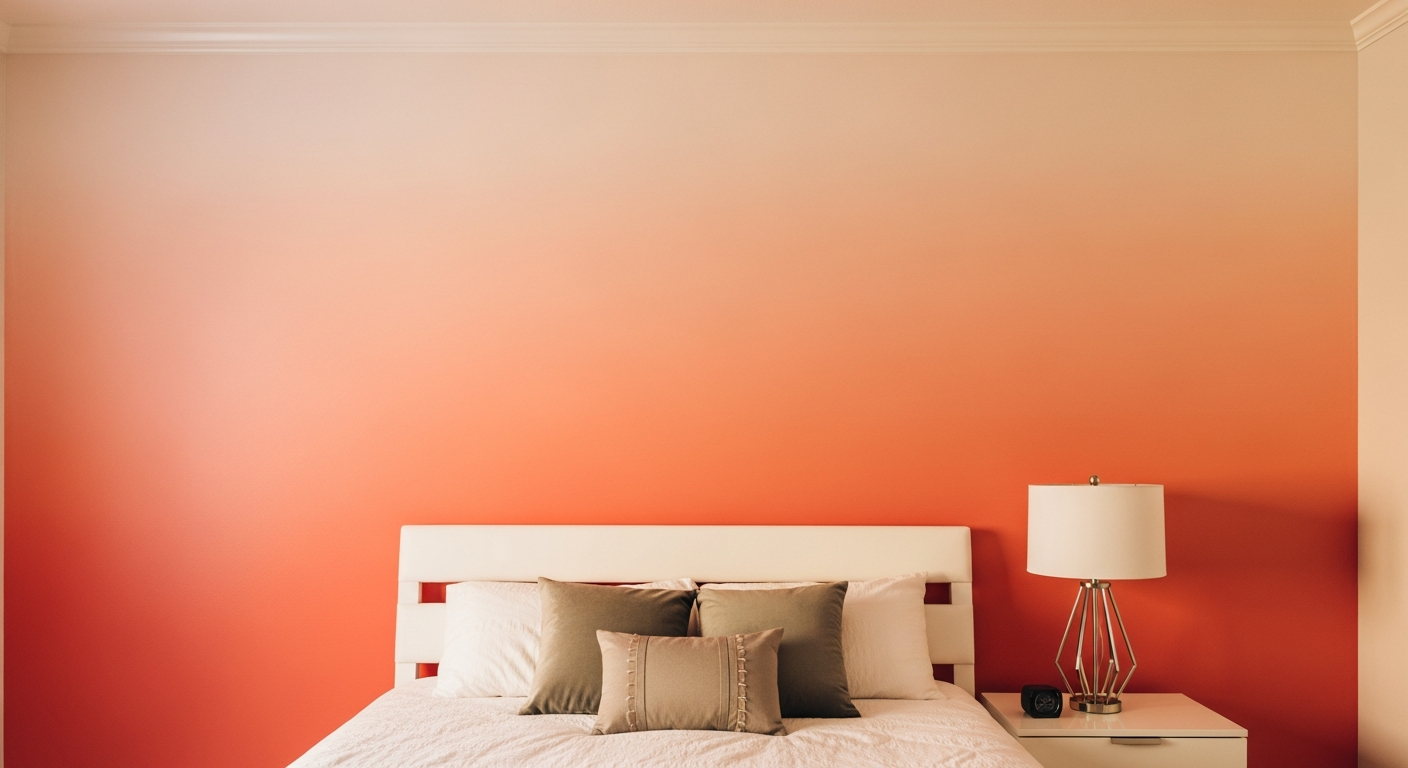
Step 1 — Prepare your gradient shades: Mix four to five progressively lighter versions of your chosen color. Start with the pure deep shade as shade 1. Mix shade 2 with 75% deep + 25% white. Shade 3 is 50/50. Shade 4 is 25% deep + 75% white. Shade 5 is the pure white or near-white. Label each container clearly.
Step 2 — Map the wall into horizontal bands: Divide the wall height into equal sections — one per shade. For a wall that is 96 inches tall with 5 shades, each band is approximately 19 inches. Mark these divisions lightly in pencil on the wall edges. These marks are guides, not hard lines — the goal is a seamless blend.
Step 3 — Apply from darkest to lightest: Starting at the bottom, roll the darkest shade across the bottom band. Immediately roll the next shade above it, overlapping into the first band by 2-3 inches. While both bands are still wet, use the wide brush or damp rag to feather the overlap zone with horizontal sweeping strokes. The key is speed — you must blend while both bands are wet. Work with a partner if possible: one person rolls, the other blends.
Step 4 — Refine the transitions: After the first coat dries, assess the transitions. If any band border is too visible, mix an intermediate shade and brush it into the transition zone. Touch up with the wide blending brush. Most ombre walls require light touch-up on at least one transition zone — this is normal and expected, not a sign of failure.
Project 4: The Painted Arch
Difficulty: Beginner-Intermediate | Time: 3-5 hours | Cost: $20-35
Materials needed: 1 quart of accent paint, string, pencil, small nail or thumbtack, 2-inch angled brush for edges, small roller for fill, painter's tape (optional for the straight bottom edges), drop cloth.
Step 1 — Determine arch size and position: The arch should extend 6-12 inches beyond the width of the furniture it frames (bed, desk, bookshelf) on each side. Mark the center point of the arch at the height where you want the curve to begin — typically 6-12 inches above the top of the furniture piece. The bottom of the arch extends straight down to the baseboard on both sides.
Step 2 — Draw the arch: Tie a string to a pencil. Hold the other end of the string at your center point (use a small nail or thumbtack pushed into the wall). The string length equals the radius — half the width of the arch. Swing the pencil in a smooth half-circle to draw the curve. The string acts as a compass, ensuring a perfect, symmetrical arc. Remove the nail and fill the tiny hole with spackle.
Step 3 — Cut in and fill: Use the angled brush to carefully paint along the penciled arch curve. Paint a 2-inch border following the curve, then fill the interior with the small roller. Apply two coats for even coverage. For the straight vertical sides, use painter's tape if your hand is not steady. The arch shape is forgiving of minor imperfections because the curved line naturally looks organic.
Step 4 — Clean up edges: Once dry, touch up any spots where the accent color extended past the arch line using the base wall color on a small brush. Step back 8-10 feet to check the overall shape — minor irregularities visible up close disappear completely at room-viewing distance.
Project 5: Freehand Abstract Wall Art
Difficulty: Beginner (seriously) | Time: 2-4 hours | Cost: $25-45
Materials needed: 2-3 paint colors (acrylic or interior latex), large flat brush (3-4 inch), medium round brush, container of water for cleaning between colors, drop cloths, reference images for inspiration.
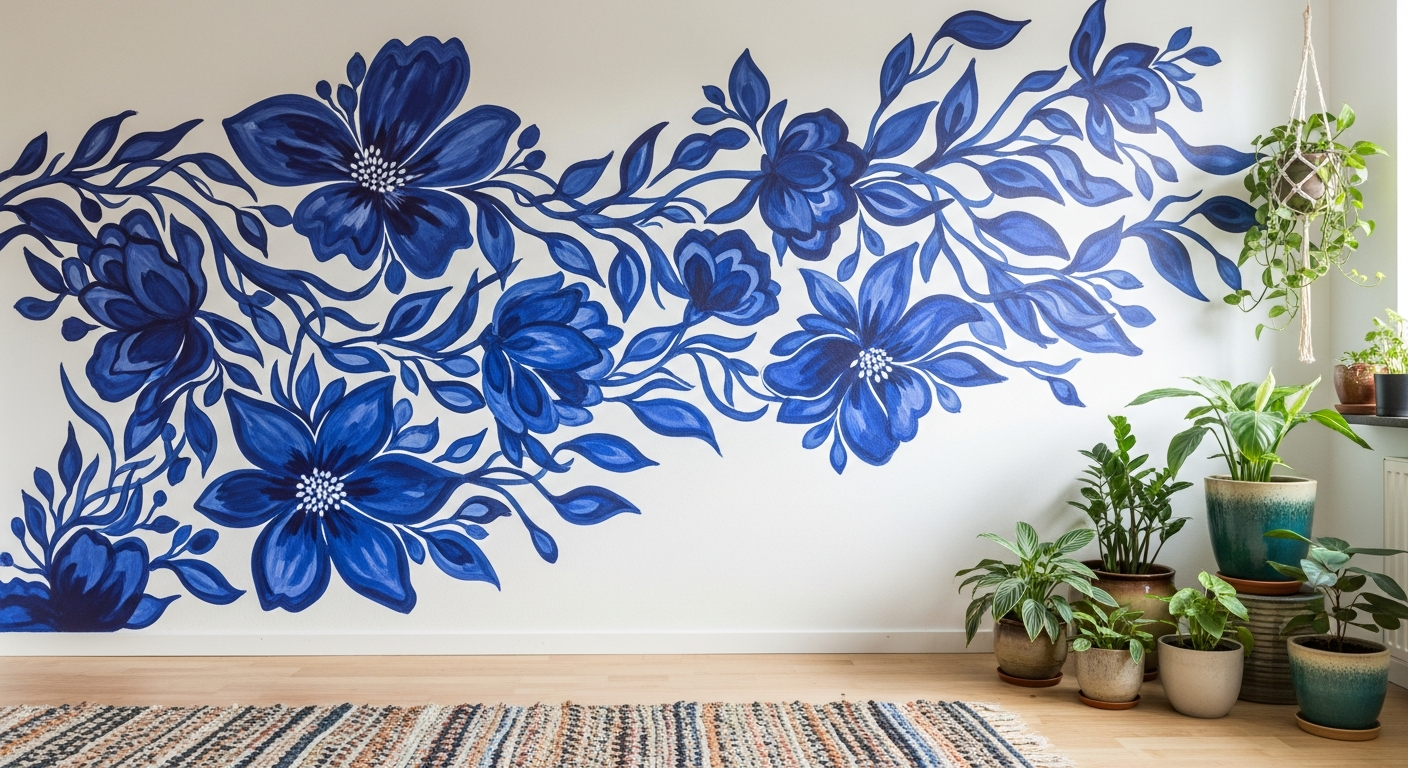
Step 1 — Choose your composition style: Abstract freehand painting works best when you commit to a style before starting: large organic curves (think flowing leaves or waves), bold geometric sweeps (arcs and circles), or scattered botanical elements (simplified leaf and branch silhouettes). Pull 3-5 reference images for inspiration but do not try to copy them exactly — the charm of freehand is its imperfection.
Step 2 — Sketch lightly in pencil: Lightly sketch your major shapes on the wall. Keep lines minimal — they are position guides, not precise outlines. For botanical silhouettes, sketch the main stem lines and rough leaf positions. For abstract curves, mark the start and end points of each major sweep.
Step 3 — Paint with confidence: Load the brush and commit to each stroke. Hesitant, stop-and-start brushwork looks tentative, while confident, continuous strokes look intentional — even if they deviate from the pencil lines. Start with the largest shapes in your dominant color, then add secondary elements in your accent colors. Leave breathing room between elements — negative space is as important as painted space in abstract wall art.
Step 4 — Refine and add detail: Once the major shapes are dry, use a smaller brush to add details — veins on leaves, small dots or dashes for texture, thin connecting lines between shapes. These small additions take 30-60 minutes but add the finishing layer that makes freehand wall art look polished. For professional tips on matching colors to room mood, see our color psychology guide.
Essential DIY Tips for Every Technique
Always test first: Before committing to a full wall, paint a 2-foot test section on the least visible part of the wall or on a large piece of cardboard taped to the wall. Live with the test patch for 24-48 hours, observing how it looks in morning light, afternoon light, and artificial evening light. Colors shift dramatically between these conditions. For even more confidence, HanoDecor's visualization tools let you preview colors on your actual wall digitally before buying paint.
Invest in quality paint: Premium paint ($35-50/gallon) covers in fewer coats, produces richer color, and lasts longer than budget paint ($20-25/gallon). For accent walls and technique-based projects, the difference is even more pronounced — cheap paint shows roller marks, dries unevenly, and bleeds under tape more readily. Benjamin Moore Regal, Sherwin-Williams Emerald, and Behr Marquee are consistently top performers. See our paint finish comparison for choosing the right sheen level.
Protect your floors and furniture: Move furniture to the center of the room and cover with plastic sheeting. Lay canvas drop cloths (not plastic) on the floor — canvas absorbs drips while plastic lets them pool and track footprints. Tape drop cloth edges to the baseboard to prevent paint creeping underneath. Ten minutes of setup protection saves hours of cleanup.
Know when to hire a professional: DIY wall painting is rewarding and cost-effective for most techniques in this guide. But some projects — full-room ombre, large-scale murals covering multiple walls, or ceilings taller than 10 feet — may justify hiring a professional painter. If the project scope makes you anxious rather than excited, professional painters charge $200-500 per accent wall for custom technique work.
Visualize Before You Paint
The hardest part of any DIY wall painting project is not the execution — it is choosing the right colors and placement. A color that looks perfect on a swatch can overwhelm or underwhelm on a full wall, depending on room size, natural light, and surrounding furnishings.
HanoDecor's AI House Painter solves this by letting you upload a photo of your actual room and preview paint colors, accent wall placements, and techniques before you start. Test three shades of teal on your bedroom wall, compare an arch behind the bed versus a full accent wall, and see how your chosen color interacts with your existing furniture — all before you open a single paint can.
Related Articles
- Wall Painting Ideas: 50+ Creative Designs for Every Room
- Living Room Wall Painting Ideas: Designs That Define Your Space
- Bedroom Wall Painting Ideas: Restful Designs for Every Style
- Creative Wall Painting Ideas: Murals, Geometric Art, and Beyond
- DIY Painting vs Hiring Professionals: Complete Comparison
Easy DIY Wall Painting Ideas FAQs
Written by
Sarah Chen
Senior Color Consultant with 12 years of residential exterior design experience. Specializes in architectural color theory, paint technology, and curb appeal optimization.