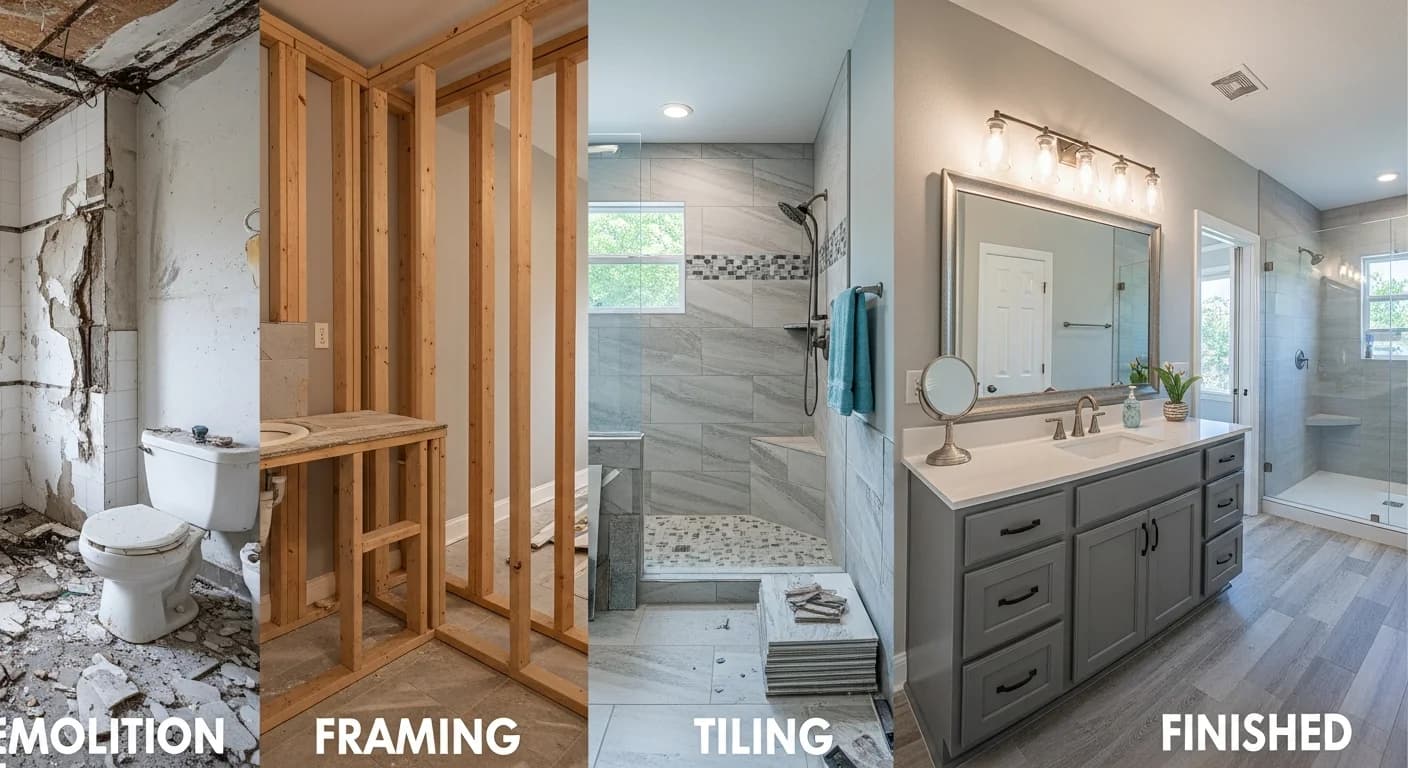
Exterior Painting Checklist: Everything You Need Before, During, and After
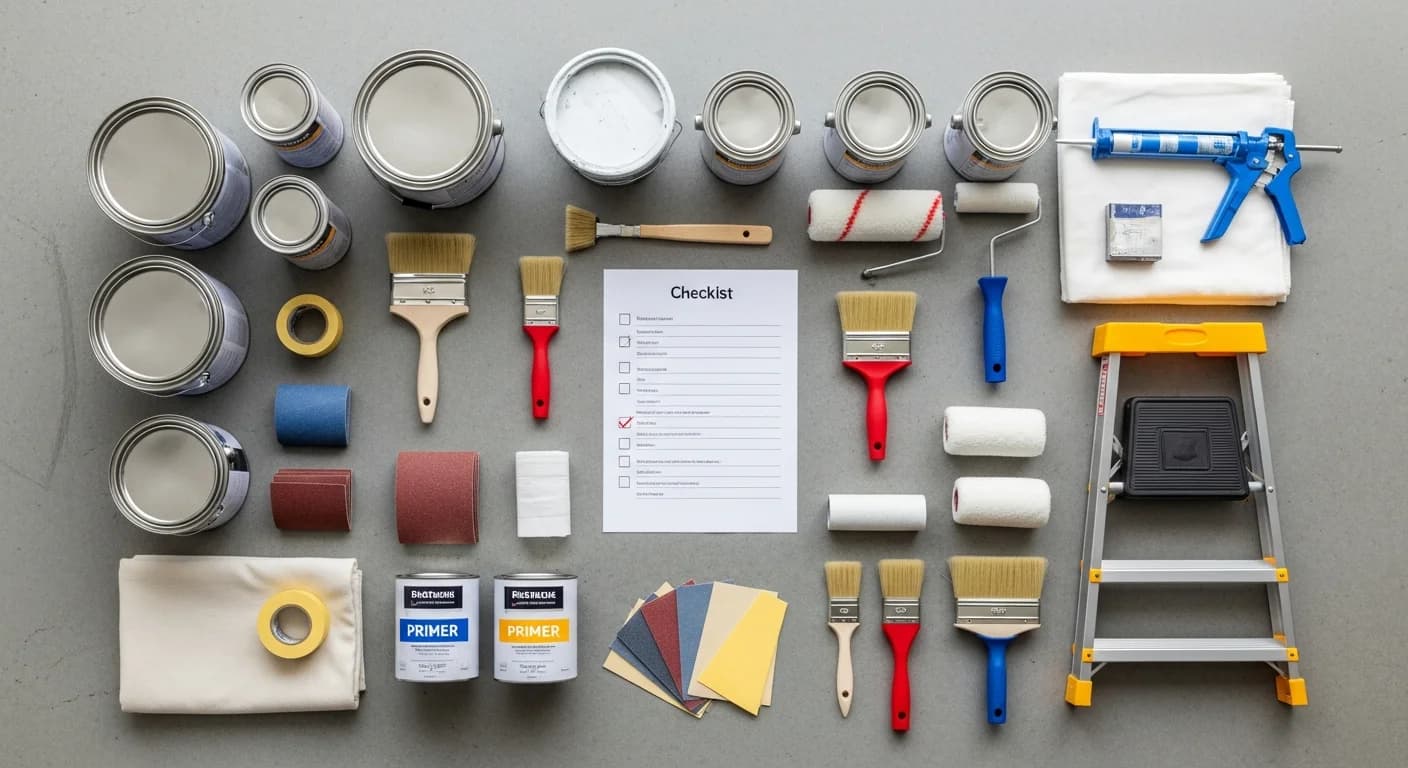
A successful exterior painting project is 80% planning and preparation and 20% actual painting. The difference between a paint job that lasts three years and one that lasts twelve almost always comes down to thoroughness—hitting every step in the right order, not cutting corners on prep, and following through with proper cleanup and maintenance. After painting hundreds of home exteriors over my career, I have refined this exterior painting checklist into a comprehensive 50-plus-item guide that covers everything from initial planning through post-project maintenance. Whether you are painting your home yourself or hiring professionals, this checklist ensures nothing gets missed.
Print this out, tape it to your garage wall, and check off each item as you go. Skipping even a few of these steps is how paint jobs fail prematurely, and each item is here because I have seen what happens when it gets overlooked. If you are still in the inspiration and color selection phase, start by visualizing your options with HanoDecor’s AI House Painter before diving into the logistics covered below.
Phase 1 — Planning Checklist (2–4 Weeks Before)
The planning phase is where you set your project up for success or failure. Rushing into painting without proper planning leads to mid-project delays, supply runs, and costly mistakes. Here is everything you need to nail down before any physical work begins.
Measure your exterior square footage. Walk the perimeter and measure each wall’s width and height, then multiply for total area. Subtract window and door openings (measure each one). A typical 2,000-square-foot home has approximately 1,800–2,200 square feet of paintable exterior surface. This number drives your paint quantity, budget, and timeline calculations.
Calculate paint quantity. Divide your total paintable square footage by the paint’s coverage rate (typically 350 square feet per gallon for premium paints on smooth surfaces, 250–300 for rough textures like stucco). Multiply by the number of coats (two is standard). A 2,000-square-foot home typically requires 11–14 gallons of body paint. Add 10% for waste, touch-ups, and complex areas. Calculate trim paint separately by measuring linear feet of trim multiplied by average trim height. For cost planning, see our house painting cost guide.
Select and test colors. Choose your body, trim, and accent colors. Purchase sample quarts and paint 2-foot-by-2-foot test patches on at least two different walls—one that gets morning sun and one that gets afternoon sun. Live with the samples for at least three to five days, observing how they look in different lighting and weather conditions. What looks perfect at noon may look completely different at sunset. For instant previews before investing in samples, use HanoDecor’s AI House Painter to test unlimited colors digitally. Our exterior color combinations guide provides inspiration for proven palettes.
Get contractor quotes (if hiring). Obtain at least three written estimates from licensed, insured painting contractors. Each estimate should detail scope of work, materials (specific paint brands and products), timeline, payment schedule, and warranty terms. Compare not just price but detail—the lowest bid may exclude critical prep work. Ask about their safety protocols, especially for multi-story work and lead paint handling. For a thorough guide on evaluating painters, see our DIY vs. professional comparison.
Additional planning items: Check your HOA for color restrictions and approval requirements (submit samples if needed). Verify whether your municipality requires a painting permit (rare, but some historic districts require them). Check the extended weather forecast and plan three to five clear days with temperatures between 50°F and 85°F and humidity below 70%. Order paint and all materials so they arrive at least one week before your start date. If you need scaffolding, reserve rental equipment now—popular rental periods book up fast. Clear your schedule to avoid interruptions once work begins.
Phase 2 — Preparation Checklist (1–3 Days Before Painting)
Preparation is where professional results are won or lost. Cutting corners on prep is the number-one cause of premature paint failure, and no amount of expensive paint can compensate for poor preparation. Budget at least 60% of your total project time for this phase. For a detailed walkthrough of each prep technique, our exterior painting preparation guide covers every step in depth.
Walk the perimeter and mark all repair areas. Use blue painter’s tape or chalk to flag every spot that needs attention: peeling paint, cracks, holes, rot, loose caulk, damaged siding, and mildew. This creates a visual roadmap that ensures nothing gets missed during repairs.
Test for lead paint (pre-1978 homes). This step is legally required for contractors under the EPA RRP Rule and critically important for DIY homeowners. Use a home test kit ($10–$30) or send samples to a certified lab ($20–$50 per sample). If lead is present, follow containment procedures or hire a certified abatement professional. Never dry-scrape or sand lead paint without proper containment. Our painting safety guide details lead paint protocols.
Clean all surfaces. Power wash hard surfaces at 2,200–3,500 PSI (or hand-scrub soft woods like cedar and redwood). Treat mold and mildew with a 3:1 water-to-bleach solution, let it sit for 15 minutes, then rinse thoroughly. Clean away all dirt, cobwebs, pollen, and debris. TSP (trisodium phosphate) cleaner works well for heavy grime. After cleaning, wait 24–48 hours for all surfaces to dry completely. Moisture trapped under paint causes blistering and peeling within months.
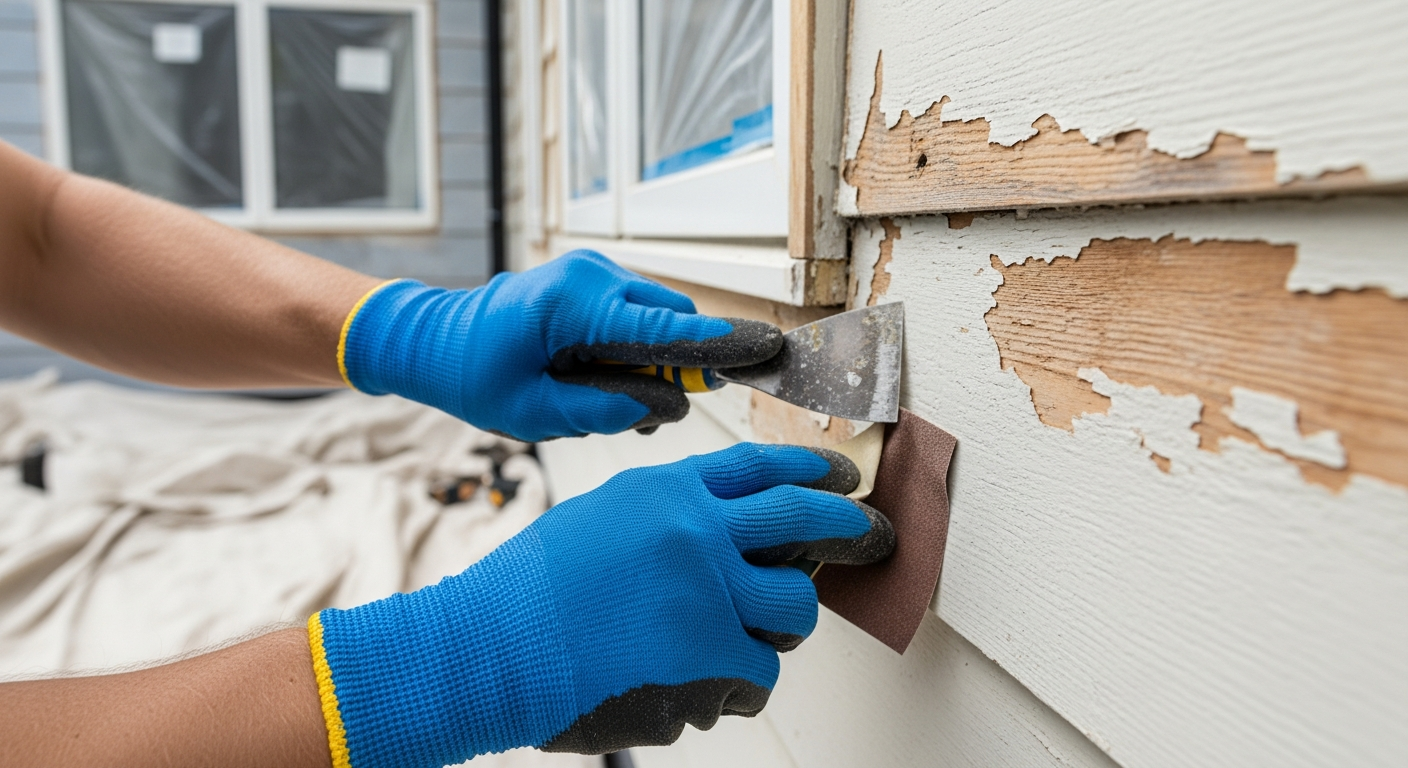
Scrape and sand. Remove all loose, peeling, and flaking paint by scraping to sound edges. Use a flat scraper for large areas and a molding scraper for detailed trim. Sand all scraped edges smooth with 80–120 grit sandpaper to feather old paint into bare wood. Sand any glossy surfaces to create tooth for the new paint to grip. Remove all sanding dust with a brush or compressed air before priming.
Repair damage. Fill holes and cracks with exterior wood filler (Bondo or Minwax). Repair or replace rotted wood using epoxy consolidant and filler. Caulk all gaps around windows, doors, and trim joints with high-quality exterior caulk (DAP Dynaflex 230 or Sashco Big Stretch). Allow all repairs and caulk to cure per manufacturer instructions before priming.
Prime all bare and repaired areas. Apply primer to all bare wood, repaired areas, and stain-prone surfaces on the same day you expose bare wood (this prevents moisture absorption and tannin bleed). Use an exterior oil-based primer for bare wood and stain blocking, or a bonding primer for previously painted surfaces. Allow primer to dry per manufacturer instructions before topcoating.
Protect everything you are not painting. Cover or move plants, outdoor furniture, decorations, and vehicles away from the work area. Tape and mask windows, doors, light fixtures, house numbers, and any hardware you are not removing. Lay drop cloths on walkways, decks, patios, and landscaping within 10 feet of the house. Disconnect or cover irrigation system heads. Remove storm doors, screens, and hardware that will be easier to paint around than to mask.
Phase 3 — Painting Day Checklist
Painting day should be methodical and unhurried. If your preparation is thorough, the actual painting will go smoothly and produce professional results. Follow these steps in order for the best outcome.
Check morning weather conditions. Confirm temperature is between 50°F and 85°F, humidity is below 70%, and no rain is forecast for 24–48 hours. If conditions are marginal, consider waiting—painting in poor weather is worse than delaying. Early morning dew should evaporate completely before you start (wait until surfaces are dry to the touch). For detailed weather guidelines, check our painting weather conditions guide.
Stir paint thoroughly. Never shake exterior paint—shaking introduces air bubbles that create pinholes in the finish. Stir for three to five minutes until the color is completely uniform with no streaks or settling visible at the bottom. If paint has been sitting for more than 24 hours since mixing, stir again before each use. Verify the color against your sample card or test patch before applying.
Start from top and work down. This prevents drips and runs from landing on freshly painted surfaces below. Begin at the highest point of your home and work systematically downward and across each wall. This is not just about neatness—it is about maintaining a wet edge to prevent lap marks and ensuring uniform coverage.
Cut in edges and trim first. Use a high-quality 2.5-inch angled brush (Purdy or Wooster) to paint a 2–3-inch border around windows, doors, trim, corners, and any area a roller cannot reach. Cutting in before rolling ensures clean edges and uniform coverage. Work in manageable sections, cutting in one area and then rolling it before the cut line dries.
Apply first coat. Use a 3/8-inch to 1/2-inch nap roller for smooth surfaces, 3/4-inch for moderate texture, and 1-inch or thicker for rough stucco or brick. Load the roller evenly and apply in long, overlapping strokes. Maintain a wet edge to prevent visible lap lines. If spraying, back-brush immediately to work paint into the surface texture. Check for drips and runs every 30 minutes and smooth them before they set.
Wait for proper dry time. Follow the manufacturer’s recommended dry time between coats—typically 4–6 hours for latex in ideal conditions, 24 hours for oil-based products. Do not rush this step. Recoating too soon traps solvent under the surface, leading to bubbling, poor adhesion, and premature failure. If temperatures drop or humidity rises, extend dry time accordingly.
Apply second coat. The second coat provides uniform color depth, complete hiding, and the full protective film thickness the paint is designed to deliver. Apply using the same technique as the first coat: cut in, then roll or spray. Two coats is the industry standard and the minimum recommended by every major paint manufacturer. Cutting it to one coat to save time or money almost always results in visible bleed-through, thin spots, and reduced durability.
Paint trim and accents. After siding coats are complete and dry, paint trim with semi-gloss using high-quality brushes for the smoothest finish. Paint shutters and doors last—these can be removed and painted on sawhorses for the best results. Use semi-gloss or high-gloss on the front door for maximum durability and visual impact. For finish selection guidance, see our exterior paint finishes guide.
Phase 4 — Completion Checklist
The project is not finished when the last brush stroke dries. A thorough completion process ensures your paint job looks professional, lasts as long as possible, and leaves your property clean and restored.
Final walkthrough inspection. Inspect every painted surface from multiple angles and distances. Look for missed spots, thin coverage, drips, runs, brush marks, and areas where old paint bleeds through. Check trim lines for straightness and consistency. Inspect caulk lines for gaps or failures that occurred during painting. Make notes of everything that needs attention during touch-up.
Touch up all imperfections. Address every item from your walkthrough inspection. Thin spots get a careful additional coat. Drips and runs are sanded smooth and touched up. Missed spots are filled in. Color match any touch-up paint carefully—even the same paint can look slightly different if applied differently or on a different day. Touch-up work is what separates a good paint job from a great one.
Remove painter’s tape before paint fully cures. Most painter’s tape should be removed within 24–48 hours of application, before the paint has fully cured. Removing tape from fully cured paint can peel the fresh paint with it, creating ragged edges. Pull tape slowly at a 45-degree angle for the cleanest removal. If any paint does lift with the tape, touch up immediately while lines are still visible.
Clean up and restore your property. Remove all drop cloths, plastic sheeting, and masking. Reinstall hardware, screens, storm doors, house numbers, and light fixtures. Clean any paint drips from windows, fixtures, walkways, and landscaping. Inspect the lawn, garden beds, and hardscape for paint spills and clean them immediately before they cure. Move furniture and decorations back to their positions.
Clean and store tools properly. Wash brushes and rollers thoroughly with the appropriate solvent (water for latex, mineral spirits for oil-based). Store clean brushes in their original sleeves or wrapped in paper to maintain shape. Drain and clean spray equipment according to manufacturer instructions.
Seal and store leftover paint. This is one of the most commonly forgotten items, and it is critical for future touch-ups. Seal each can tightly by placing plastic wrap over the opening before replacing the lid. Label each can with the color name, color code, brand, sheen, date painted, and the area of the house where it was used. Store in a temperature-controlled space (not a garage that freezes in winter or an attic that overheats in summer). Properly stored latex paint lasts 2–10 years.
Document your project. Photograph the completed exterior from all angles. Save paint receipts, color codes, and contractor documentation. This record is invaluable for future touch-ups, insurance claims, home sales (buyers appreciate maintenance records), and warranty claims.
Phase 5 — Post-Project Maintenance Checklist
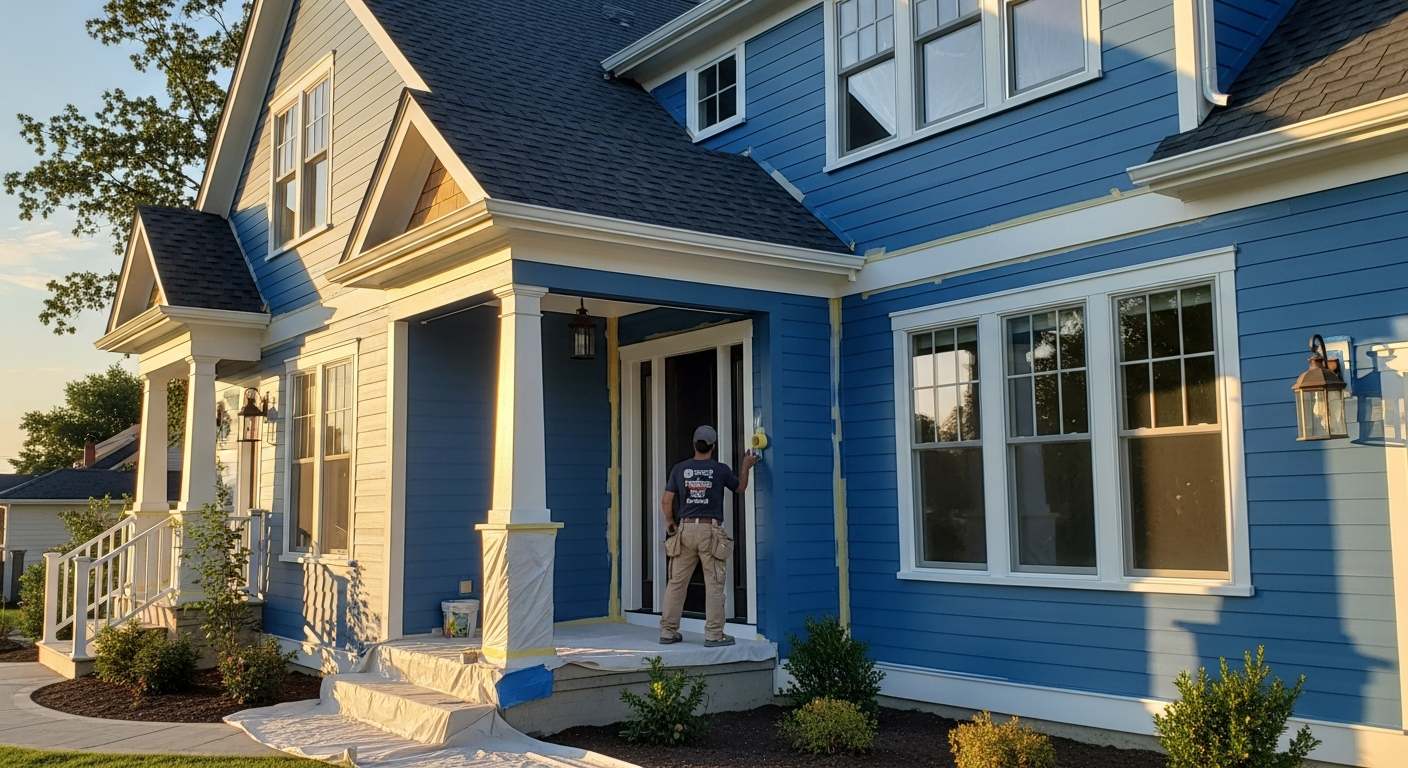
Your paint job’s longevity depends heavily on ongoing maintenance. A few hours of annual care can double the lifespan of your exterior paint, saving thousands of dollars in premature repainting costs.
Six-month inspection (Year 1). Walk the perimeter and inspect every surface for any issues that appeared after curing. Look for adhesion failures, blistering, cracking, or areas where the substrate is showing through. Address any problems immediately—early intervention prevents small issues from becoming large ones. Most paint warranties require you to report failures within the first year.
Annual power washing. Clean your exterior once per year to remove dirt, pollen, mildew, and environmental debris. Use a garden hose with a spray nozzle for light cleaning or a pressure washer at 1,500–2,000 PSI for more thorough cleaning. Professional power washing costs $200–$400, or you can rent a pressure washer for $50–$100 per day. Regular cleaning prevents buildup that degrades paint film and creates staining that can bleed through future paint coats.
Annual caulk inspection. Check all caulking around windows, doors, and trim joints every spring. Caulk shrinks, cracks, and separates over time, creating gaps where water infiltrates and causes paint failure and wood rot. Re-caulk any failed joints promptly with exterior-grade caulk. This 30-minute annual task prevents the majority of moisture-related paint failures.
Annual paint condition check. Look for early signs of failure: minor peeling at edges, chalking on sun-exposed walls, fading on south and west-facing surfaces, and any mold or mildew growth. Touch up problem areas immediately with stored leftover paint. Catching issues early—when they affect a few square feet rather than entire walls—keeps maintenance costs minimal.
Ongoing maintenance items. Every two to three years, touch up trim, doors, and south/west-facing walls that show wear. Trim vegetation to maintain 6–12 inches of clearance between plants and siding. Keep gutters clean and functioning to prevent water from running down painted surfaces. These simple maintenance tasks extend the life of your paint job from the average 5–7 years to 10–15 years. For a comprehensive guide to recognizing when maintenance turns into repainting, see our when to repaint guide.
Supplies and Materials Checklist
Having all your materials organized before starting eliminates frustrating mid-project supply runs that waste time and break your momentum. Here is a complete supplies list organized by category.
Cleaning supplies: Pressure washer or garden hose with spray nozzle, TSP cleaner, bleach (for mildew treatment), scrub brushes in multiple sizes, buckets, rubber gloves. Estimated cost: $50–$150 (or $50–$100/day for pressure washer rental).
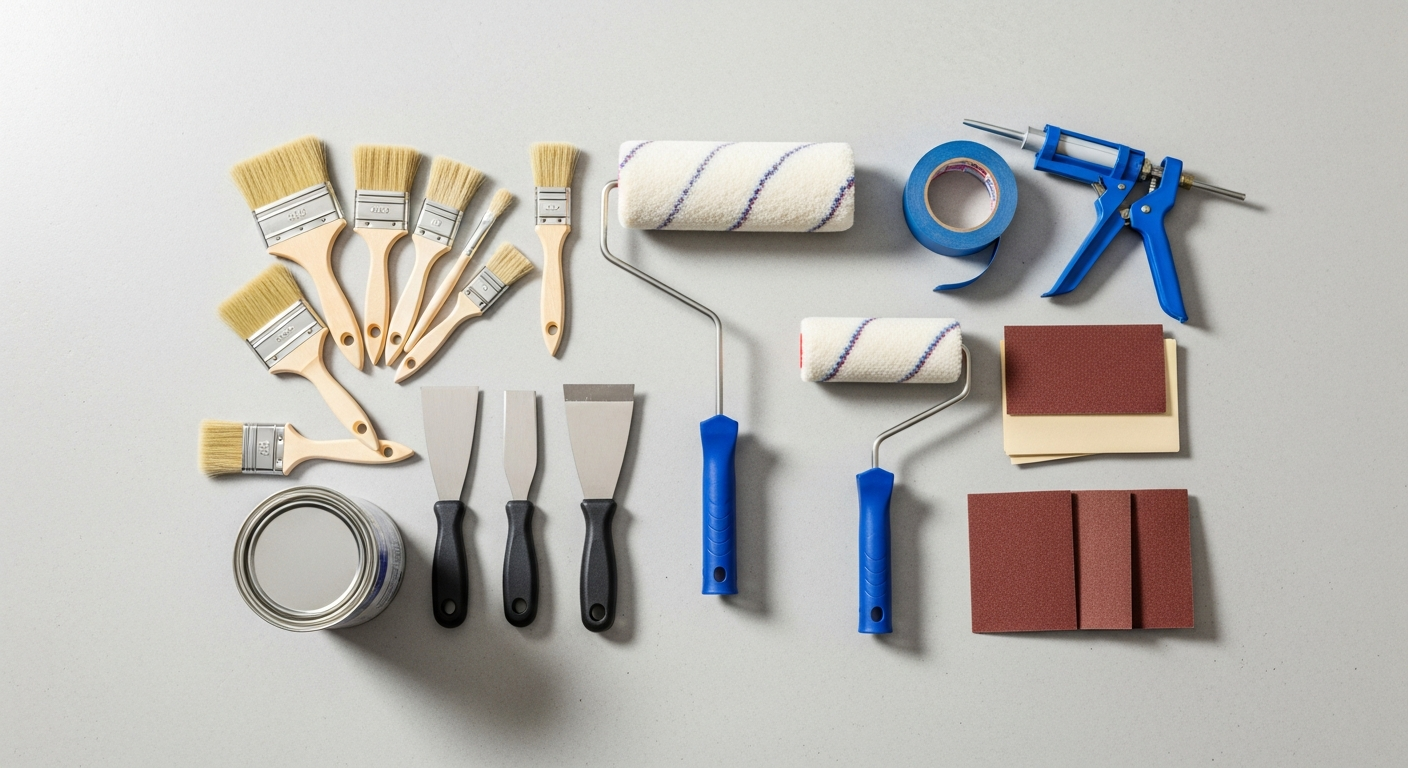
Prep supplies: Paint scrapers (flat and molding profiles), sandpaper in multiple grits (80, 120, 150), orbital sander, exterior wood filler, exterior caulk and caulk gun, primer (1–2 gallons), putty knives, wire brush, dust brush. Estimated cost: $75–$200.
Painting supplies: Paint (calculated quantity plus 10%), brushes (2-inch, 2.5-inch angled, 3-inch, 4-inch), roller frames and covers (3/8”, 3/4” nap), roller trays, extension pole (4–8 foot), paint sprayer (if using), 5-gallon bucket with grid (for rolling). Estimated cost: $200–$600 (paint is the major variable).
Safety equipment: Extension ladder (properly rated), step ladder, respirator with appropriate filters, safety glasses, work gloves, non-slip shoes, hat, sunscreen, first aid kit. If using scaffolding, add scaffold rental. See our painting safety guide for equipment details. Estimated cost: $100–$500 (ladder is the major variable).
Protection supplies: Drop cloths (canvas for walkways, plastic for landscaping), painter’s tape (multiple widths), plastic sheeting, masking paper. Estimated cost: $30–$80. Total estimated DIY supply cost (excluding paint): $250–$600. Total with premium paint for a 2,000-square-foot home: $700–$1,500.
Paint Quantity Calculator
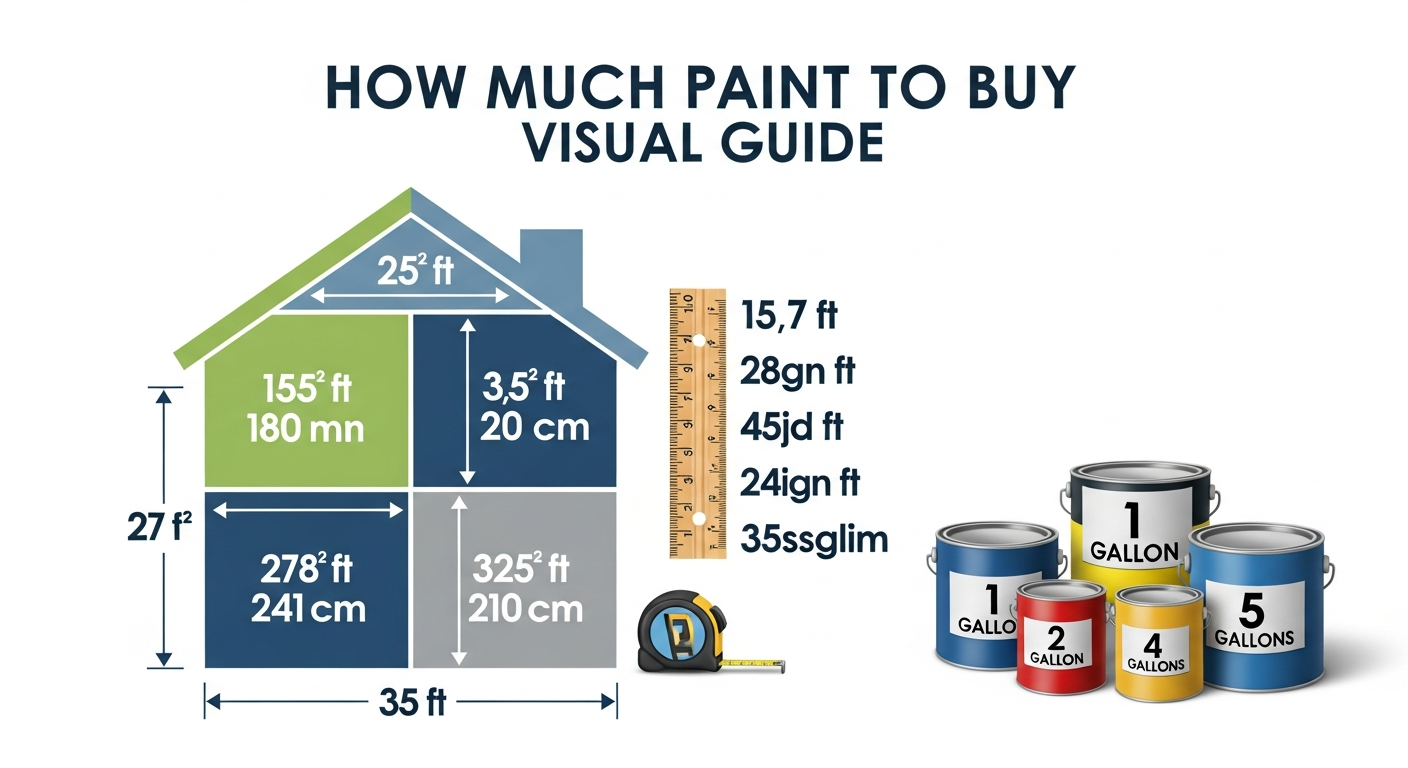
Getting the right amount of paint prevents both shortages (which cause color matching headaches and delay) and excess (which wastes money). Here is the simple formula professional painters use.
Body paint: (Total paintable square feet × Number of coats) ÷ Coverage per gallon = Gallons needed. Example: 2,000 square feet × 2 coats ÷ 350 square feet per gallon = 11.4 gallons. Round up and add 10% for waste and touch-ups: buy 13 gallons. For rough or porous surfaces like stucco, use 250–300 square feet per gallon coverage rates instead of 350.
Trim paint: Measure total linear feet of trim and multiply by average trim width (typically 4–6 inches or 0.33–0.5 feet). Example: 200 linear feet of trim × 0.5 feet width = 100 square feet × 2 coats ÷ 350 = 0.57 gallons. Buy 1 gallon minimum. Add separately for doors (approximately 20 square feet per standard door) and shutters (10–15 square feet per pair).
Primer: You only need primer for bare wood, repaired areas, and surfaces requiring stain blocking. Calculate primed area separately—typically 10–30% of total surface area on homes in reasonable condition. For full color changes or bare surfaces, prime 100% and calculate accordingly. For brand recommendations by surface type, see our paint brands comparison guide.
Contractor Hiring Checklist (If Not DIY)
If you are hiring professional painters, this checklist protects your investment and ensures quality results.
Verify license and insurance. Confirm the contractor holds a valid state or local contractor’s license and carries general liability insurance (minimum $1 million) and workers’ compensation insurance. Ask for certificates of insurance and verify them directly with the insurance company.
Check references and recent work. Ask for at least three references from projects completed within the last year. Contact references and ask about quality, timeline adherence, cleanliness, and communication. Request photos of recent work or visit a current job site if possible.
Get a detailed written estimate. The estimate should specify: scope of work (which surfaces, how many coats), specific paint brand and product names, prep work included, timeline with start and end dates, total cost broken down by labor and materials, and cleanup responsibilities. Vague estimates lead to disputes and disappointment.
Confirm paint details in the contract. Specify the exact paint brand, product line, color name/code, and sheen for every surface. This prevents contractors from substituting cheaper paint, which is unfortunately a common cost-cutting practice. Include a clause allowing you to inspect the paint cans on site.
Agree on payment terms. Never pay 100% upfront. A reasonable structure is 10–30% deposit, 40–50% at project midpoint, and the remainder upon satisfactory completion and walkthrough. Hold final payment until you have inspected every surface and all touch-ups are completed. For more guidance, see our DIY vs. professional comparison for understanding what to expect from professional painters.
Common Items People Forget
Even experienced homeowners overlook certain checklist items. Here are the most commonly forgotten steps that cause problems down the road.
Testing for lead paint. Homes built before 1978 may contain lead paint, and disturbing it without proper precautions creates serious health hazards. This test takes 10 minutes and costs under $30, but skipping it puts your family at risk.
Checking caulk condition. Old, cracked caulk around windows and doors is invisible from a distance but allows water to penetrate behind siding, causing hidden rot and paint failure from the inside out. Inspect every joint and re-caulk as needed.
Covering irrigation heads. Sprinkler heads within 10 feet of the house will get paint overspray on them, clogging the mechanisms and creating unsightly paint spots on your lawn. Cover or temporarily cap each head during painting and remove covers after the final coat cures.
Priming bare wood the same day. When you scrape or sand down to bare wood, moisture starts absorbing into the exposed fibers within hours. Priming same-day seals the wood and prevents tannin bleed, moisture damage, and adhesion failure. Waiting even 24 hours in humid conditions can compromise the bond between primer and wood.
Photographing before and after. Documentation serves multiple purposes: warranty claims, insurance documentation, resale value proof, and personal satisfaction. Take photos from every angle in consistent lighting conditions. Store them with your paint records for easy access. Your paint job adds value to your home—our exterior painting ROI guide shows how much.
Storing paint with labels. Leftover paint is useless without labels. Write the color name, code, brand, sheen, date, and location on each can before storing. Future touch-ups become quick and seamless with properly labeled paint. Without labels, you are guessing or buying new paint that may not match.
Frequently Asked Questions
How long does exterior painting preparation take? For a typical 2,000-square-foot home in moderate condition, preparation takes 2–4 days for professionals or 1–2 weeks for DIY homeowners working weekends. Homes with significant peeling, rot, or damage may require 5–10 days of prep work. Plan for preparation to consume 50–60% of your total project time—it is the most labor-intensive phase. For detailed timeline information, see our painting timeline guide.
Do professional painters provide their own supplies? Most professional painting contractors include paint, primer, caulk, and basic supplies in their estimate. They bring their own brushes, rollers, sprayers, ladders, and scaffolding. However, confirm exactly what is included in the written contract. Some contractors charge separately for premium paint upgrades, extensive caulking, or wood repair materials. Scaffolding rental may also be a separate line item on multi-story projects.
How do I calculate how much paint I need? Use this formula: (Total paintable square feet × Number of coats) ÷ Coverage per gallon. For a 2,000-square-foot home with 2 coats at 350 square feet per gallon coverage, you need approximately 11–12 gallons of body paint. Add 10% for waste and complex surfaces, bringing the total to 13 gallons. Calculate trim paint separately based on linear footage. For porous surfaces like stucco, use 250–300 square feet per gallon instead of 350.
Should I keep leftover paint after the project? Absolutely. Keep at least one quart of each color and sheen used on your exterior. Properly sealed and stored in a temperature-controlled space, latex paint lasts 2–10 years. You will need it for touch-ups after storms, accidental damage, or routine maintenance. Label each container clearly with the color name, code, brand, sheen, date, and the specific area of the house where it was applied. This small effort saves enormous time and frustration when touch-ups are needed.
What is the most important item on this checklist? Surface preparation. Every professional painter will tell you the same thing: prep is 60% of the job and determines 80% of the result. You can use the best paint in the world, but if it is applied over a dirty, poorly prepped surface, it will fail within two to three years. Invest your time and energy disproportionately in preparation, and the painting itself will be the easy, satisfying part. Browse our painting mistakes guide to learn what happens when prep is shortcut.
Start Your Exterior Painting Journey
With this exterior painting checklist in hand, you have a professional-grade roadmap for a successful painting project from planning through long-term maintenance. Every item on this list exists because skipping it leads to problems I have seen repeatedly over decades of painting homes.
Before you begin the physical work, take the time to visualize your color choices. HanoDecor’s Exterior Visualizer lets you preview your complete exterior transformation—paint colors, siding options, and landscaping—on a photo of your actual home. Seeing your vision realized digitally gives you the confidence to execute it perfectly in reality.
For specific color previews and instant experimentation, HanoDecor’s AI House Painter is your best starting point. Upload your home’s photo, try unlimited color combinations, and find the perfect palette before you buy a single supply. Visit our design gallery for inspiration from completed projects, explore our best exterior colors for curb appeal, and check our pricing page to start planning your exterior transformation today.
Exterior Painting Checklist FAQs
Written by
Sarah Chen
Senior Color Consultant with 12 years of residential exterior design experience. Specializes in architectural color theory, paint technology, and curb appeal optimization.